Join me!
Let’s make something together!
Ready to dive in? Subscribe for FREE and receive clever sewing tips, quilting inspiration, and a dash of this and that. Embrace your inner sewist and celebrate your creativity!
Latest from the Blog
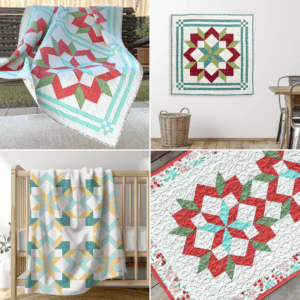
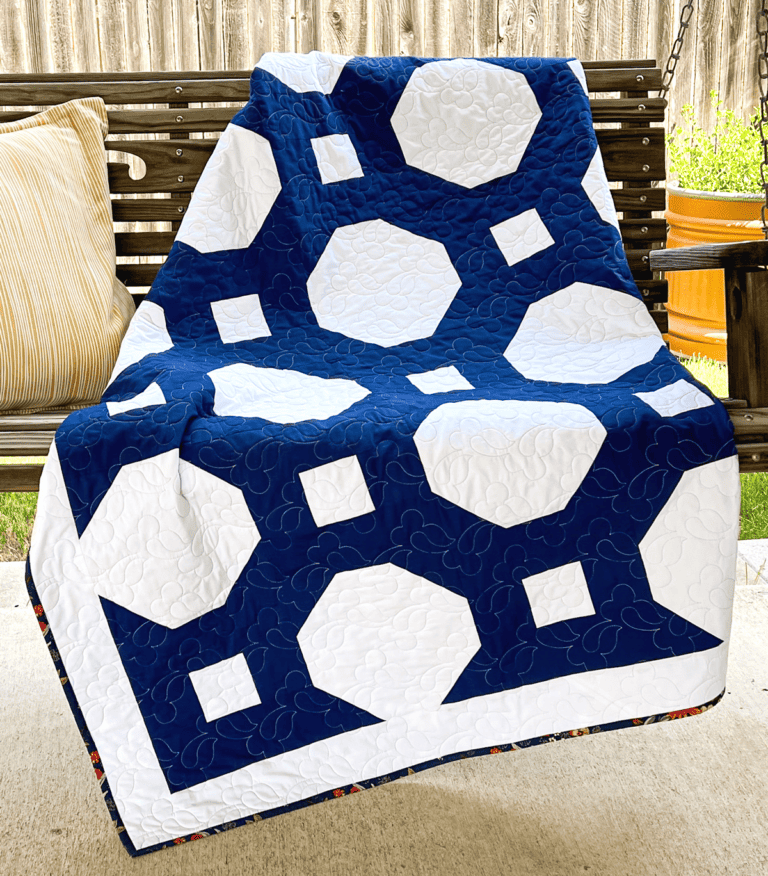
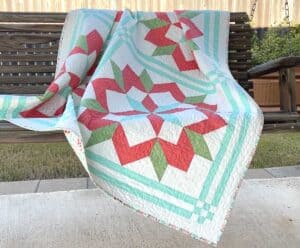
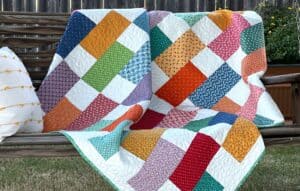
In the Hayloft Pattern Suite
Get ready to cozy up your space with the charming In the Hayloft patterns! Introducing the In the Hayloft Pattern Suite. Whether you’re a seasoned quilter or just starting out, In the Hayloft is the perfect pattern collection for adding a warm and inviting vibe to your home. Snuggle up with this project and enjoy…
Hi there! I’m Leslie!
Welcome to The Seasoned Homemaker! I’m Leslie and I’m on a mission to help you fall in love with quilting, sewing, and crafting.
I’m sharing easy, step-by-step quilting, sewing, and crafting projects designed to spark your creativity. Most projects are designed with Beginners in mind, but you’ll always learn something new!