Direction Mini Quilt: A Step-By-Step DIY Quilting Tutorial
This post may contain affiliate links which won’t change your price but will share a commission.
“Progress has little to do with speed but much to do with direction” -Unknown
Quilting can serve us in many different ways: it can be used to unwind, be a creative outlet, or be a time for reflection. The Direction block is intended to be thought provoking. What direction are you headed in? Do you like the direction? What is a tiny thing you could shift that could have a big impact on the direction you’re moving in?
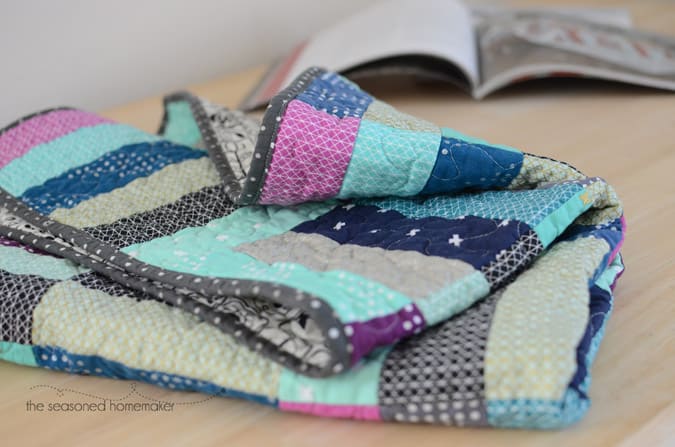
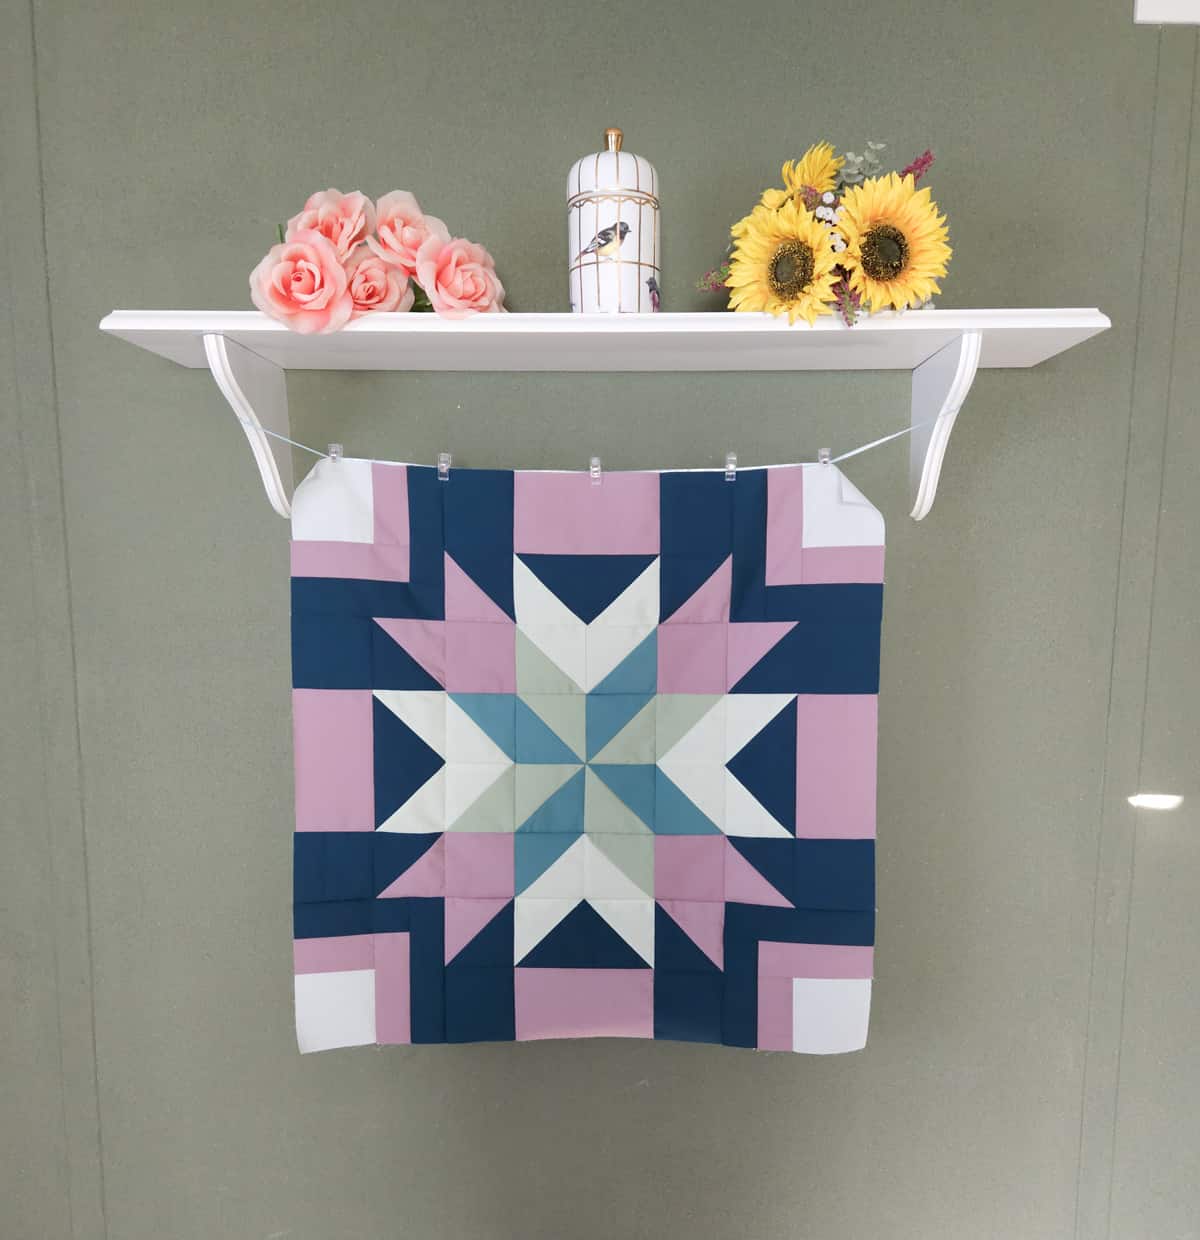
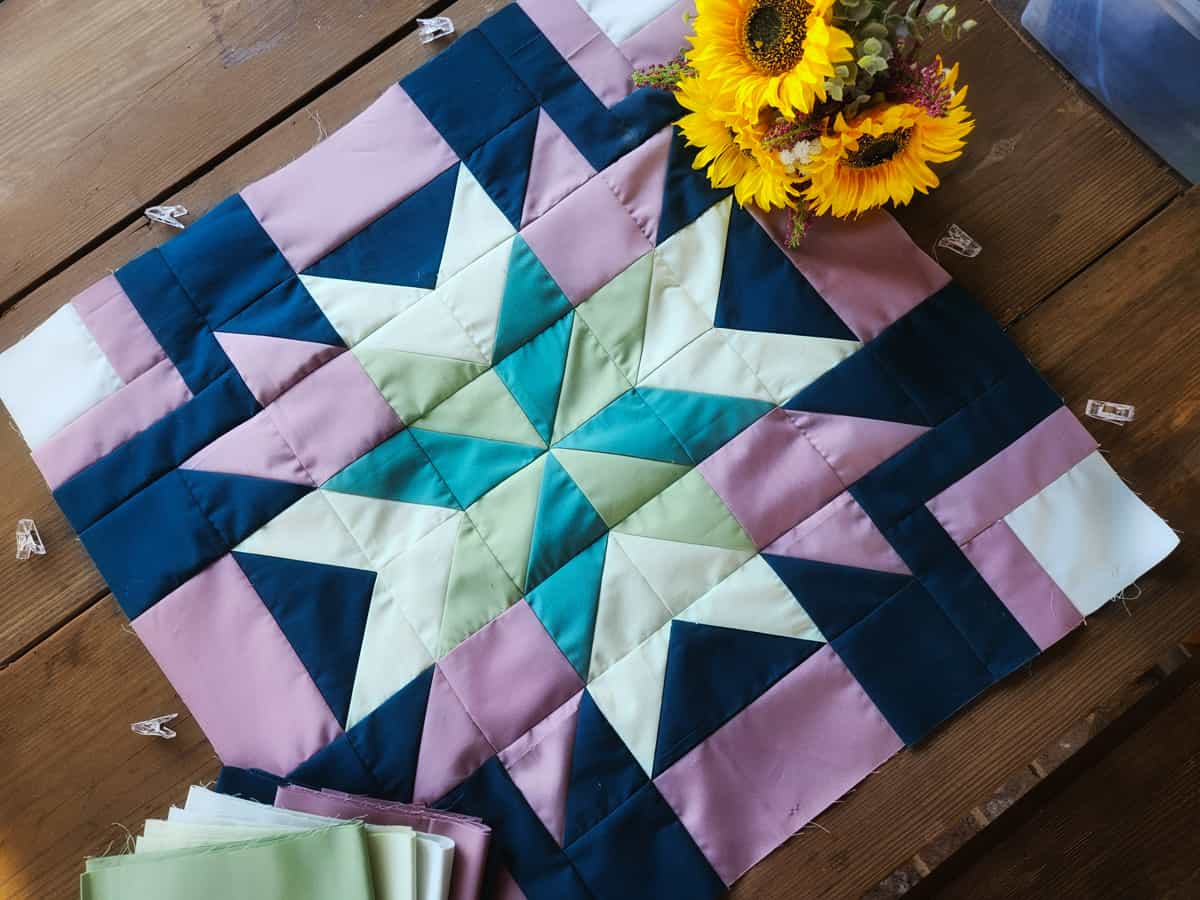
Introducing the Direction Mini Quilt: Finishing at 24 ½” x 24 ½”, the large Direction block, designed by guest contributor Lauren Forshey, makes a striking wall hanging, table topper, or building block for its own quilt.
How to Make the Direction Mini Quilt
The large Direction quilt block is ideal for growing your quilting skills. Turn it into a Mini Quilt and create a perfect table topper or wall hanging. It uses a big block design (Oh, be joyful!) to create something that is nice enough to hang on a wall or sit out on your table all season long.
I especially love how this block combines several skill-building techniques to create something beautiful. And imagine it in seasonal fabrics for Christmas, Valentine’s Day, Easter, or even a patriotic theme.
Materials & Supplies
- Fabric A: ⅛ yard
- Fabric B: ⅜ yard (Backing Fabric)
- Fabric C: ⅜ yard
- Fabric D: ⅛ yard
- Fabric E: ⅛ yard
- Fabric F: ⅛ yard
- Note: You could also substitute a fat quarter for fabrics A, D, E, and F.

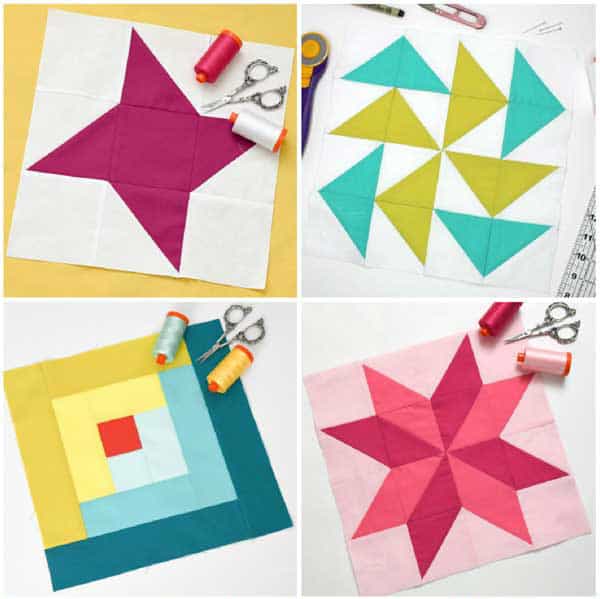
Basic Sewing Supplies Needed
- Sewing Machine
- 1/4″ Sewing Foot
- Aurifil 50 wt. thread
- Spray Starch – my favorite brand
- Sewing Pins
- Rotary Cutter with sharp blade
- Acrylic Ruler for cutting fabric
- Creative Grids Squaring Ruler
- Wing Clipper (for trimming Flying Geese)
- Rotating Cutting Mat
- Clover Wonder Clips
- PatchMates Piecing Labels
- Iron & Ironing Board
- Omnigrid Rotating Mat (optional)
- Wool Pressing Mat (optional)
- Tailor’s Clapper (optional)
Cutting Instructions
There are a lot of pieces to this quilt block so after you cut something out, label it with a sticky note or PatchMates Piecing Labels. I like to use Clover Wonder Clips to keep everything together.
Cut the following pieces:

From Fabric A
- Cut (4) 3½” squares – A1
From Fabric B (the background fabric)
- Cut two 2” strips
- Subcut 1: (4) 2” x 5” rectangles – B1
- Subcut 2: (4) 2” x 6½” rectangles – B2
- Cut (1) 3½” strip
- Subcut: (8) 3½” squares – B3
- Cut (1) 7½” square – B4
- Cut (4) 4” squares – B5
From Fabric C
- Cut (1) 2” strip
- Subcut 1: (4) 2” x 3½” rectangles – C1
- Subcut 2: (4) 2” x 5” rectangles – C2
- Cut (1) 3½” strip
- Subcut 1: (4) 3½” squares – C3
- Subcut 2: (4r 3½” x 6½” rectangles – C4
- Cut (4) 4” squares – C5
From Fabric D
- Cut (1) 4½” strip
- Subcut 1: (4) 4½” squares – D1
- Subcut 2: (4) 4” squares – D2
From Fabric E
- Cut (4) 4” squares – E1
From Fabric F
- Cut (4) 4” squares – F1
Step 1 – Make the Corner Units

- Sew C1 to the right of side A1.
- Sew C2 on the bottom of the unit.
- Sew B1 to the right side of the unit.
- Sew B2 to the bottom of the unit.
- Press after each new piece is added.
- Make (4) corner units.
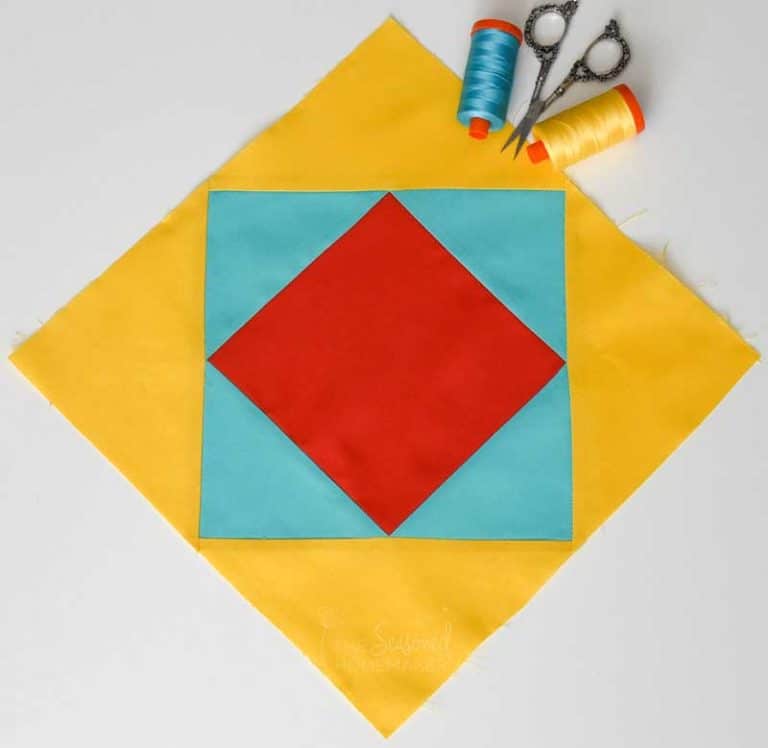
Step 2 – Half Square Triangles
Using the HST two-at-a-time method, make the following half square triangles:
- (4) DE from D2 and E1
- (4) DF from D2 and F1
- (4) EF from E1 and F1
- (8) CB from C5 and B5 (see here for HSTs 8-at-a-time)
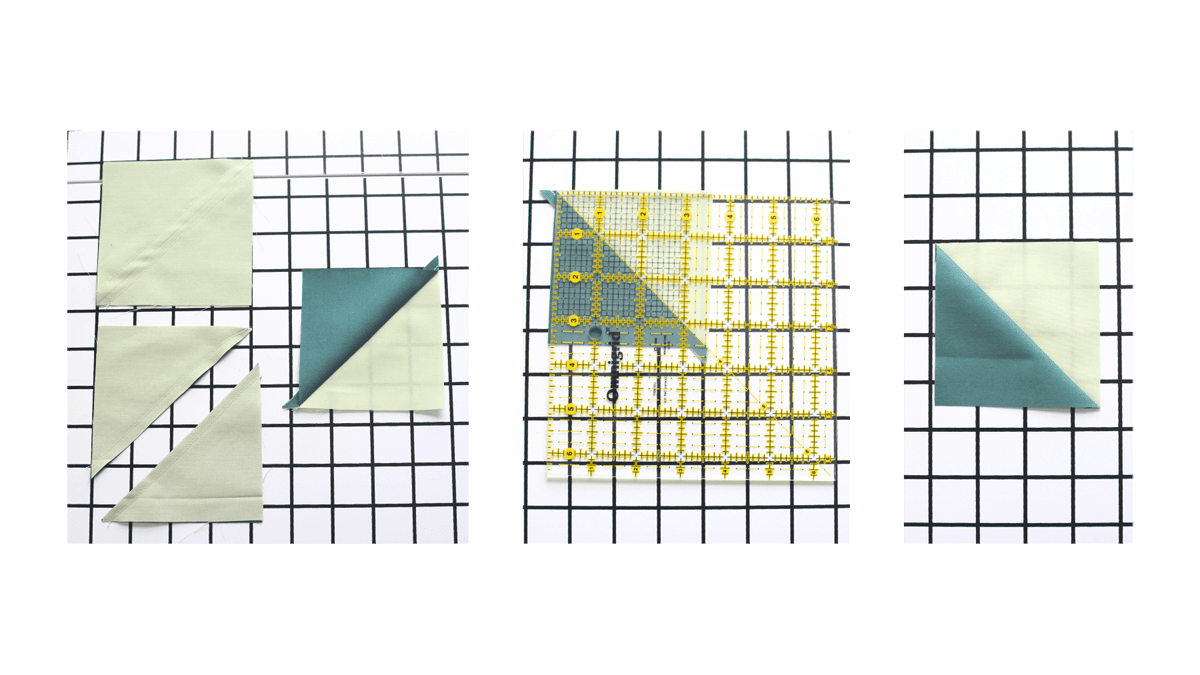
My best trick for getting perfect half square triangles is to sew with a scant ¼” seam allowance, then trim from all four sides using a Bloc Loc ruler. A regular ruler can be used just as effectively, but there is less sliding around with the Bloc Loc.
Need help trimming HSTs? Check out my tutorial showing different tools for trimming HSTs.
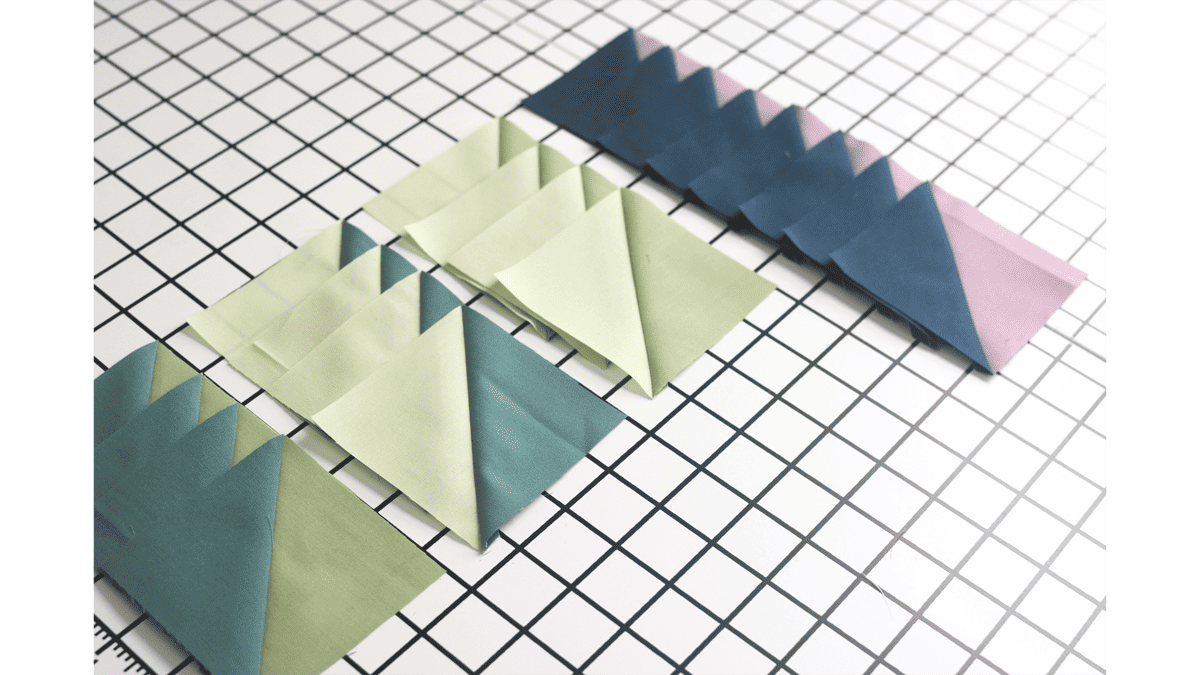
Step 3 – Flying Geese

- Create (4) flying geese from B4 and D1. Use the four-at-a-time flying geese method.
- Trim these to 3½” x 6½”.
- When trimming the sides, line up the 3¼” line on your ruler with the center point.
- When trimming near the point, there should be a ¼” let above the point.
Need help with Flying Geese? Check out my Flying Geese Tutorial here.
Step 4 – Outer Center Units

- Layout (2) B3 squares, (2) CB HST’s, (1) Flying Geese Unit, and (1) C4 rectangle as shown.
- Sew C4 and the Flying Geese Unit together first and press towards C4.
- Sew the left B3 and CB HST together followed by the right.
- Press towards the CB HST.
- Sew onto either side of the Flying Geese and C4 center. Make (4).
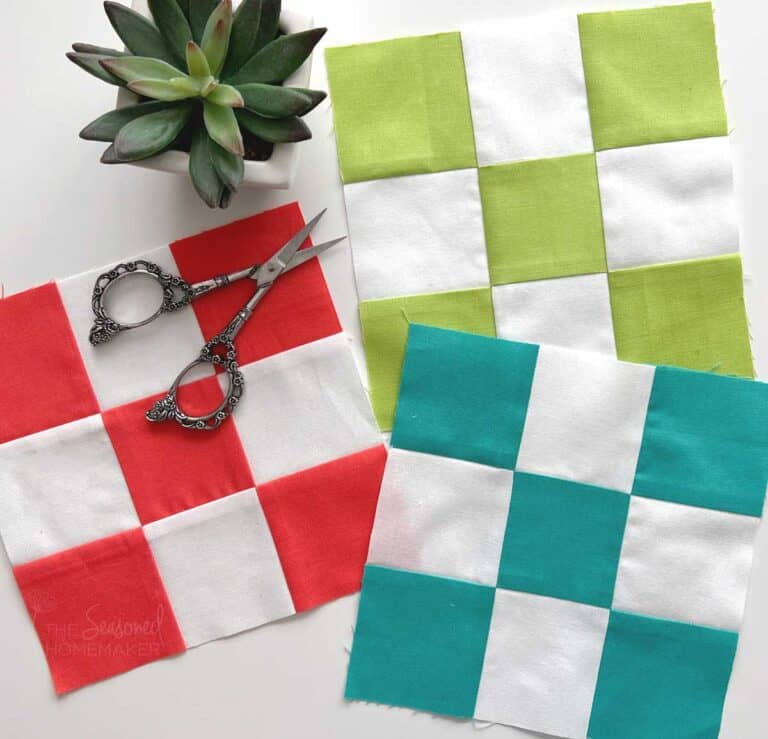
Step 5 – Four Patch

Create a Pinwheel Four-Patch using the EF HST’s. Start by sewing two together at a time. Press the seams in opposite directions so they nest together nicely.
Learn more about the Pinwheel Block here!
Step 6 – Center Sawtooth

- Sew a DE HST to a DF HST as shown. Make (4).
- Then sew a C3 square onto both sides of two of these units. Press out.
- Sew a DE/DF rectangle onto the top and bottom of the Pinwheel Four-Patch. Press in towards the center.
- Sew the unit created with C3’s on either end to the left and right sides to create the Center Sawtooth Star.
Learn about the Sawtooth Star here.
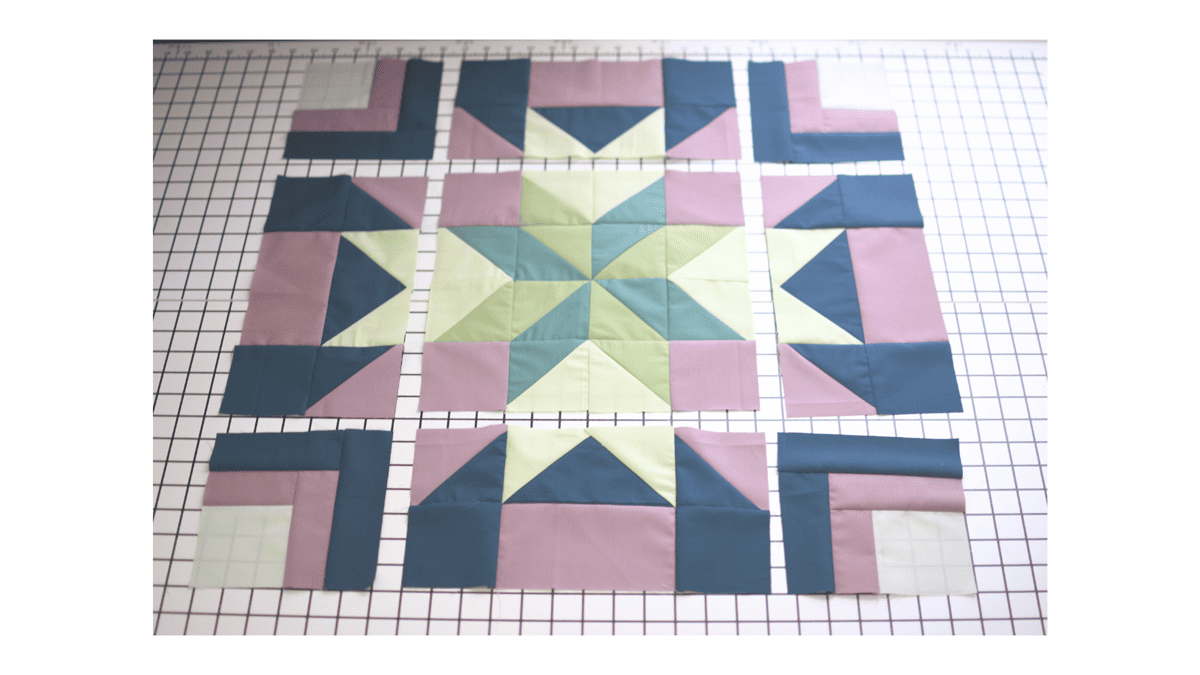
Step 7 – Final Assembly
- Lay out all block units as shown.
- Start by sewing the Outer Center Units to the top and bottom of the Center Sawtooth Star. Press in.
- Then, sew a Corner Unit onto either side of both remaining Outer Center Units. Press out.
- Then, sew to the center.

Final Thoughts
While this block looks outstanding on its own, you could add a solid 2 ½” border for a really polished looking table topper or wall hanging. If you make four or nine blocks, you get eye-catching secondary patterns.

Love this block? It’s part of the True North Quilt, a skill building, meditative block of the month pattern. Learn more here!

Meet the Designer
Lauren Forshey, owner of Groundworks Quilt Studio, is a Pennsylvania girl through and through. She learned to quilt from her mom when she was young and has been sewing ever since. Drawing on her 15 years of experience quilting and 7 years teaching, she loves designing patterns so that others can create too.