Star Flower Mini Quilt: A Step-By-Step DIY Quilting Tutorial
This post may contain affiliate links which won’t change your price but will share a commission.
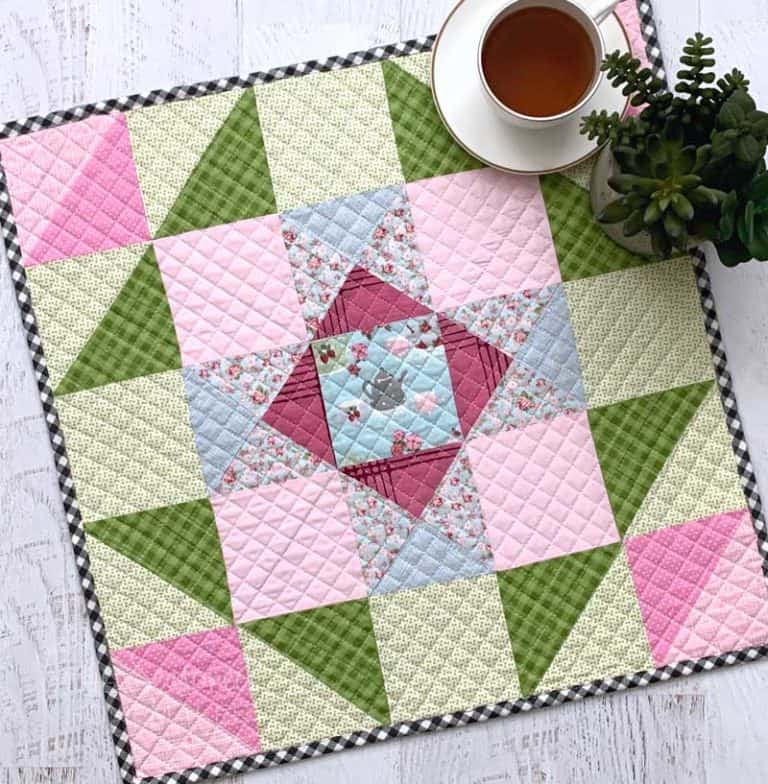
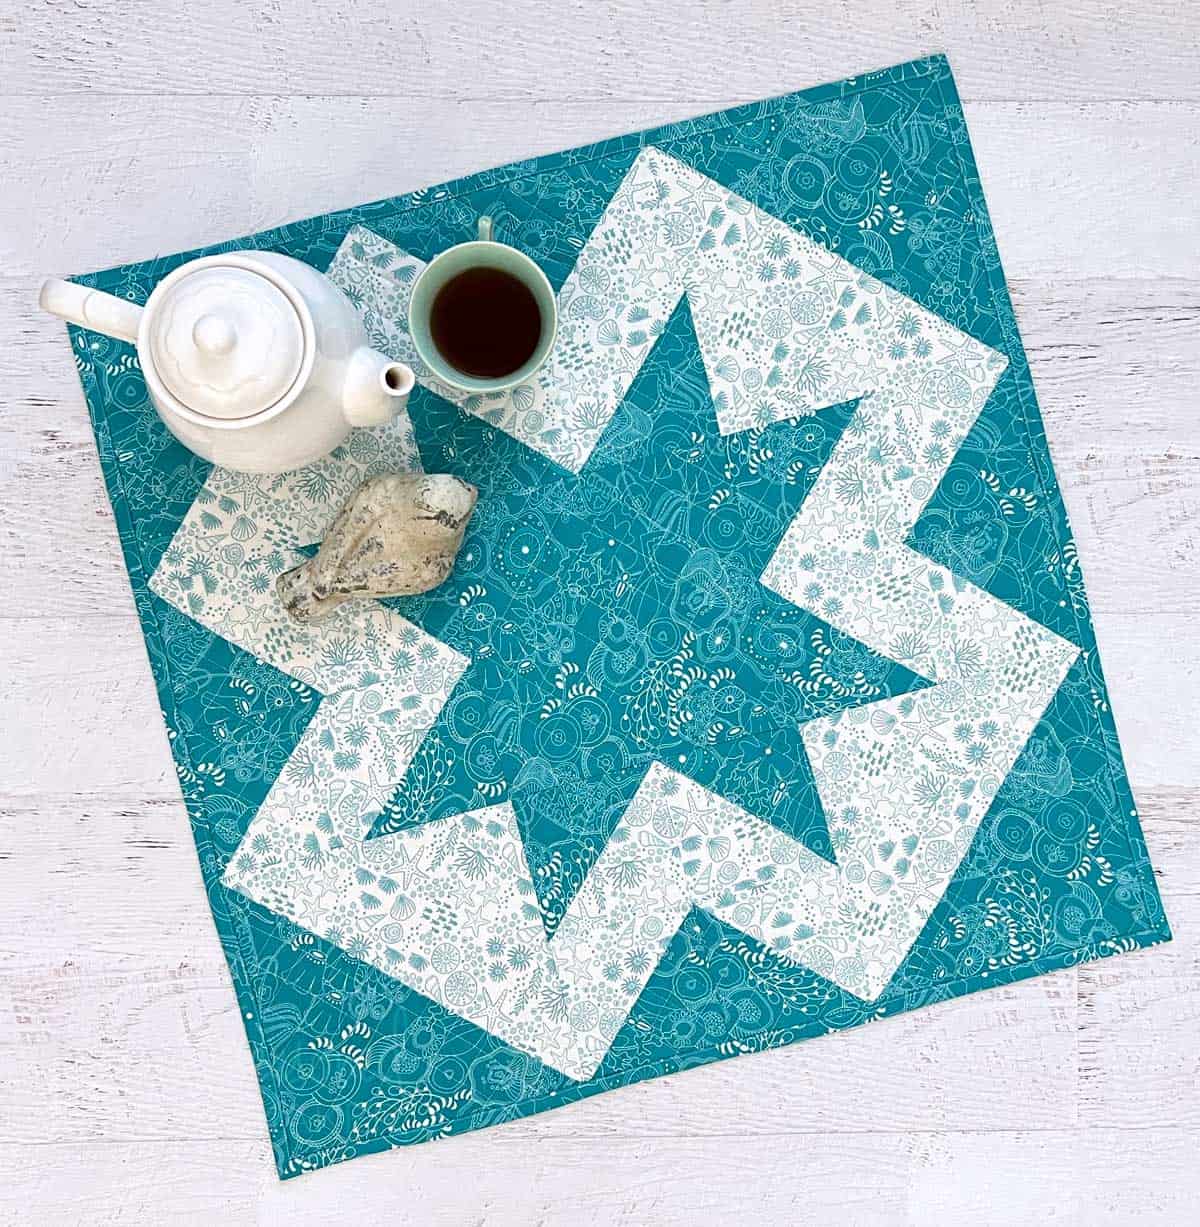
Introducing the Star Flower Mini Quilt – a fun and finishable mini quilt or table topper or wall hanging.
If you’re anything like me, you appreciate a project that seamlessly combines beauty + practicality, and this fast and easy big block mini quilt ticks all the boxes.
Whether you’re looking to add a touch of seasonal flair to your dining table or want to make a lovely handmade gift, this delightful mini quilt is sure to captivate your creative spirit. It’s unbelievably easy to make and if you were to combine four of these blocks you could have a 48″ x 48″ quilt.
So, grab your favorite fabrics and unleash your creativity with a captivating Star Flower Mini Quilt!
Want an ad-free, printable copy of this tutorial? Scroll to the bottom of this post for more details!
How to Make the Star Flower Mini Quilt
The Star Flower Mini Quilt is a fast and easy large block mini quilt that makes a perfect table topper or wall hanging. It uses a big block design (Oh, be joyful!) to create something that is nice enough to hang on a wall or sit out on your table all season long.
It goes together quickly and doesn’t require much fabric. I could see this in fall colors, Halloween fabrics, Christmas colors, and the list goes on and on.
Because it goes together in a snap, you could make a series of them for different seasons. Think about making it two sided for holidays that run close together (Valentine’s Day/St. Patrick’s Day, I’m talking about you!).
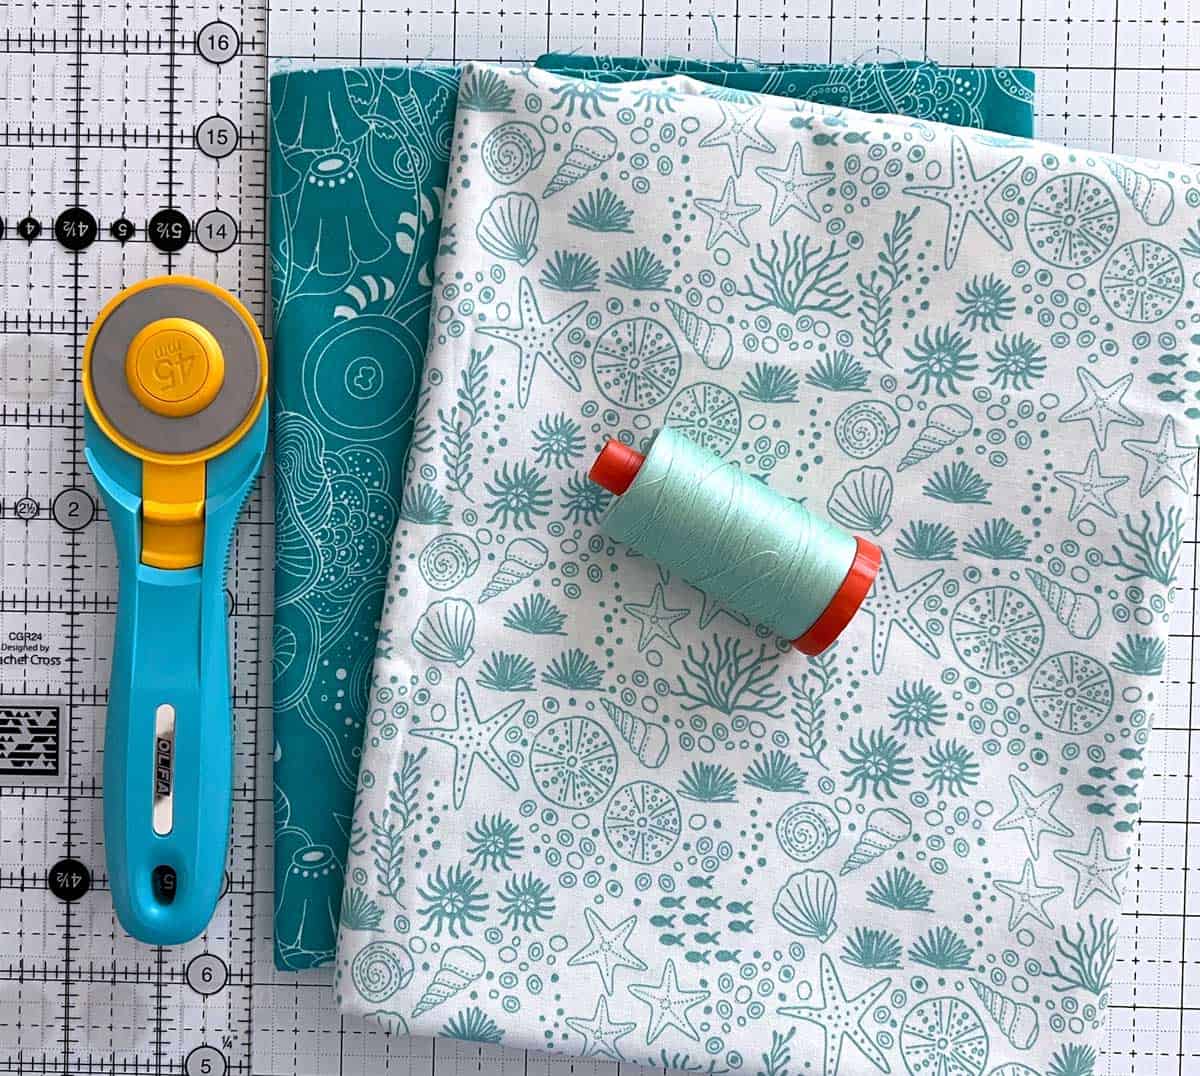
Materials & Supplies
- Fabric A: 1/2 yard (darker fabric)
- Fabric B: 1/2 yard (lighter fabric)
- Backing: 1 yard
- Binding: 1/4 yard
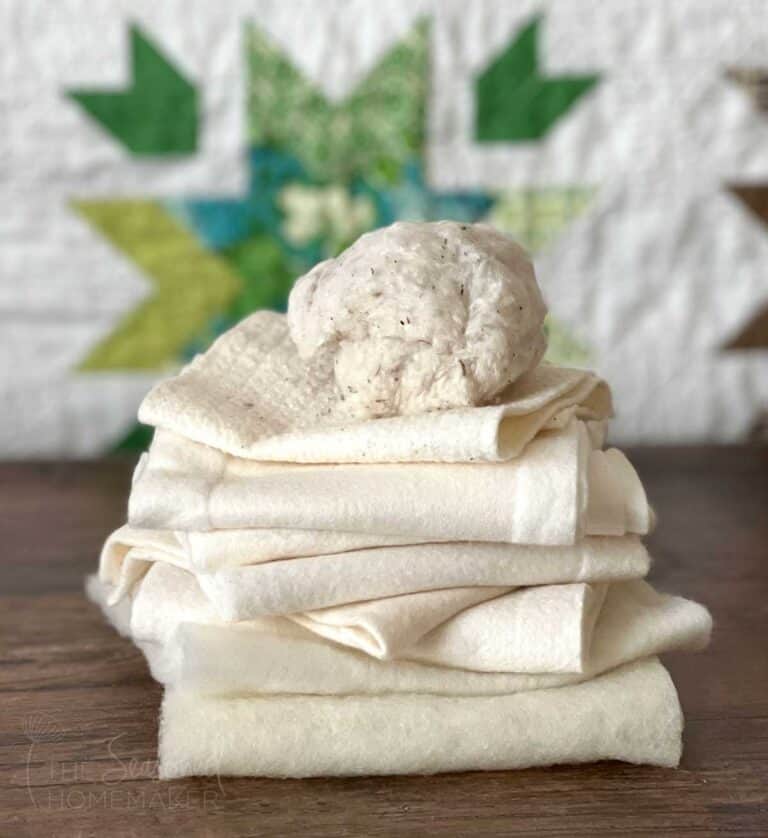
- 29″ x 29″ Fusible Batting
Basic Sewing Supplies Needed
- Sewing Machine
- 1/4″ Sewing Foot
- Aurifil 50 wt. thread
- Spray Starch – my favorite brand
- Sewing Pins
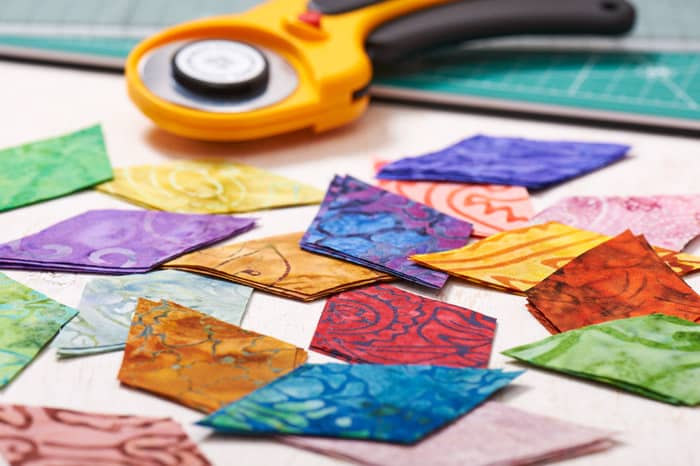
- Rotary Cutter with sharp blade
- Acrylic Ruler for cutting fabric
- Creative Grids Squaring Ruler
- Rotating Cutting Mat
- Iron & Ironing Board
- Wool Pressing Mat (optional)
- Tailor’s Clapper (optional)
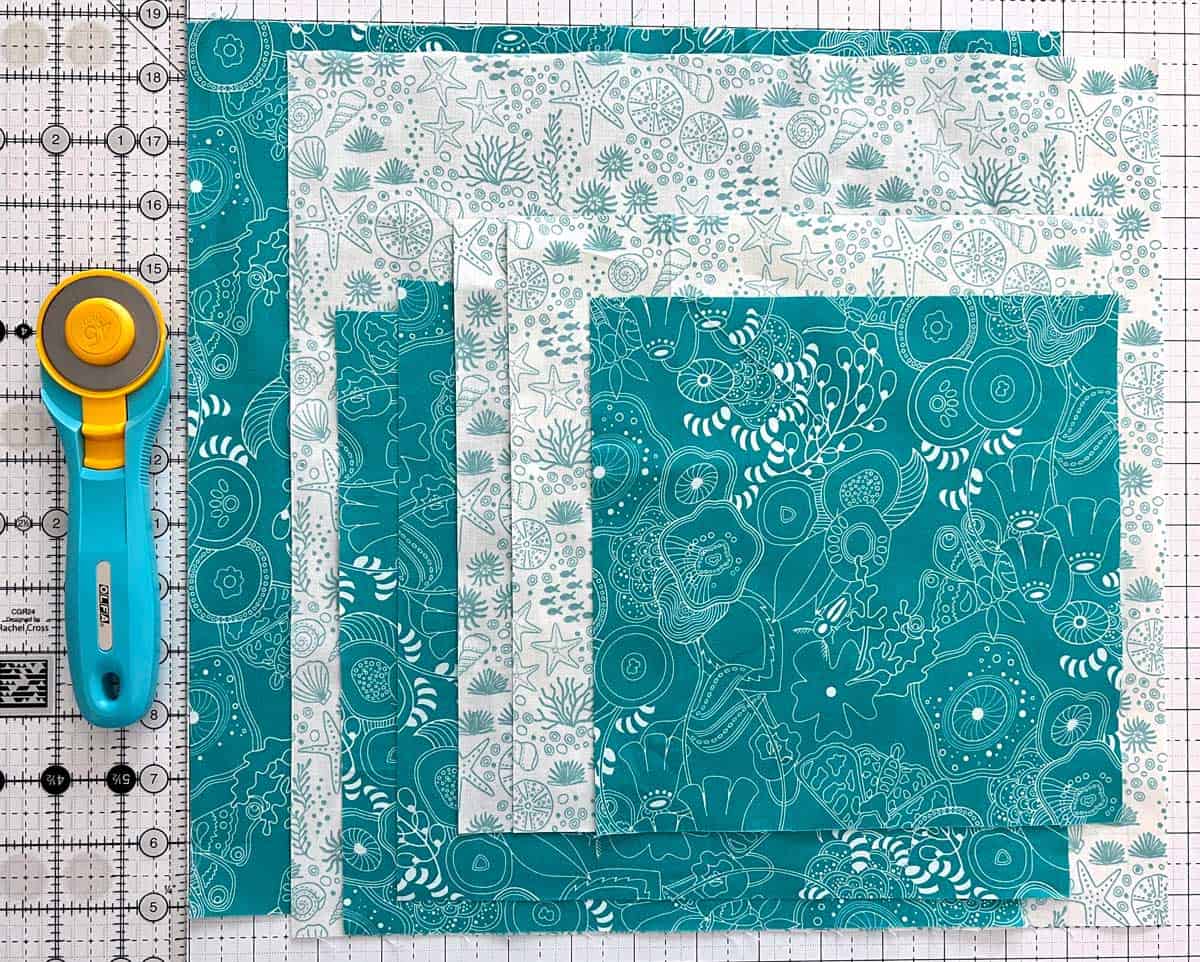
Cutting Instructions
Before cutting out fabrics I highly recommend starching them. This pattern uses the HSTs 4-at-a-Time and HSTs 8-at-a-Time methods which requires cutting across diagonal lines which can cause fabrics to stretch a little. Starching helps prevent this. Learn more about Starching Fabrics here.
Fabric A:
- (1) 14″ x WOF strip;
- From 14″ Strip
- Subcut (1) 14″ square
- Subcut (2) 9.75″ squares
- Subcut (1) 8.5″ square
- From 14″ Strip
Fabric B:
- (1) 14″ x WOF strip
- Subcut (1) 14″ square
- Subcut (2) 9.75″ squares
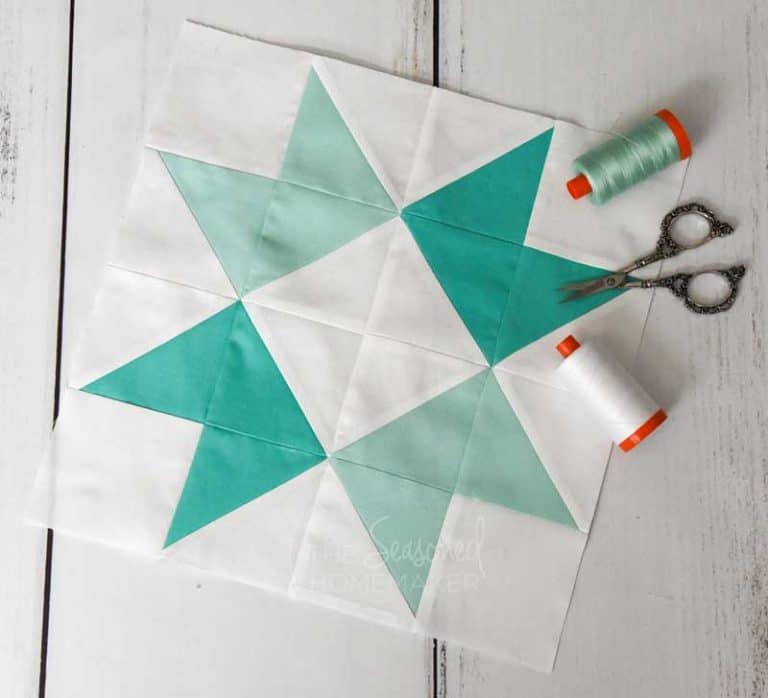
Step 1: HSTs 4-at-a-Time
For this step you’ll be using the HSTs 4-at-a-Time method for making your large half square triangles. If you’re unfamiliar with this method, please click the above link to learn how to do this. Note: There is a diagram available with a cutting chart in the Printable Post. Scroll down for more information.
- Take (1) Fabric A 14” square and (1) Fabric B 14” square and place them right sides together and sew around the perimeter.
- Draw two diagonal lines from corner to corner. The lines will cross in the middle and form an X.
- Using a rotary cutter and mat, cut along these diagonal lines to make(4) HST units.
- Press the seam allowances toward the dark side.
- Using a rotary cutter and mat, trim the (4) HSTs to 8.5″
- Set aside.
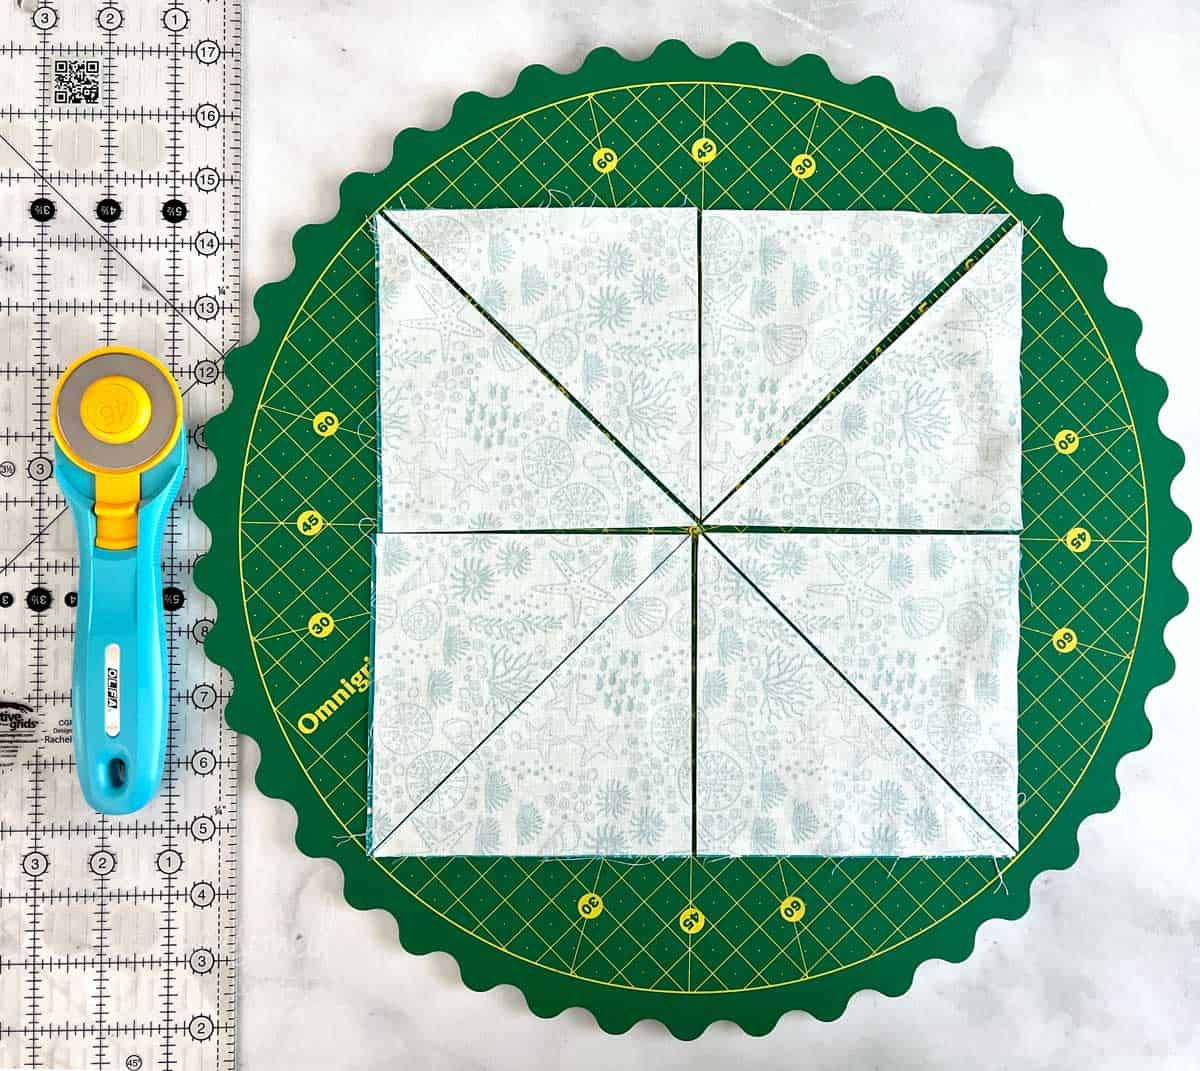
Step 2: HSTs 8-at-a-Time
For this step you’ll be using the HSTs 8-at-a-Time method for making the center of the quilt. Note: There is a video in the link page above demonstrating this technique. A diagram is available with a cutting chart in the Printable Post. Scroll down for more information.
- Take (1) 9.75” square of Fabric A and (1) 9.75” square of Fabric B and place right sides together. Draw two diagonal lines from corner to corner on the back of the lighter colored square. The lines will intersect at the center point, forming an X.
- Sew 1/4″ on both sides of the diagonal lines. See this post for help with 1/4″ seam allowances.
- Cut along each of the diagonal lines, and then along the vertical middle and horizontal middle lines to make (8) HST units. Note: A rotating cutting mat will come in very handy when trimming HSTs.
- Press the seam allowances toward the dark side.
- Using a ruler, trim the HSTs to measure 4.5”.
- Repeat these steps once more to make a total of (16) 4.5″ HSTs.
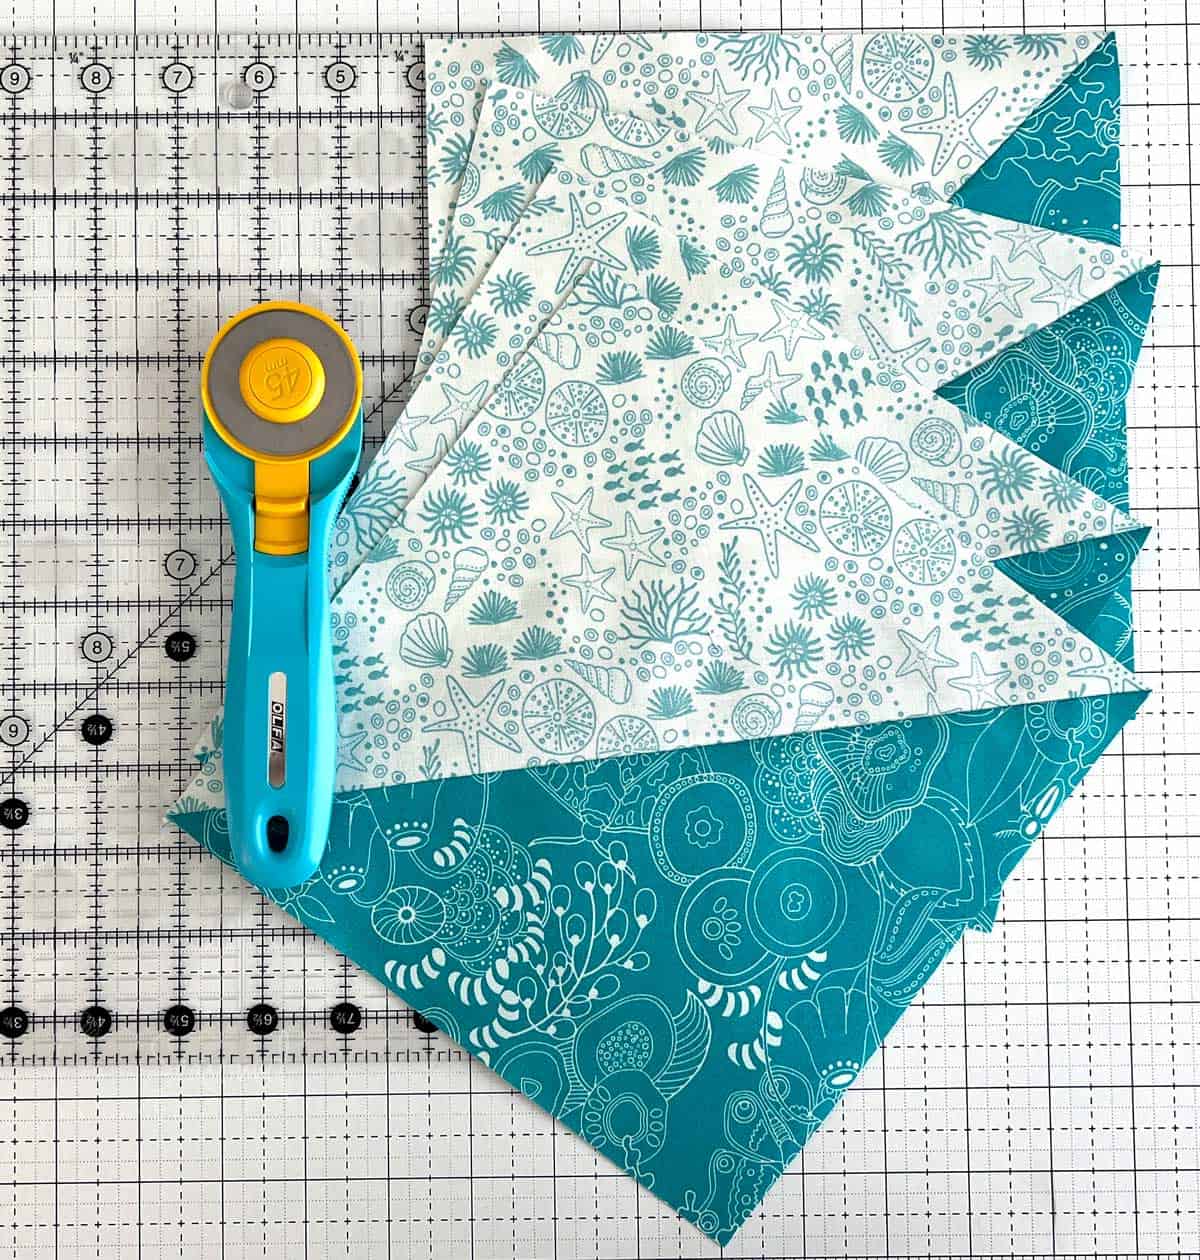
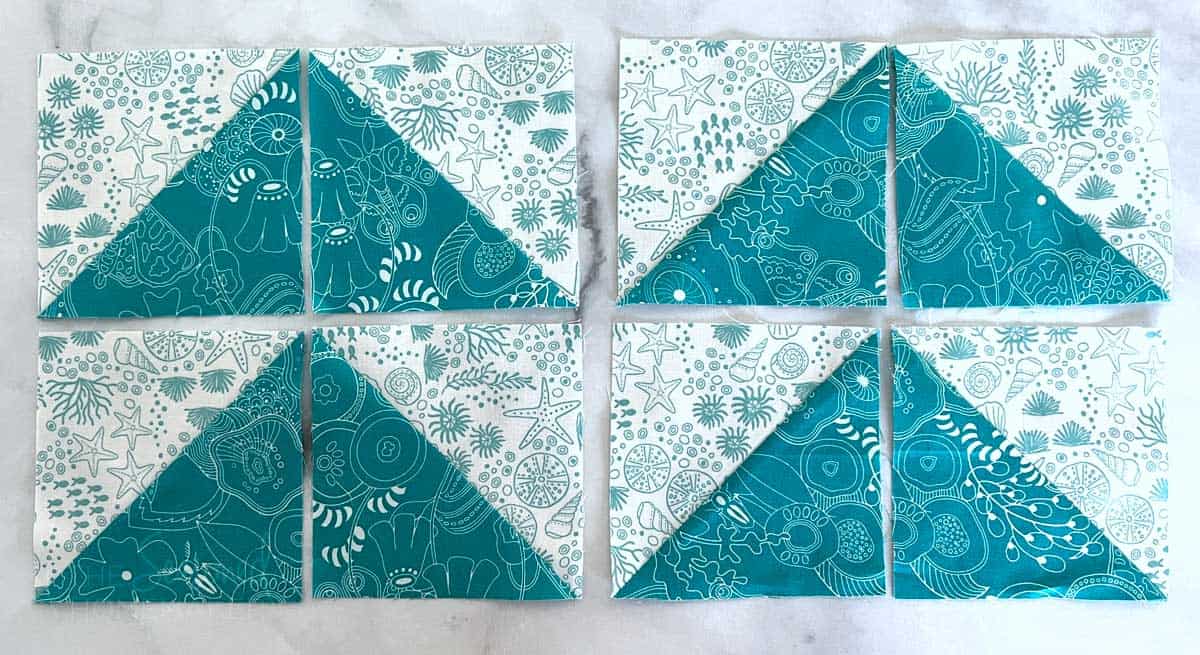
Step 3: Make Flying Geese Unit A
You will be using the HSTs from Step 2 to make flying geese blocks.
- Take (2) 4.5” HSTs and place them where the light side of the fabrics touch each other.
- Place them right sides together; sew and press.
- Repeat to make (4) Flying Geese Unit A’s that are 8.5” x 4.5″.

Step 4: Make Flying Geese Unit B
- Take (2) 4.5″ HST and place them with the dark side of the fabrics touch each other.
- Place them right sides together; sew and press.
- Repeat to make (4) Flying Geese Unit B’s that are 8.5” x 4.5″.
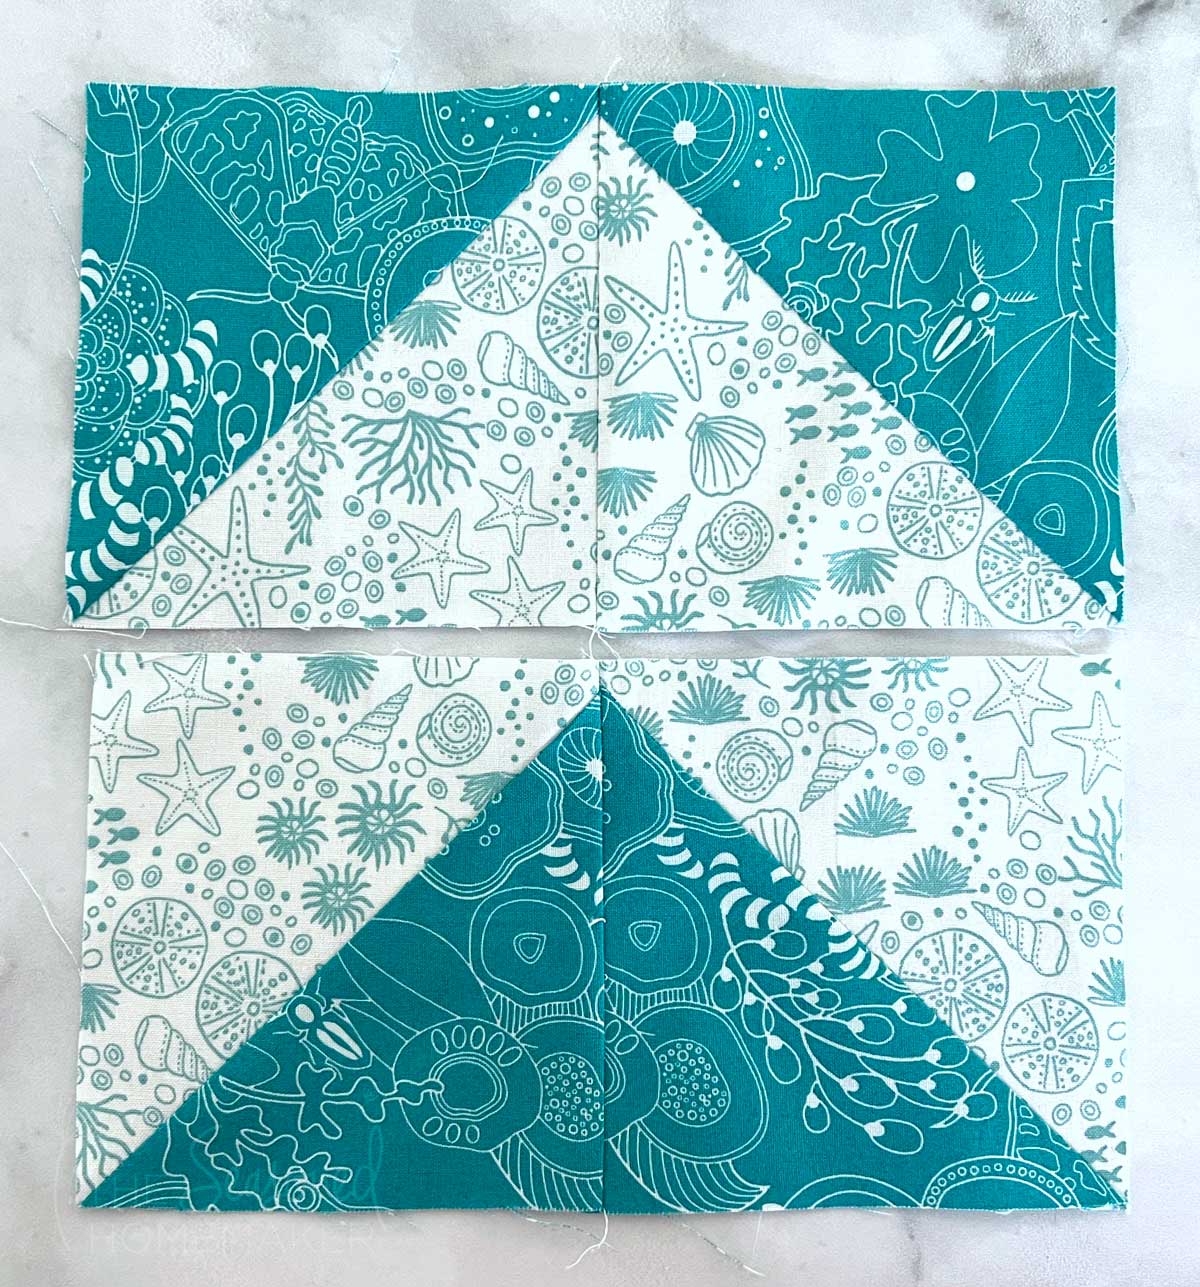
Step 5: Make Flying Geese C
- Take (1) Flying Geese A and (1) Flying Geese B and place them right sides together.
- Sew and press.
- Repeat to make (4) Flying Geese C that are 8.5″x 8.5″.
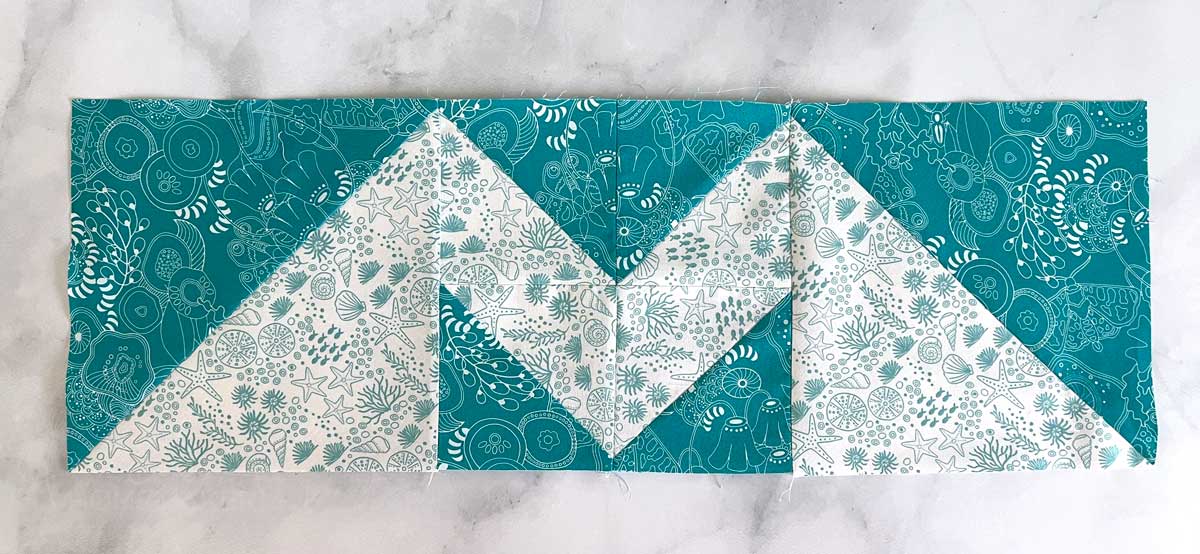
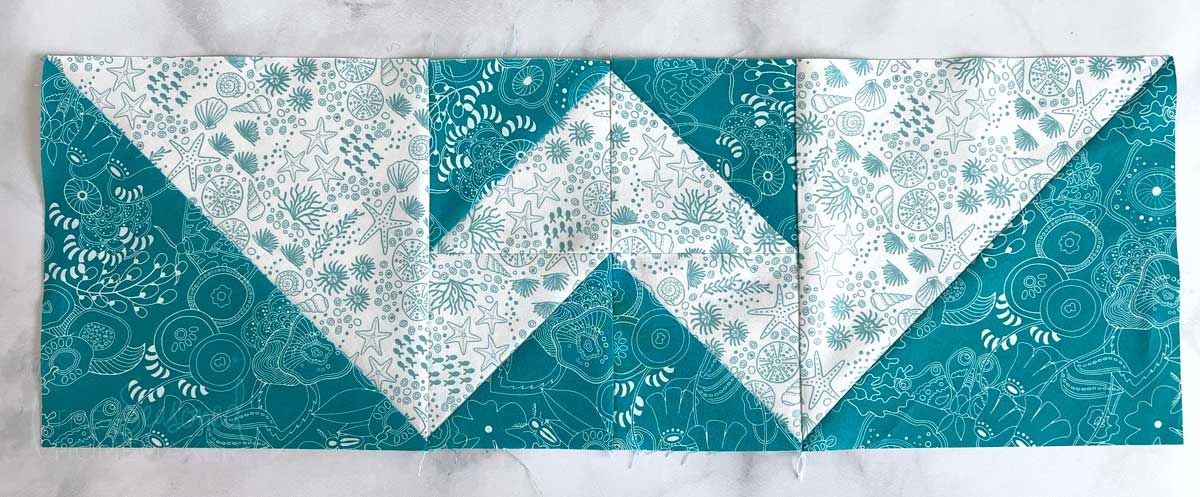
Step 6: Making the Rows
Row 1:
- Take (1) 8.5″ HST with the light fabric pointing toward the inside of the block and (1) Flying Geese C block. Sew right sides together. Note: Make sure Flying Geese C is pointing toward center block.
- Take (1) 8.5” HST with the light fabric pointing toward the inside of the block and sew right sides together to Flying Geese C.
- Press all seams on same direction
- This makes Row 1. Set aside.
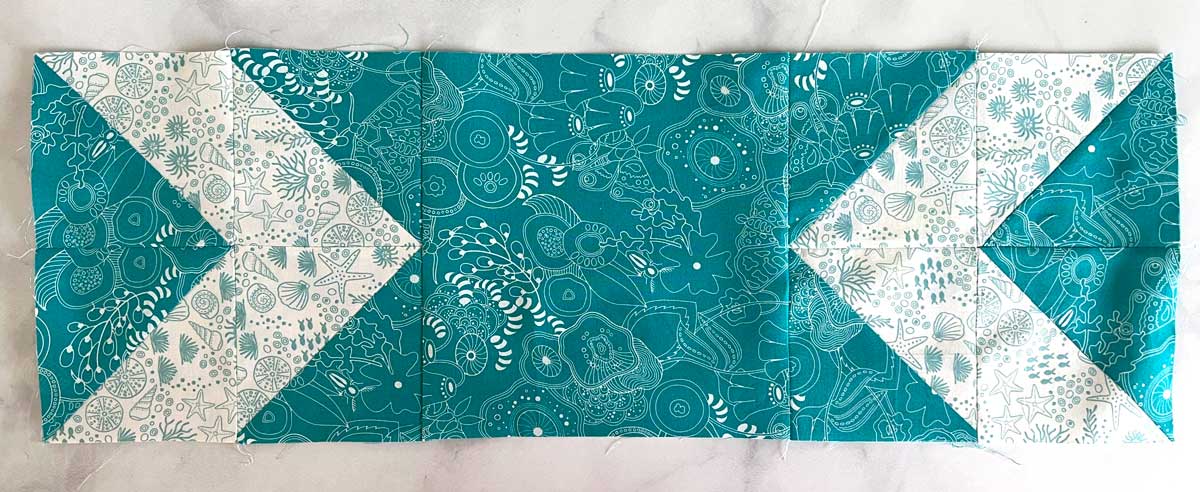
Row 2:
- Take (1) Flying Geese C and (1) 8.5″ square of dark fabric. Sew right sides together. Note: Make sure Flying Geese C is pointing toward center block.
- Take (1) Flying Geese C and sew right sides together on the other side of the 8.5″ square of dark fabric. Note: Make sure Flying Geese C is pointing toward center block.
- Press in the opposite direction of Row 1
- This makes Row 2. Set aside.
Row 3:
- Take (1) 8.5″ HST with the light fabric toward the inside of the block and (1) Flying Geese C block. Sew right sides together. Note: Make sure Flying Geese C is pointing toward center block.
- Take (1) 8.5” HST with the light fabric facing toward the inside of the block and sew right sides together.
- Press all seams in same direction.
- Sew and press.
- This makes Row 3. Set aside.
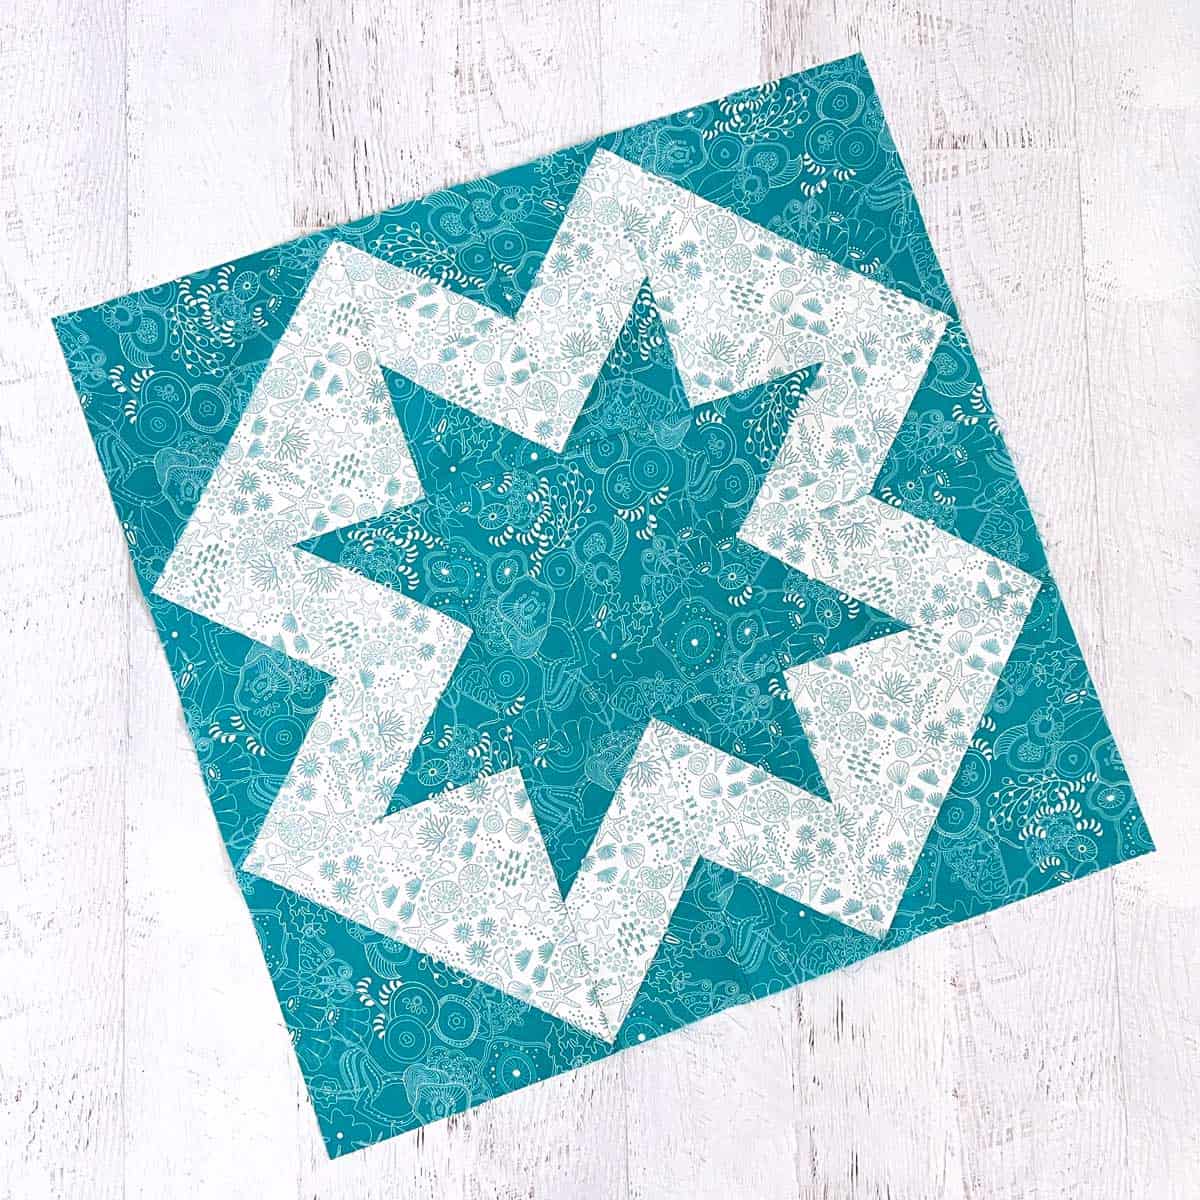
Step 7: Attaching the Rows
- Take Row 1 and Row 2 and place them right sides together. Be sure to nest seams.
- Attach Row 3 right sides together. Be sure to nest seams.
- Press seams toward center row.
Step 8: Finishing the Mini Quilt
When quilting smaller projects such as this one I prefer to use fusible batting because it eliminates pinning.
- Cut (1) piece of backing 30″ x 30″.
- Make a quilt sandwich by laying the quilt back fabric right side down. Next, place a piece of fusible batting on top. Then place the quilt top wrong side down on top of the batting.
- Press all over the quilt sandwich with a hot, dry iron for 10 seconds to set the fusible batting.
- Quilt in your favorite style. This can be as simple as you want with straight line quilting, an all-over meander, or a diagonal grid spaced 1″ apart.
- Square up your mini quilt to 24″ x 24″. Be sure to not cut off your points!
Binding the Quilt
The final step is to bind your quilt. If you’re new to quilting, check out my tutorial below. There is also a quick video within the post that shows the process. Click here for a tutorial on How to Machine Bind a Quilt
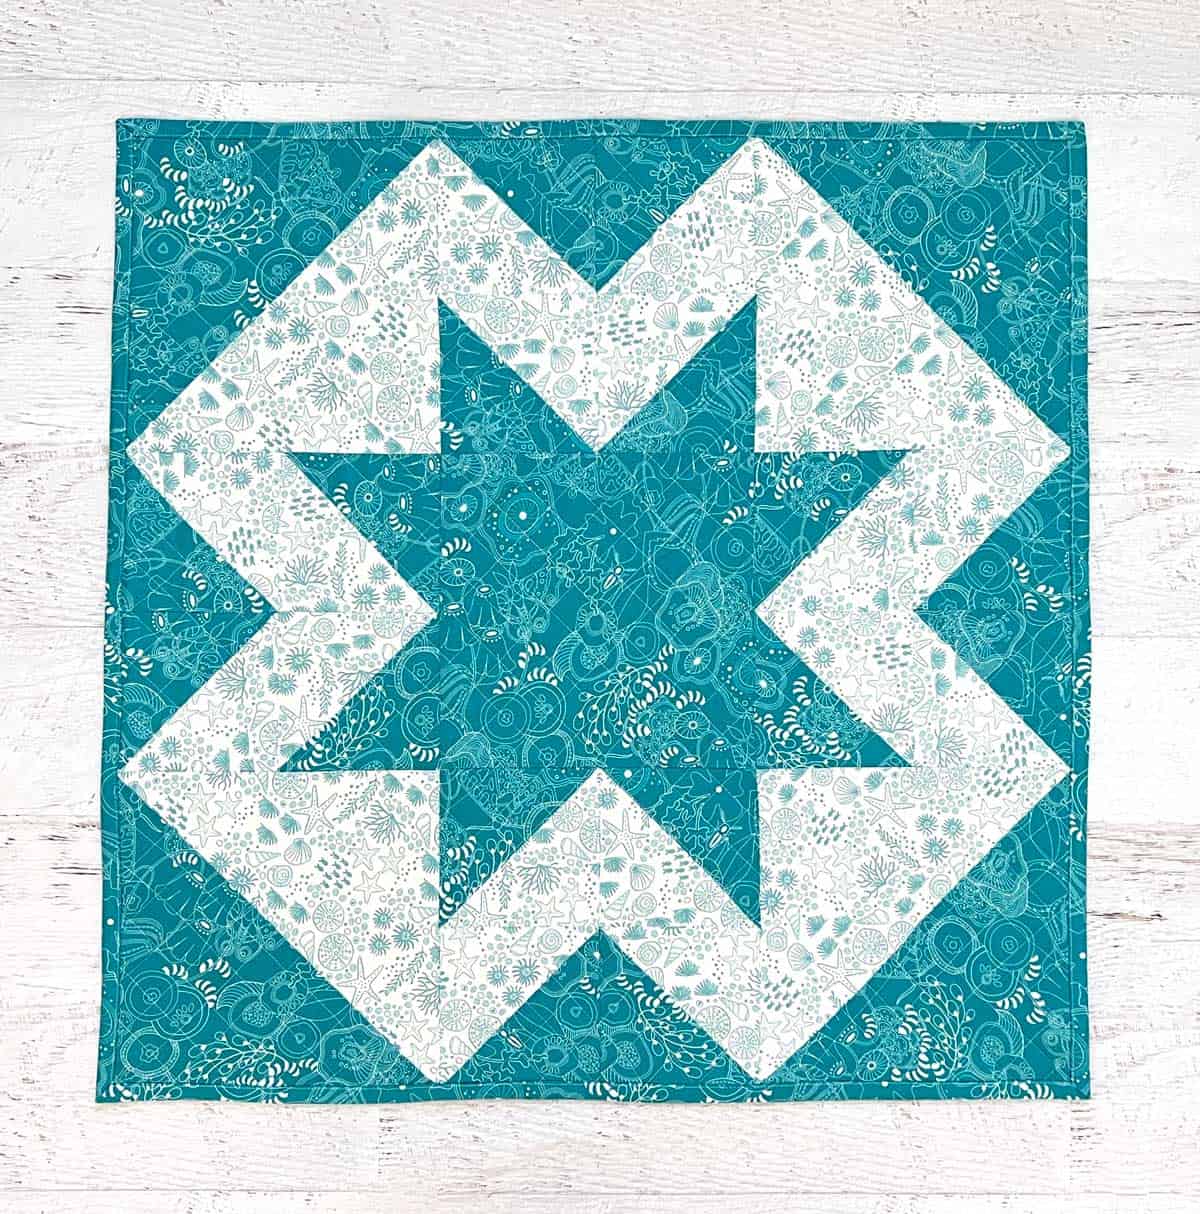
Wasn’t that easy? Once finished, your mini quilt will be 24″ x 24″ – the perfect size for a table topper or wall hanging. Now, display your Star Flower Mini Quilt and enjoy!
Get the Printable Post
Want an ad-free, printable version of this post? Click the button below and download the Printable PDF tutorial.