

How to Make a Perfect Ribbon Star Quilt Block
This post may contain affiliate links which won’t change your price but will share a commission.
Inside: How to Make a Perfect Ribbon Star Quilt Block
The Ribbon Star Quilt Block is a very basic block that’s ideal for beginning quilters. At its core, it’s only a 4-patch block that uses half-square triangles.
There isn’t a lot of historical information on this block, but it’s name is derived from the v-shaped corners that resemble the cut ends of a ribbon.
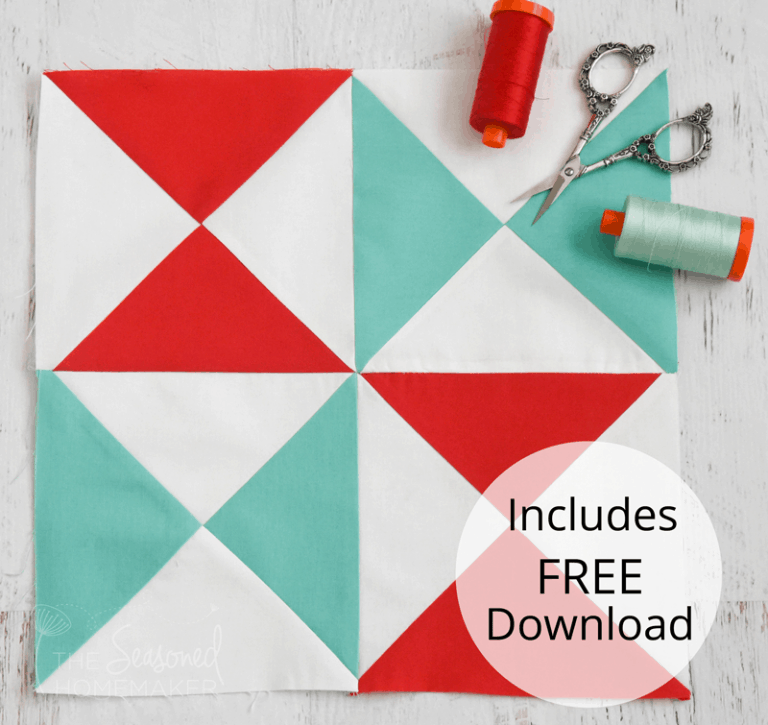
No matter how it got its name, I know you’re going to love how easy this quilt block is to make. And be sure to grab the FREE PDF instructions below.
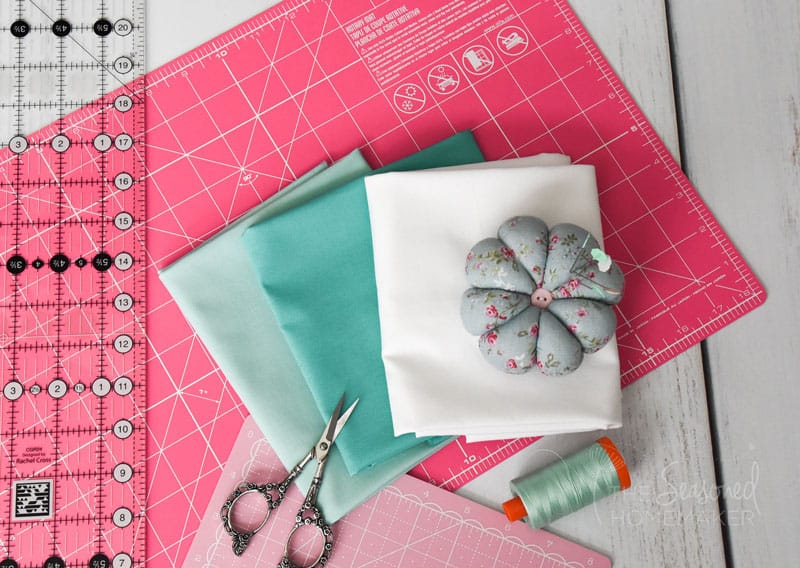
Ribbon Star Quilt Block Supplies
Materials List
This block is so economical. I used fat quarters that were in my stash. As long as you choose fabrics that have a contrast, anything will work.
- Solid Fabric #1 (Light Teal)
- Solid Fabric #2 (Dark Teal)
- White Fabric (Kona White #1387)
Basic Sewing Supplies Needed
- Sewing Machine
- Its nice to use a 1/4″ sewing foot to help maintain a perfect seam allowance
- Cotton Thread
- I love using Aurifil 50 wt. thread
- Sewing Pins
- Rotary Cutter with sharp blade
- Acrylic Ruler
- Rotary Cutting Mat
- Iron & Ironing Board
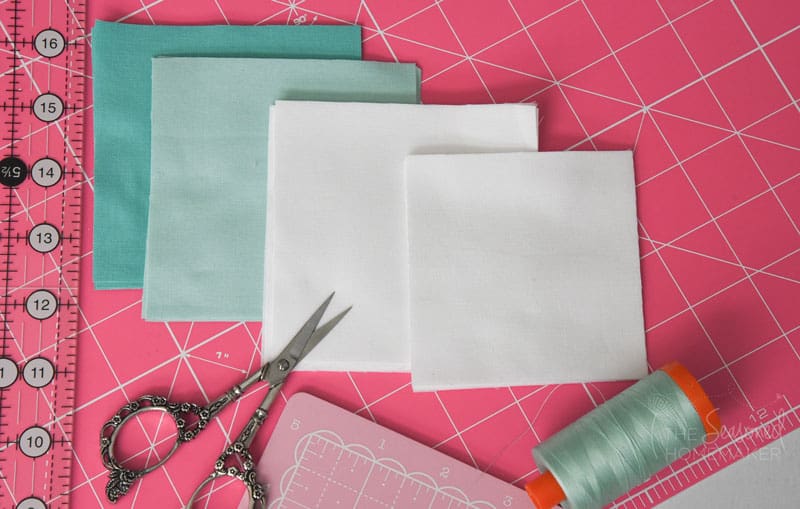
Cutting and Marking
- Qty (3) 4″ x 4″ Dark Teal
- Qty (3) 4″ x 4″ Light Teal
- Qty (6) 4″ x 4″ White
- Qty (4) 3 1/2″ x 3 1/2″ White
Get a FREE PDF Download
Click the pink button below to get a FREE downloadable PDF that includes the Ribbon Star Assembly Diagram with HST’s 2-at-a-Time.
RIBBON STAR QUILT BLOCK TUTORIAL
Step 1: Cutting Out
Iron your fabrics nice and flat to remove any and all wrinkles. Use your cutting measurements above to get your pieces cut out and in order.
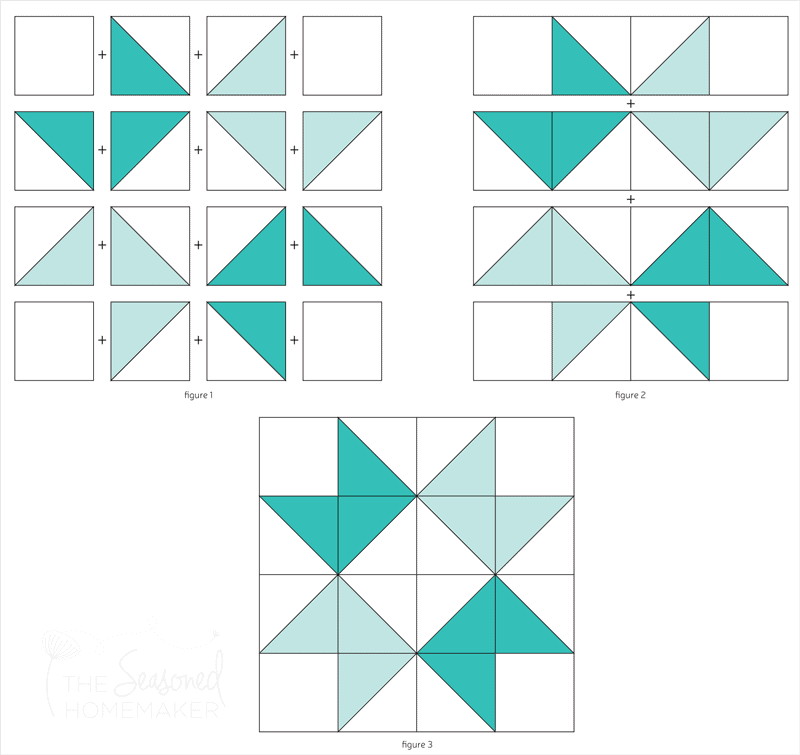
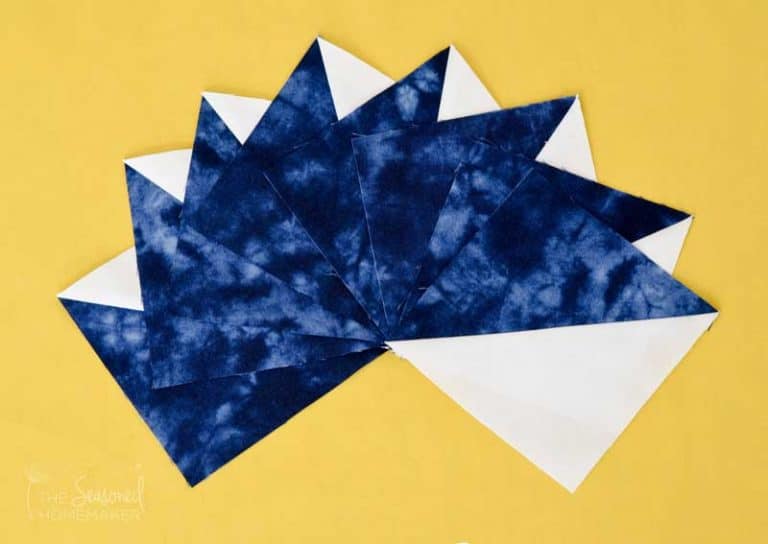
Step 2: Make Half Square Triangles (HST) 2-at-a-Time
Follow the diagram below to make four half square triangles.
- Place a light and a dark fabric square right sides together.
- Use a pencil or water soluble marker, draw a diagonal line from one corner to the opposite corner.
- On both sides of the diagonal line, stitch a scant 1/4″ seam. See How to Sew the Perfect Quilting Seam Allowance for more details.
- Using a quilter’s ruler and rotary cutter, cut along the pencil line.
- Press seams to one side, and trim the block down to 3 1/2″ using a square quilting ruler.

Step 3: Ribbon Star – Assembly
- Arrange your blocks and HSTs in correct layout (pictured below).
- Using a quarter inch seam allowance, sew together across in rows. Press seams in same direction on each row. Alternate pressing direction on each row.
- Join all rows lengthwise, using a quarter inch seam allowance. Take time to nest your seams.
- Press your completed block and trim down to 12.5″ square (if necessary).
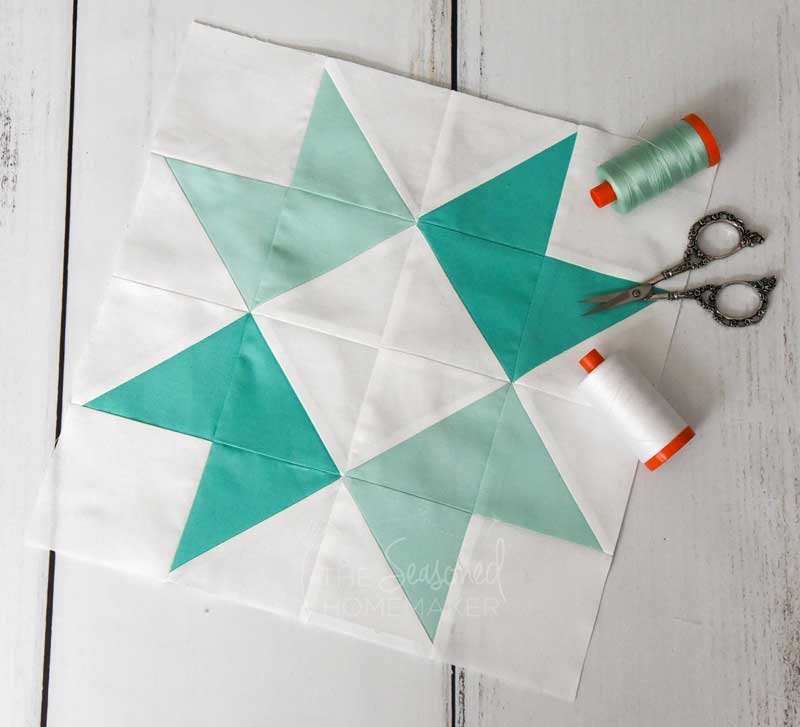
Don’t you love this the Ribbon Star Quilt Block – especially the simplicity.
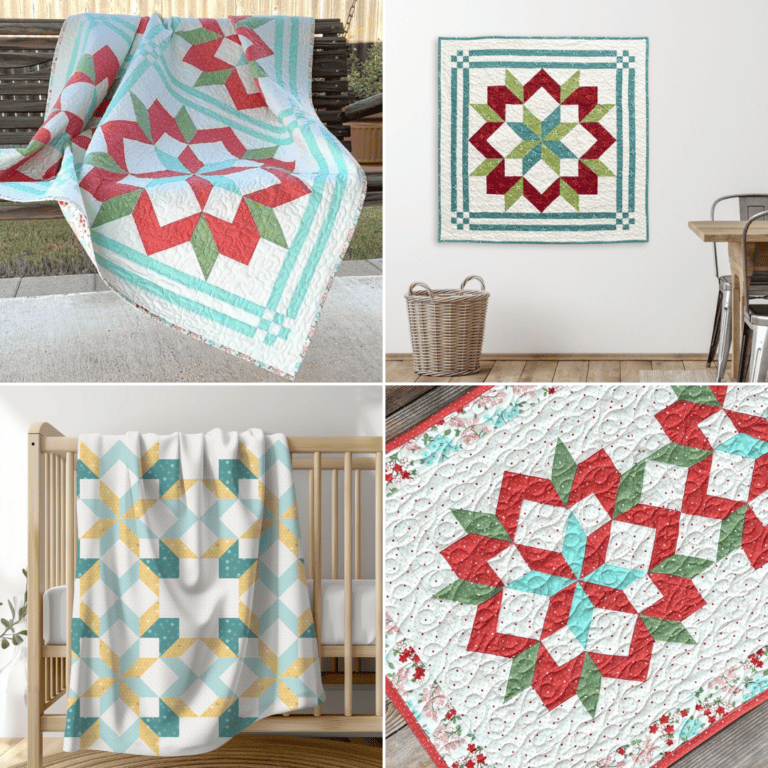
Try a different look by using small prints. Make each of the “stars” out of a different fabric from a collection. Or, try using low volume fabric for the background.
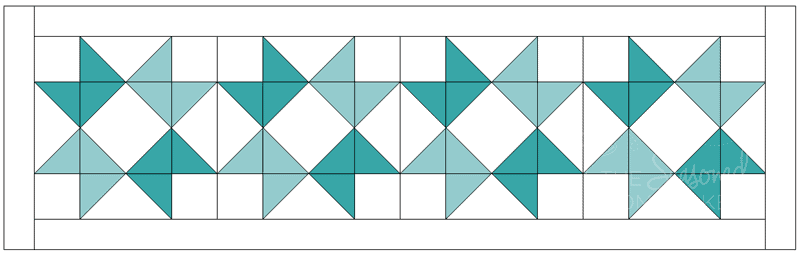
Better yet, the options for this simple quilt block are fun to imagine! You could make several more Ribbon Star blocks for an entire quilt or piece three or four together for a nice table runner.
The Ribbon Star Quilt Block is a fun and simple quilt block. I hope you make lots and lots of them.
Happy Quilting!

Thank you. I just subscribed last week and am eager to get started on the 1st “ribbon star block”.
I would like to do a block of the month in 2019 such as you did in 2018. I have just joined your website and have downloaded the ribbon star PDFs. would it be possible to include some appliqué blocks? thank you for your creative sharing. kindest regards Kate
So happy to have found your site. New Quilter and am daring to try this. so Clear I think I can muddle Through. Thank You.
So Happy to have found you Thanks so much.
Just found you! Wow! I’ve signed up to subscribe and am really looking forward to reading and sewing from your ideas. Thanks for sharing. I’m a “newbe” at this!
Thanks for the great ideas! When sewing the top row together, what do you do in the center with both of the hst’s having seams pressed towards the dark? I’m not sure what to do with that so it lays flat for the next row.
Sometimes you just have to press in the other direction to get things to lay flat. Another option is to use a wool mat and a clapper to flatten seams.