Half Square Triangles 4 at a Time + Chart
This post may contain affiliate links which won’t change your price but will share a commission.
Inside: Half Square Triangles 4 at a Time + Chart
Like many things in the quilting world there can be more than one way to make something. This is especially true with Half Square Triangles (HSTs) which are building blocks to so many quilt designs.
This tutorial will focus on making HSTs 4-at-a-Time and, unlike other HST methods, no marking is needed. It’s also a tremendous time saver when a pattern calls for a large number of HSTs.
PRO TIP: Remember, all of your HSTs will be cut on the bias edge and you need to be prepared for this or your edges may stretch out when being attached in a quilt block.

Want an ad-free, printable copy of this tutorial? Scroll to the bottom of this post for more details!
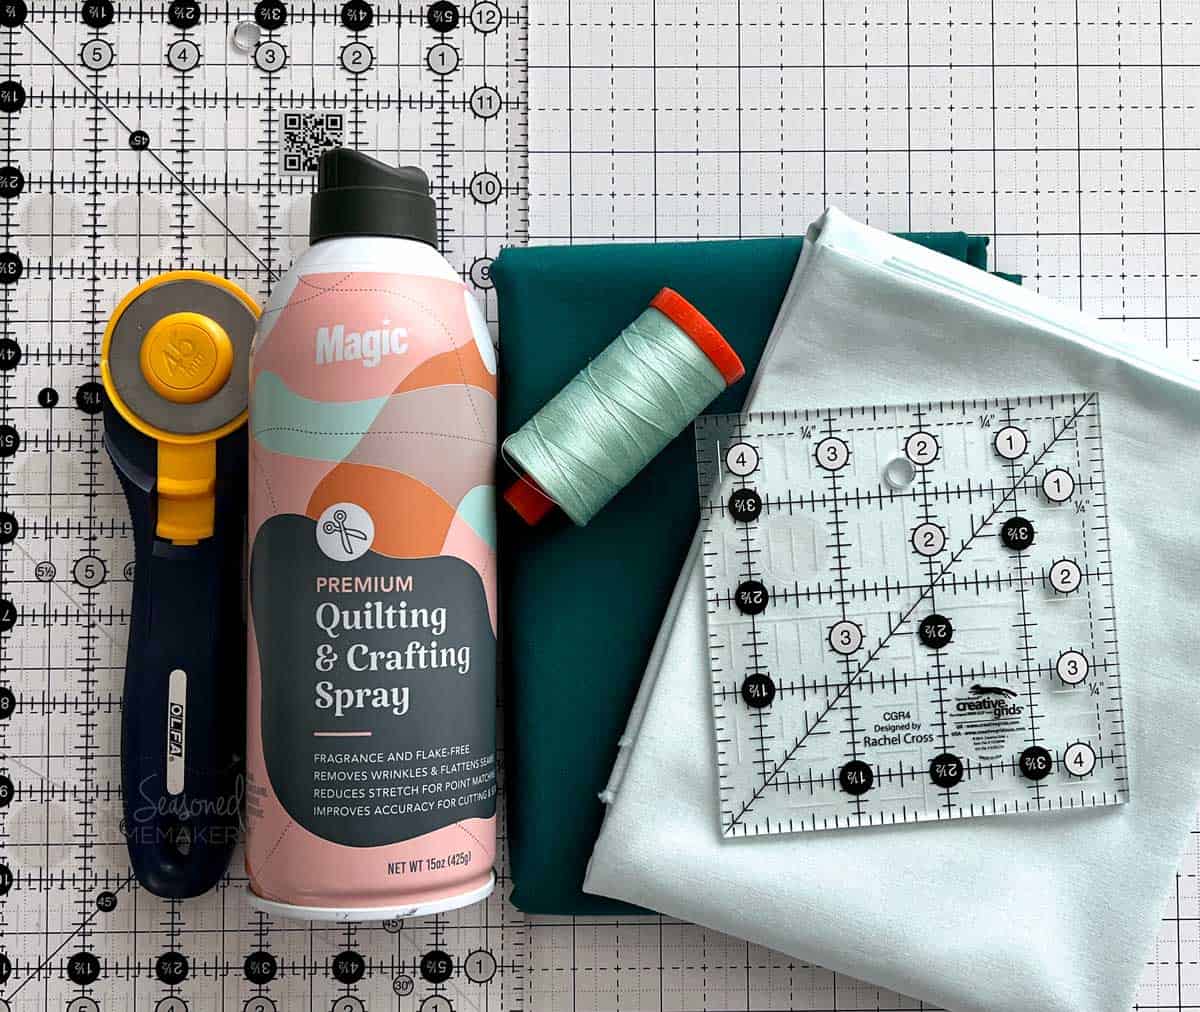
Materials + Supplies
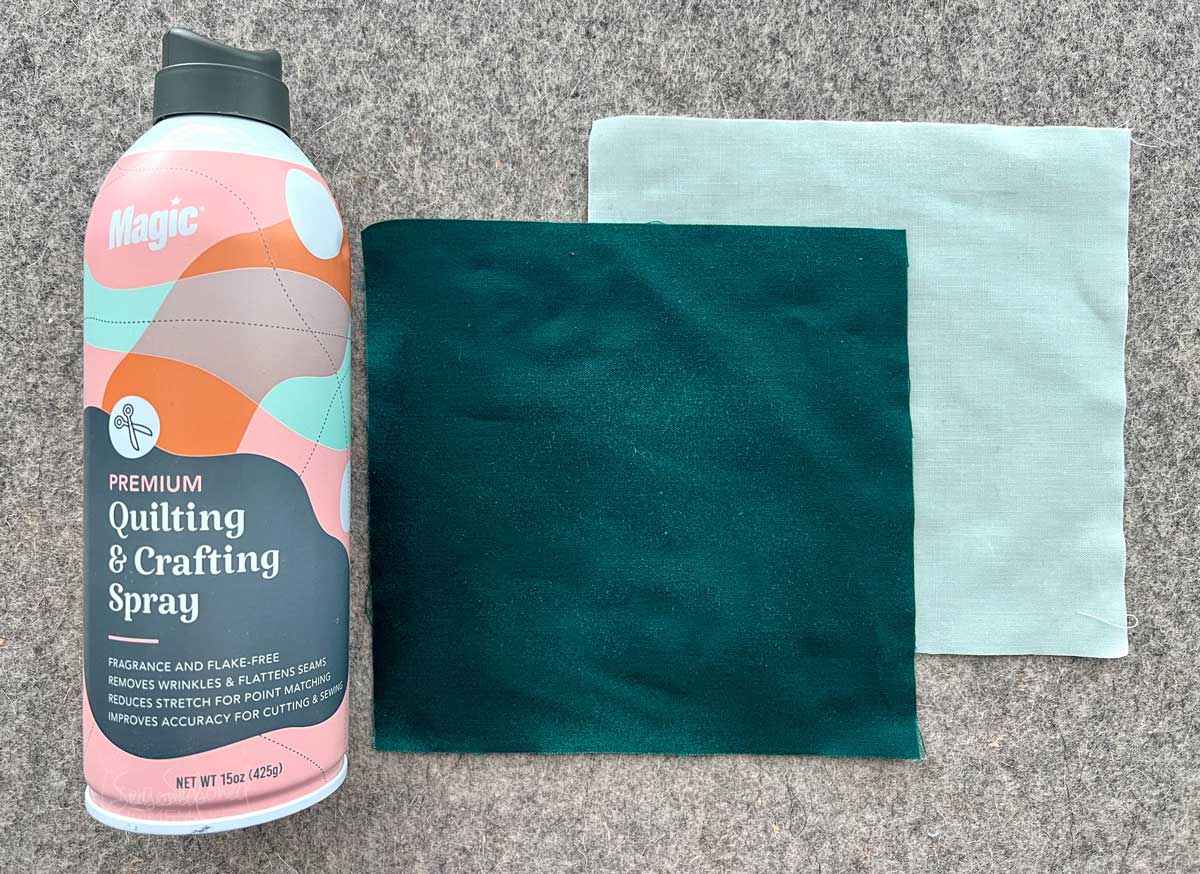
- (1) 10″ square Dark Fabric
- (1) 10″ square Light Fabric
Basic Sewing Supplies Needed
- Sewing Machine
- 1/4″ Sewing Foot
- Aurifil 50 wt. thread
- Spray Starch – my favorite brand
- Sewing Pins
- Rotary Cutter with sharp blade
- Acrylic Ruler for cutting fabric
- Creative Grids Squaring Ruler
- Rotary Cutting Mat
- Iron & Ironing Board
- Wool Pressing Mat (optional)
- Tailor’s Clapper (optional)
Step 1: Calculate the Size
Before you create HSTs 4-a-at-Time you will need to know the Starting Square Size and that requires a simple math formula. There are a few different formulas out there for the 4-at-a-Time method, but I have found this particular one to be the most accurate.
To use the formula below, you will need to know the size of the unfinished HST. For example, most quilt patterns will say something like, “make (4) 3″ HSTs.” These instructions are for (4) 3″ unfinished HSTs which will be 2.5″ finished in your quilt.
The Formula: Divide unfinished HST size by 0.64
For example, if your quilt calls for (4) unfinished 3″ HSTs the formula would look like this: 3 / 0.64 = 4.6875.
I like to round up this number a little on the generous side so I would cut my starting square at 5″, allowing for some adjusting. However, you could cut them out at 4.75″ but remember, you’ll be cutting (4) HSTs out of this square and that won’t leave much wiggle room when trimming them down to 3″.
Psst. I’ve done the math for you. See the link to the Printable Post below for more details.

Step 2: The Secret is Starch
- Do not skip this step. You MUST starch your fabrics before sewing the first stitch because when you cut out the HSTs you’ll be cutting across the bias.
- Starch before cutting Starter Squares, otherwise the starch can cause your fabric to shrink bit.
- The starch improves the accuracy of your cuts and keeps the fabric from stretching. It’s absolutely necessary for flawless HSTs 4-at-a-Time.
- I recommend you add at least two layers of starch and then let the fabric thoroughly dry before sewing.
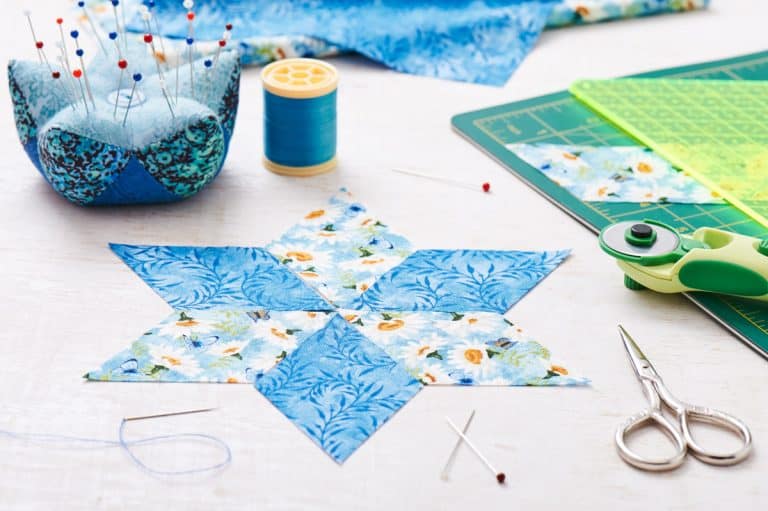
Step 3: Cut Out Squares
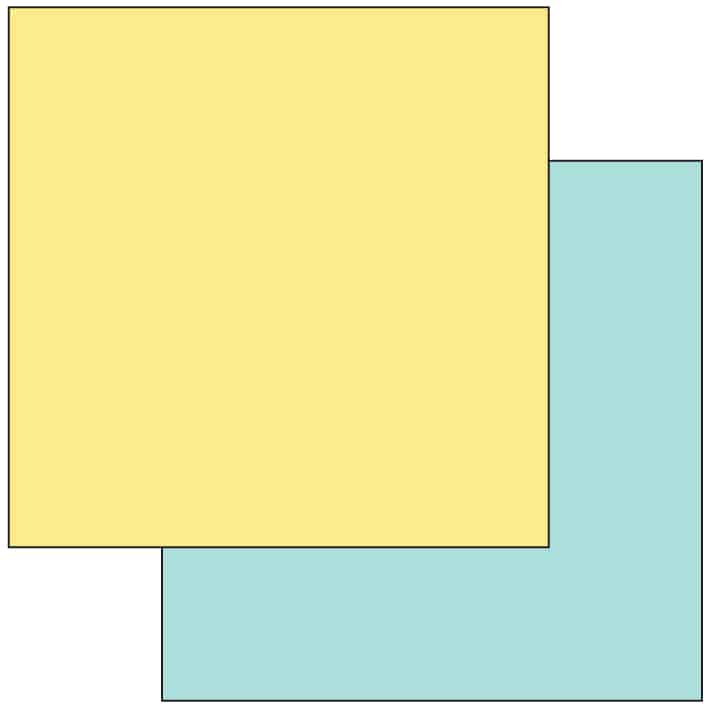
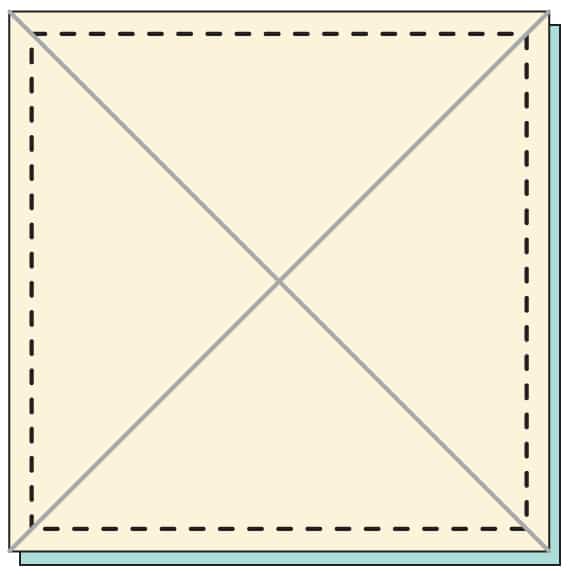
- Once you’ve determined the correct size for your starter squares, cut out a light color square and a dark color square and place them right sides together (RST).
- Pin in the center to keep the fabric from shifting.
Step 4: Stitch around the perimeter
- Using a Scant 1/4″ Seam Allowance, stitch around the perimeter.
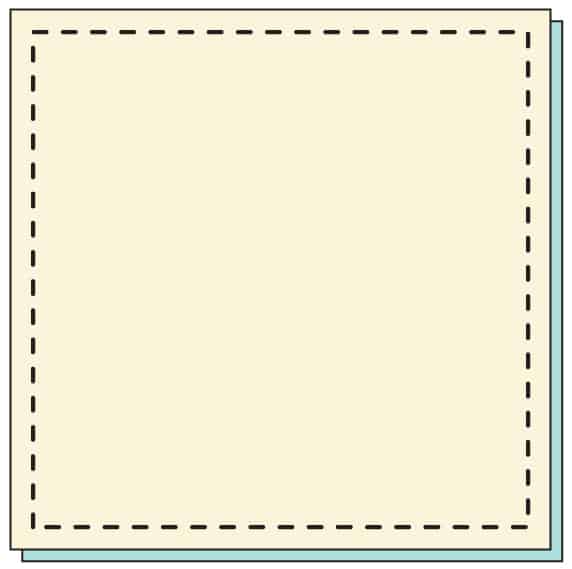
- It’s fine to sew off the corners because this helps when cutting the diagonal lines in Step 5.
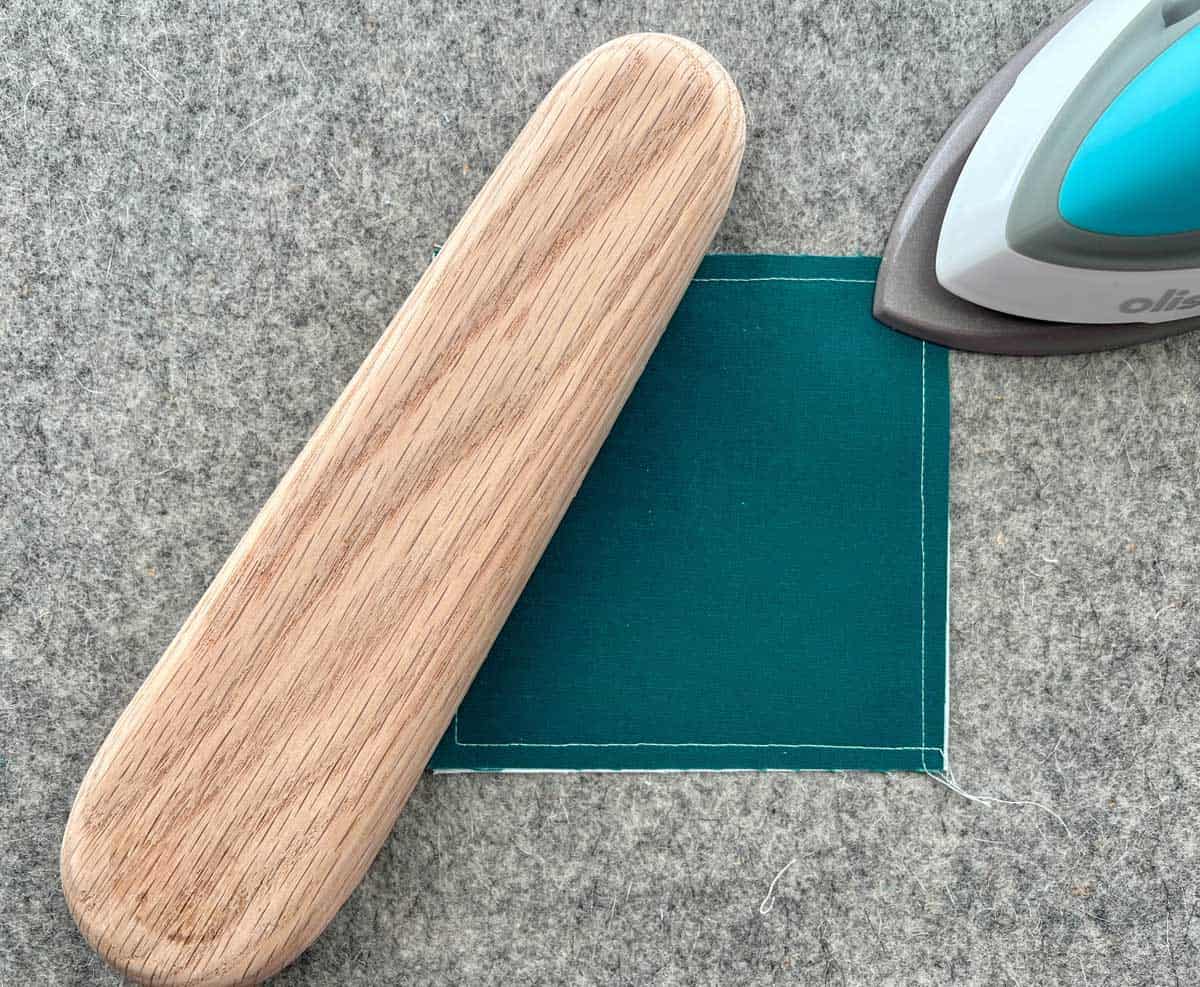
- Press to set the seams.
Pro Tip: Use a wool pressing mat and tailor’s clapper for best pressing results. This will help keep your bias cuts straight.
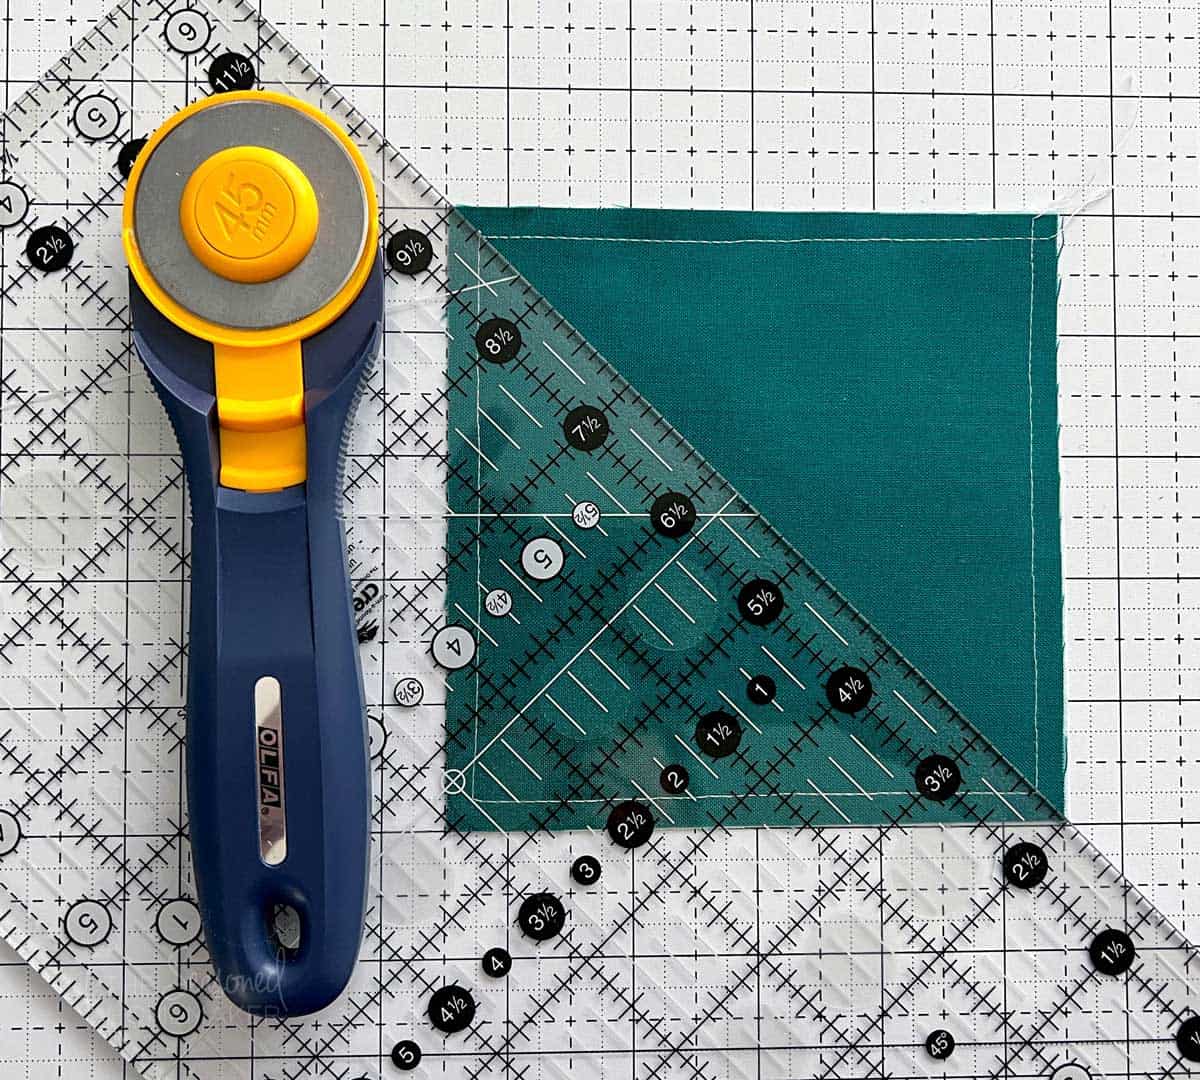
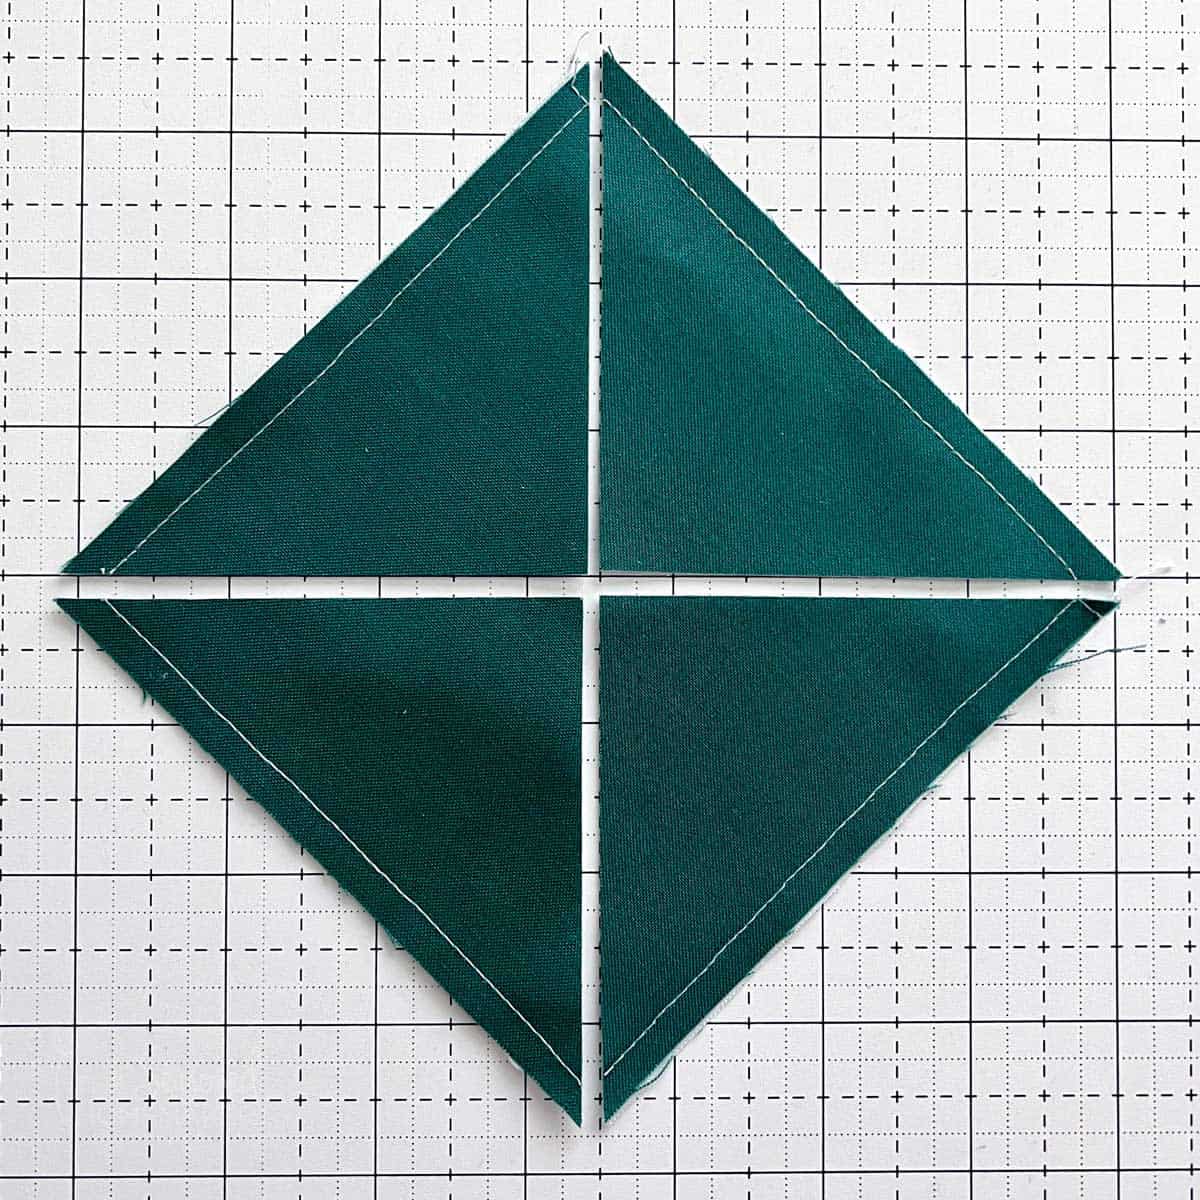
Step 5: Make Diagonal Cuts
Pro Tip: Use a Rotating Cutting Mat for best results. The mat turns and keeps your HSTs from shifting.
- Using a rotary cutter and cutting mat, make the first diagonal cut from corner to corner.
- Be sure to rotate the mat and not the fabric to make the second diagonal cut from corner to corner.
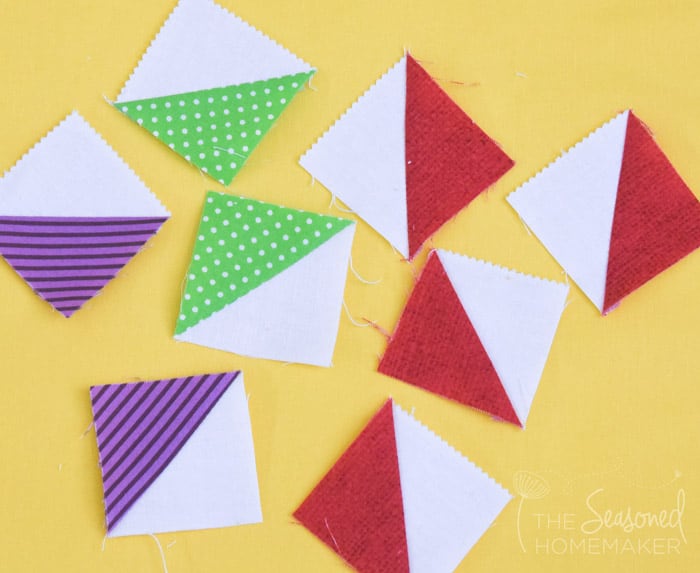
Step 6: Finishing the HSTs
- Separate the four HSTs and add another layer of starch. Allow the starch to dry.
- Press the seams toward the darker fabric (pressing to the dark side).
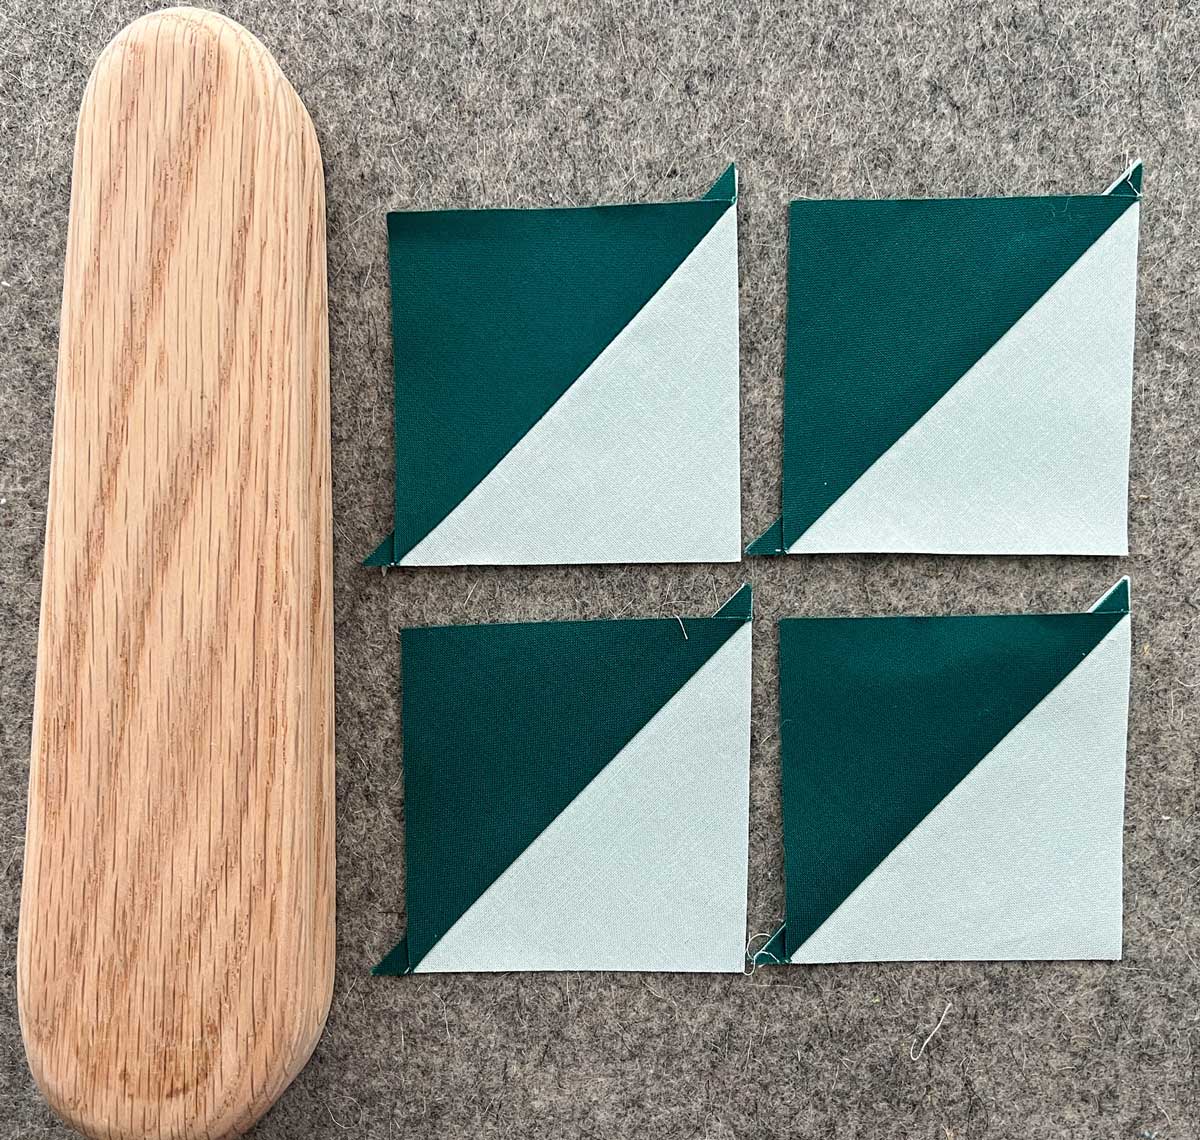
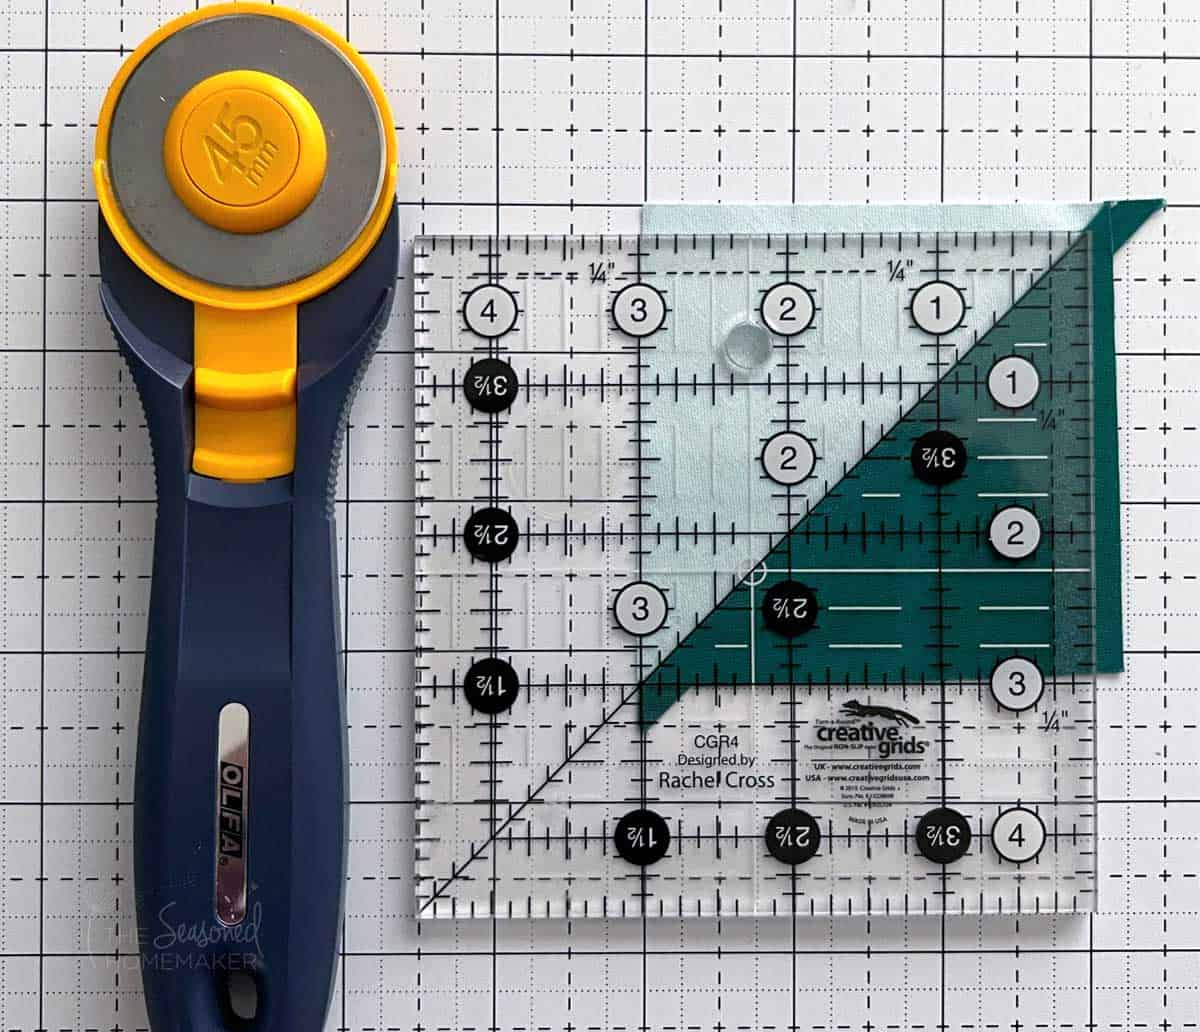
- Using a squaring ruler, trim each of the HSTs to the correct size. Be sure the diagonal line in the center of the ruler lines up with your diagonal seam.
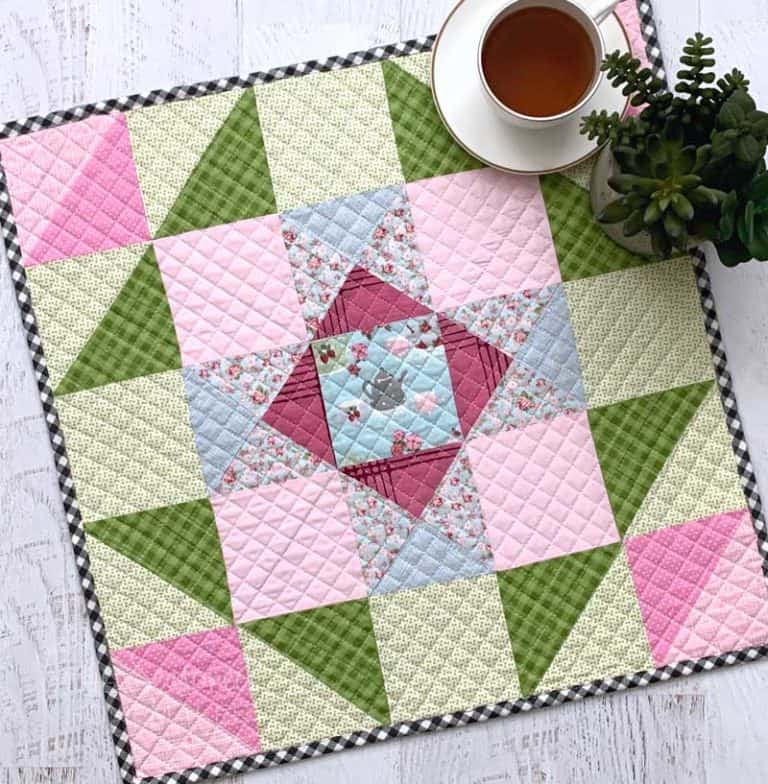
That’s all there is to it! You now have four Half Square Triangles. The design possibilities are endless!
>>> Want an ad-free, printable version of this post? Click the pink button below and download the Printable PDF instructions.
I’ve created a Printable Post for this tutorial. It includes an ad-free version of this tutorial + an assembly diagram showing the steps for making HSTs 4-at-a-Time, and a cutting chart with 10 sizes for your starter squares.