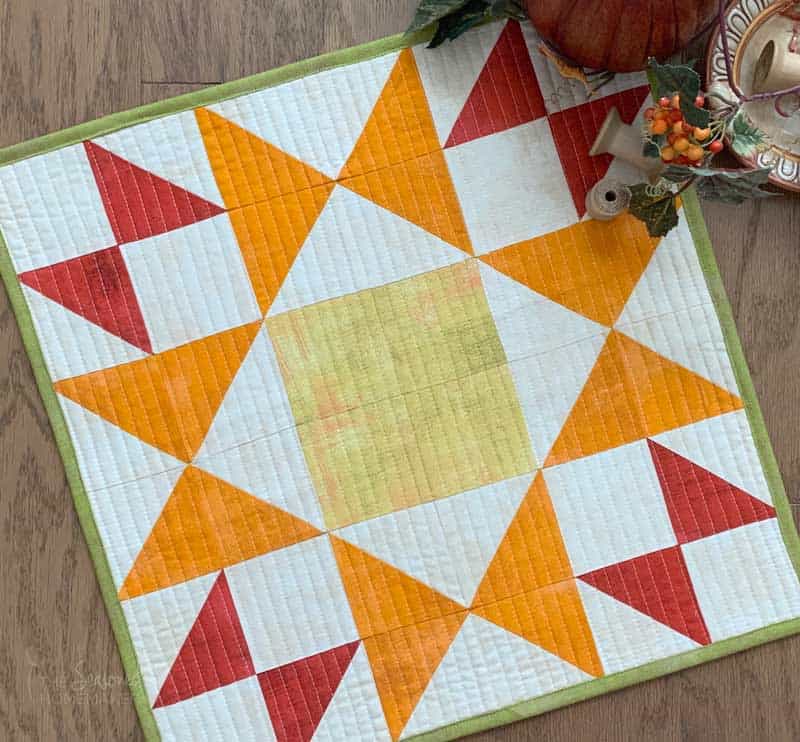
Autumn Star Mini Quilt Tutorial
This post may contain affiliate links which won’t change your price but will share a commission.
Inside: Autumn Star Mini Quilt Tutorial
Are you ready to sew something fun for the Fall? The Autumn Star Mini Quilt is the perfect project to get you ready for the seasonal change.
This project is the perfect size for a table topper or would make a nice wall hanging.
You’re going to love the simplicity of this project because it’s just squares and half square triangles.
>>> Want an ad-free, printable copy of this tutorial? Scroll to the bottom of this post for more details!
How to Make an Autumn Star Mini Quilt
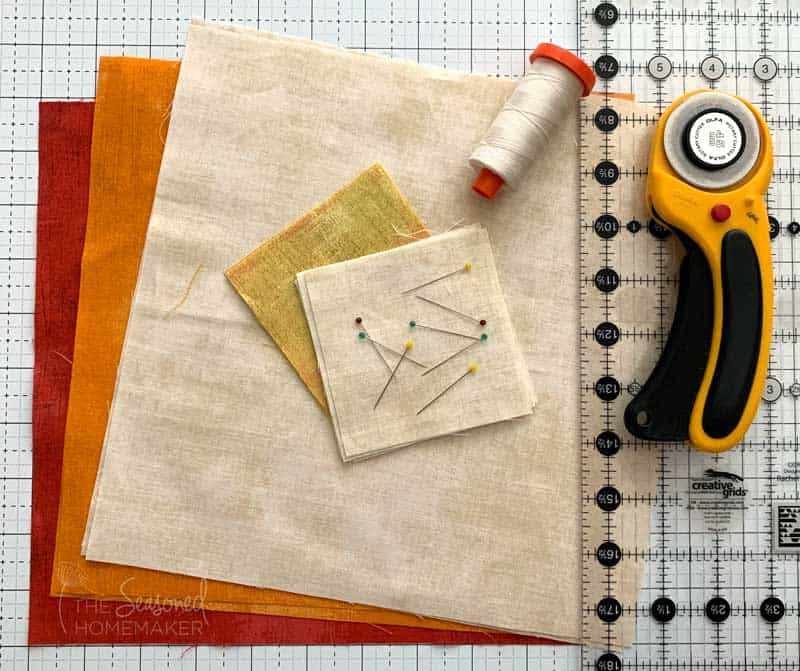
Materials
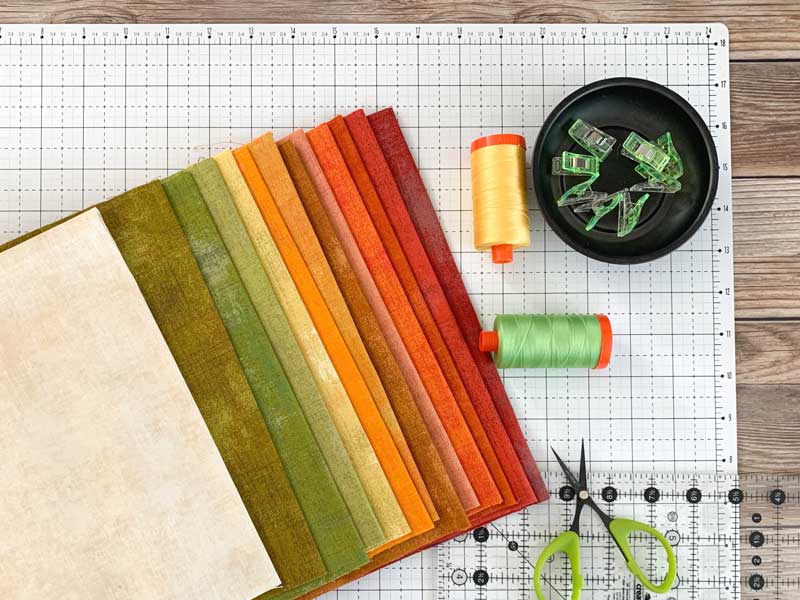
- (6) Fat Quarters Cream
- (1) Fat Quarters Red
- (2) Fat Quarters Orange
- (2) Fat Quarters Gold (or Green)
- 1/4 yd. Binding Fabric
- Quilt Backing Fabric: a scrap approximately 24” x 24”
- Fusible Batting: 24” x 24”
- Aurifil 50 wt. Cotton Thread
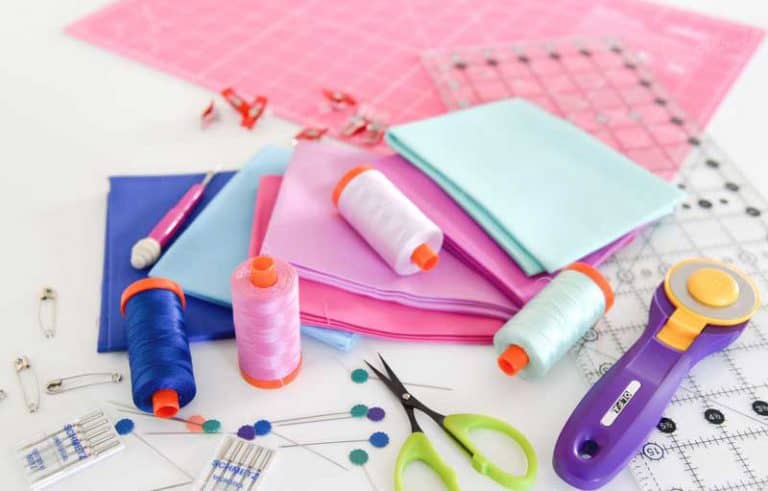
Basic Sewing Supplies Needed
- Sewing Machine
- 1/4″ Sewing Foot
- Water-Erasable Pen
- Wonder Clips or Sewing Pins
- Rotary Cutter with sharp blade
- Acrylic Ruler
- Self-Healing Rotary Cutting Mat
- Rotating Cutting Mat
- Iron & Ironing Board
- Small Square Ruler
- Wool Pressing Mat
Quilt Top Cutting Instructions
Cut (3) 10″ x 10″ Squares of Cream
Cut (1) 10″ x 10″ Square of Red
Cut (2) 10″ x 10″ Squares of Orange
Cut (4) 3.5″ x 3.5″ Squares of Gold (or Green)
Cut (8) 3.5″ x 3.5″ Squares of Cream
How to Make HSTs using the Magic 8 Method
You will need several sets of 3.5″ HSTs (half square triangles) to make this mini quilt. To simplify this process, I suggest you use the Magic 8 Method that allows you to cut 8 HSTs from two 10″ x 10″ squares.
>>>Click here to learn the Magic 8 Method for HSTs
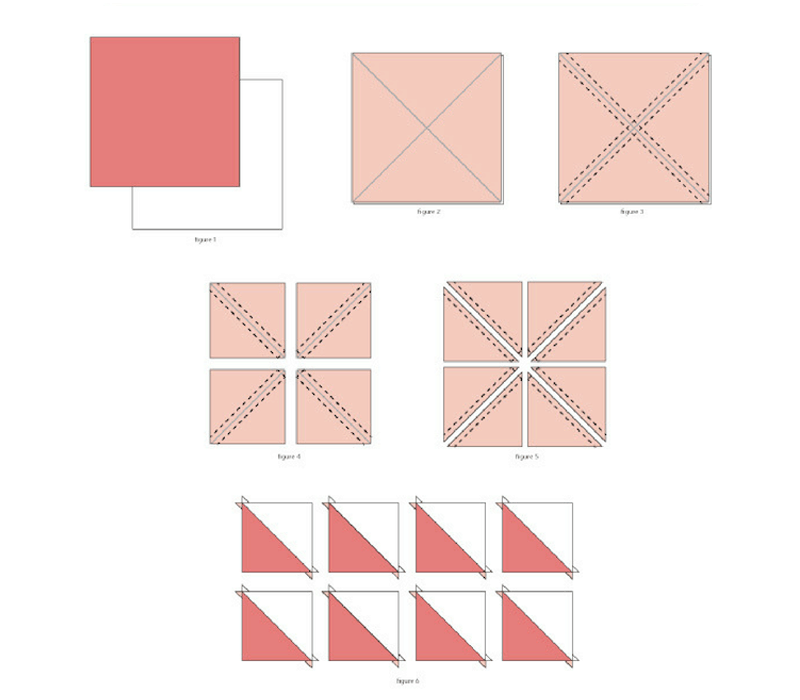
Watch the Magic 8 HSTs video below:
Step 1: Making HSTs
- Place a 10″ x 10″ piece of Cream and Red fabric right sides together. Following the instructions above, cut out 8 HSTs. Press the seam towards the darker fabric. Trim each set down to a 3.5″ square. Set aside. You should have (8) Cream/Red HSTs.
- Place a 10″ x 10″ piece of Cream and Orange fabric right sides together. Following the instructions above, cut out 8 HSTs. Press the seam towards the darker fabric. Trim each set down to a 3.5″ square. Repeat this step. You should have( 16 ) Cream/Orange HSTs.
Pro Tip: Want perfectly pressed HSTs? Use a Wool Pressing Mat when ironing your seams. The mat will make them lay much flatter.
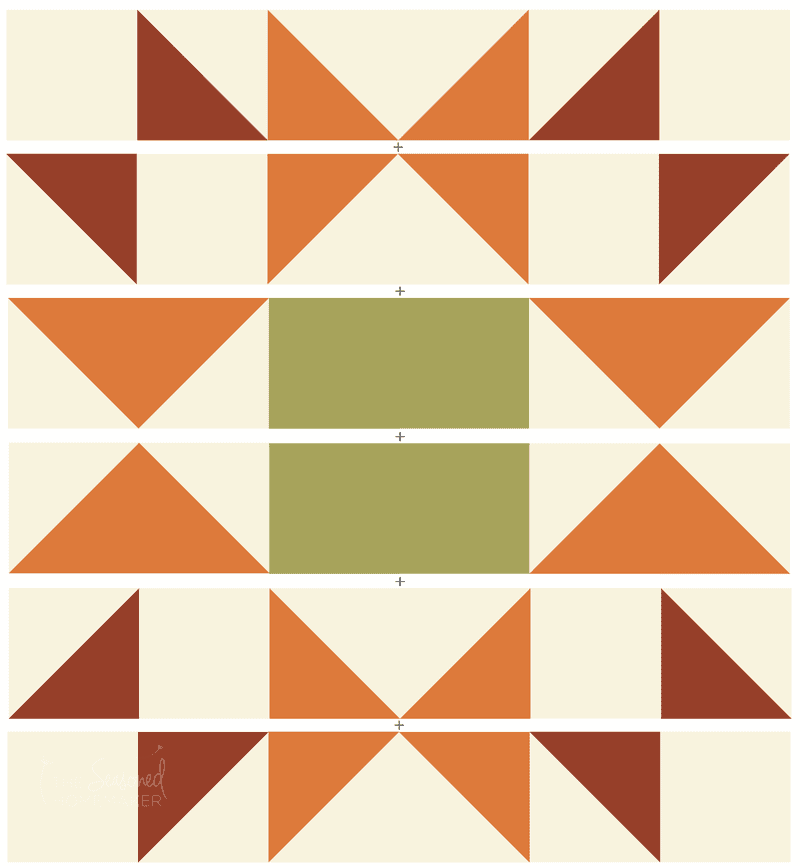
Step 2: Assembling the Rows
It’s time to assemble the quilt top – one row at a time. Use the diagram below and lay out your quilt top.
- Be sure to start at the the top row for assembling.
- Lay out the quilt top one row at a time.
- Set your stitch length to 1.5mm – 2mm.
- Use a scant 1/4″ seam allowance and stitch the squares together in the order shown below.
- Once a row is complete, press all of the seams in one direction, alternating the direction every other row. Use a wool pressing mat if available.
Note: I’ve used a Gold colored fabric in place of the Green in the diagram.

Step 3: Assembling the Quilt Top
- Layout each of the rows in the order according to the diagram below.
- Set your stitch length to 1.5mm to allow for pressing the seams open.
- When placing rows together, be sure to nest the seams. This will insure your points match.
- Use a scant 1/4″ seam allowance and stitch the rows together in the order shown below.
- Once a row is complete, press all of the seams open. Use a wool pressing mat if available.
- Spray starch the top of your quilt (if desired) and press one more time.
Step 4: Quilting & Squaring
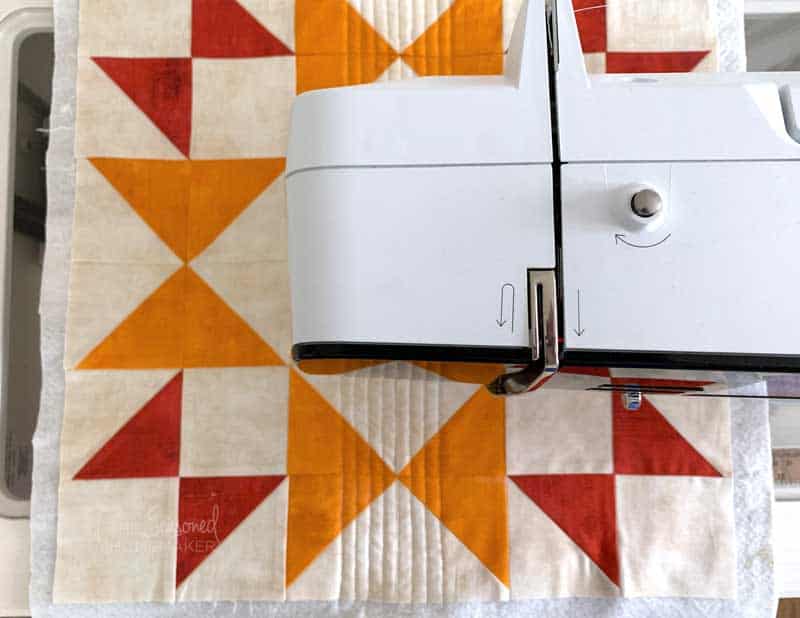
- Make a quilt sandwich by laying the quilt back fabric right side down. Next, place a piece of 2-sided fusible batting on top. Then place the quilt top wrong side down on top of the batting.
- Press the quilt sandwich with a hot, dry iron for 10 seconds to set the fusible batting.
- Pro Tip: Use a Cricut EasyPress 2 set at 305° for 10 seconds.
- Quilt in your favorite style. This can be as simple as you want with straight line quilting or an all-over meander. For my sample quilt, I used a 3mm straight stitch and quilted 1/2″ apart.
Since this is a mini-quilt, it’s a good opportunity to try something fun. Note: If doing a grid, I recommend using an Open Toe foot with a guide.
Step 5: Finishing the Quilt
(Optional Step) At this point you may want to consider adding optional hanging corners to the back of your quilt.
If you’re making a wall hanging, I recommend adding hanging corners on the back. This allows you to slip in a small dowel for hanging.
To do this, fold two 3” fabric squares right sides together in half to form two triangles. With raw edges matching, pin the triangles to the top left and top right corners. Using a 1/8” seam allowance, stitch to hold in place until binding is added.
The final step is to bind your quilt. If you’re new to quilting, check out my tutorial below. There is also a quick video within the post that shows the process.
>>>Click here for a tutorial on How to Machine Bind a Quilt
Once finished, your mini quilt will be 20″ x 20″ – the perfect size for a table topper or wall hanging.
Wasn’t that easy. Now, set your Autumn Mini Quilt in the middle of your table and enjoy!
Want an ad-free, printable copy of this tutorial? Click the pink button for more details!

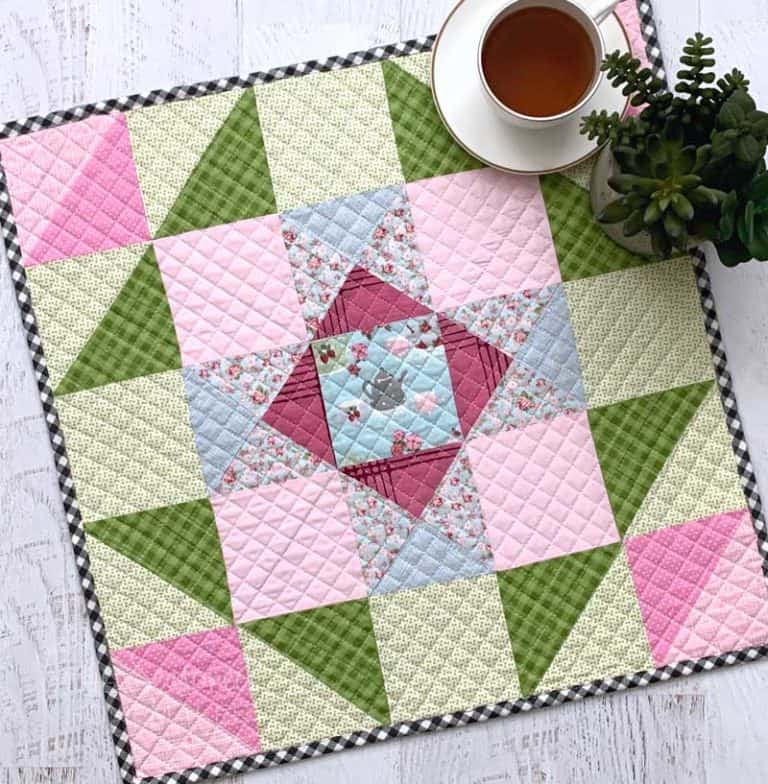
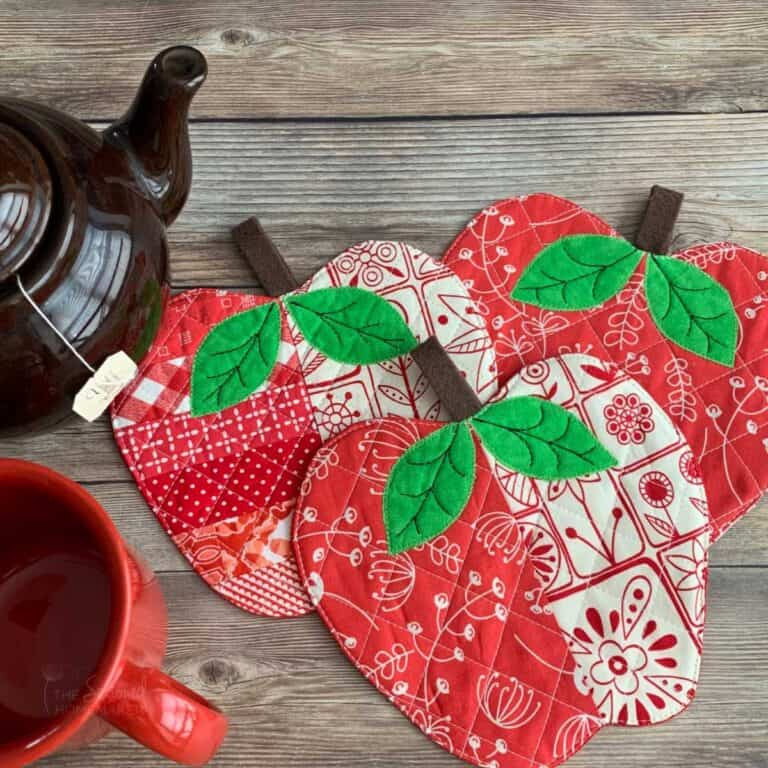
See a few of my favorite table toppers and table runners
Southwestern Cactus Wall Hanging