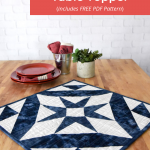
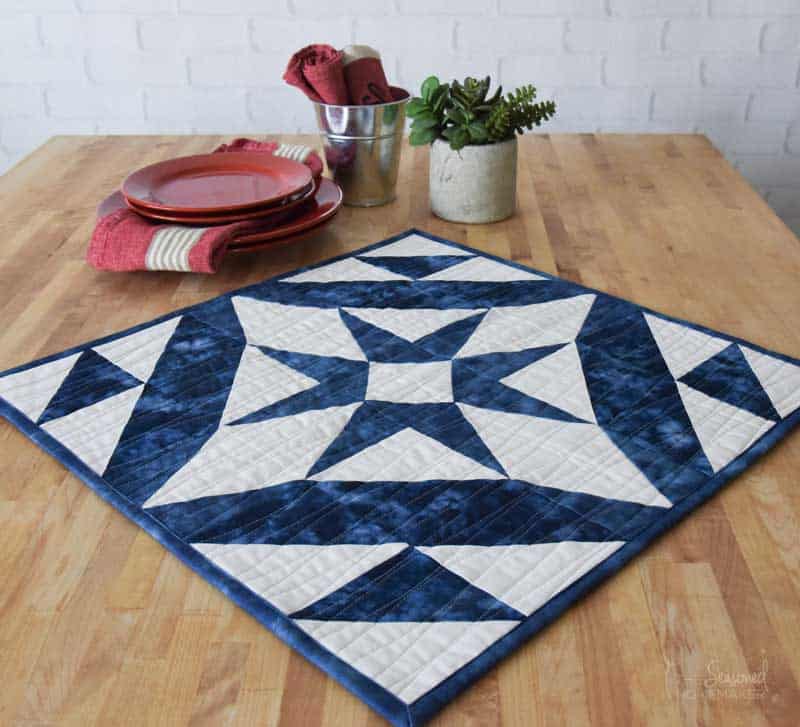
Are you ready to finish your Midnight Star Table Topper?
If you’ve been following along then you will have all of your blocks ready to assemble.
And I’ve included two ways to finish the quilt.
One way to finish is without batting. This kind of finish is sometimes called a knife edge finish and using this method makes it a summer quilt because there is no batting.
For those who like a more traditional quilt with batting and binding, I’ve also included details on how to finish with this method.
Putting the Quilt Together
Materials:
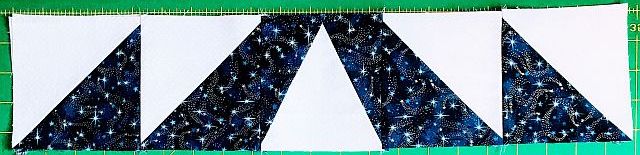
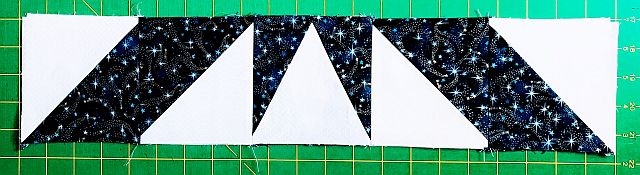
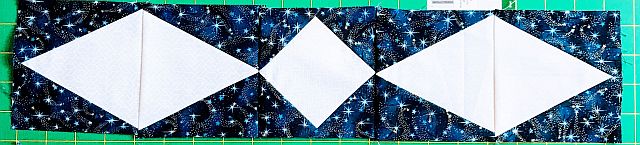
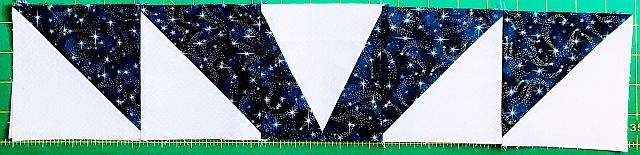
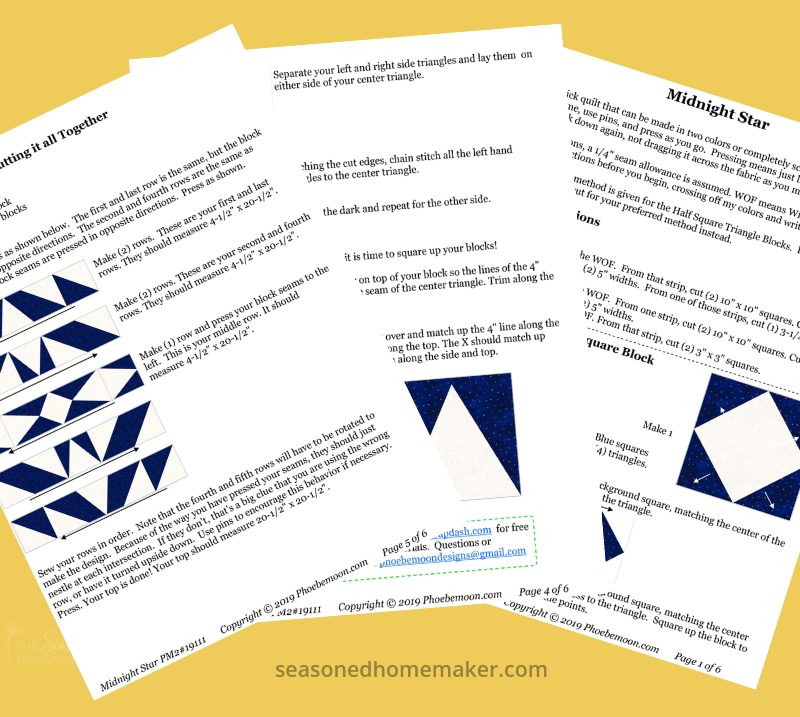
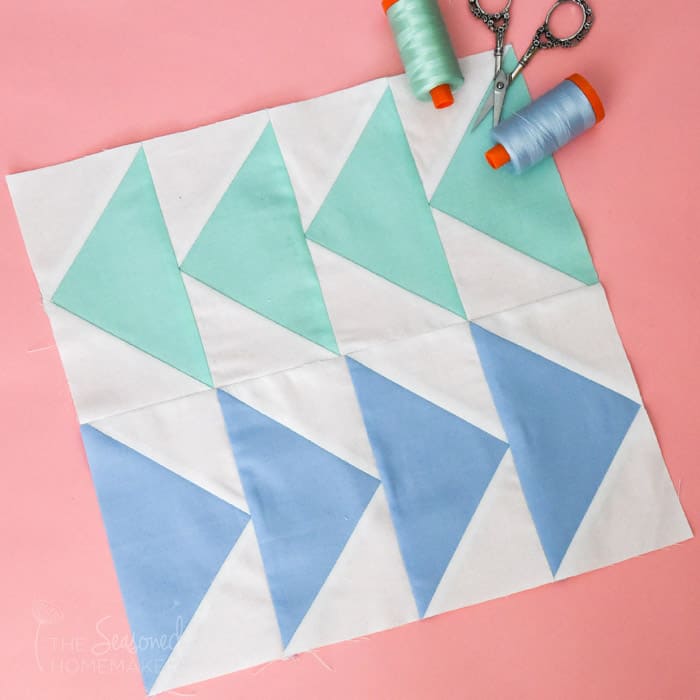
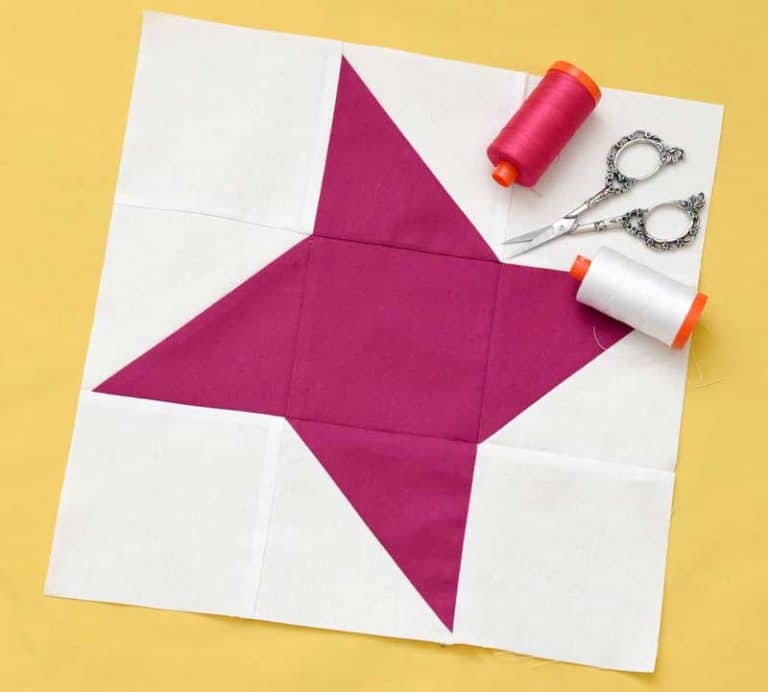
This tutorial requires that you make three different types of blocks. Below are links to the tutorials that show you exactly how to master these three blocks. I’ve also listed the exact number of these blocks needed for this tutorial.
Sew your blocks in rows as shown below. The first and last row are sewn identically, but the seams are pressed in opposite directions. Note: All of the row assembly diagrams are in the FREE Midnight Star Table Topper Pattern. The link for the pattern is at the bottom of this post.
Press all the top row seams to the left, the second row seams to the right, and the third row seams to the left, the fourth row seams to the right, and the fifth row seams to the left.
Press the block seams of the first row to the left. (<—)
Press the block seams of the second row to the right. (—>)
Press the block seams of the third row to the left. (<—)
Press the block seams of the fourth row to the right. (—>)
Press the block seams of the fifth (and final) row to the left. (<—)
Sew your rows in order. Note that the fourth row will have to be rotated to make the design. Because of the way you have pressed your seams, they should nest at each intersection. Note: The above diagram is not the assembly diagram, please refer to the PDF pattern available below for actual assembly instructions).
If your seams don’t nest, that’s a big clue that you are using the wrong row, or have it turned upside down.
Use pins or Wonder Clips to hold the rows together as you attach them one at a time. Press.
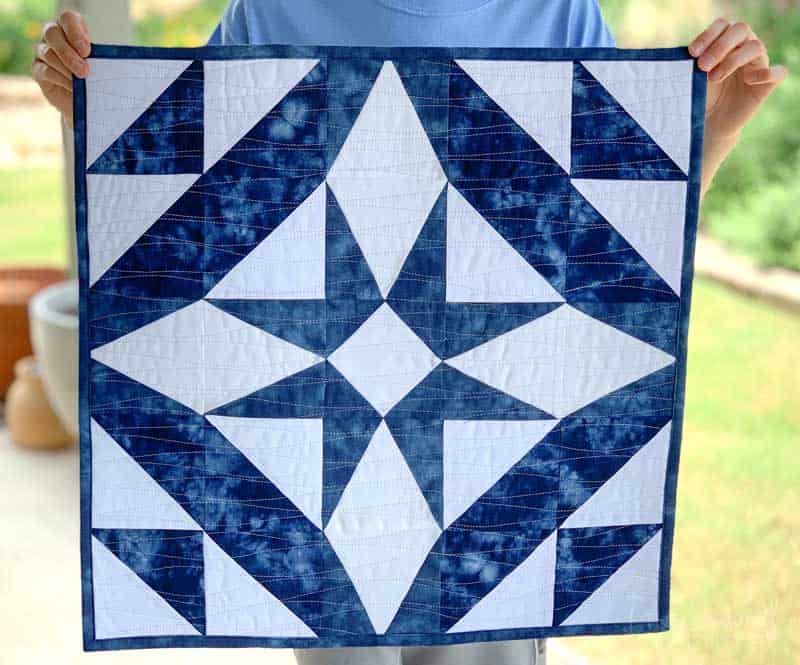
Your quilt top is done and should measure 20-1/2″ x 20-1/2″.
Finishing the Quilt
Finish #1 – The Knife Edge Finish
This method is a great finish for a quilted item that does not need batting, like a table topper or wallhanging. You could also use batting that is very thin, like a piece of flannel. This method is sometimes called the “Pillowcase Method.”
This quilt top finished size is 20-1/2″ x 20-1/2″.
Step 1.
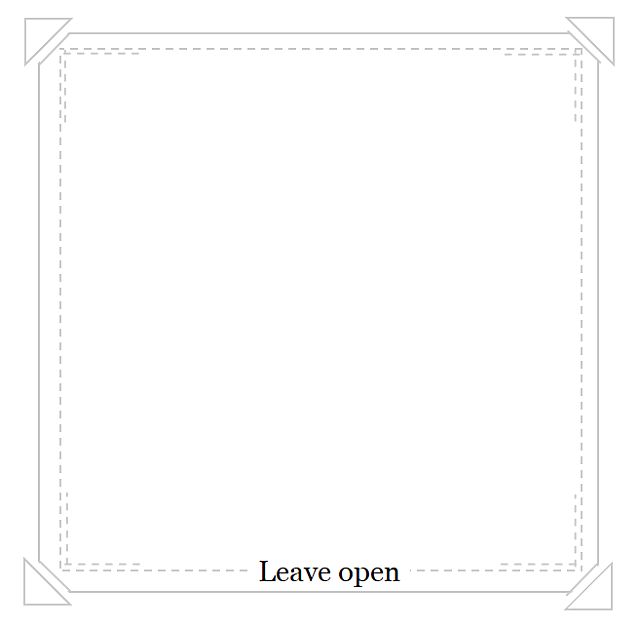
Cut a 20-1/2″ x 20-1/2″ piece of fabric for the backing and pin it right sides together to the quilt top.
Using a 1/4″ seam, sew all the way around the outside of the block, leaving a 2″ section open. Backstitch at each corner.
Backstitch the corners to reduce bulk when you turn this inside out.
Pro Tip: Use a walking foot if you have one. Your feed dogs will try to pull the bottom fabric through the machine slightly faster than the fabric on top. A walking foot will prevent this. If you don’t have one, pin carefully and ease to fit.
Step 2:
Clip the corners of the packet. This will help reduce bulk when you turn it inside out.
Step 3:
Turn the packet inside out and gently push the inside corners out using a tool like a chopstick. Turn the seams of the open side of the packet in, pin in place, and press. Take care not to roll the backing to the front—this is a crisp edge.
Step 4:
Hand sew or machine stitch the opening. Your quilt is done!
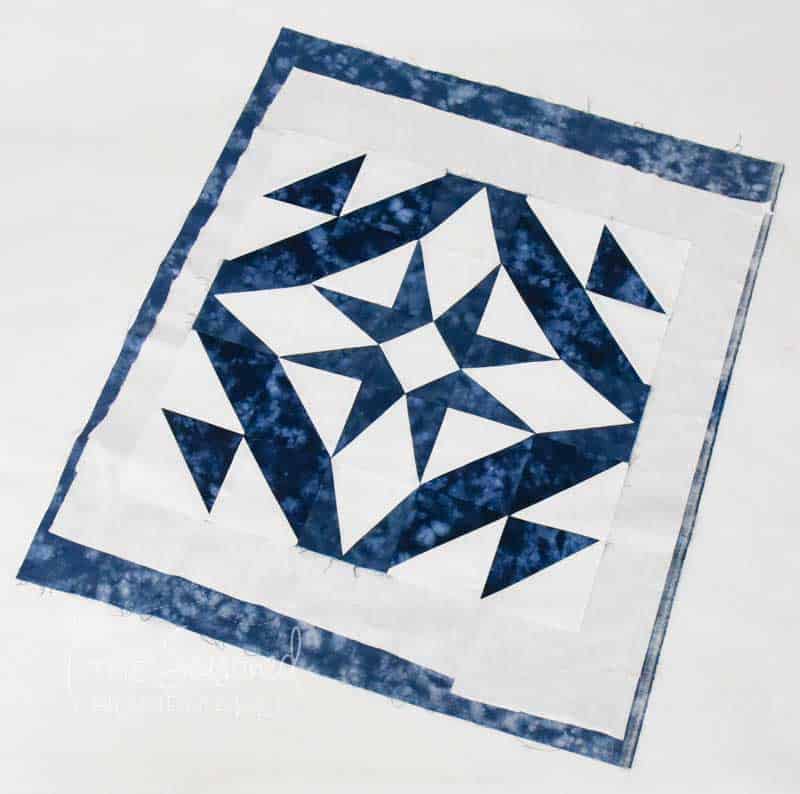
Finish #2 – Quilt and Bind
Another option for finishing the Midnight Star Table Topper is to quilt and bind it. I chose to do this method because I wanted my quilt to have several uses.
For instance, I might want to use it as a wall hanging during the winter months. It would also be a great table topper following Christmas and until Valentine’s Day (I love seasonal table decor!)
Step 1:
Cut a piece of backing 24″ x 24″. This will allow for almost any type of quilting.
Step 2:
Cut a piece of batting 24″ x 24″ and make a quilt sandwich using the backing from Step #1.
Pro Tip: This is the perfect opportunity to use fusible batting. No pins or spray basting required.
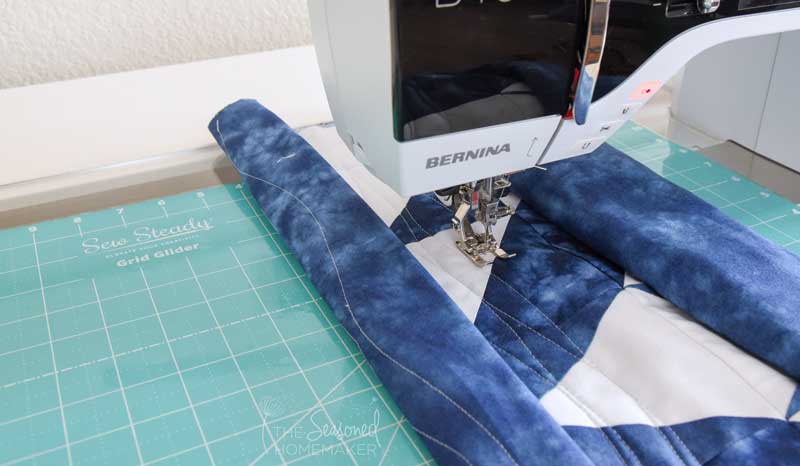
Step 3:
Quilt in your favorite style. For my quilt I chose to quilt a simple wavy line. I did my quilting on a domestic machine and used the Grid Glider from Sew Steady.
It’s a polyester mat that allows my quilt to flow smoothly through the machine. During the quilting process it kept my stitches moving along smoothly. To learn more, watch this short video.
Step 4:
Bind the quilt using your favorite binding method.
Get the FREE PDF Pattern
The Midnight Star Table Topper with all the tutorials is available free to you as an instant download. You will be redirected to a page where you will need to enter your email in order to receive your FREE pattern.