The Easy Way to Make a Quilt
This post may contain affiliate links which won’t change your price but will share a commission.
Inside: The Easy Way to Make a Quilt
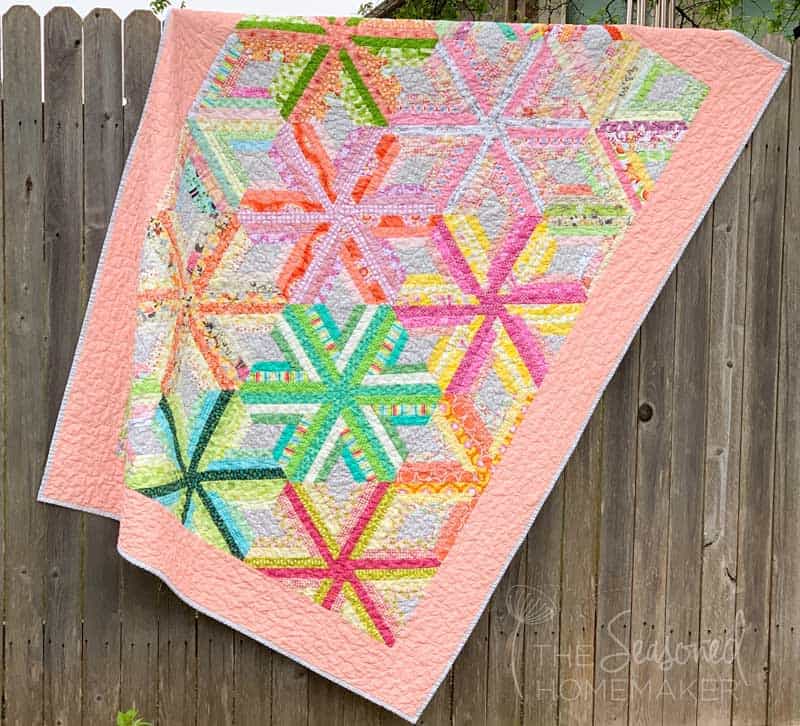
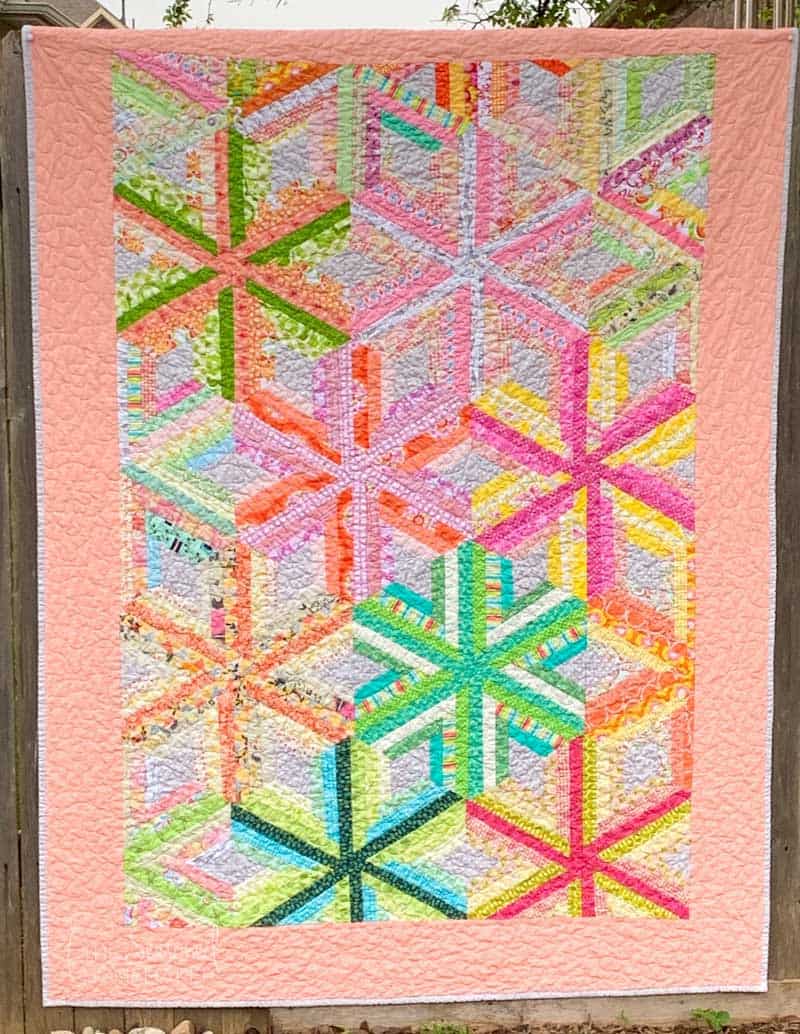
Not all quilts need to be masterpieces, sometimes they just need to be practical. And that’s the story behind this super easy and very practical quilt.
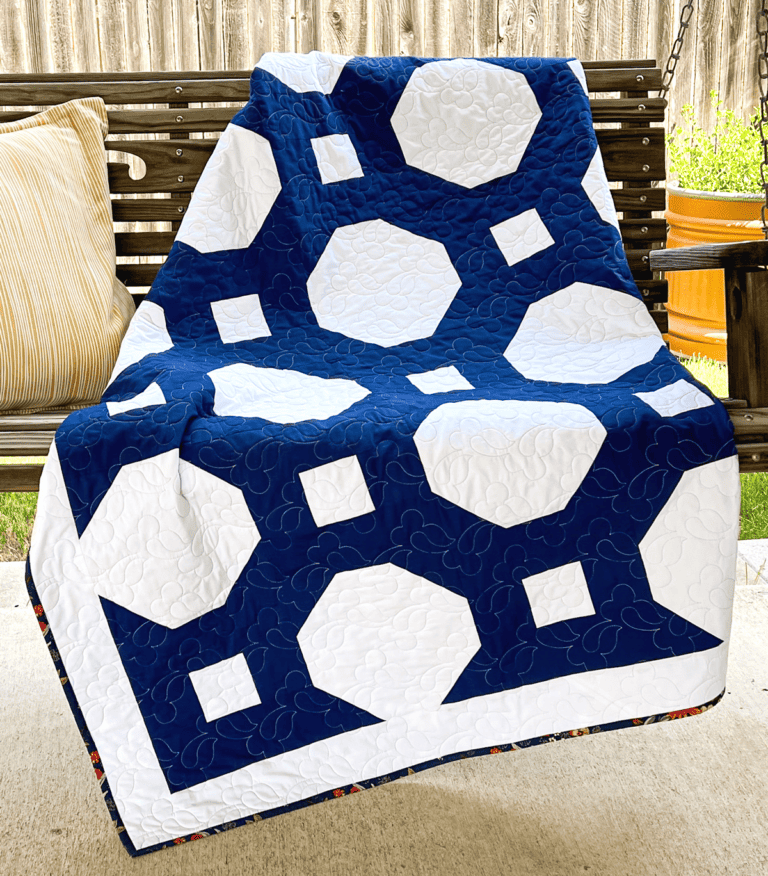
I call this quilt the Saturday-Sunday Quilt because I made the whole thing over a Saturday and Sunday.
There is one hack I used. The middle panel was purchased.
For $5. At my guild’s swap sale. That’s right, no one wanted it, but I saw potential.
I was drawn to the colors and its overall scrappiness. I did have to do a little repair work, but that took less than an hour.
Once I’d gone over the entire panel, I squared it up and had the beginning of a very unique, one-of-a-kind quilt..That I didn’t have to piece.
Are you seeing where the easy part comes from?
Where to Find Fabrics
So, how do you go about making your own Saturday-Sunday Quilt if you don’t find someone’s unfinished project to purchase for $5.
My all-time favorite way to make an easy Saturday-Sunday Quilt.
- Cheater Quilts and Panels: This is one of my favorite methods! I’m not opposed to using cheater fabrics with a fun design – especially for either a charity quilt or a quick gift. These come in either panels or yardage. And once put together into a quilt sandwich and quilted, they are fast and fun.
- These make great baby or holiday gifts
- Quilt using a simple design like the one I did here (scroll to bottom of post).
- They’re a great way to stretch your leftover fabrics to turn into a quilt.
- For backing and binding, use fabrics on hand.
Other great ways to make an easy Saturday/Sunday Quilt.
- Or, put together several 10″ squares to create a design like I did in this blog post.
- The main ingredient in this quilt is your stash. Choose fabrics you love and you’ll love your quilt! And, there is no wrong answer! If you love the fabrics, the quilt will be amazing.
- There are a lot of fabric sellers on Etsy who are selling bolt end and leftovers collection fabrics at reduced prices. Especially things like panels.
- You can sometimes find partial quilts on Ebay (but I’d be cautious there).
- Don’t forget about Instagram and Facebook. People are always selling their stashes on these platforms
Basic Sewing Supplies Needed
- Cheater fabric or fabric from your stash
- 1 Yard Border Fabric
- 1/2 Yard Binding Fabric
- Backing Fabric (put this together from your stash!)
- Quilt Batting
- Sewing Machine
- I recommend a 1/4″ sewing foot to help maintain a perfect seam allowance.
- Cotton Thread
- I prefer Aurifil 50 wt. thread
- Sewing Pins
- Rotary Cutter with sharp blade
- Acrylic Ruler
- Rotary Cutting Mat
- Iron & Ironing Board
The Easy Way to Make a Quilt
Step 1: Figuring Out the Quilt’s Size
Choose the panel you want to use in your design or try working in a UFO.
This is where you will have to get creative. For instance, a horizontal panel is usually around 24-ish” inches wide by 40-ish” long. If you add a 6.5″ border around the edge of this type of panel, you’ve got a quilt top!
Now, some panels are more square-ish (think favorite characters or super heroes). These panels will be about 35″ x 42″ and could make a fun wall hanging or you could add borders to make a lap quilt.
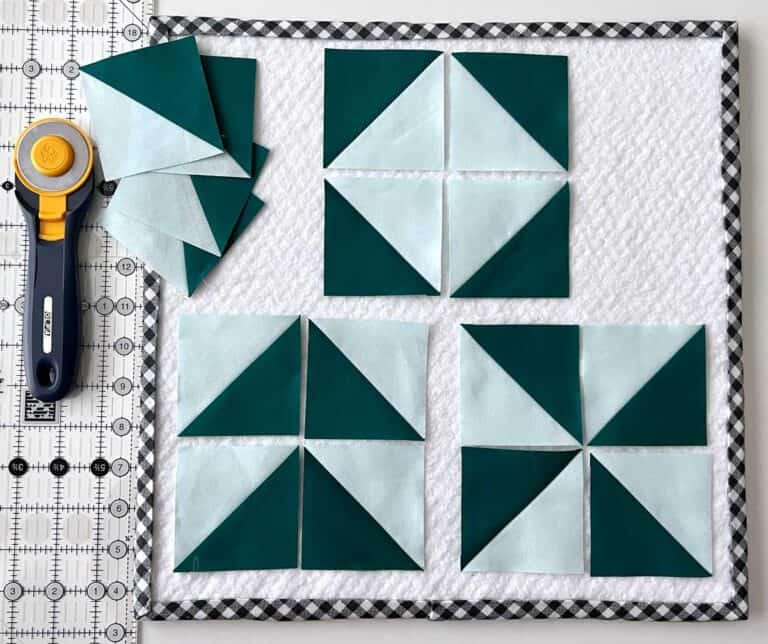
You could create your own center panel using a design like this one. It’s fast and uses 10″ squares.
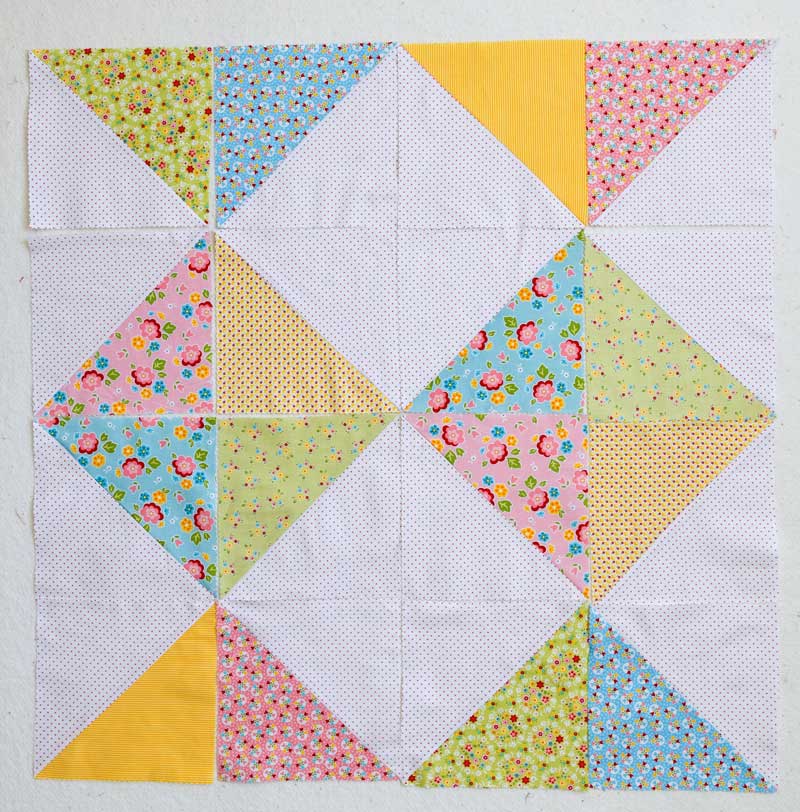
The idea is to find things in your stash (either a panel or big pieces of fabric) and make a center panel.
Step 2: Top and Bottom Borders
For my Saturday-Sunday Quilt I cut 6.5″ borders. That was all needed to turn the $5 panel into a decent sized lap quilt.
- A 1 yard piece of coral colored fabric from my stash was enough fabric for this project – with some leftover. (Technically, it was enough to make the binding, but I used something else.)
- Since the panel was 42″ – almost the exact width of my fabric if you count the selvages – I cut 3 (6.5″) strips and pieced them just to be sure I had enough.
- These strips were attached to the top and bottom. I made sure that the pieced seams were opposite and I saved the extra fabric for my sides.
- The seams were pressed away from the center panel.
Step 3: Side Borders
- Once the top and bottom borders were attached I measured the length of the quilt which was 67″. That meant that I would need almost 2 strips per side. Since I didn’t won’t wavy borders and I had enough fabric I cut 4 (6.5″) strips.
- I pieced these together to make two separate borders. I made sure to mark the center on the borders and the quilt.
- To make the seams less noticeable, they were offset in opposite directions then pinned from the center out.
- In order to avoid wavy borders, I stitched from the center in both directions.
Step 4: Preparing to Quilt
How easy was that! Now an entire quilt top is ready for the next step: The Quilting.
I had recently purchased some wide backing so I didn’t have to piece together a back. However, if you have a ton of large pieces left over from previous projects, now is the time to piece them together and make your quilt back.
I suggest you sew these pieces together using a 1/2″ seam allowance and a 2mm stitch length. This insures the quilt back is stable and won’t come unraveled during quilting.
Be sure the backing extends at least 3″ – 4″ from all sides. This allows plenty of room for any type of quilting you plan to do.
Now, I’m fortunate enough to have a longarm so I loaded my quilt onto my Grace Q’nique Frame (read more here).
Note: You don’t need a longarm to finish your own Saturday-Sunday Quilt. Keep reading!
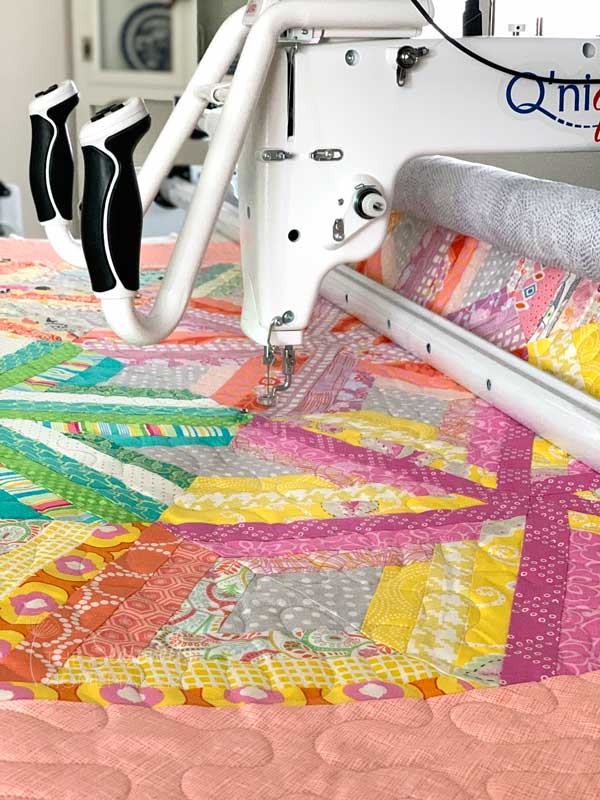
Being able to use a longarm and quilting automation definitely speeded things up. But there are other ways to save yourself some time getting set up to quilt on a domestic machine.
Watch this quick video for an easy way to make a quilt sandwich. You can use boards (which I had so it’s what I used) or you can use pool noodles.
Step 5: Non-Longarm Quilting Options
Like I said, I put my quilt on a longarm frame. This allowed me to do an all-over stipple design in about 2.5 hours. Full disclosure: I used computer automated quilting on my longarm – but in hindsight setting it up took me longer because I was trying something new so I kept having to make adjustments.
However, you can quilt your project in about the same amount of time if you use a wavy line like I did here. Yep, an evenly spaced wavy line is a simple way to finish a quilt top and it looks great when it’s done. And it works perfectly on any domestic machine.
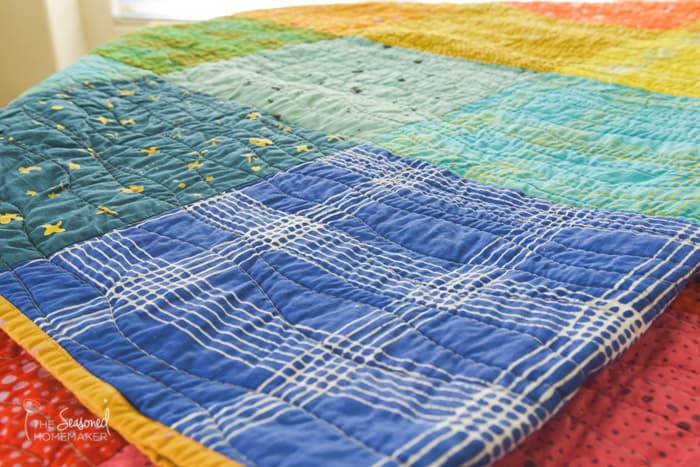
If you prefer something more structured, you could do straight line quilting using a guide or painter’s tape. Either works and both are a fast way to finish your quilt. Note: This method works best with a walking foot.
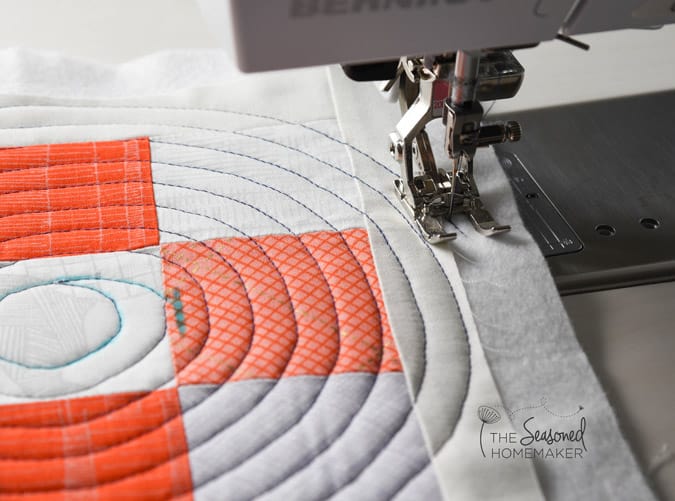
Another option is Spiral Quilting – which is easier than it looks. You will need a walking foot (or dual feed) for this method, but it can make your quilt look amazing. It works on any size quilt. It can be done in sections so you have spirals in different areas of the quilt top. Or it can be one huge spiral.
Step 6: Squaring and Binding
Once you’ve finished your quilting, then square it up to prepare it for binding.
The final step is binding the quilt. And, y’all know I like to machine bind to the front. It’s easier than you think and you have a finished quilt in a short time.
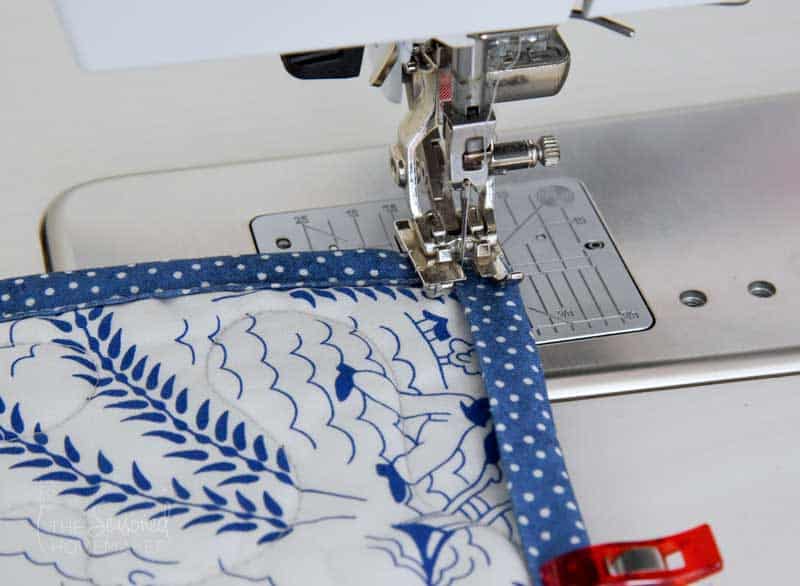
See how easy that was. Just by using what you have, you are able to make an entire quilt over a weekend. Which is why I named this the Saturday-Sunday Quilt because that’s exactly what I did.
How are you going to make your own Saturday-Sunday Quilt? Will you dig out an old UFO and finally finish it? Or, will you piece together a few large squares and make something simple?
You never know…this could become your family’s favorite quilt!
P. S. I’d love for you to share your Saturday-Sunday Quilts. Just add them to Instagram and tag #theseasonedhomemaker.


