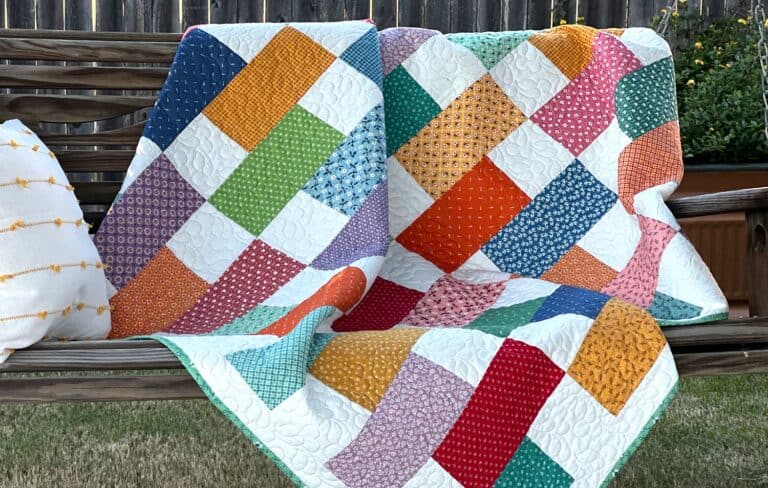
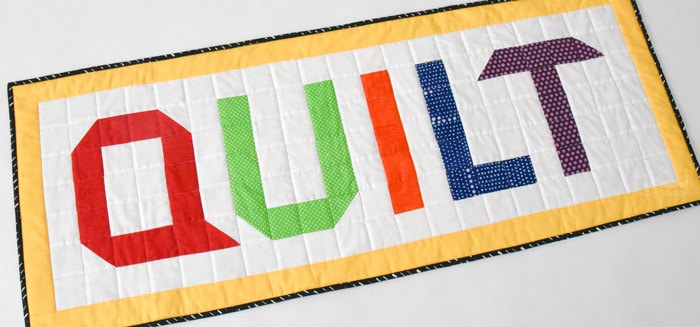
Easy Scrap-Busting Quilt You Can Make Right Now
This post may contain affiliate links which won’t change your price but will share a commission.

INSIDE: Easy Scrap-Busting Quilt Project You Can Make Right Now
Make this fun wall hanging while practicing your piecing skills. The QUILT Quilt is the perfect scrap buster because it uses 2.5” squares and a few half square triangles to create a fun lettering quilt. It’s an ideal beginner quilt project that uses techniques such as half square triangles and walking foot quilting.
If you can sew a straight stitch, then you can make this quilt! Grab those leftover 2.5″ strips and let’s make the QUILT Quilt. If cutting isn’t your thing, then 2.5″ precuts will work, too!
Easy Scrap-Busting Quilt You Can Make Right Now
Difficulty Level: Beginner
Finished Quilt Size – 44” x 16”
Materials & Cutting List
*Note: Got Scraps! This mini quilt is the perfect way to use them up. Skip the yardage and go to Cutting Instructions.
- 3/4 yard White Background Fabric*
- 1/4 yard Red Fabric*
- 1/4 yard Green Fabric*
- 1/8 yard Orange Fabric*
- 1/8 yard Blue Fabric*
- 1/4 yard Purple Fabric*
- 1/4 yard Yellow Fabric*
- 1/2 yard black fabric* for binding
- Backing Fabric* – Cut and sewn to size 48” x 20”
- One piece of Fusible Quilt Batting – 48” x 20” **(regular batting works, too)
- Two 3” squares of fabric* for quilt-hanging corners (optional)
- 50 wt. cotton quilting thread
- Fine dowel rod for hanging quilt. Cut to fit once quilt is finished.
- General sewing supplies
*Use quilter’s cotton fabric
**Quilt basting spray (optional) if not using fusible batting
Instructions:
Please read all instructions before starting.
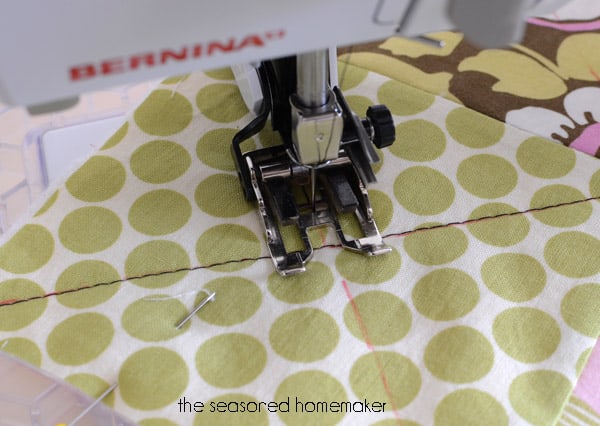
Use a scant 1/4” seam allowance for piecing your quilt top.
WOF – Width of Fabric
HST – Half Square Triangles
For accuracy, use a 1/4” foot on your machine and be sure to press all fabrics before sewing.
Cutting Instructions:
- From White fabric, cut seven strips 2.5” wide. Subcut into ninety-nine 2.5” squares.
- From White fabric cut four squares 3.5″
- From Red fabric, cut one strip 2.5” wide. Subcut into eleven 2.5” squares.
- From Red fabric cut two 3.5″ squares for HST’s.
- From Green fabric, cut one strip 2.5” wide. Subcut into ten 2.5” squares.
- From Green fabric cut one 3.5″ square for HST’s
- From Orange fabric, cut one strip 2.5” wide. Subcut into five 2.5” squares.
- From Blue fabric, cut 1 strip 2.5” wide. Subcut into seven 2.5” squares.
- From Purple fabric, cut 1 strip 2.5” wide. Subcut into seven 2.5” squares.
- From Purple fabric cut one 3.5″ square for HST’s.
- From Yellow fabric, cut 3-4 strips 2.5” x WOF. This will be the sashing.
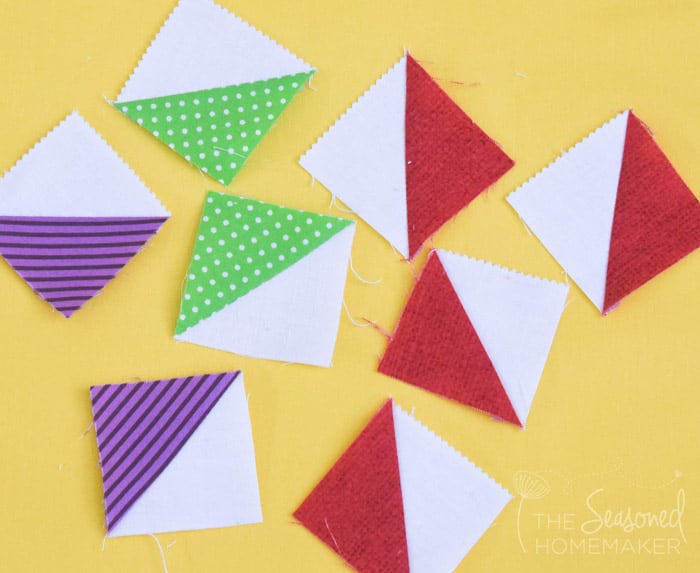
Making Half-Square Triangles (HST):
NOTE: If you are unfamiliar with half-square triangles, click this link to visit my tutorial.
Make the following half-square triangles:
- From Red fabric make 4 HST’s – Press fabric towards dark side. Trim to 2.5″.
- From Green Fabric make 2 HST’s – Press fabric towards dark side. Trim to 2.5″.
- From Purple Fabric Make 2 HST’s – Press fabric towards dark side. Trim to 2.5″.
- Set aside HST’s until ready to sew.
Piecing the Rows:
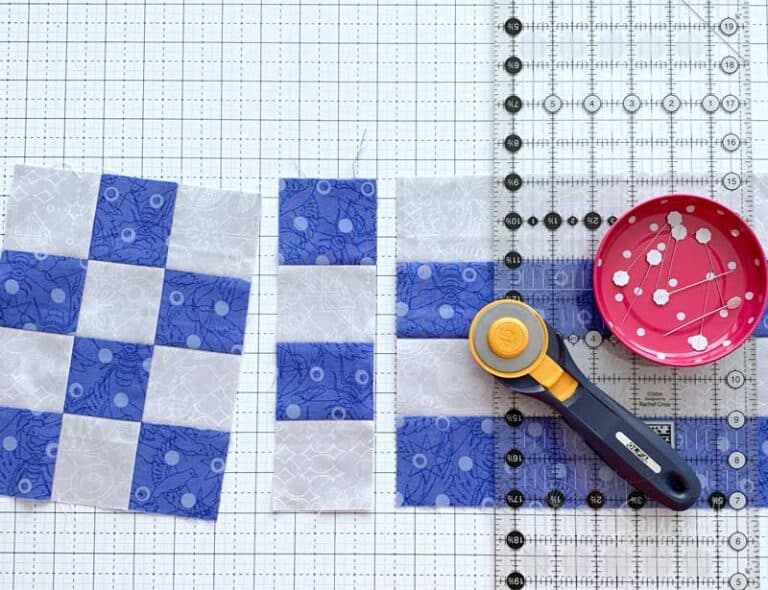
The quilt goes together in rows using a simple patchwork technique. For more experienced quilters, feel free to chain piece.
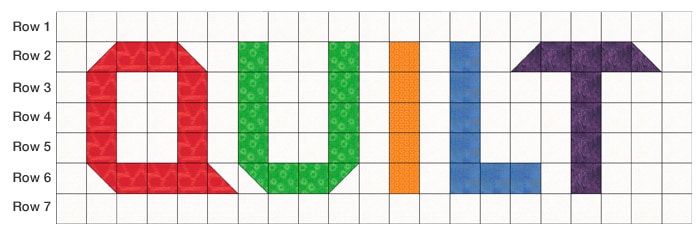
Row 1: Piece 21 white squares together.
Row 2-6: Piece in the following order, from left to right. (see Image)
- Each row will consist of 21 blocks.
- Be sure to add in the HST’s in correct order. I like to lay them out on the batting before sewing. That way I can make sure everything is being pieced in order.
Row 7: Piece 21 white squares together.
Pressing the Rows:
When pressing the seams, you will want to press each row in one direction, alternating that direction as you press. This will help nest the seams as you attach the rows.
There is only one acceptation to this: When you have a white square connecting to a square with color, be sure to press to the darker color. This will prevent these colors from showing through the white fabric.
Attaching the Rows:
See diagram above.
Begin attaching rows one at at time, beginning with Row 1. Nest your seams and pin to hold in place.
Use a scant 1/4” seam allowance to attach rows.
Attaching the Boarders:
NOTE: Depending on the WOF, two of the strips you cut earlier will likely not fit the top and bottom of your quilt. You will need to add a little fabric to one edge. I suggest you try to make it match at a seam line.
- Take one of the sashing strips cut in half so you have two strips that are each approximately 20” long.
- Attach each of these strips to the sides of the quilt, right sides together. Trim away excess and save to use on the top and bottom sashing strips.
- From the above step, you should have about 6” of additional sashing from each of the sides.
- Take the 6” strip cut from the side sashing and attach to the the top sashing piece. Repeat this for the bottom sashing piece.
- Press the seams and attach the sashing to the top and bottom of your quilt. Be sure to match up at at seam line and use nesting seams.
- Press all seams to the dark side.
The Quilt Sandwich:
- Press the quilt back and lay it wrong side up on a flat surface, such as an ironing board.
- Place the fusible quilt batting on top of the quilt back.
- Lay the quilt top on the batting.
- Make sure all is lined up and square.
- Press the quilt top to the batting. Turn over and press the quilt backing to the batting.
NOTE: You can also use a quilt basting spray to create a quilt sandwich.
Quilting:
The best way to quilt this project is to stitch in the ditch using a walking foot with an open-toe. This allows you to see where you’re going. The instructions below have you starting in the middle and quilting. If you plan this out carefully, it’s possible to quilt without cutting your thread.
- Use a matching thread on the top and bottom.
- Starting with the seam line to the left of the letter L, stitch in the ditch. Do not stitch in the border.
- When you reach the bottom, drop the needle, stitch in the seam line of the border, and stitch over to the next block. Drop the needle and turn the quilt.
- Stitch in the seam next to the letter U. Continue in the same manner until you reach the seam between the left border of the quilt.
- Quilt in the ditch between the left side of the quilt (near letter Q) and the border.
- Repeat this process and quilt from the other side of the letter L and quilt to the right edge of the quilt, finishing by quilting in the border seam between the right edge of the quilt (near letter T).
Square up the quilt by trimming away the excess fabric and batting.
Make the Hanging Corners:
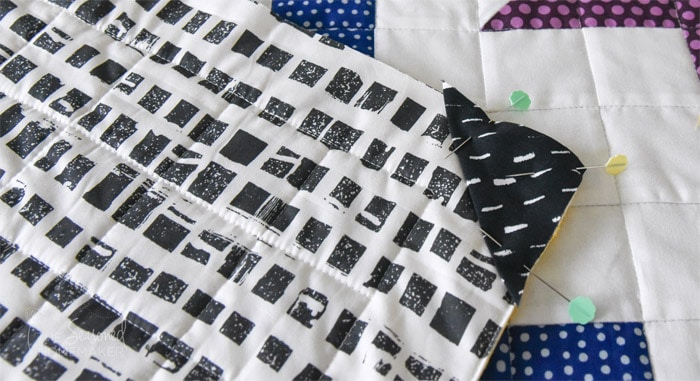
- Fold the two 3” fabric squares in half to form two triangles.
- With raw edges matching, pin the triangles to the top left and top right corners.
- Using a 1/8” seam allowance, stitch to hold in place.
Binding the Quilt:
- Join binding strips together until they form a continuous length of binding 138”-140” long.
- Fold lengthwise wrong sides together and press.
- Line up the raw edges and attach the binding. Pin or clip to hold.
- Sew in place using a 1/4” seam allowance.
- Carefully miter the corners.
- Join the binding ends together.
- Wrap the binding to the front and pin or clip to hold.
- Stitch down by machine.
All that’s left to do is cut the dowel to fit the quilt and hang it in your favorite spot.