How to Make a Triangle Quilt
This post may contain affiliate links which won’t change your price but will share a commission.
Inside: How to Make a Triangle Quilt
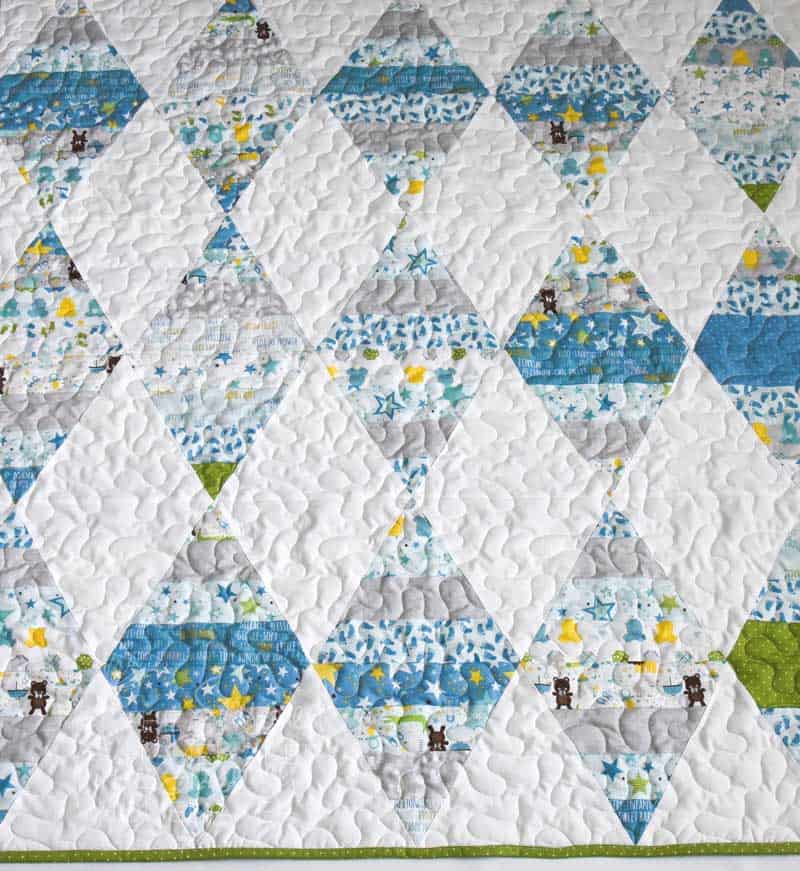
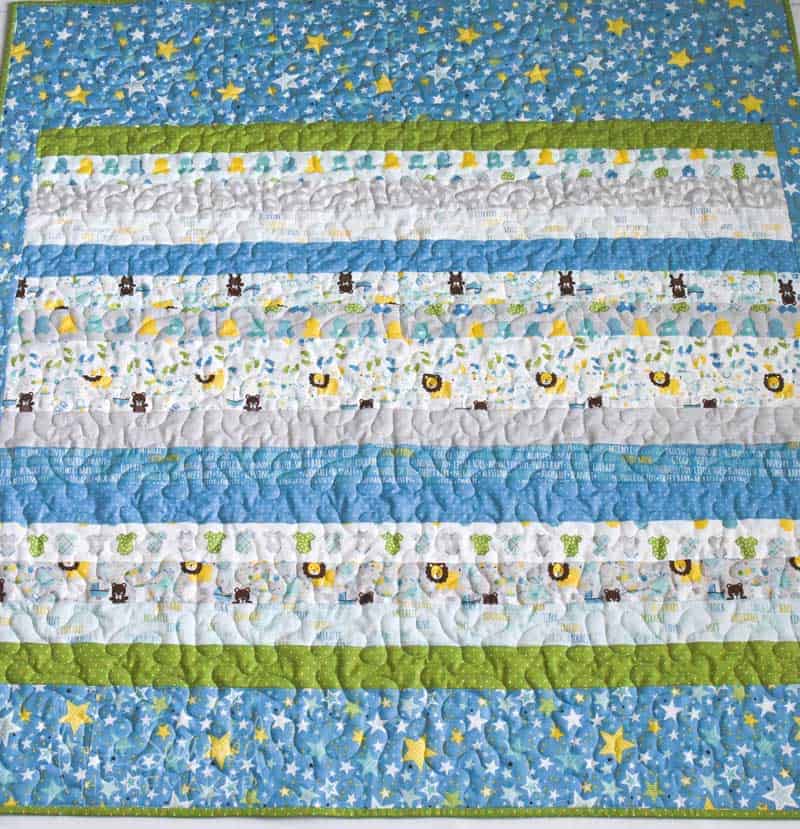
Today, I’m sharing a sweet baby quilt that goes together quickly. The secret to this quilt is the Creative Grids 60-Degree Diamond Ruler because that’s where the cutting magic happens.
For my particular quilt I used a Rolie Polie with 2 1/2″ strips, but you can skip the strip piecing and use any fabric you have which would make this quilt even easier!

Want an ad-free, printable copy of this tutorial? Scroll to the bottom of this post for more details!
How to Make a Triangle Quilt
Supplies
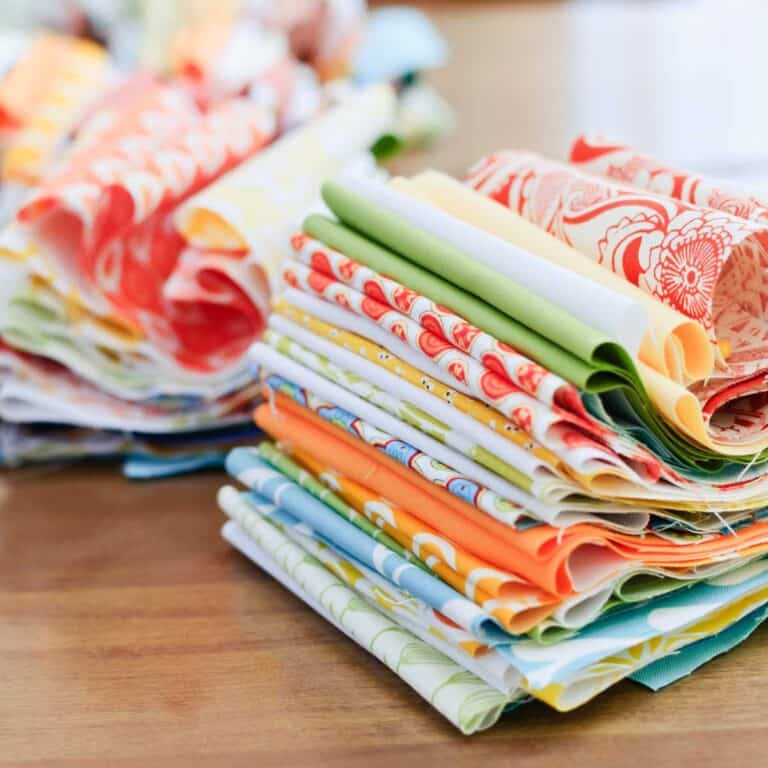
This quilt is so economical because you can use every scrap in your stash. For me, I wanted to use a particular fabric which came in a Rolie Polie of 2 1/2″ strips.
- Rolie Polie in 2 1/2″ Strips (I used Sweet Baby Boy from Riley Blake) affiliate
- White Fabric (Kona White #1387)
- 2 yards Coordinating Fabric for quilt back (assumes using the remaining strips from rolie polie)
- 1/2 yard Coordinating Fabric for quilt binding
- 53″ x 55″ piece of batting
Basic Sewing Supplies Needed
- Creative Grids 60-degree Diamond Ruler
- Sewing Machine
- Its nice to use a 1/4″ sewing foot to help maintain a perfect seam allowance
- Cotton Thread
- I prefer Aurifil 50 wt. thread
- Sewing Pins
- Rotary Cutter with sharp blade
- Acrylic Ruler
- Rotary Cutting Mat
- Iron & Ironing Board
DIRECTIONS:
Step 1:
Sew together 5 sets of 4 Rolie Polie strips using a scant 1/4″ seam allowance. Set aside.
Step 2:
Cut 5-6 strips 8 1/2″ x WOF from White Fabric (you need 36 white triangles, but you’ll get 35 triangles from five 8 1/2″ strips – so you’ll need 5 strips + one additional triangle).
Step 3:
Use the 60-degree ruler to cut triangles. You will need 30 triangles from the strip-pieced print fabric (Step 1) and 36 triangles from the white fabric (Step 2).
Step 4:
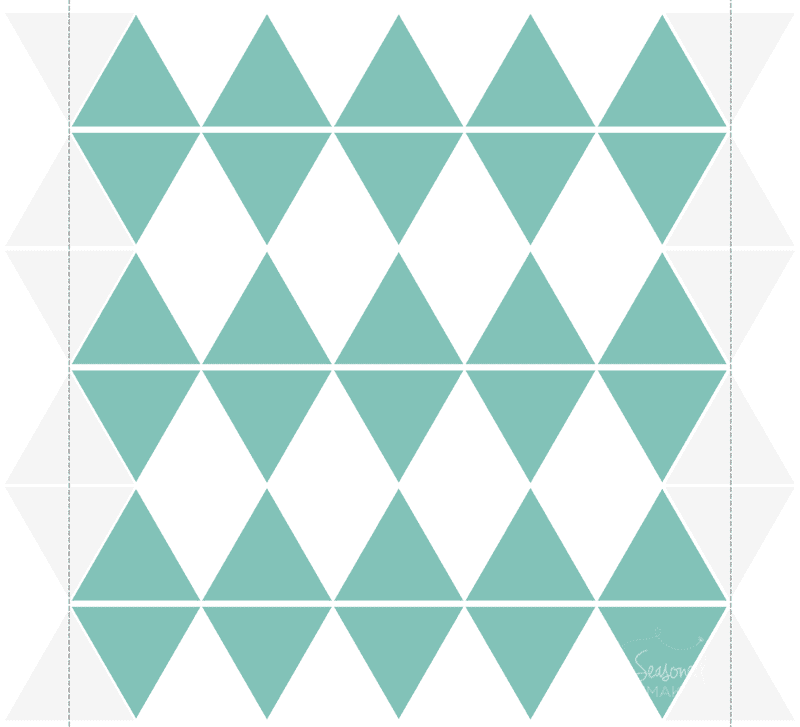
Sew triangles together to create a row as shown in the diagram below. Notice that there will be extra fabric on both ends. I’ve demonstrated this with the gray triangles. These end triangles will be trimmed when the quilt is pieced.
Press each triangle strip in opposite direction for easy nesting when sewing.

Step 5:
Repeat Step #4 and make 6 rows. Sew rows together as seen in diagram below.
Note: You will be adding full triangles to the ends of each row which will be trimmed in the next step.

Step 6:
Trim sides as shown in diagram below. This should be 1/4″ – 1/2″ from from the edge of the diamonds to allow for quilt binding. See dashed lines below.
Optional Steps:
Another option would be to add a border around the outside of the quilt. This could be as simple or elaborate as you want.
For my backing I used the leftover strips and pieced them together. I placed them in the center of the backing and then added borders to fit my quilt top. If you decide to do this, I recommend using a small stitch length (2.0mm or smaller). This will keep the seams from opening during quilting.
Step 7:
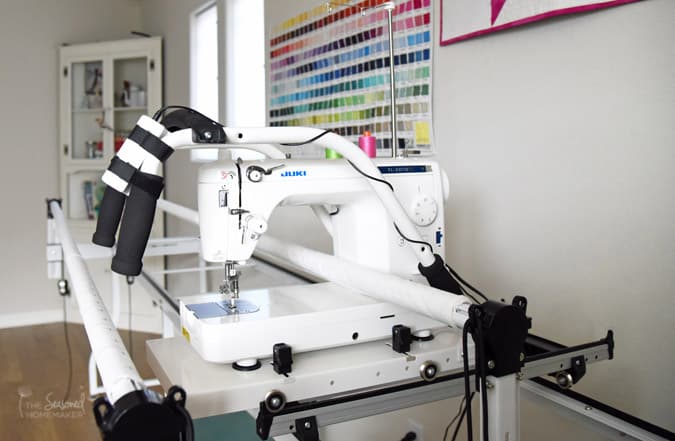
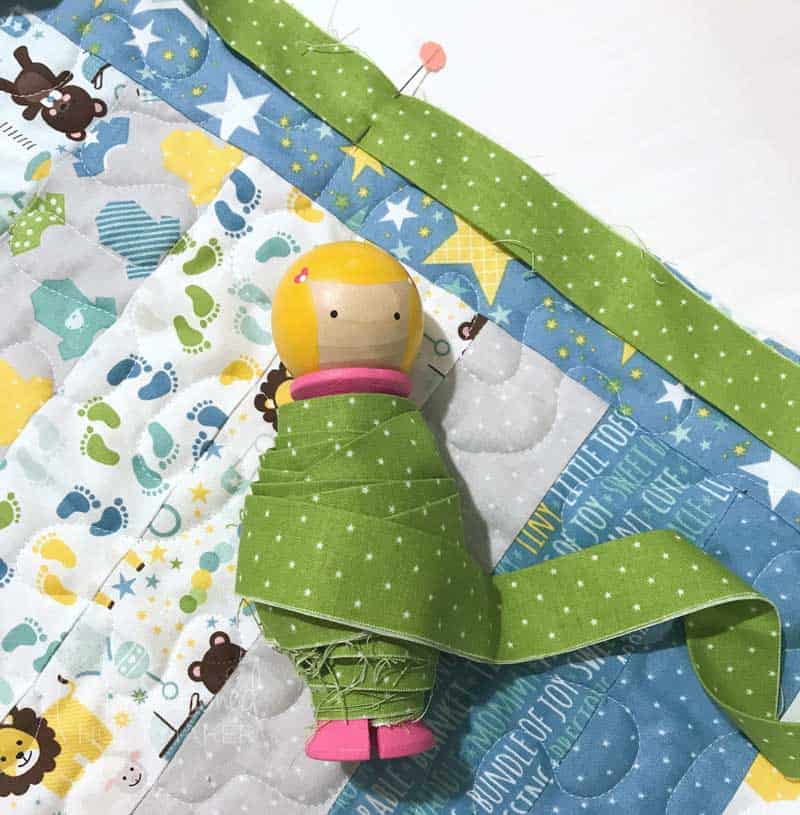
Sandwich the backing, batting and top. Quilt as desired (I used a simple stipple design on my longarm). Trim and sew on binding.
Wasn’t that the easiest way to make a quilt. It’s so simple when you use this ruler. Because I used a baby-themed fabric, this one is (obviously) a baby boy quilt.
Finished quilt size is approximately 42″ x 45″ – but it will vary depending on how many rows you want to add.
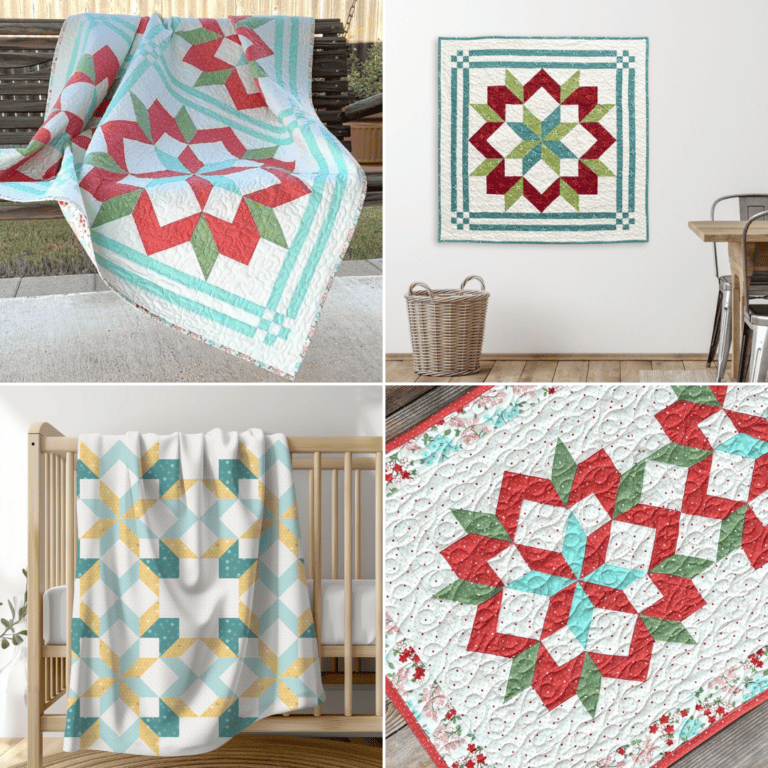
You can change up this simple quilt with a holiday-themed strip roll for Christmas, the 4th of July, Fall, Halloween, or any special day!
And (my favorite part) you’ve got a quilt that can go together in a weekend.