

Log Cabin (FPP) Tutorial + Pattern
This post may contain affiliate links which won’t change your price but will share a commission.

Inside: Log Cabin (FPP) Tutorial + FPP Pattern
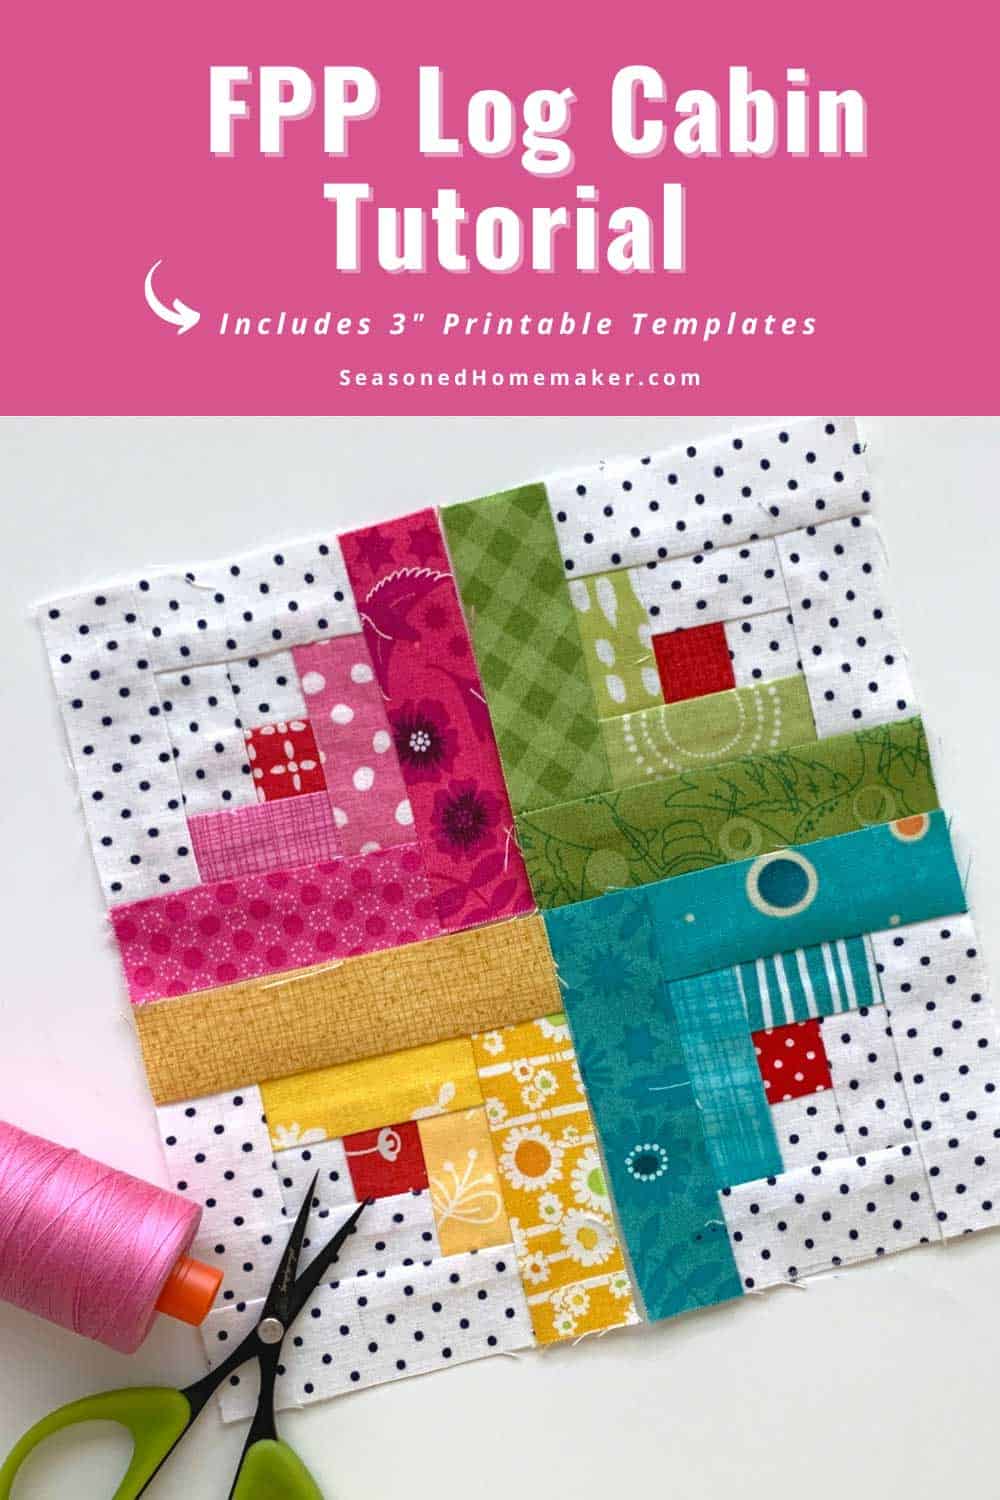
Want to master foundation paper piecing? This easy FPP Log Cabin Tutorial will show you step-by-step how to paper piece even the tiniest bits of fabric!
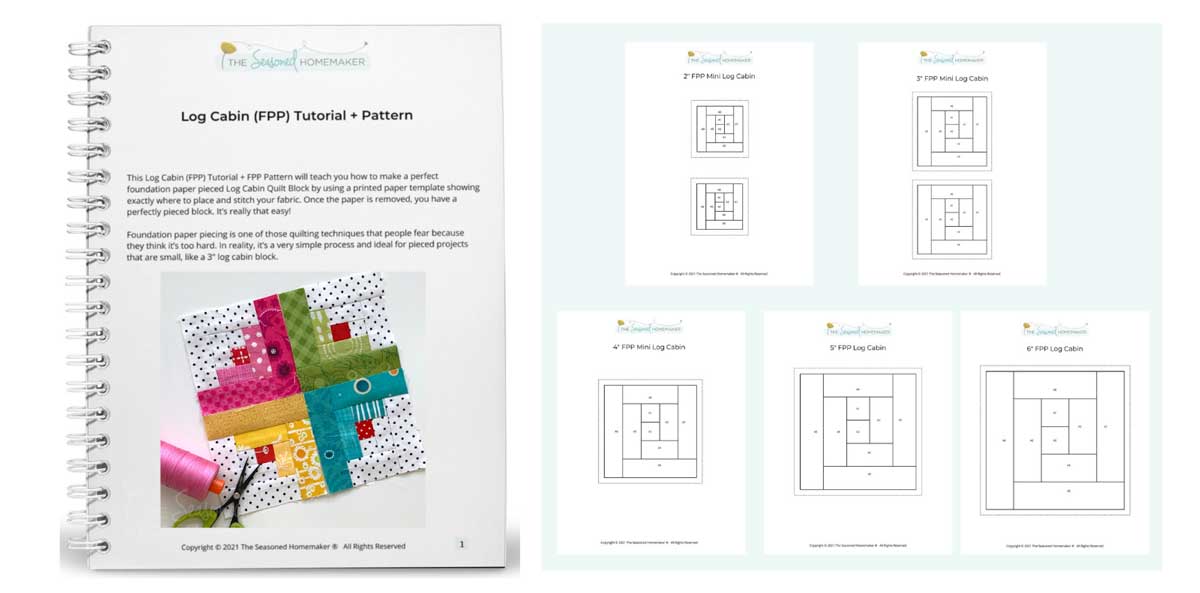
This Log Cabin (FPP) Tutorial + FPP Pattern will teach you how to make a perfect foundation paper pieced Log Cabin Quilt Block by using a printed paper template that shows you exactly where to place and stitch your fabric. Once the paper is removed, you have a perfectly pieced block. It’s really that easy!
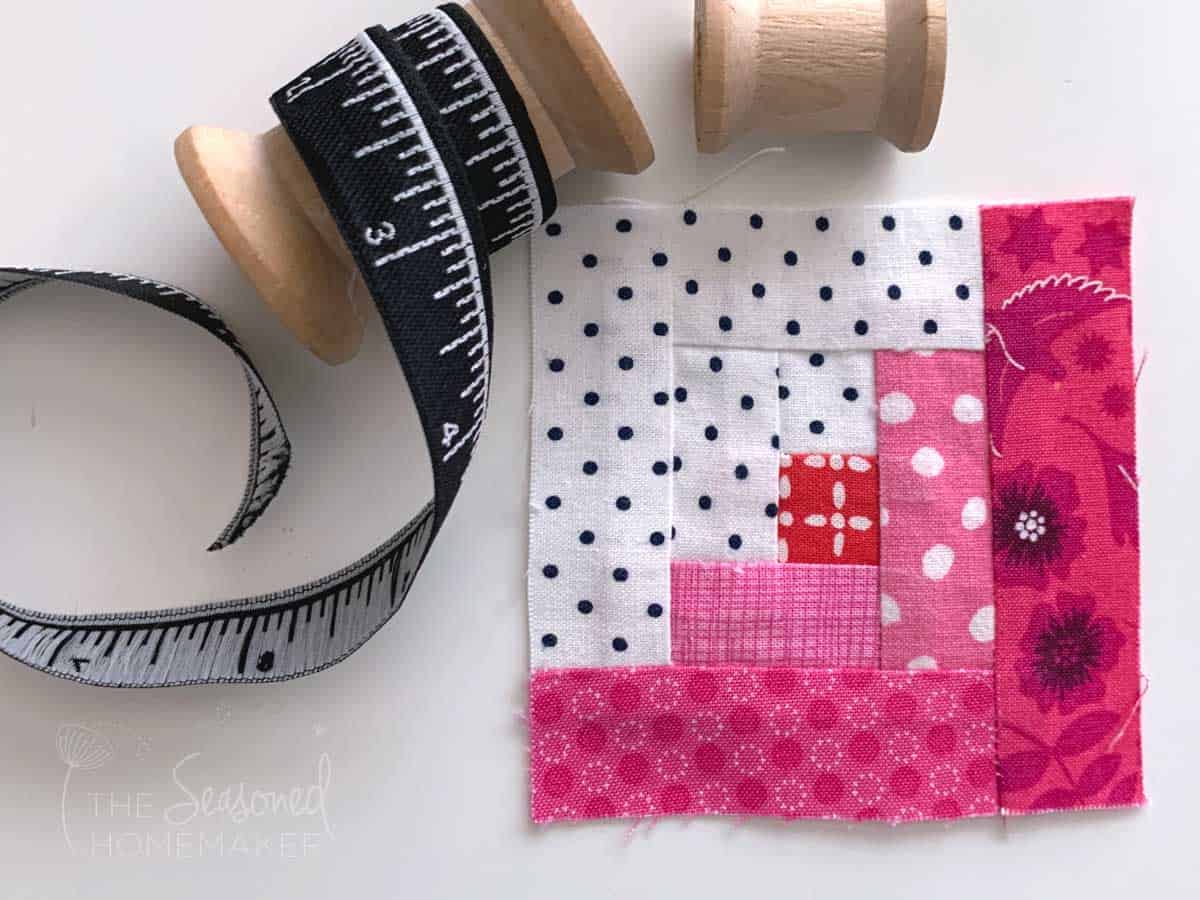
Foundation paper piecing is one of those quilting techniques that people fear because they think it’s too hard. In reality, it’s a very simple process and ideal for pieced projects that are small, like a 3″ log cabin block.
Materials for Foundation Paper Piecing
Foundation paper piecing doesn’t really require a ton of expensive tools or supplies. And, it eliminates the need for a lot of expensive rulers. Below, I’ve listed some tools I use, but the only really essential tools are the Add-A-Quarter Ruler, a rotary cutter, a cutting mat, and a few pins.
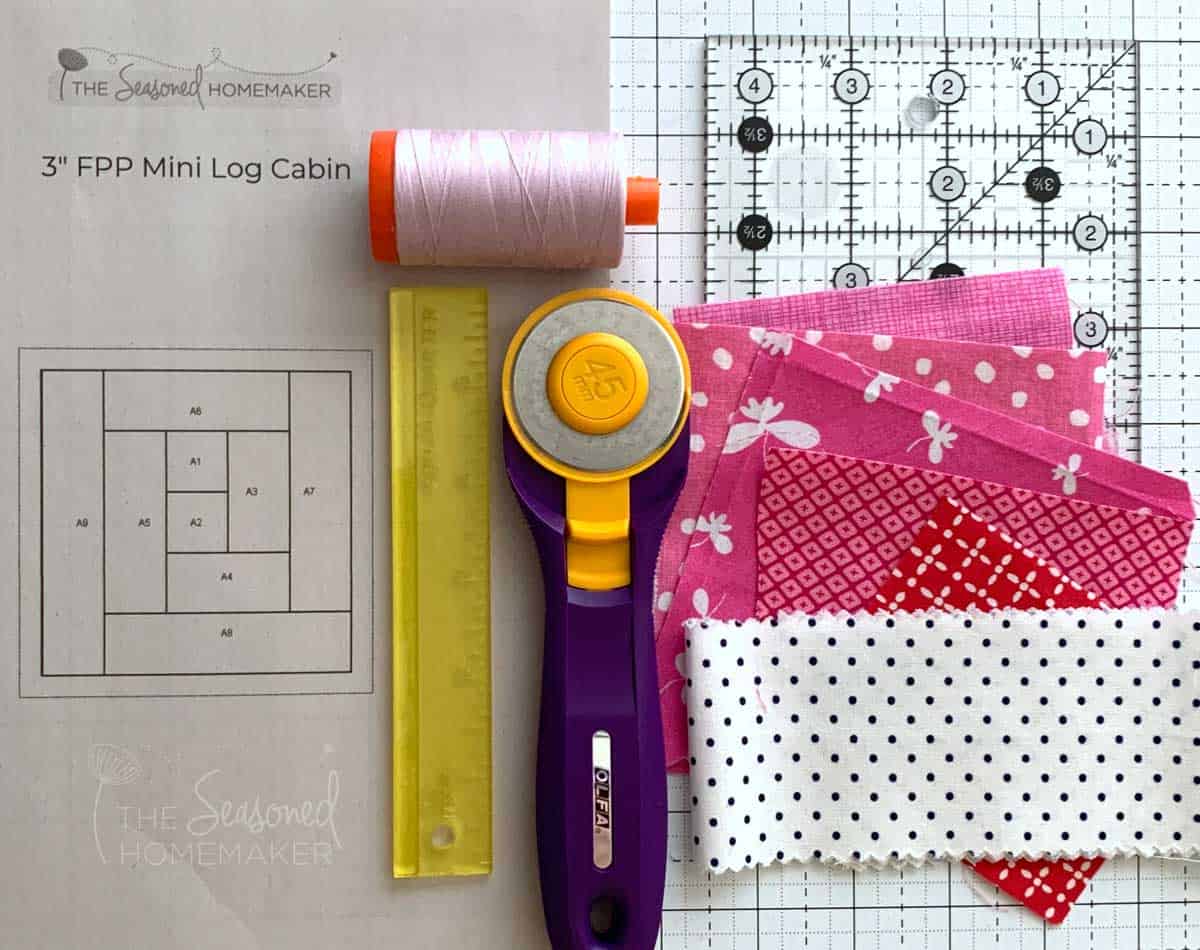
- Log Cabin Paper Piecing Template for Printing (>>> see Step 1 below)
- Fabric Scraps – If you’re new to FPP, I recommend going with solid colors.
- Low Volume fabric scraps (white or lightly printed)
- Various scraps in different colors
- Foundation Paper
- Computer Paper: Inexpensive and easily available.
- June Tailor’s Foundation Paper: My absolute favorite.
- Carol Doak’s Foundation Paper: Paper is specifically designed for FPP.
- 6″ Add-A-Quarter Ruler
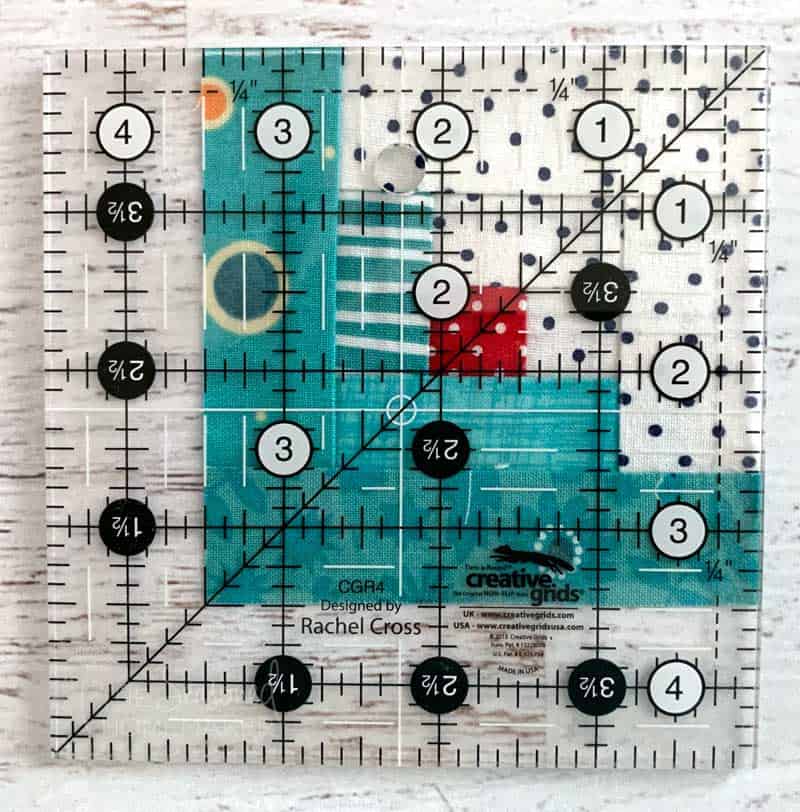
- 4.5″ Square Acrylic Ruler
- Rotary Cutting Mat
- Rotary Cutter with sharp blade
- Schmetz Universal Needle
- Aurifil 50 wt Thread
- Pins
- Seam Roller
- Daylight Light Box (optional)
- This is a great tool to have if you plan to do a lot of FPP blocks. It’s 9 x 12 inches which is the perfect size for most quilt blocks.
- Daylight Cutting Mat (optional)
- The perfect add-on for the Daylight Light Box. It’s a clear rotary cutting mat with grid lines and it sits directly on top of the light box, making it easy to trim seam allowances directly on the light box.
FPP Instructions
Step 1: Get the FREE Pattern
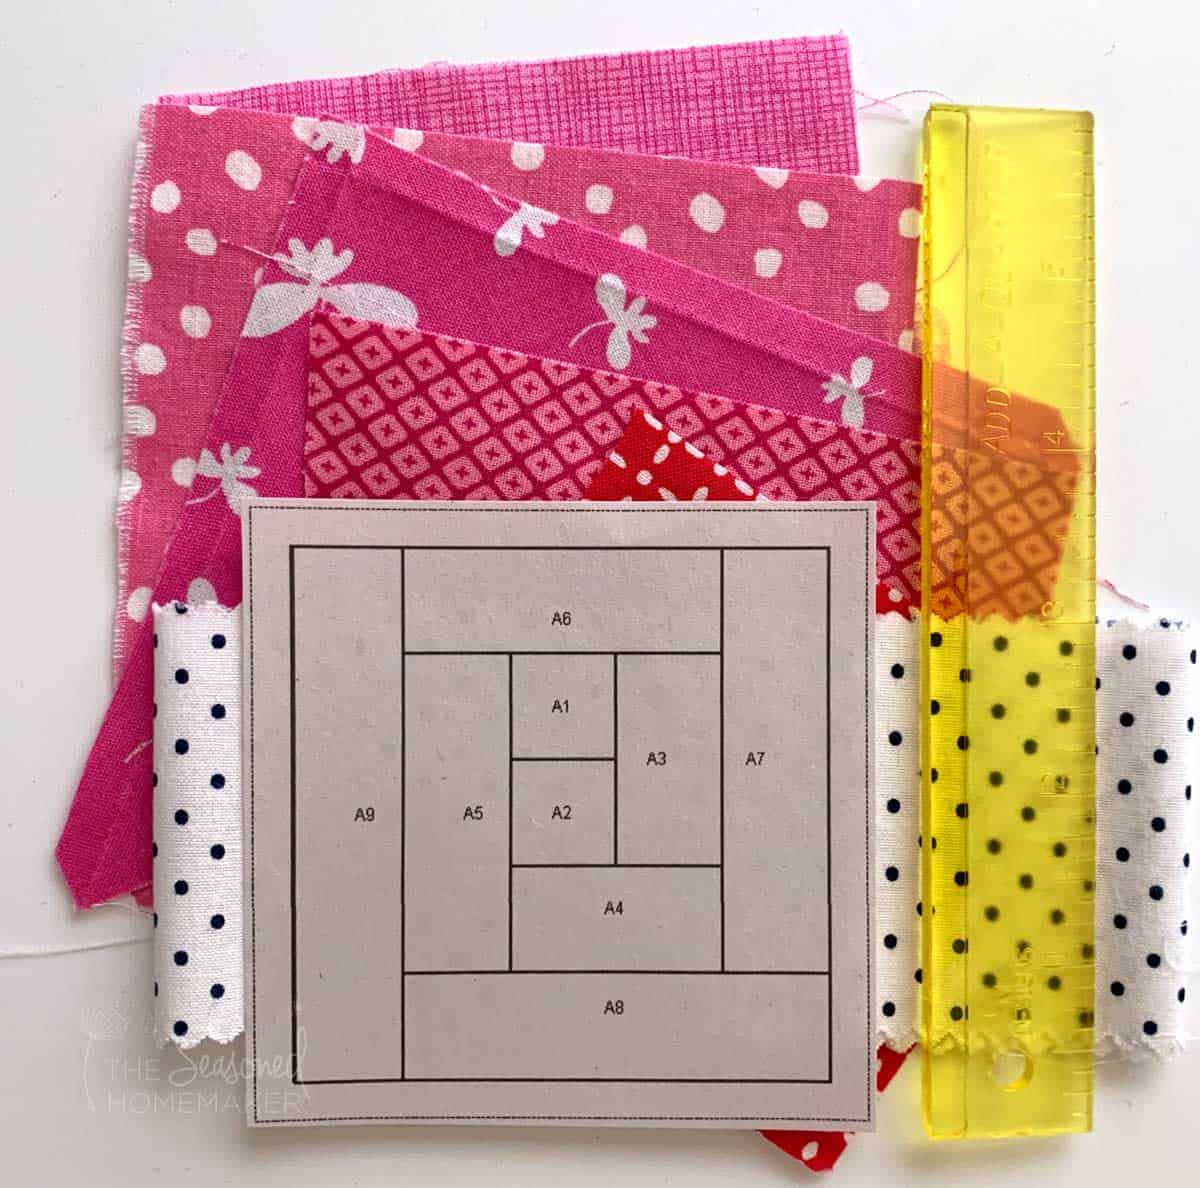
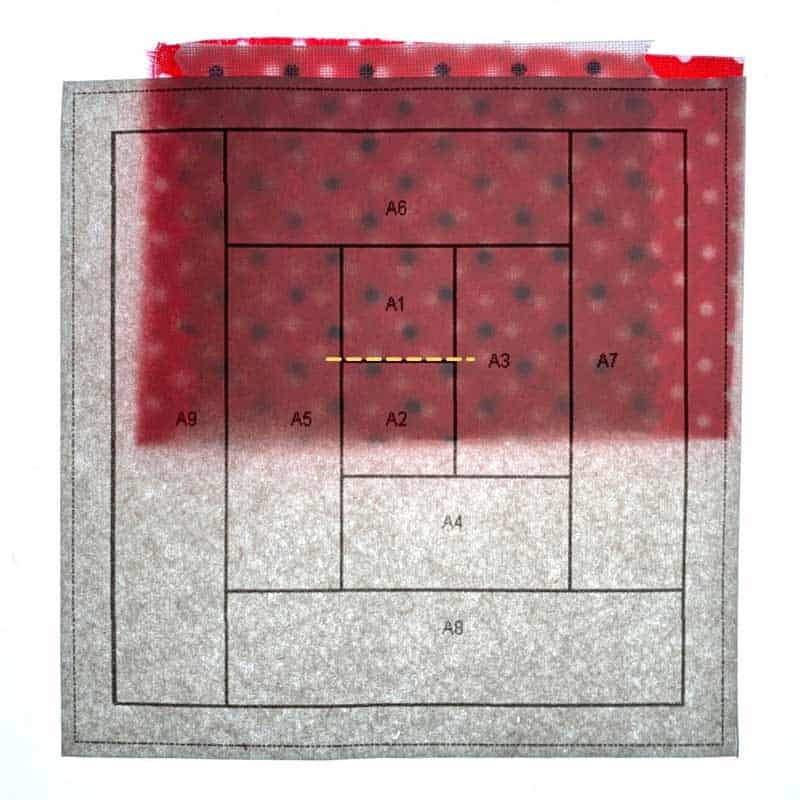
You will need a basic pattern for beginner foundation paper piecing. I’ve created a simple Log Cabin FPP Template that you can download for free. Click the pink button below to receive my FREE 3″ FPP Log Cabin Template.
Step 2: Preparations for FPP
Note: If this is your first time doing an FPP project, you may want to label each number with the color of fabric you plan to place there.
- Lower your stitch length to 1.5mm. If using computer paper, you may need to lower it to 1mm.
- Use a dedicated sewing machine needle for sewing on paper. Once you’ve finished this project, label it and save it for your next FPP project.
- Print the FPP template and trim away the excess paper, leaving a slightly larger margin around the dotted line. This gives you a 1/4″ seam allowance on your finished block.
Pro Tip: For trimming, be sure to use scissors or a rotary cutter dedicated to trimming paper. Several companies make inexpensive rotary cutters in different colors and this is a great way to have one dedicated for paper use only.
Step 3: Fabric Alignment
- Notice that each section of the pattern is labeled with numbers. These numbers indicate the order that the fabric is going to be sewn down.
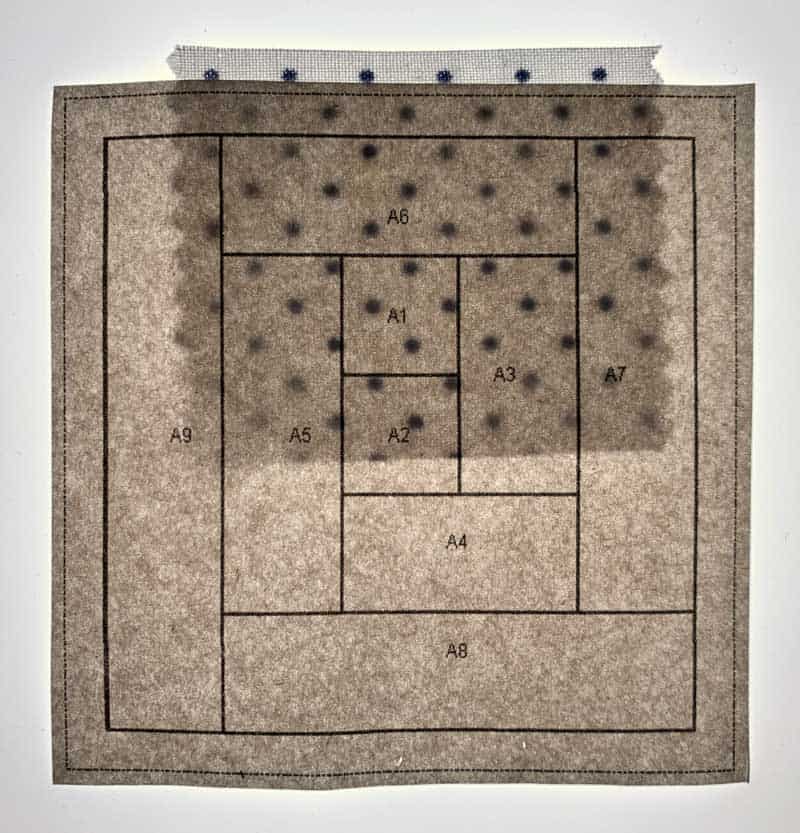
- Beginning with section #1, line up a piece of fabric slightly larger than this area. Place the wrong side of the fabric facing the back of the printed template and pin in place.
- Hold up to a light source such as a lightbox or window to make sure that the fabric covers area #1 and has a minimum 1/4″ seam allowance.
- Note: I’m using a lightbox to demonstrate, but you can hold your project up to a window and get the same effect.
- If you are new to FPP, the tutorial How to Foundation Paper Piece shows the following steps on a larger scale.
Pro Tip: Having a larger seam allowance is fine since this will all be trimmed away. Better to be safe than sorry.
Step 4: Adding the Next Piece of Fabric
- On the front of the FPP paper, find the line between Section #1 and #2 and fold paper back along this line. This will help you better align piece #2.
- Find the section labeled #2 and place a piece of fabric right sides together with Piece #1. Be sure the fabric extends at least 1/4″ beyond the fold on the paper because this will become your seam allowance. Make sure the side margins are at least 1/4″ because these will become the seam allowances when adding other fabrics to the template.
- Pin the fabric in place and unfold the paper pattern.
- Be sure to set your stitch length to 1.5mm for FPP paper or 1.2 – 1.0mm for printer paper.
- Time to stitch! On the front of the paper pattern, stitch along the solid line between Section #1 and Section #2. It’s fine to start in the margin, but be sure to end in the correct spot on the pattern. If your machine has a stitch locking function, this is a great place to use it.
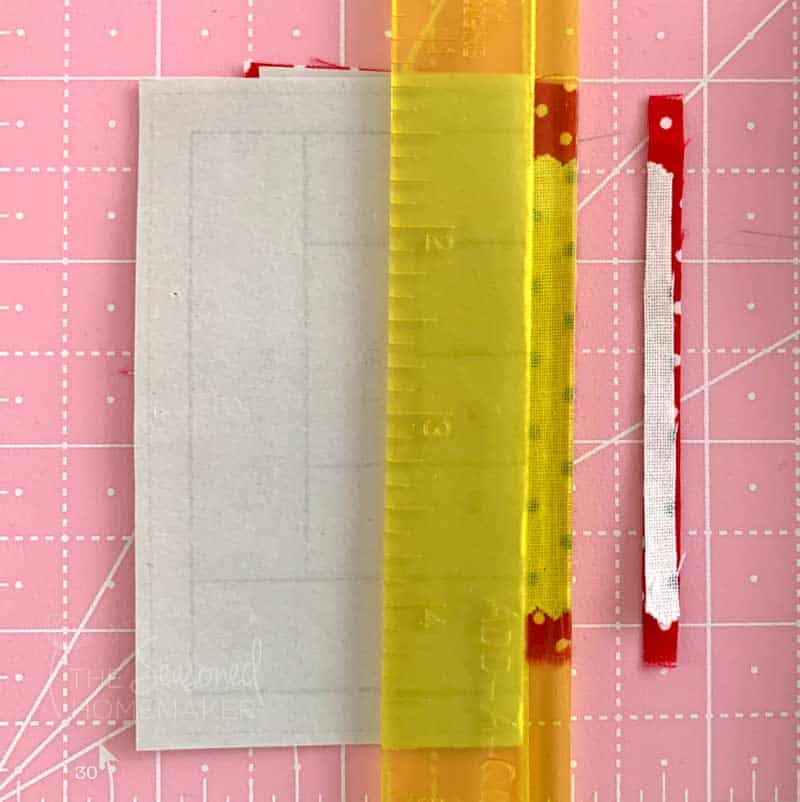
Step 5: Trimming the Seam
This is the best part because you will now be able to see how efficient FPP really is!
- On the seam line you just stitched, fold back the paper pattern just like you did when aligning the fabric.
- Place the lip of the Add-a-Quarter Ruler close against the seam. Be sure there are no puckers or uneven stitches. Trim down the seam allowance to 1/4″.
- Unfold the paper pattern and prepare to press the seam.
Pro Tip: Always double check your seam allowance before you trim and be careful not to cut away any of the paper pattern.
Step 6: Pressing the Seams
A lot of people prefer to use a Seam Roller to press their Foundation Paper Piecing seams between stitching because it’s easy to keep next to the sewing machine. Others will set up a mini iron next to their machine to press the seams.
If you prefer this, be sure to use a dry iron or you may get the paper template wet. Personally, I walk across the room to press my seams because it makes me get up and move.
- Place the printed paper template facing down and the fabric side facing up.
- Using one of the ironing methods mentioned above, press the seam toward the most recently added piece of fabric.
Step 7: Repeat
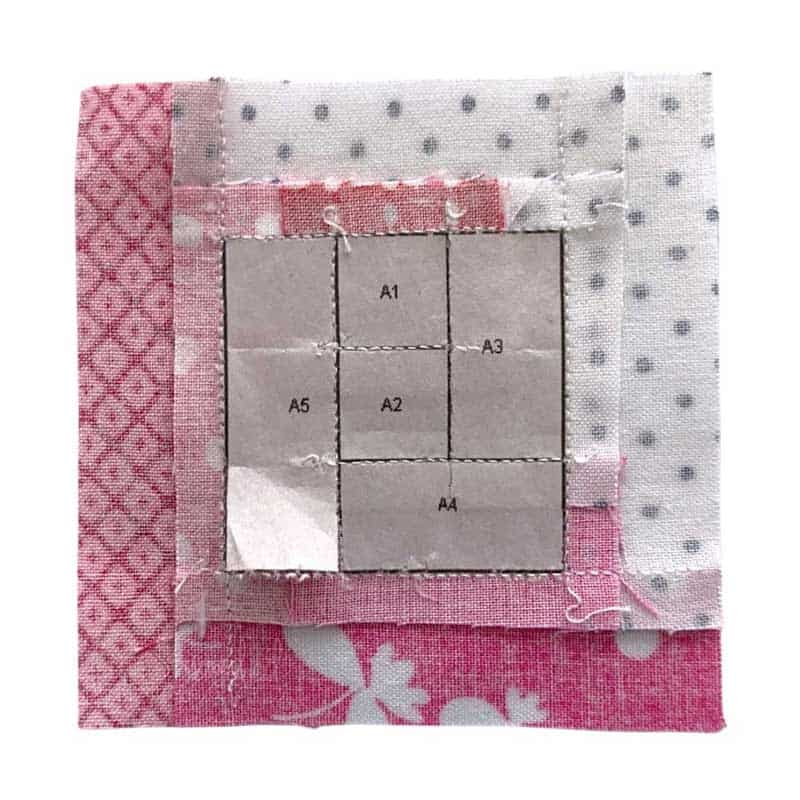
Repeat Steps #4 – #6 using the same process for the sections labeled 3 through 9.
Once you have finished sewing all of the pieces to the paper piecing foundation template you are ready to trim the block and remove the paper.
Step 8: Trimming the Block
Place the printed side of the paper pattern facing up and, using a rotary cutter, trim the block along the dotted line border.
Pro Tip: Using a square quilting ruler will give you the most accurate measurements.
You now will have a perfectly squared block that is 3.5″ with a 1/4″ seam allowance. When you connect these blocks the points will line up perfectly!
Pro Tip: Use a rotary cutter blade dedicated to cutting paper. If you use your regular fabric cutter it will dull your blade quickly.
- Remove all of the foundation paper from the back of your project.
- Press all of the seams flat on both the front and back.
Benefits of Foundation Paper Piecing
Quilting beginners should be encouraged to try foundation paper piecing because it’s practically fool-proof.
- Stitching on the paper line means seam allowances don’t vary – all seam allowances are 1/4″.
- Foundation paper pieced blocks match up because the block size doesn’t vary.
- Things like points are perfect every time.
- Foundation paper piecing is ideal for really small details in a quilt block.
- You can get wildly creative with your quilts once you’ve mastered foundation paper piecing.
While it takes a minute to wrap your head around the process, once you’ve mastered FPP, anything is possible.
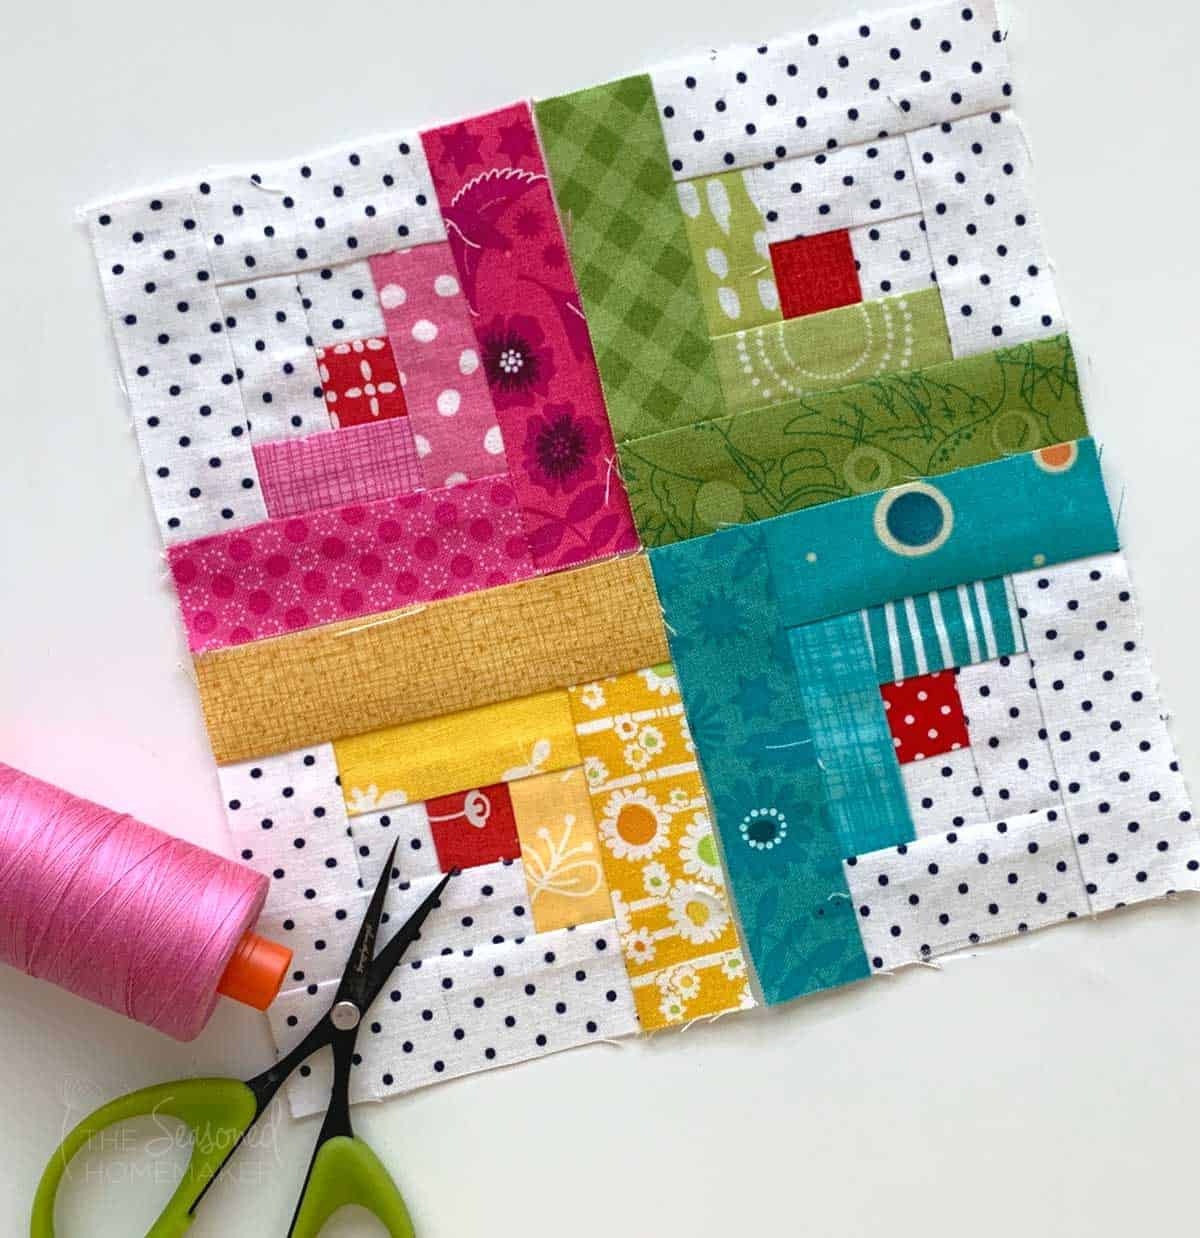
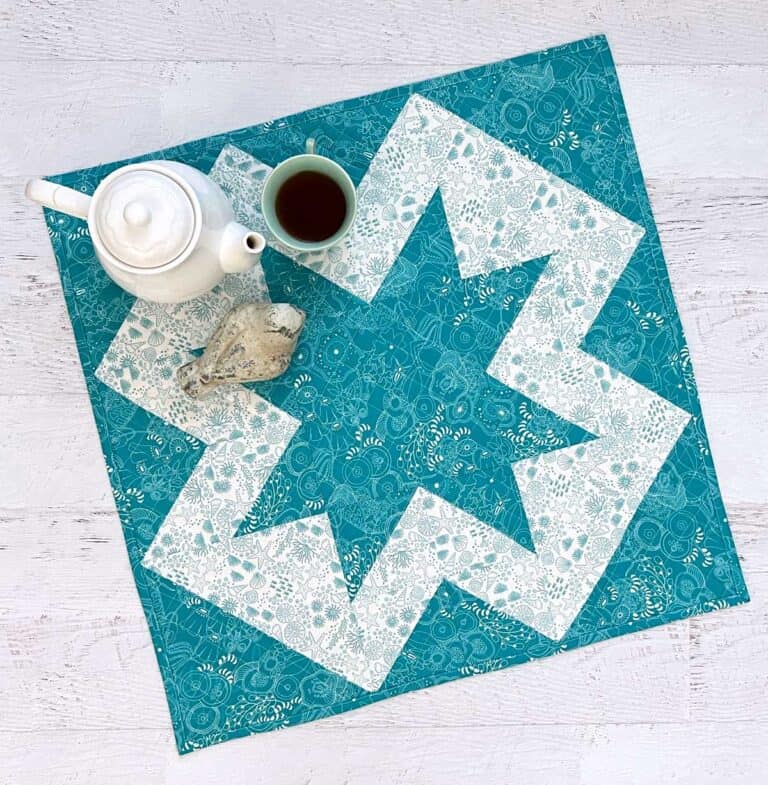
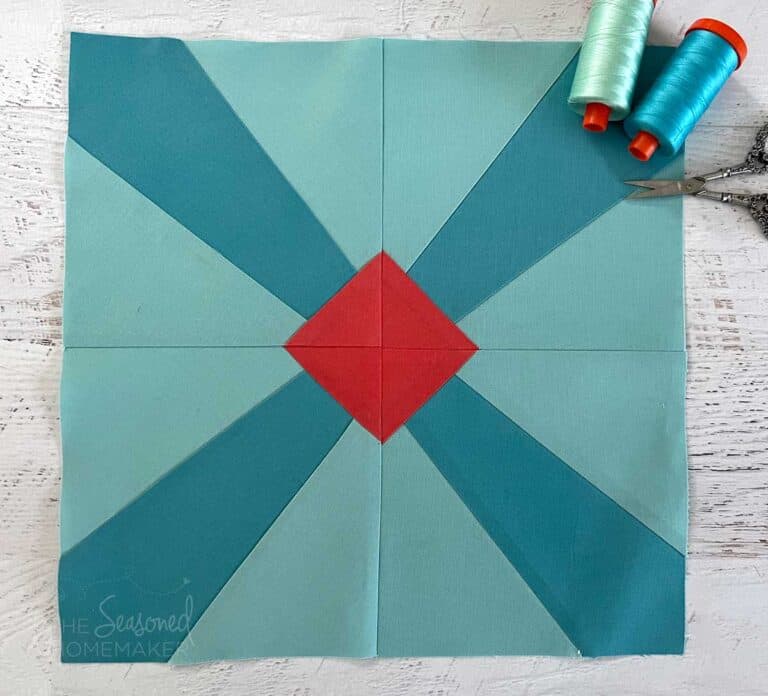
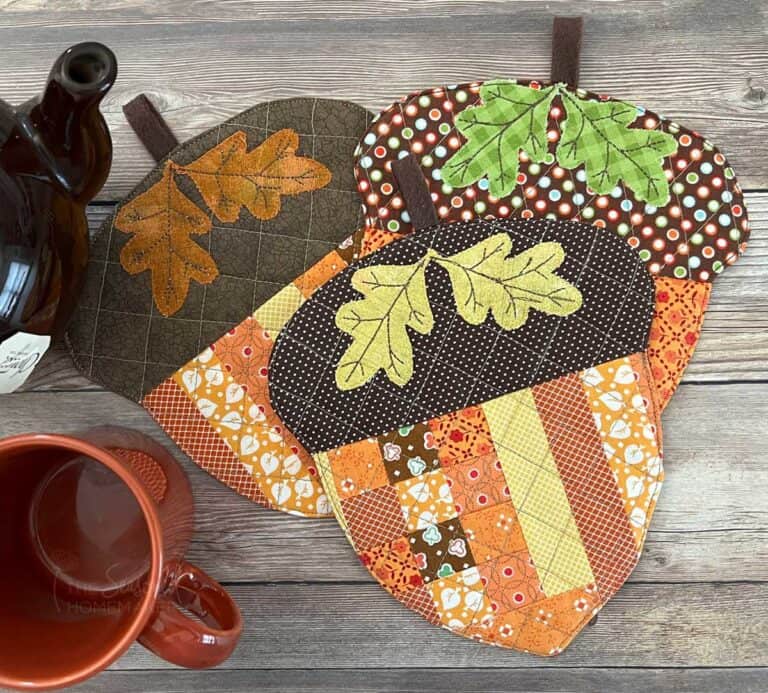
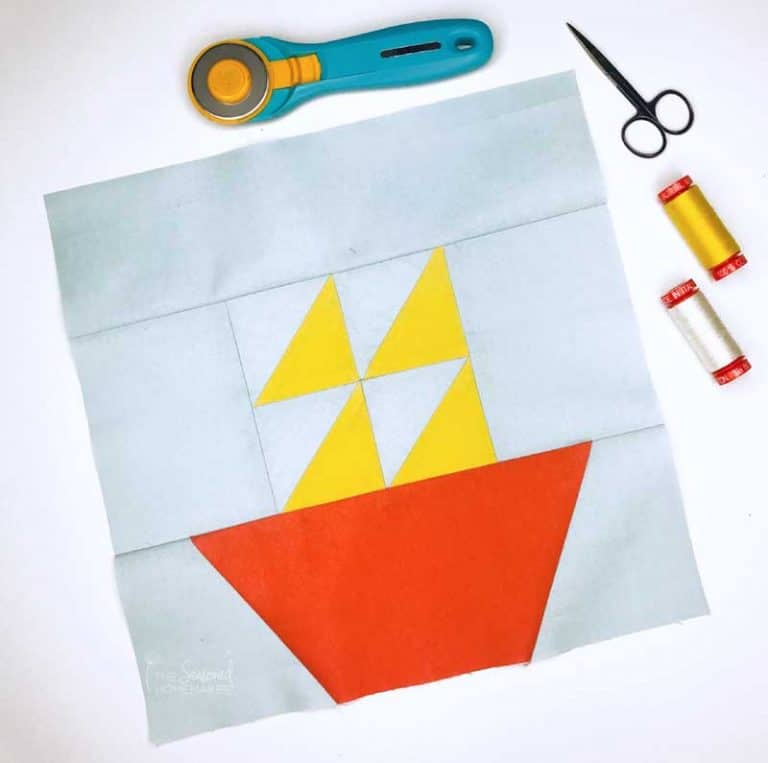
You now have a perfect 3″ Log Cabin block that can be the start of a quilt, table runner, hot pad, mug rug, or anything you can dream up.
Get 5 Templates + PDF Instructions!
Get the full Tiny Log Cabin FPP Quilt Block PDF Pattern in my Shop! This new pattern includes not only all of the directions from this tutorial PLUS the FREE 3″ FPP template, but also four other Tiny Log Cabin templates in the following sizes: 2″, 3″ (free in this tutorial), 4″, 5″, and 6″.
Advance your FPP Skills
Advance your foundation paper piecing skills with my tutorial Beginner Foundation Paper Piecing. It shows how to easily make four small FPP blocks that assemble into one unique block.
Save this pin for later!

