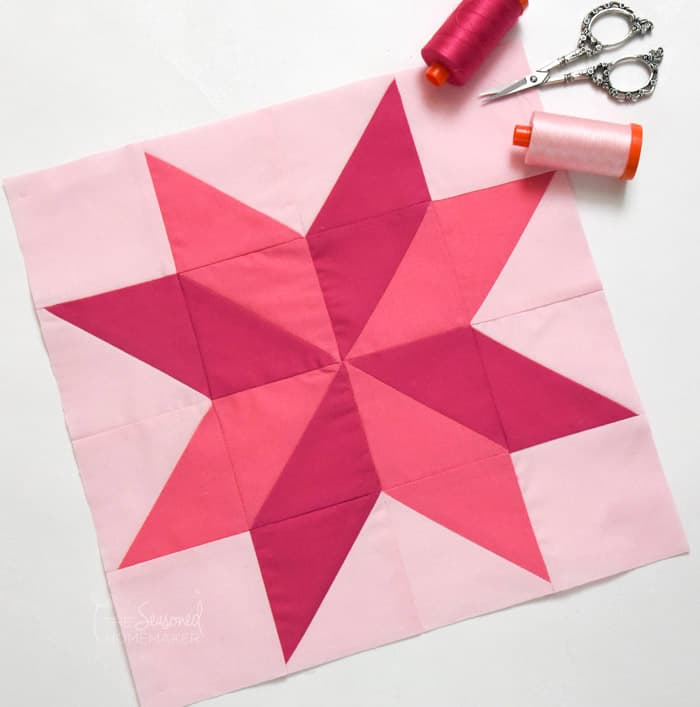
How To Make A Perfect Valentine Star Quilt Block
This post may contain affiliate links which won’t change your price but will share a commission.
INSIDE: How To Make A Perfect Valentine Star Quilt Block
I originally set out to make a heart block for February’s quilt block. While it’s always a good thing to know how to make a perfect heart quilt block, I chose a different block that has a Valentine’s look without being a heart. For those set on making a heart block, I have a Bonus block below.
As I’ve been planning out the monthly blocks, I want to make them in such a way that allows you to create a finished quilt. The goal is for you to make one quilt block a month. By making a simple star block you can experiment with different fabrics and styles. I’ve even included some quilt inspiration images at the bottom of this post in case you want to make enough blocks for a quilt!
Materials
- Fabric A Light – Background for Star Legs and Corners
- Fabric B Medium – HST’s and Star Legs
- Fabric C Dark – HST’s and Star Legs
Supplies
- Sewing Machine
- Quarter Inch foot for your sewing machine
- Aurifil 50 wt. Cotton Thread
- Water-Erasable Pen
- Sewing Pins
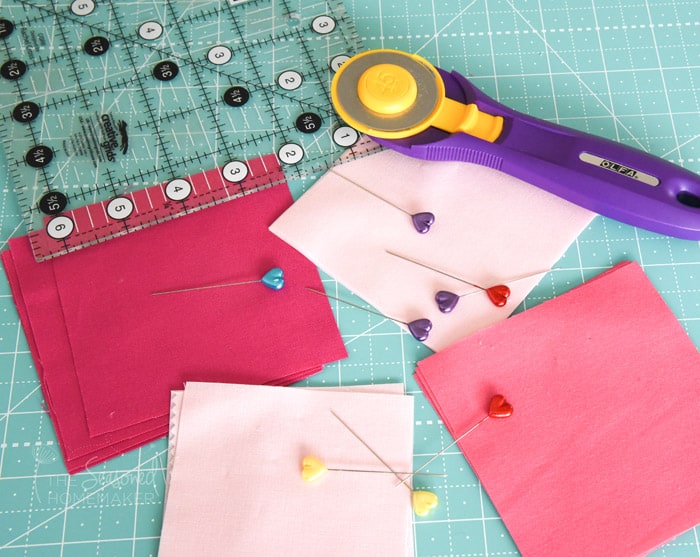
- Rotary Cutter with sharp blade
- Acrylic Ruler
- Self-Healing Rotary Cutting Mat
- Clover Roll and Press (optional)
- Iron & Ironing Board
- Wool Pressing Mat
How To Make A Perfect Valentine Star Quilt Block
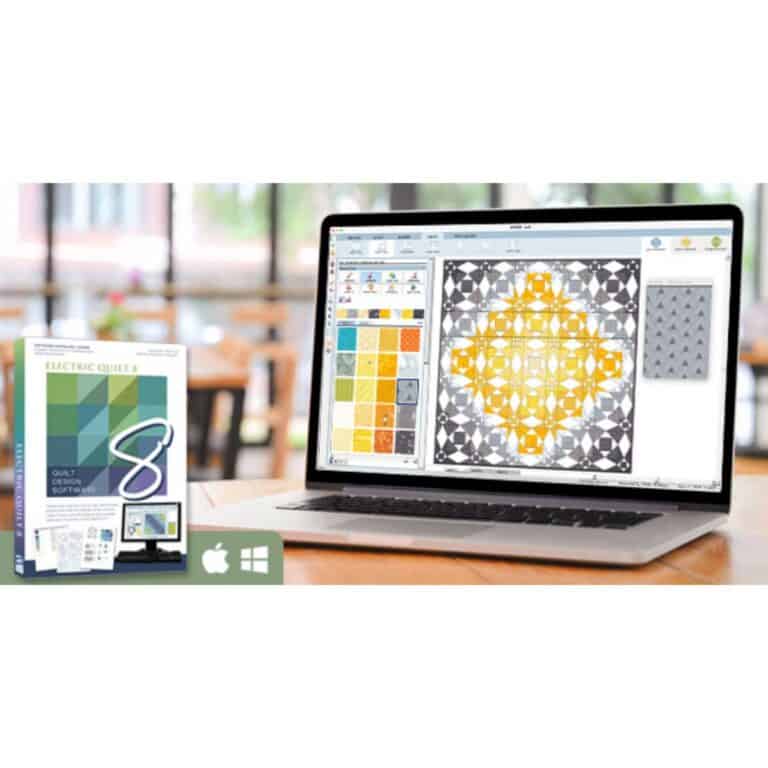
Technically, this block is named Sarah’s Choice on my EQ8 software. It’s a variable star with a pinwheel in the center. Historically, variable star quilts were popular during the pre-Civil War era. This leads me to believe that star blocks continue to be extremely popular with everyone.
Let’s make a quilt block.
Step 1: Get the FREE Valentine Star Template
I’ve created a Block Assembly Template that you can download for free. To download the FREE Valentine Star Template (2 pages), click the button below. You’ll be taken to the Freebies section of my Shop.
Want an ad-free, printable copy of this tutorial? Scroll to the bottom of this post for more details!
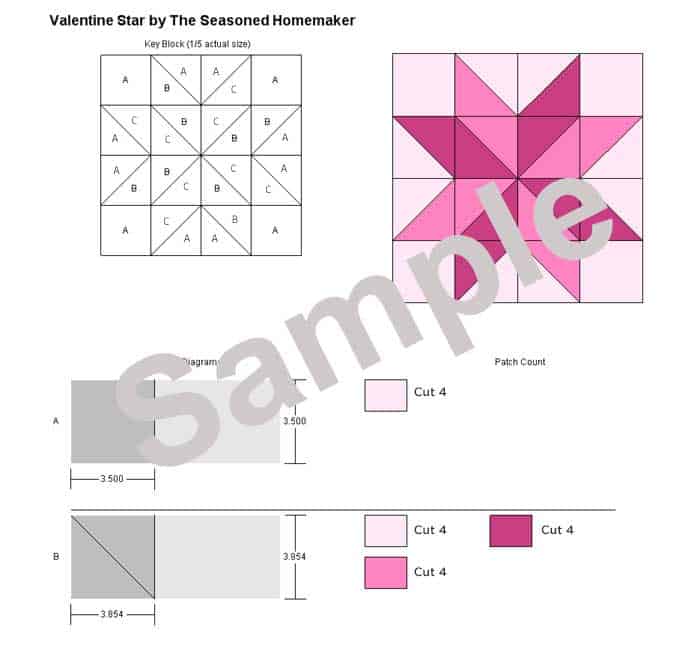
Step 2: Cutting
Cut out the following using the diagram above. Note: See Step 1 above to grab the FREE Assembly Diagram!
Step 3: Half Square Triangles
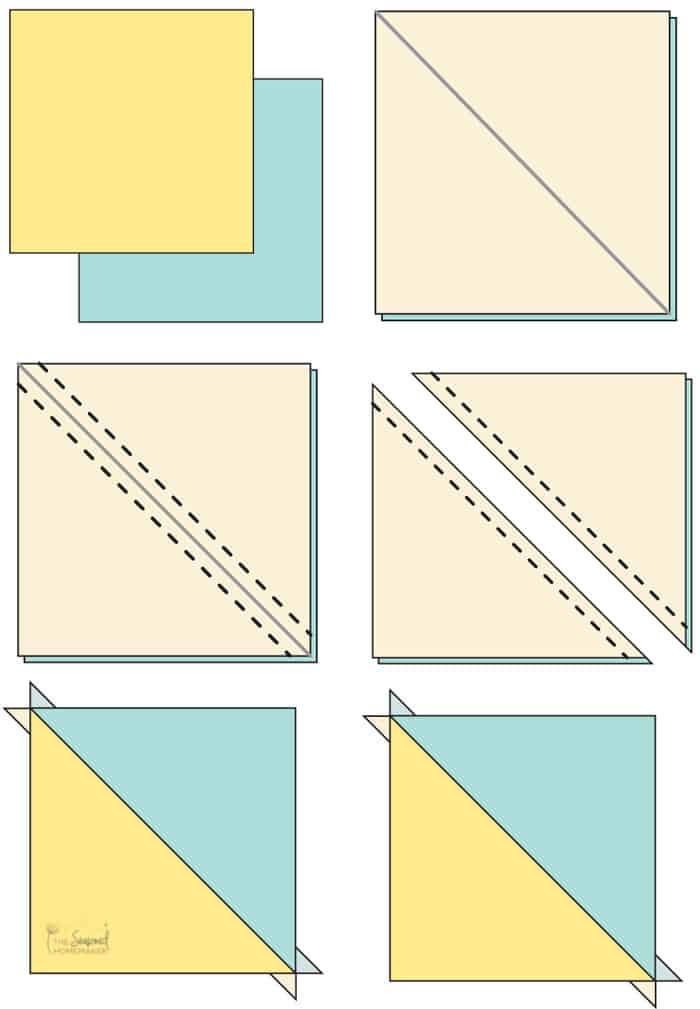
The Valentine’s Star Quilt Block is just a series of half square triangles (HST) that easily go together. Follow these directions to create your own HST’s.
- Place a light and a dark fabric square right sides together.
- Use a pencil or water soluble marker, draw a diagonal line from one corner to the opposite corner. Personally, I prefer a pencil, but this will ultimately depend on the fabric you’re using.
- On both sides of the diagonal line, stitch a scant 1/4″ seam.
- Using an acrylic quilter’s ruler and rotary cutter, cut along the pencil line.
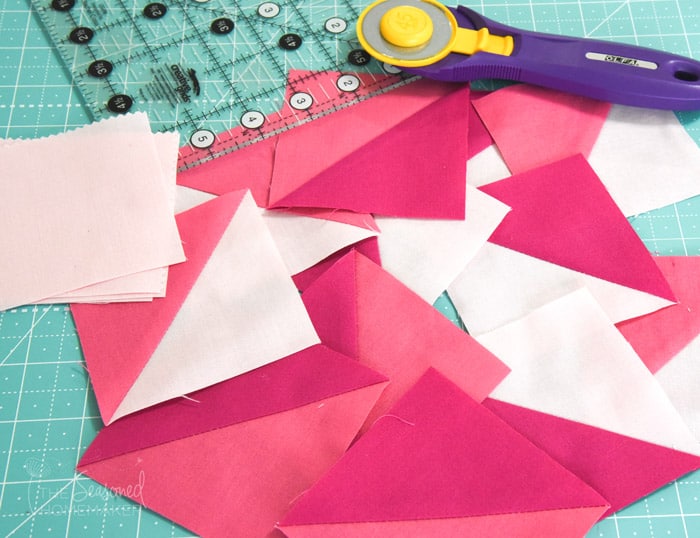
- Make two pairs of HST’s from the light pink fabric and medium pink fabric.
- Make two pairs of HST’s from the light pink fabric and dark pink fabric.
- Make two pairs of HST’s from the medium pink fabric and dark pink fabric.
- Press the seams towards the darker fabric. I like to use the Clover Roll and Press to avoid ironing until I’m finished.
- Trim all HSTs to 3.5″.
Step 4: Creating the Block
Now comes the fun part – when your block comes together. Assemble the block using the image below as a guide. Be sure to nest seams as you connect the rows together. Pay close attention to where the points meet.
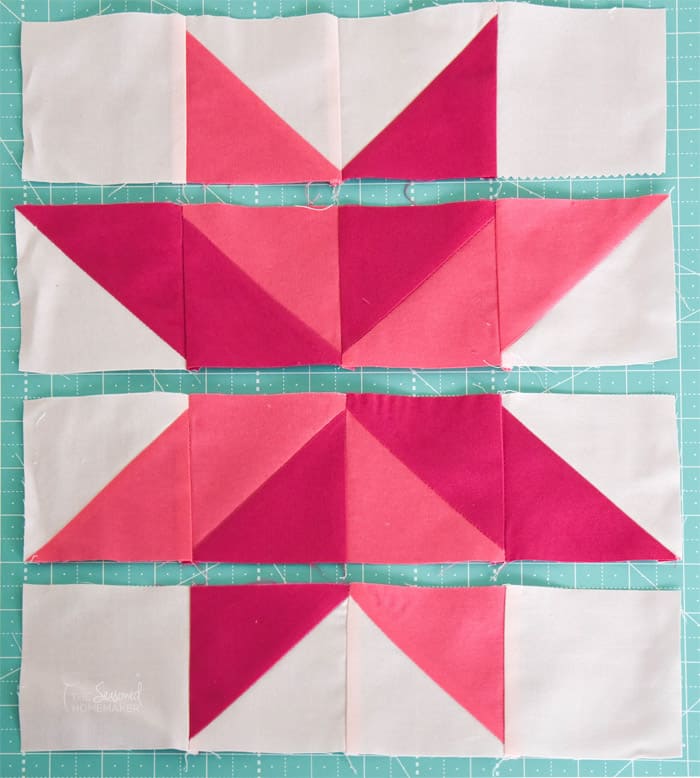
The finished block size is 12.5″ x 12.5″.
There you have it. A perfect Valentine Star Quilt Block.
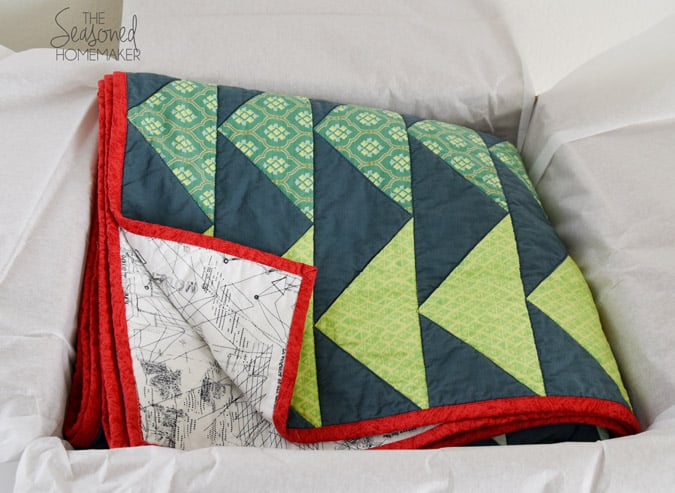
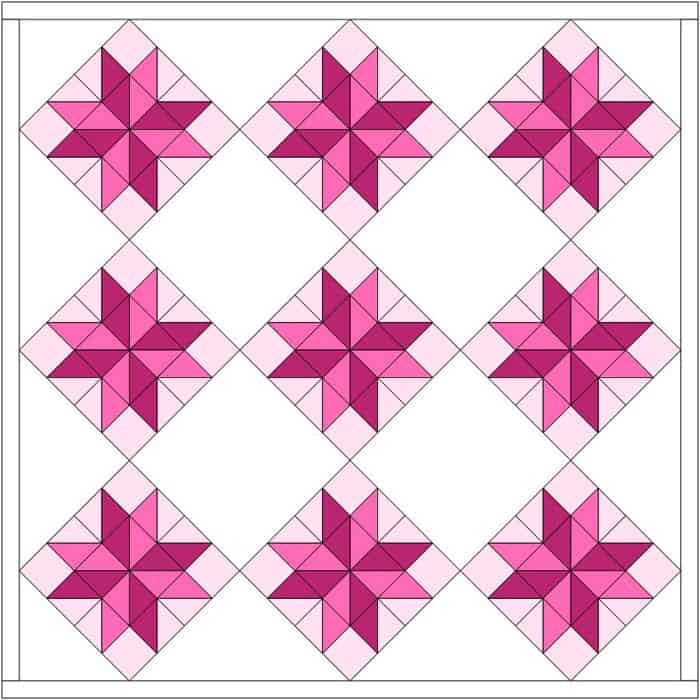
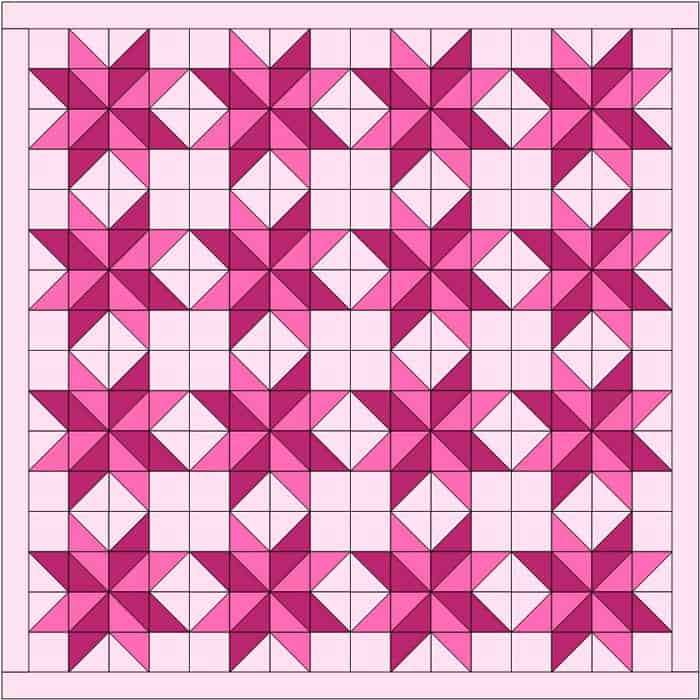
Quilt Inspiration
If you really love this block, I have a couple of quilt ideas for you. The first is a modern version with lots of negative space. Notice how the pinwheels are now in a new direction.
For those of you who love a more traditional quilt, I created this one. Notice all of the secondary designs such as the triangles. This would be so much fun to quilt.
Faceted Valentine Heart Block
I also created this fun faceted Valentine Heart Block. As you can see, it is also a series of HST’s. Follow the same size cutting directions for making the HST’s. It’s a little tricky to put together and there is a some wasted fabric. But I love the way it turned out.
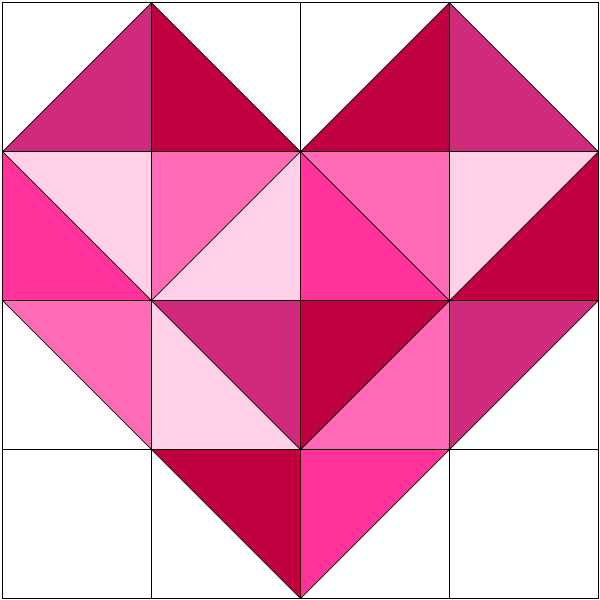
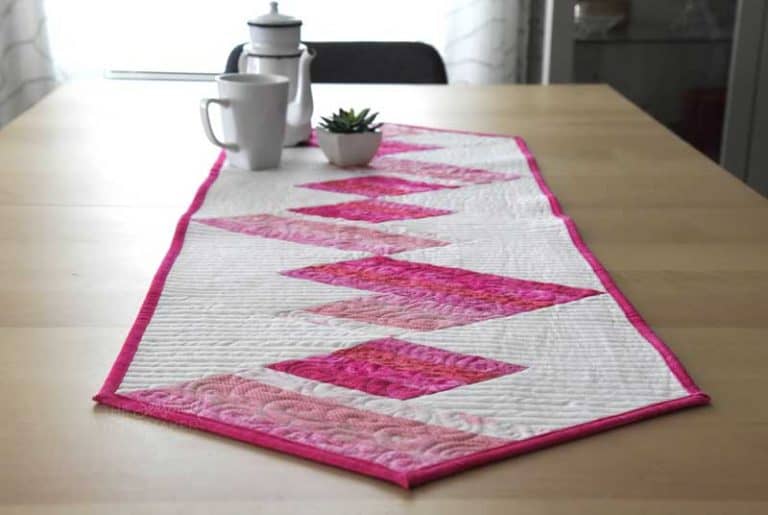
These two blocks can be made into fun wall hangings, a sweet Valentine’s table runner, or a fun throw pillow.
The Valentine Star Quilt Block is a great skill building block and that is why I’m encouraging you to give this one a try. You’ll be surprised at it’s simplicity and versatility. Best of all, it can be made in very little time.
>>> Want a printable version of the post? Click the pink button, and download the Printable PDF instructions.