How to Make an Envelope Pillow with a French Seam
This post may contain affiliate links which won’t change your price but will share a commission.
Inside: How to Make an Envelope Pillow with a French Seam
If you regularly read this blog, you may have noticed that I’ve had an obsession with pillow-making. While the topic of pillow-making has been completely covered here, I didn’t want to move on without creating a pillow tutorial for the absolute beginning sewist.
How to Make an Envelope Pillow with a French Seam
I’ve created a very-simple-anyone-can-do-it tutorial to teach absolute beginner’s the very basics of sewing while stitching up an envelope pillow.
With this pillow, I’m also including instructions on how to interface fabric and how to sew a French seam. Both of these techniques will be invaluable to your future sewing.
Best of all, you will be amazed at how easy this is!
Supplies:
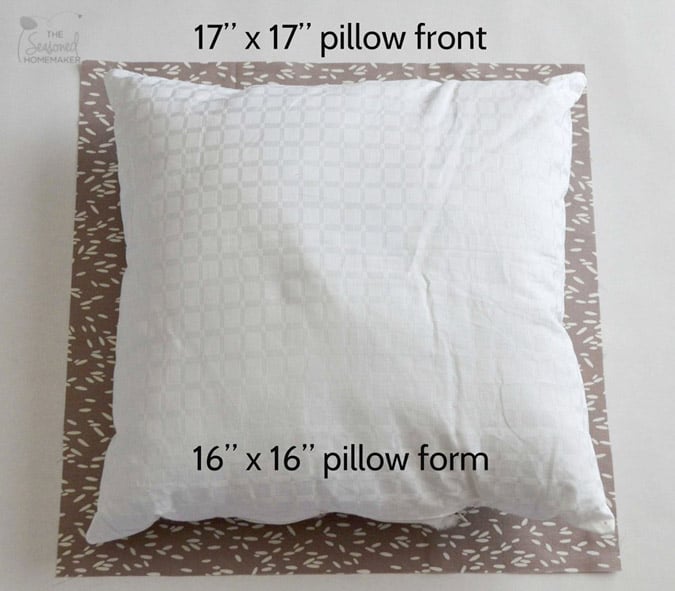
16” x 16” Pillow Form (Joanns/Hobby Lobby/thrifted pillow)
1/2 yard of 100% Cotton Fabric (quilting weight) {I’ve used 2 Quilting Fat Quarters}
1/2 yard fusible Woven Interfacing (Optional) – affiliate
Pins and Pin Cushion
Water Soluble Marker
Sewing Gauge
Yardstick
Sewing Machine
Scissors
Rotary Cutter, Quilter’s Ruler, Self-healing Mat
Pre-Project Steps:
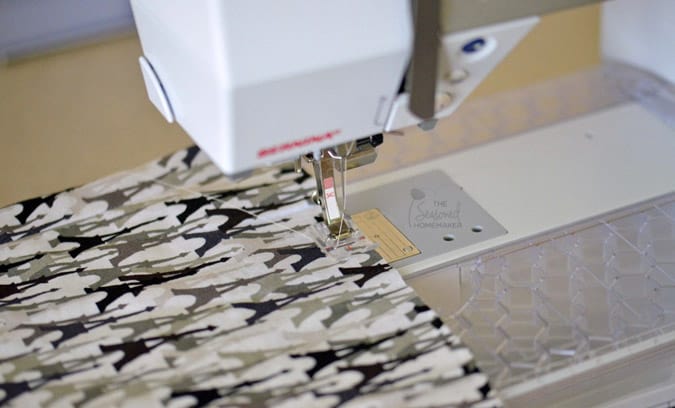
You will need to be familiar with your sewing machine. Have it threaded in a complementary color thread with a new needle (80/12). You may want to sew a few practice seams on some fabric scraps before moving forward. If you struggle with this step, check out YouTube for video instructions specific to your sewing machine.
Another pre-project step would be to wash, dry, and press your fabric. You NEVER want to work with wadded up, wrinkled fabric.

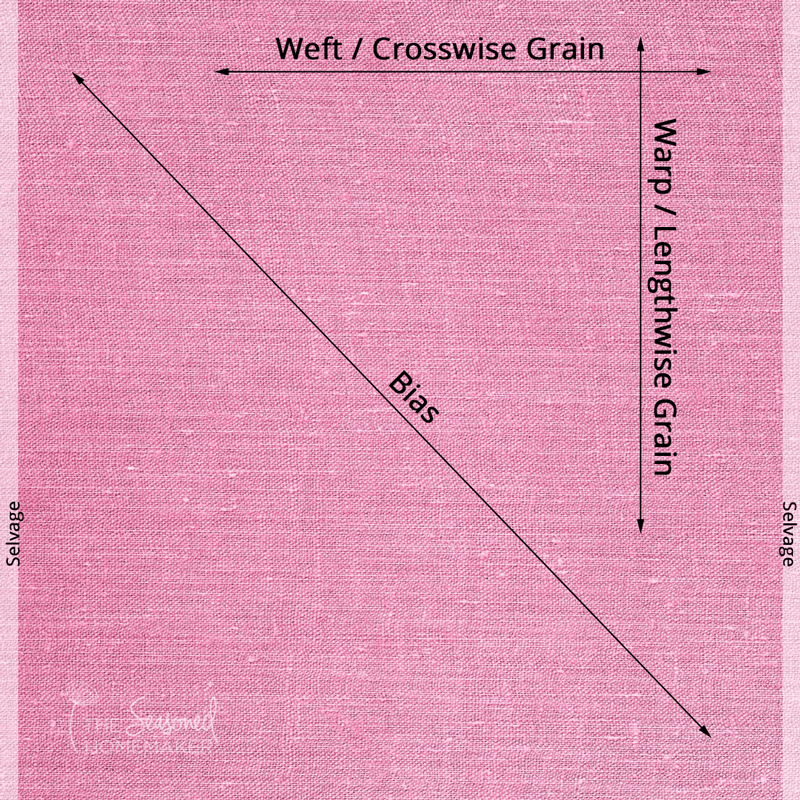
Step 1: Find the Fabric Grain Line
See image below to learn how to find the fabric grain. This step is essential when sewing with wovens.
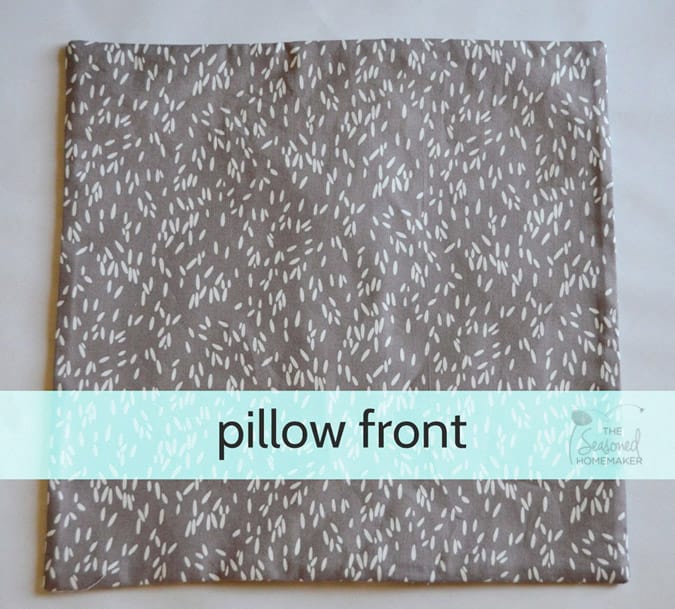
Step 2: Cutting Out the Pillow Front
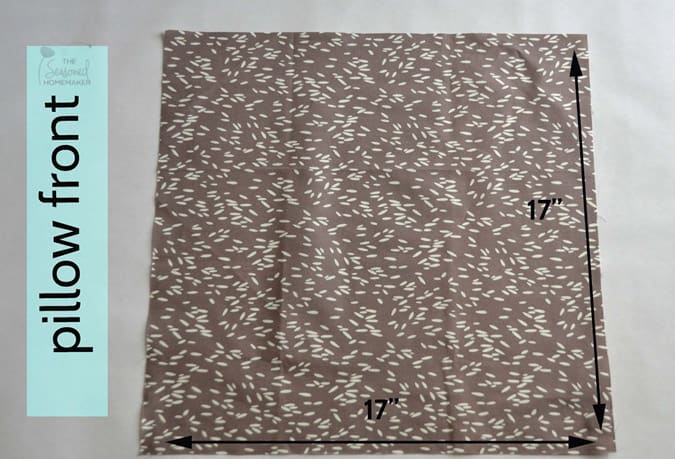
Cut a square from your fabric for your Pillow Front that is 1″ greater in length and 1″ greater in width than the pillow form. I cut out a piece that is 17″ x 17″ since my pillow form is 16″ x 16″.
Pro Tip: If you want your pillow form to fit more snugly, then decrease each measurement by 1/2”.
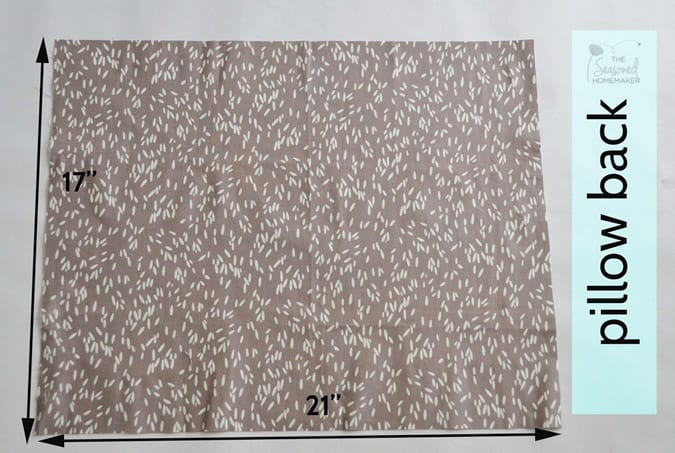
Step 3: Cutting Out the Pillow Back:
Since this is an Envelope Pillow, you are going to need a piece that is a little bit wider for your Pillow Back.
To make the envelope part, follow this simple formula: Take your pillow form dimensions and add 1″ to the length and 5″ to the width.
For our pillow, that means cutting out a piece of fabric that is 17″ x 21″ {because my pillow form is 16″ x 16″ and 16 + 5 = 21}.
NOTE: If you want your pillow form to fit more snugly, then decrease each measurement by 1/2”.
Optional Step: Adding Interfacing
Most quilting-weight fabrics cost around $5-$10 per yard while décor fabrics cost around $20-$$$$ per yard.
A good way to make an inexpensive quilting-weight cotton act like a décor-weight fabric is to interface the back. Doing this will make your inexpensive fabric feel like an expensive fabric.
I prefer a fusible woven interfacing like Pellon ShapeFlex 101 which can be picked up at Joann’s or Hobby Lobby. (affiliate)
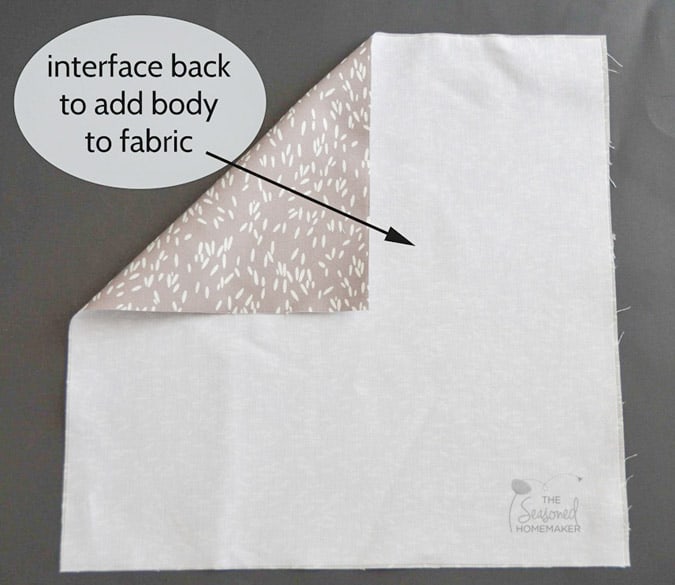
The product comes with instructions, but all you need to do is set your iron to wool/steam. Place the fusible side of the product onto the wrong side of your fabric. {HINT} Cut out the interfacing 1/4” smaller on each side and it will fit the fabric better.
Press (with steam) for 10 seconds, working across your fabric until the interfacing covers the back of your fabric.
Step 4: Cutting Pillow Back in Half
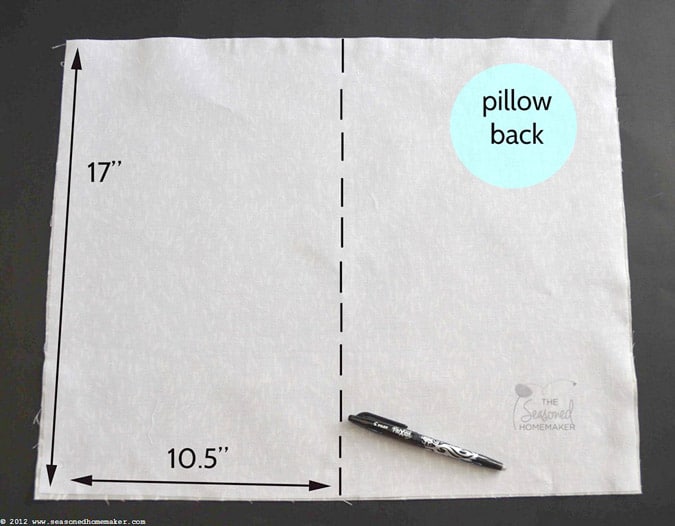
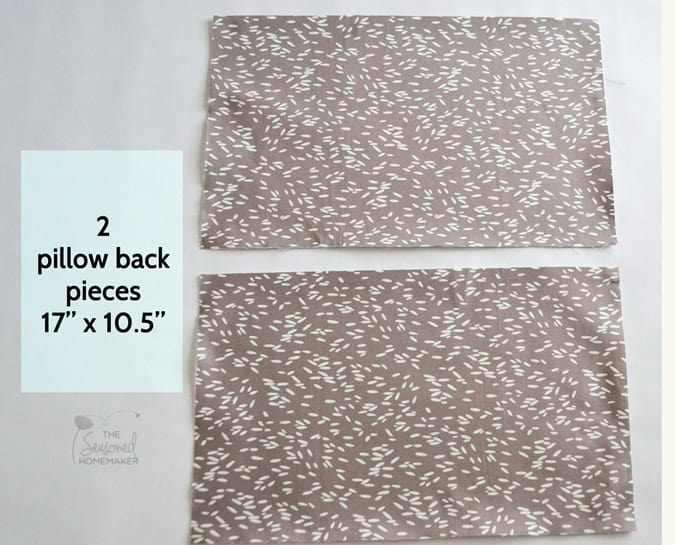
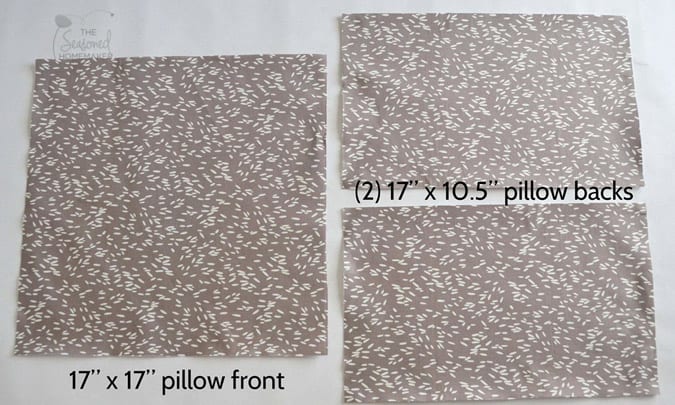
Once you have your Pillow Back cut out, flip it so the wrong side is facing up. Find the middle of the 21” side; this will be 10.5″ from the side. Draw a cutting line down the middle with a water soluble marker.Next, cut the Pillow Back in half on the cutting line. This will leave you with two pieces that are 17” x 10.5”Now, you have all of your pillow pieces cut out.
Step 5: Finishing Edges of Pillow Back
You will now need to finish the edges that form the ‘envelope’ for your Pillow Back before attaching the Pillow Front to the Pillow Back.
You are going to create a double-turned hem, like you find on most jeans.
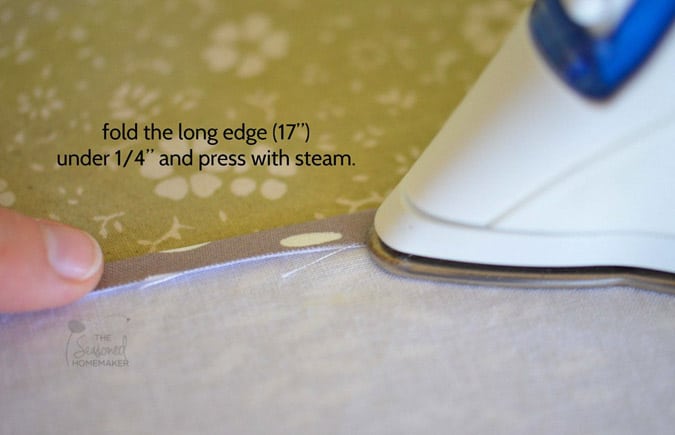
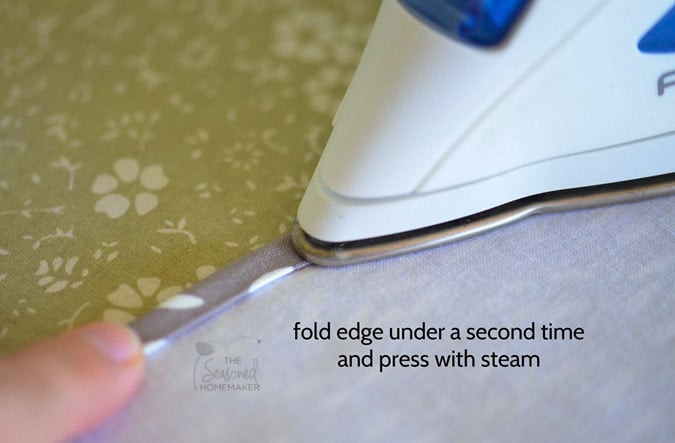
Fold the long edge (the side that is 17″) under 1/4″ and press.Now, fold over the same edge a second time and press. Doing this encloses the raw edge of the envelope portion of the Pillow Back. That’s how simple it is to make a double-turned hem.
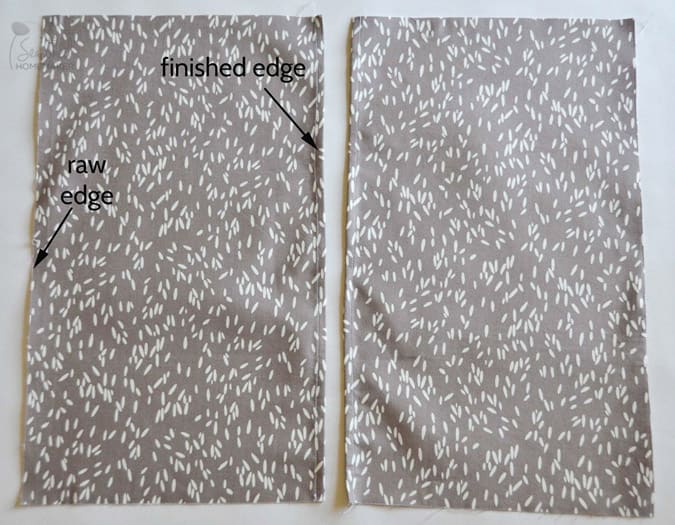
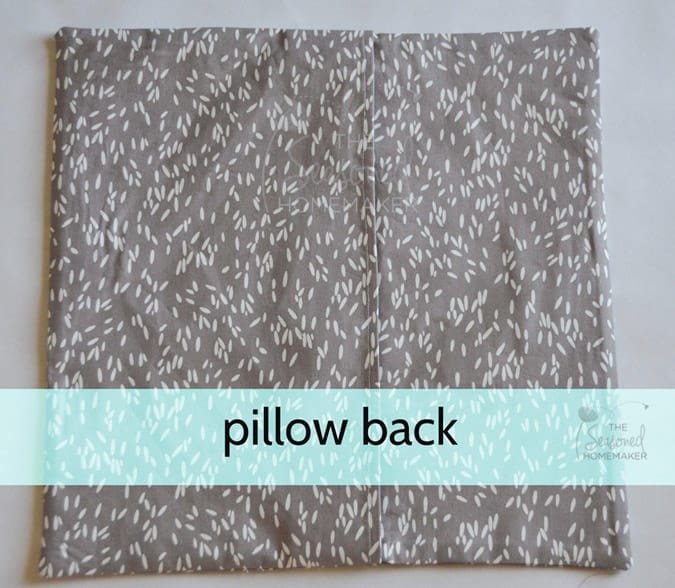
Repeat on the other Pillow Back piece.Stitch down the folded edge of both Pillow Back pieces using a 2.5mm stitch length.You now have two Pillow Back pieces that are 17” x 10”. When you assemble the pillow, the two finished edges will overlap to form the envelope.
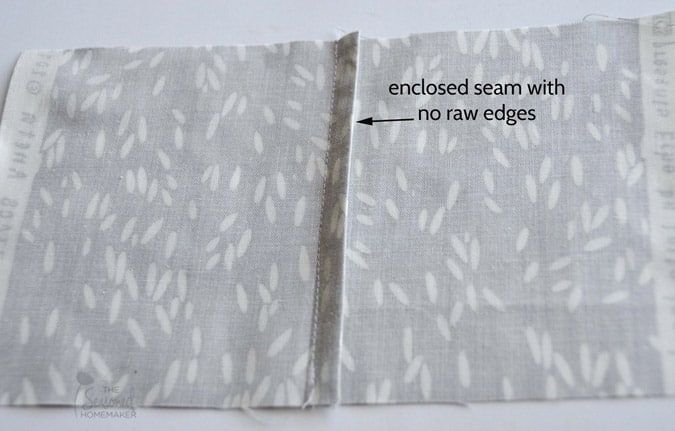
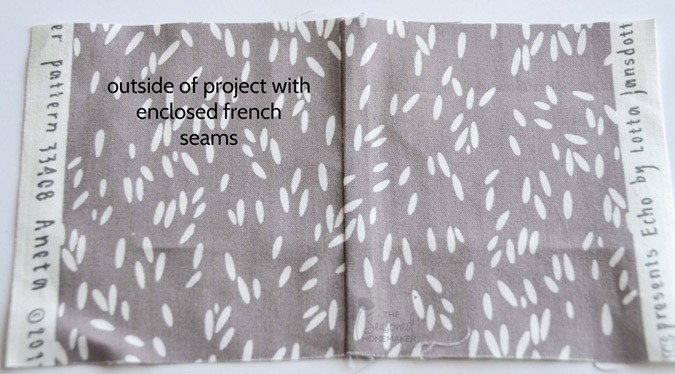
About French Seams
We are about to attach the Pillow Front and the Pillow Back pieces using a French seam. This type of seam encloses the raw edges and gives you a finished look on the inside as well as the outside. It is also extremely durable because it is double stitched.
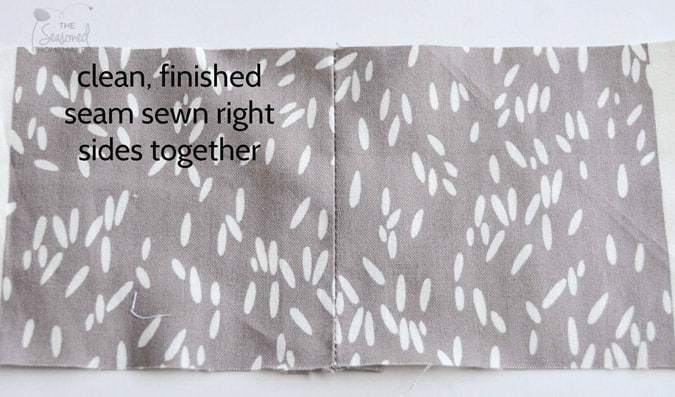
Normally, when you attach seams together you place your fabrics Right Sides together. Then you stitch a seam and turn the fabric.
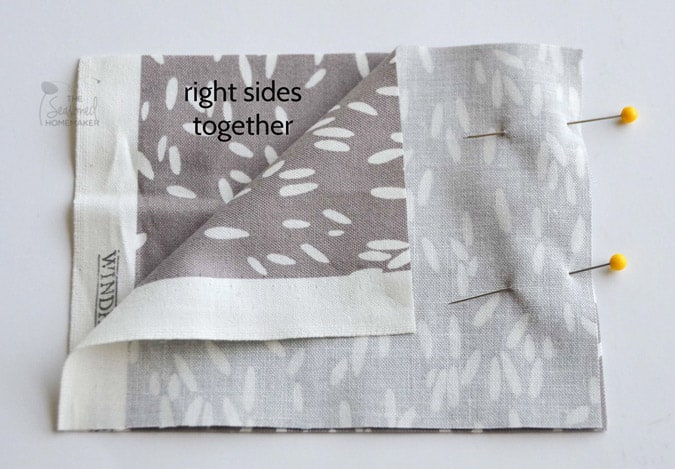
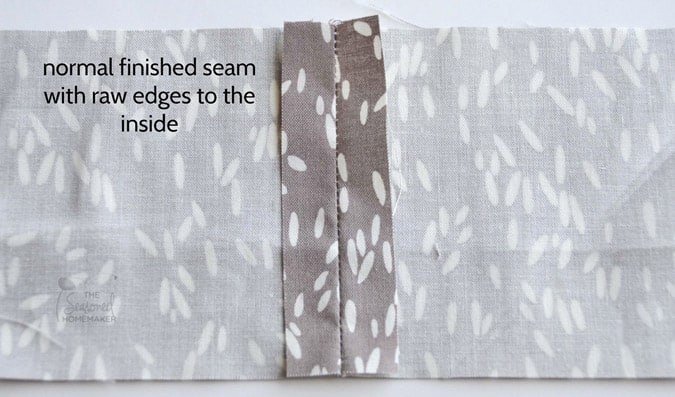
This gives you a clean edge on the outside of your project and raw edges are on the inside of your project.
A French seam is different because it encloses the raw edges and creates a ravel-proof seam. This is done by stitching the seam twice.
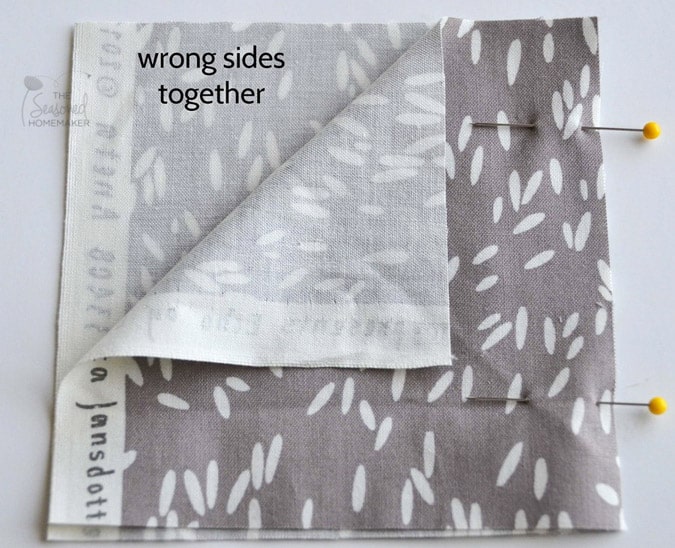
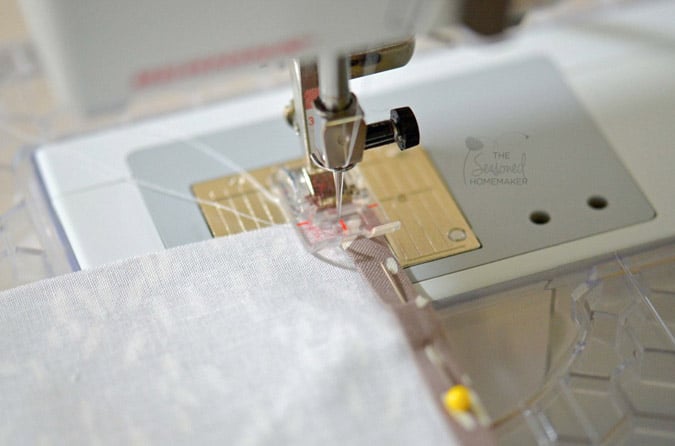
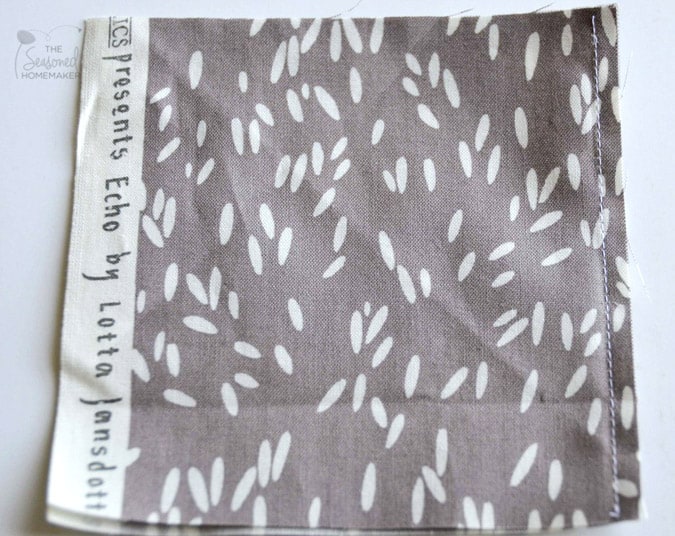
Begin by pinning your fabrics Wrong Sides together.Stitch together using a 1/4” seam allowance.
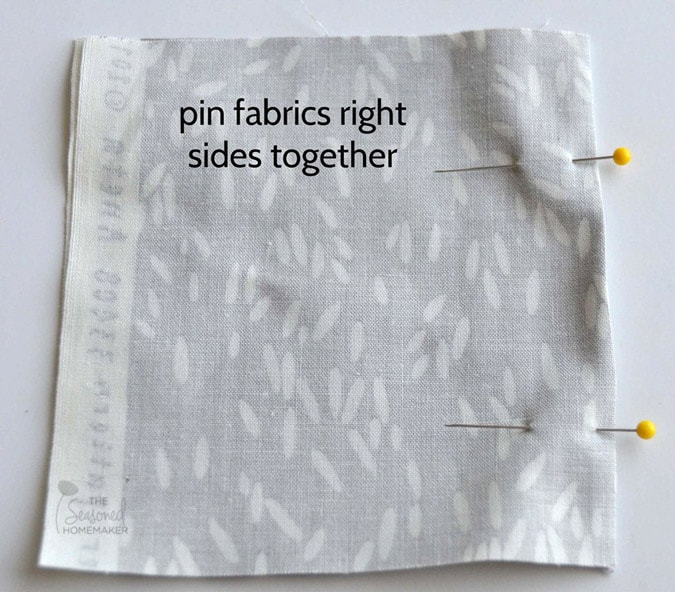
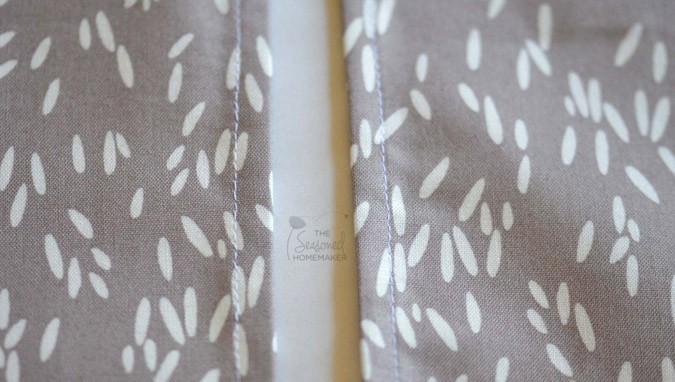
Stitch together using a 3/8” seam allowance. This will allow you to enclose the first seam and will prevent any ‘whiskers’ from showing on the front of your project.
If you are new to sewing, you may want to practice this method before continuing.
Step 6: Attaching Pillow Front and Pillow Back
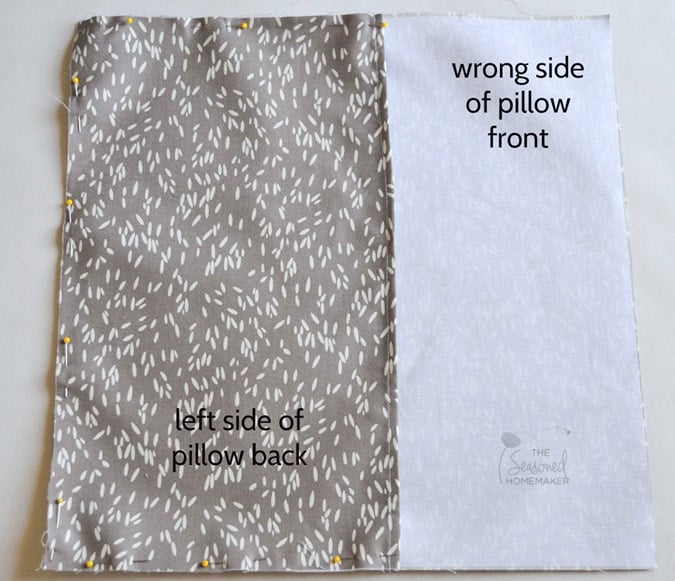
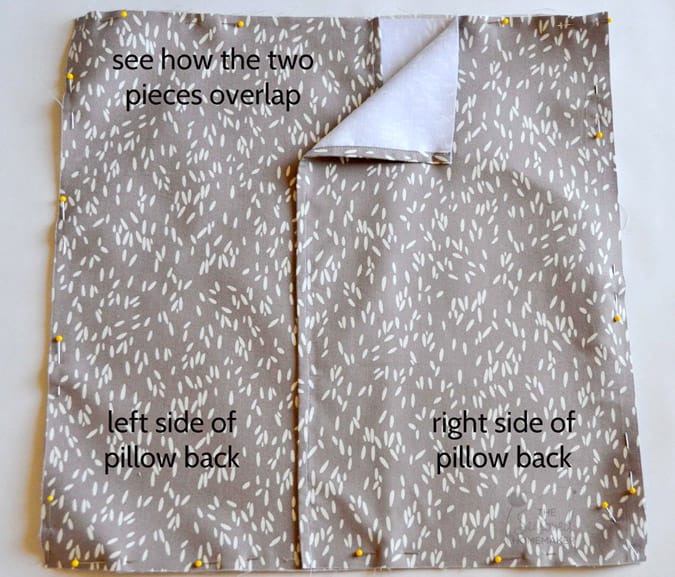
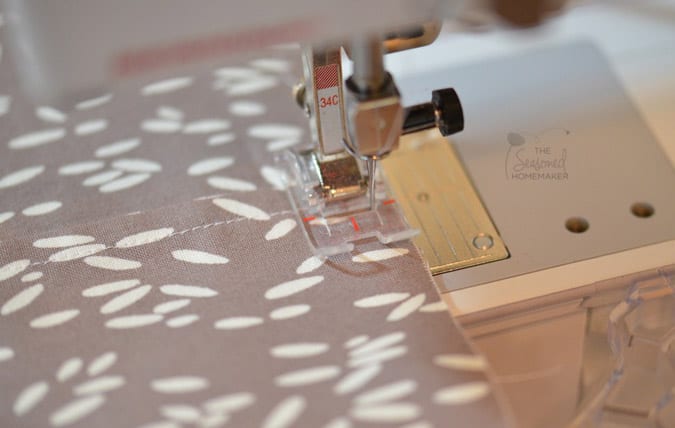
On a flat surface, lay out the Pillow Front with the wrong side facing up. With wrong sides together, lay the left Pillow Back piece on top of wrong side of Pillow Front, matching the left corners. Pin to hold.Next, with wrong sides together, lay the right(hand) side of Pillow Back on top of Pillow Front. This piece will overlap the left side of Pillow Back.Using a 1/4” seam allowance, stitch around the entire pillow, backstitching at the overlaps.
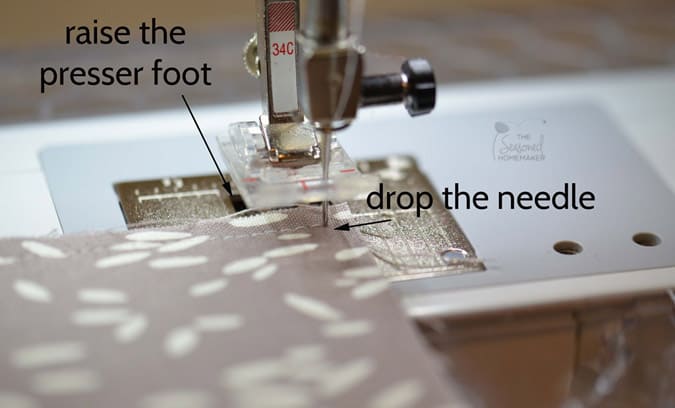
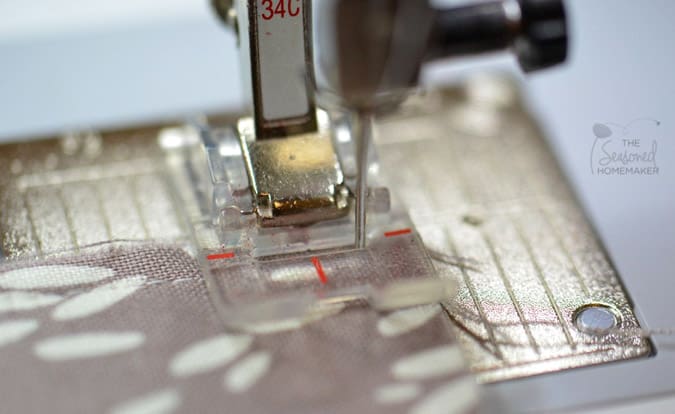
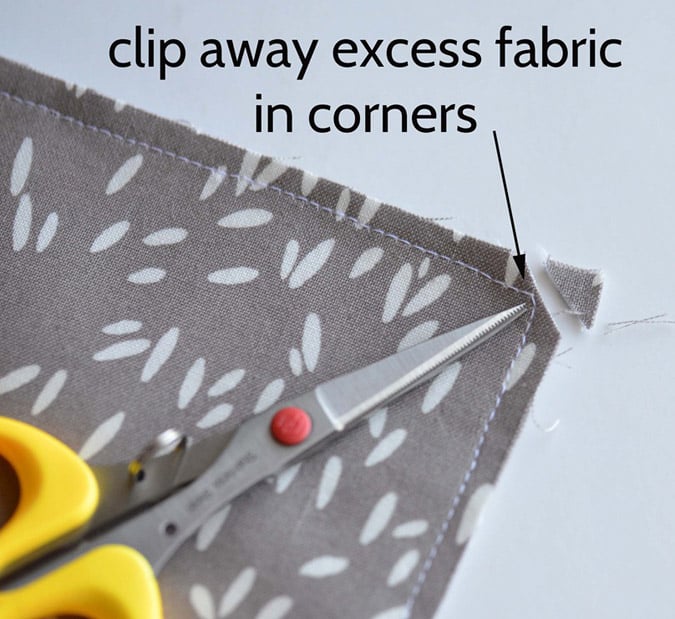
Carefully remove pins as you stitch. You do not want to sew over pins.When you come to each of the corners you will want to stop sewing, drop the needle, and raise the presser foot.Pivot the fabric around the corner, lower the presser foot, and continue sewing until you reach your starting point.Carefully, clip the fabric from each corner to allow for less bulk when turning. Be careful not to cut into the seam allowance.Turn pillow inside out with Pillow Front and Pillow Back pieces now facing right sides together.
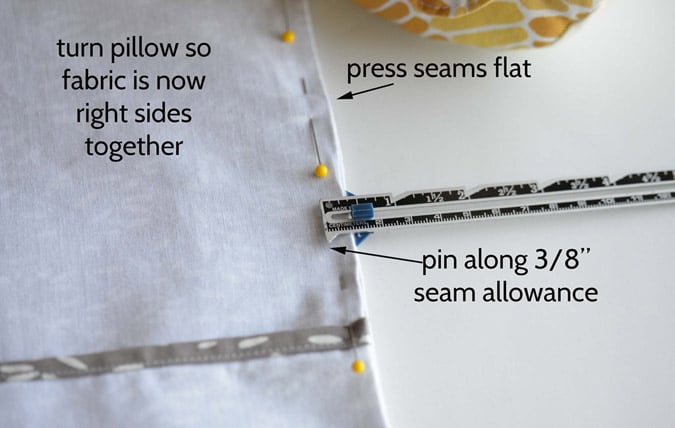
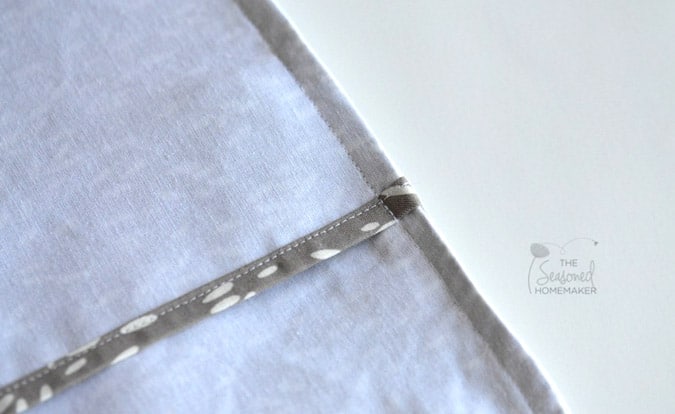
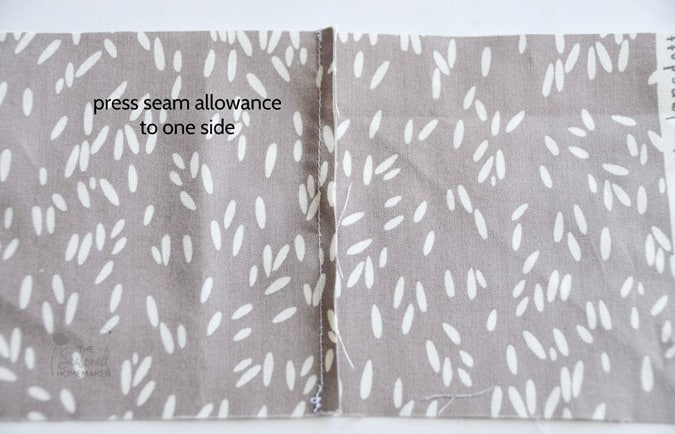
Press the seams flat and pin along the 3/8” seam allowance. Stitch a 3/8” seam around the pillow’s perimeter; be sure to pivot at the corners.Can you believe that this is the inside of our pillow cover?Turn the pillow cover right side out. Push out the corners with something that has a blunt tip, like a knitting needle or chop stick.
Press the entire pillow cover until it lays flat.

Slip the pillow form into the envelope opening in the back.
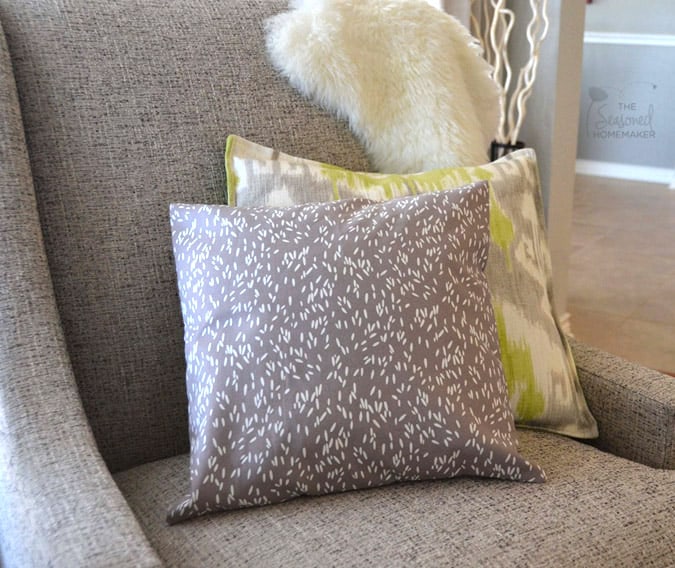
Simple and chic! The possibilities are endless…