Super Easy Valentines Day Project
This post may contain affiliate links which won’t change your price but will share a commission.
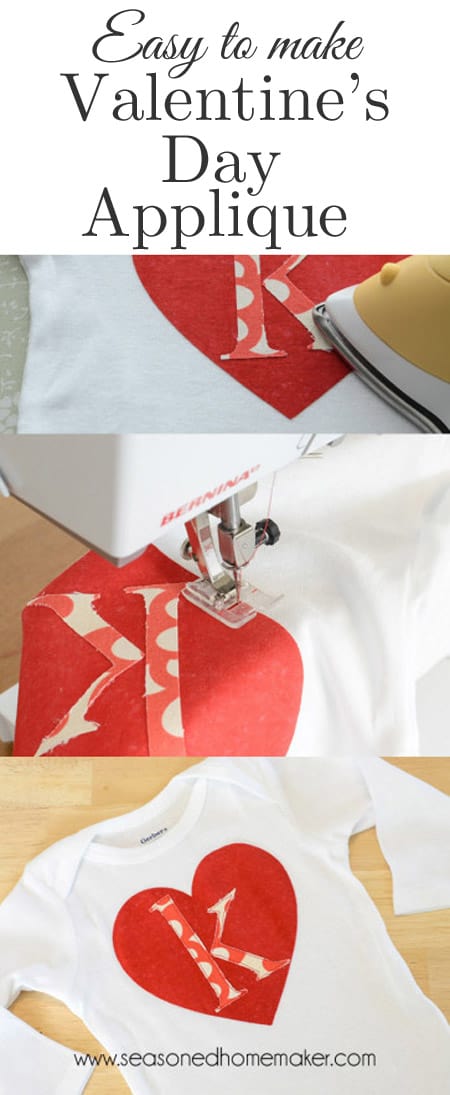
How about a Super Easy Valentines Day Project. In my book this project has it all. It’s fast and easy, perfect for a child, doesn’t require special skills or expensive equipment, and you get a lot of bang for your buck.
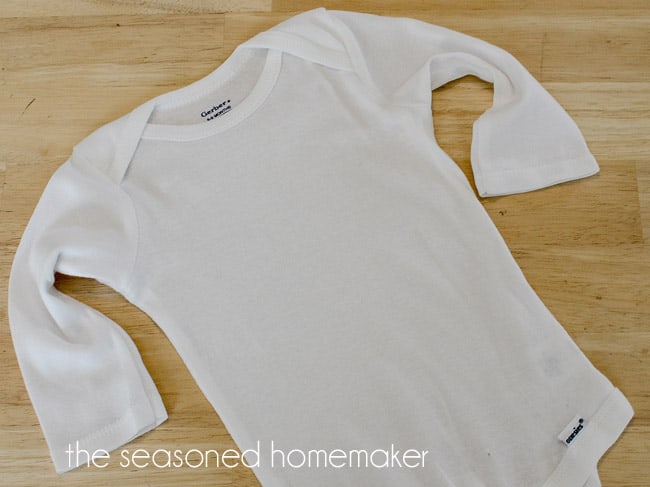
Begin With a Onesie
I am almost embarrassed to even show you the steps because there is so little to this. The photo above really shows you what to do. However, if you’ve never done an appliqué before, then you might want to check out some of my other applique posts on the subject. I pretty much cover all of the basics you will ever need to know.
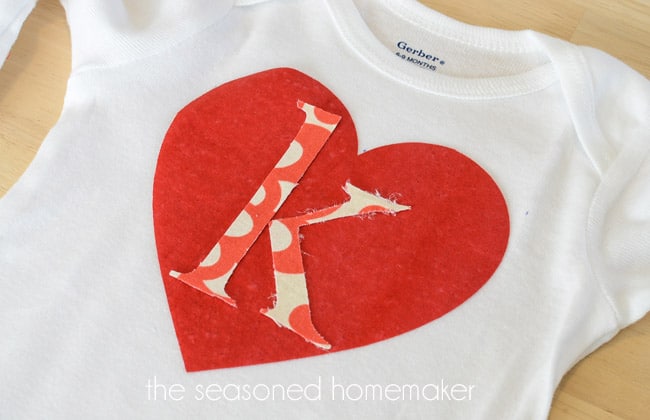
Almost all of my posts on appliqué begin with, “I needed a baby gift.” And, it just happens to be Valentine’s Day. Why not combine them. {Personally, I think this idea would work for most holidays – a fall leaf, a shamrock, a Christmas tree, etc. – just replace the heart with the current holiday}.
Anyhoo, back to the project. You will need a onesie for a baby or a t-shirt for a child. Be sure to iron out any wrinkles.
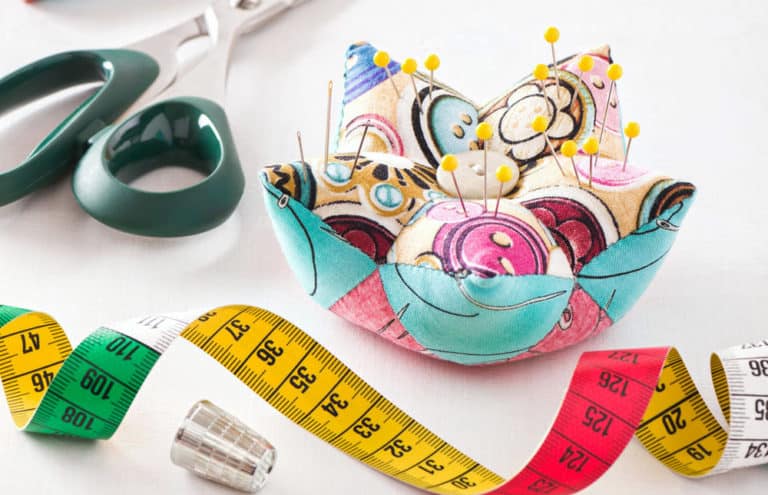
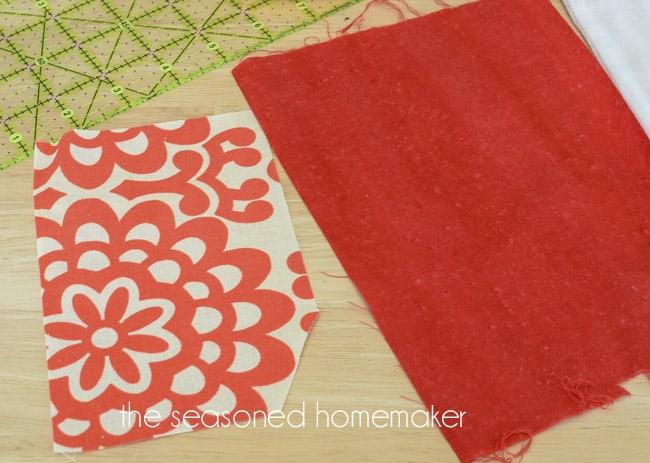
You will need some fabric scraps. Iron these as well. I chose a marble-y red scrap for the heart and a modern print with a white-ish background for the letter.
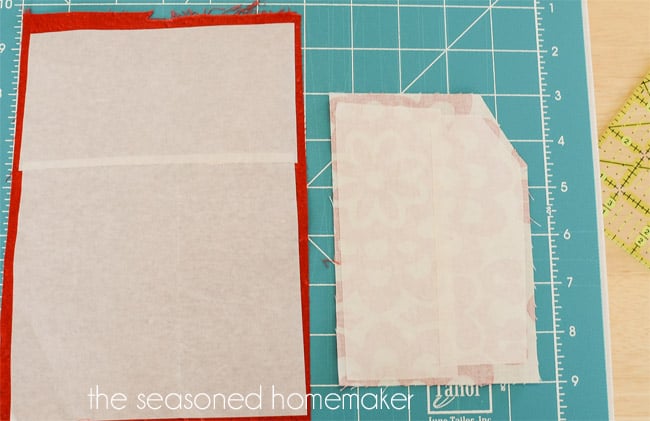
Iron on a fusible web product like Heat ‘n Bond Lite to the back of the fabric. Notice how I used scraps of fusible web.
Adding the Design
Here’s where having a Cricut Maker really comes in handy. I loaded a heart into my Design Space software and sized it to fit the onesie. I wanted it to dominate the onesie so I went really big. If you don’t have a Cricut Maker, no worries. Just trace the heart onto the paper side of the red fabric and hand cut it out.
For the letter ‘K’ I did the same thing. I chose a Times New Roman letter ‘K’ in the Design Space software. If you want to do this by hand, then type the letter into your word processing software and enlarge the font size until it fits the heart. Most importantly, reverse the letter when you trace it. This tutorial better explains.
Any way you do it, cut out the heart and the letter of choice. Carefully place them on the onesie. If you notice in my photo, I have marked the placement with a water soluble marker.
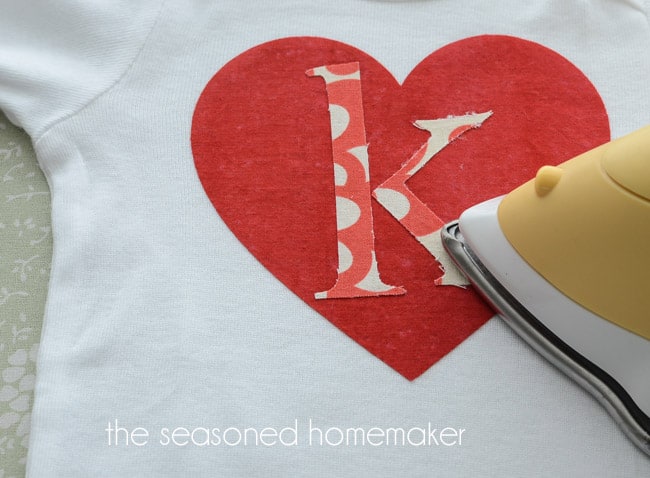
Give it a good press with the steam iron. I usually hold it over the appliqué for about 10 seconds.
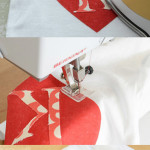
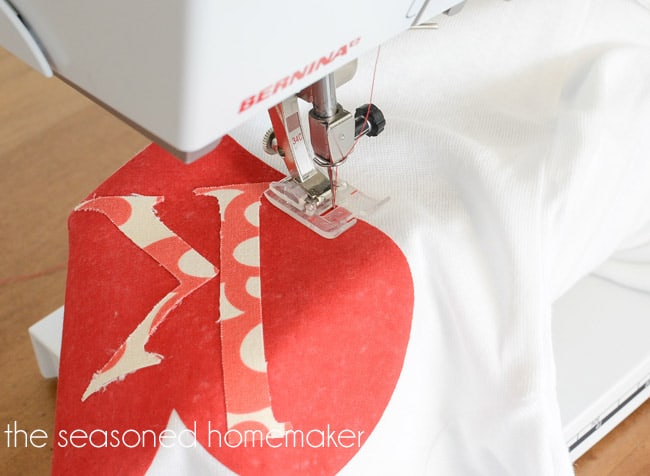
Stitch down the heart first and then the alphabet letter. I used a straight stitch set at 3 mm.
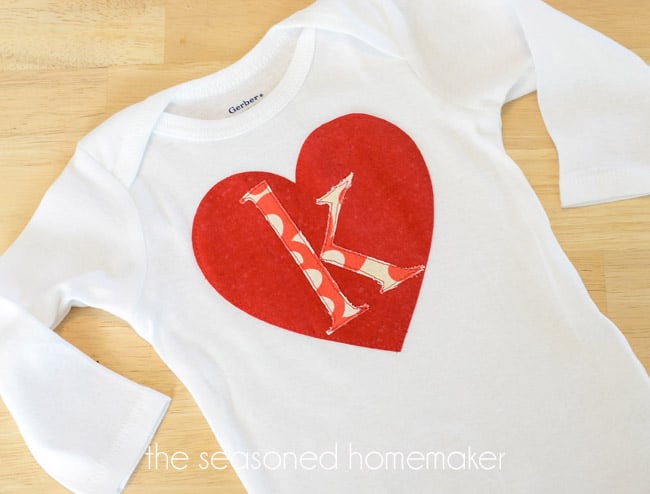
It doesn’t get much easier than this. I think I spent about 30 minutes on this project. Best of all, I spent $0 because I had everything on hand.
Share the love ~
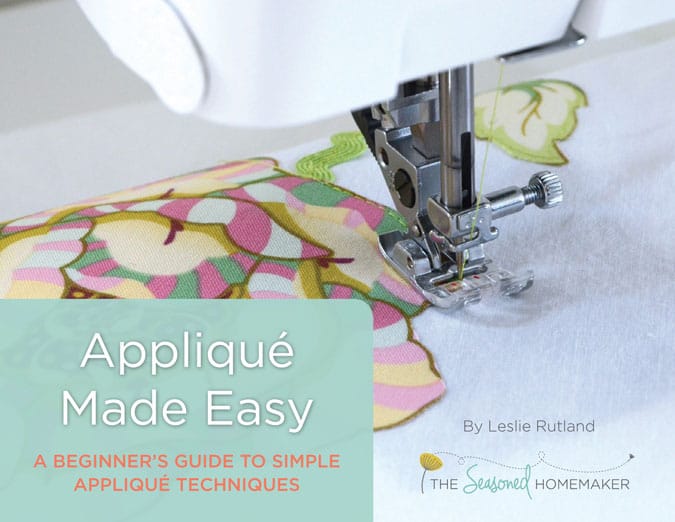
If you want to further develop your appliqué skills, check out my eBook:
Applique Made Easy: A Beginner’s Guide to Simple Appliqué Techniques