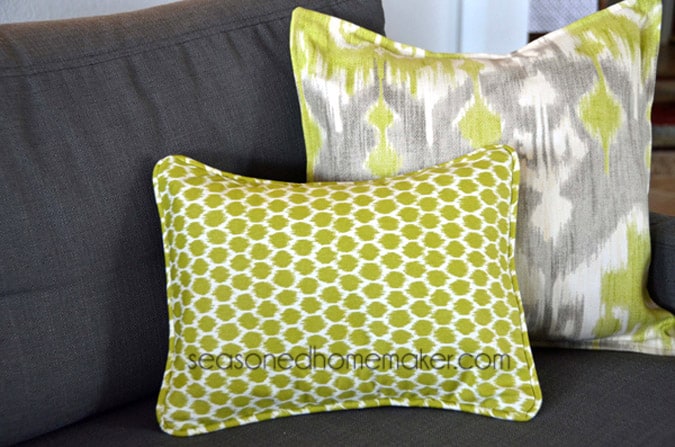
How to Add Piping to Throw Pillows
This post may contain affiliate links which won’t change your price but will share a commission.

Inside: How to Add Piping to Throw Pillows
Piping is a beautiful way to accent a pillow, and it is easier than you think to make.
This tutorial is going to teach you how to create piping by simply covering inexpensive cording with fabric. Then, I’m going to show you how to add the piping to an envelope pillow.

How to Add Piping to Throw Pillows
Supplies:
- 1 yard Fabric {for 2 pillow fronts and bias strips}
- 1/2 yard Fabric {for 2 pillow backs}
- 4 yards of 1/2” (9/32”) cording or welt cord {cotton or synthetic; sold by the yard in fabric and craft stores}
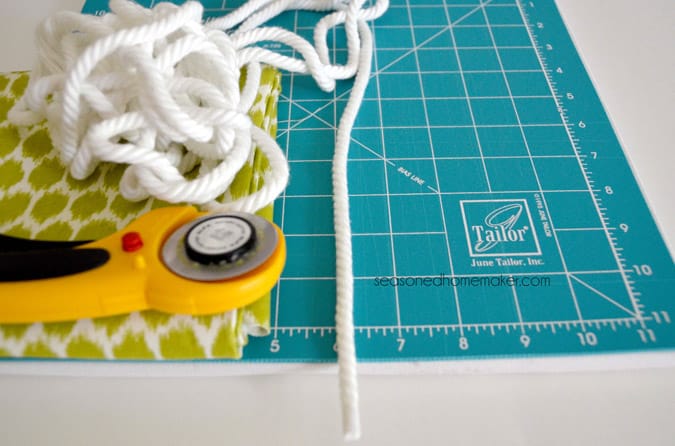
- Scissors
- Rotary Cutter and Cutting Mat
- Thread
- Water soluble marker
- Sewing Machine and a Zipper Foot
Step 1: Cut Out Pillow Front
Cut a piece of fabric for the Pillow Front that is 1″ greater in length and 1″ greater in width than the size of your pillow form.
I am covering a 12” x 16” pillow form so I am going to cut out a piece of fabric that is 13” x 17”. If you want your pillow form to fit more snugly, then decrease each measurement by 1/2”.
Set Pillow Front aside.

Step 2: Cut Out Pillow Back
Since this is an Envelope Pillow, you are going to need a piece that is a little bit wider for your Pillow Back.
To make the envelope part, follow this simple formula: Take your pillow form dimensions and add 1″ to the length and 5″ to the width.
For our pillow, that means cutting out a piece of fabric that is 13″ x 21″ {because my pillow form is 12″ x 16″ and 16 + 5 = 21}. If you want your pillow form to fit more snugly, then decrease each measurement by 1/2”.
The fabric I am using for my Pillow Back is a polyester blend in a burlap weave. That means it frays and has a hard time staying on the grain.
In order to reduce this effect, I am backing my fabric with iron-on woven interfacing {available at Joann’s} before cutting it out.

I also serged the outer edges to keep them from unraveling. No serger – try zigzagging the edges or skip this entirely.
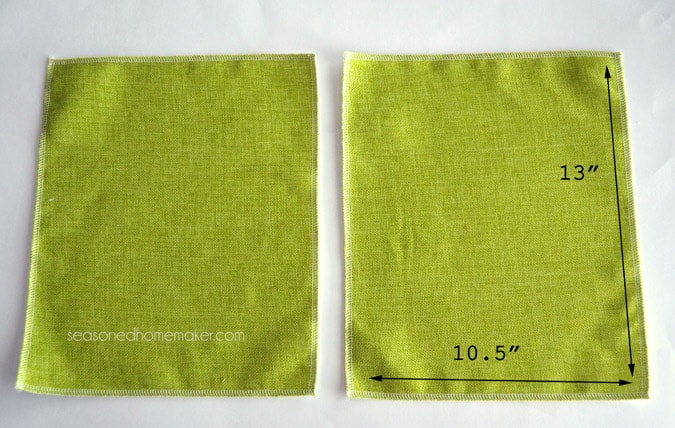
Once you have your Pillow Back cut out, find the center 10.5″ from the side and draw a cutting line with a pencil.
Next, cut the Pillow Back in half on the cutting line. This will leave you with two pieces that are 13” x 10.5” {my edges are serged}.
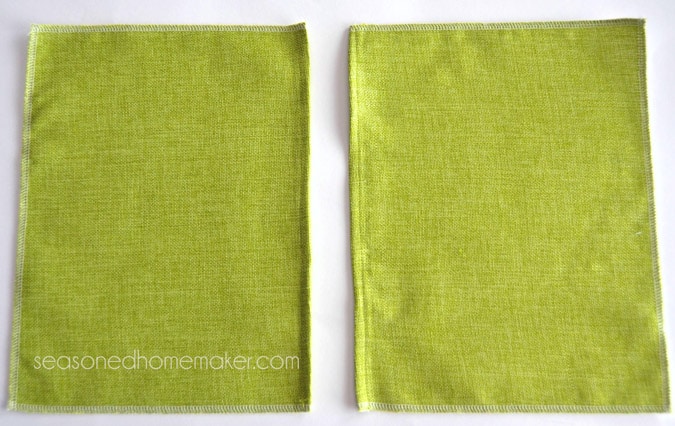
Step 3: Finishing Edges of Pillow Back
You will now need to finish the edges that form the ‘envelope’ for your Pillow Back before attaching the Pillow Front and Pillow Back.
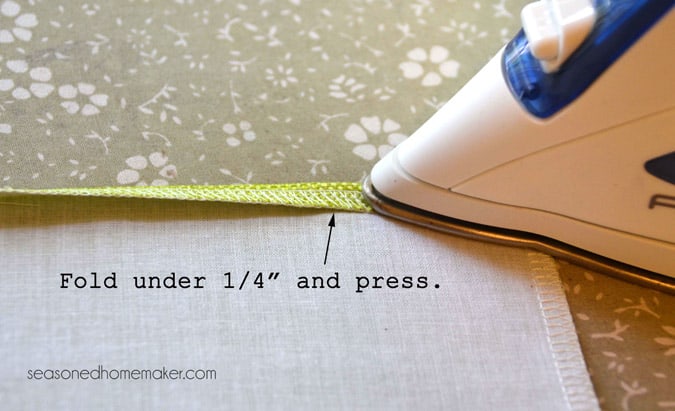
Fold the long edge (the side that is 13″) under 1/4″ and press.
Fold under a second time and press.
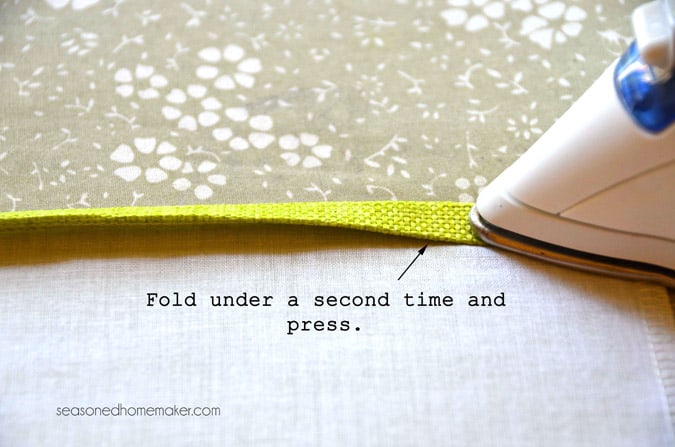
Stitch down the folded edge using a 2.5mm stitch length.
Repeat on the other Pillow Back piece.
Set Pillow Back pieces aside.
Step 4: Determine Amount of Bias Strip Needed
The first thing you will need to find is the width of the bias strips. To determine this, begin with the size of your cording {mine is 1/2”}. The formula for finding this is (2 times the cording width) plus (2 times the seam allowance).
This is what my formula looks like:
(2 x .5) + (2 x .5) = 2” wide bias strips.
Next, find the total length of bias strips you will need for this project. Double the pillow’s width and length, then add an additional 4”.
I am making piping for a 12” x 16” pillow. This is what my formula looks like:
(2 x 12) + (2 x 16) + 4 = 60” of bias strips.
I will need 60” of 2” wide bias strips.
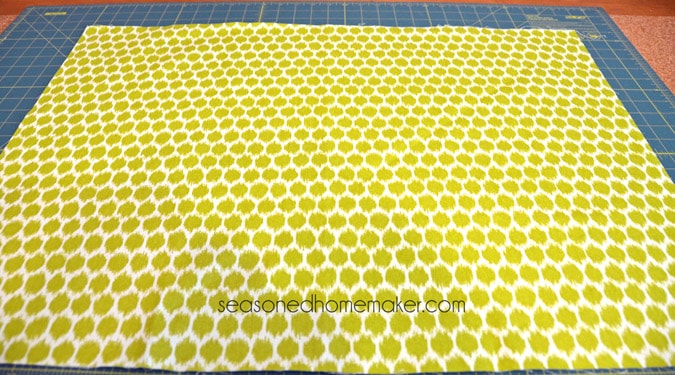
Step 5: Cutting Bias Strips
Using the above formulas I now know that I will be cutting at least 60” of 2” wide bias strips. Out of my one yard of fabric I have already cut out two Pillow Tops (13” x 17”) and this is the leftover piece that has been pressed.
Fold the bottom left corner towards the top edge. When it matches the top edge, you will have your bias. Give this edge a press and then mark it with a water soluble marker.
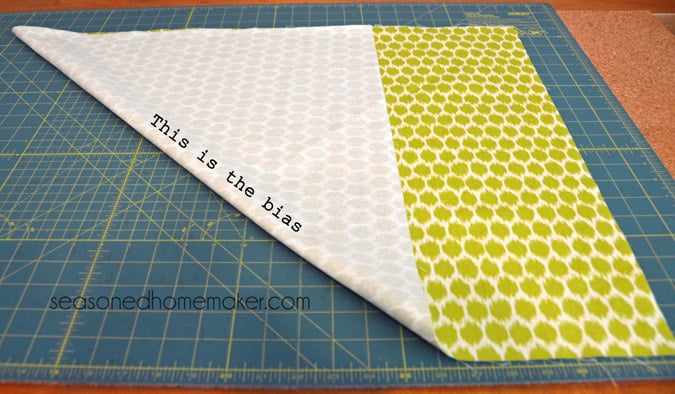
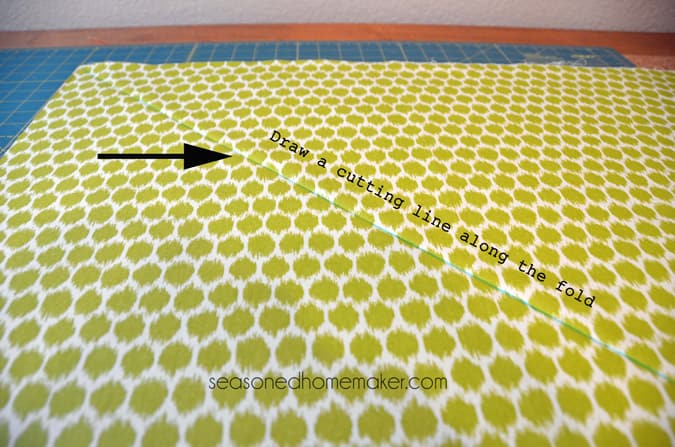
Using the original bias marking above, make a second line 2” over, continuing in this manner until you have at least 60” of bias strips drawn onto the fabric.
Note: There are several other ways to cut yards of continuous bias strips, but for small projects like a pillow this is really fast. There is also a handy tool called the Binding Buddy (affiliate) that makes this process even faster.
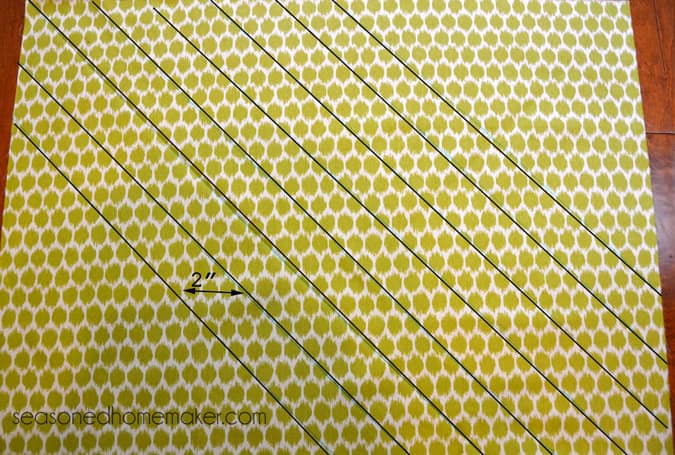
Cut out the strips using the cutting lines as your guide. This will create enough bias tape to make piping for two pillows. That’s how little it takes!
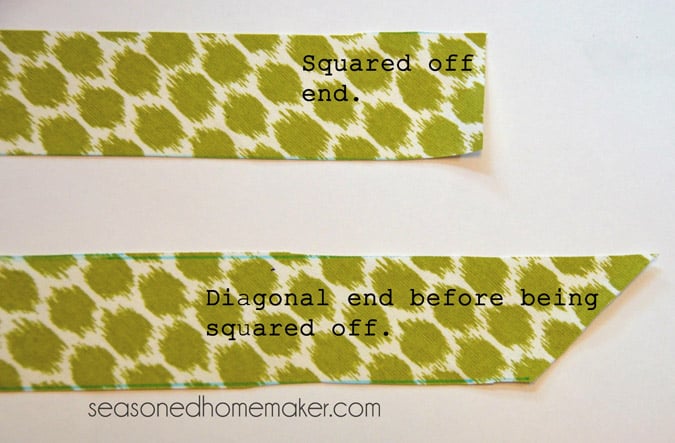
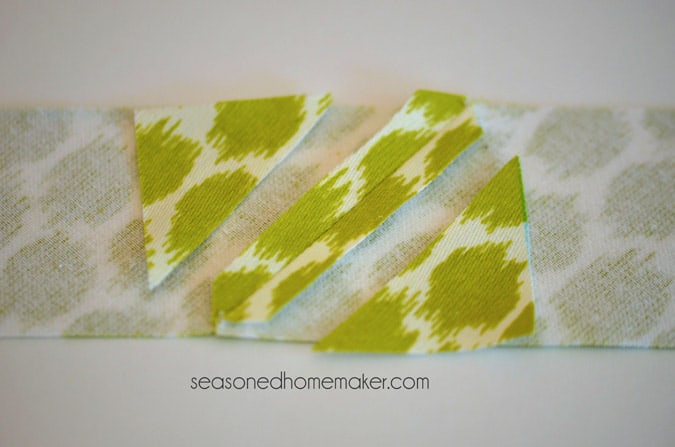
After cutting your strips there will be a diagonal cut on each end. You will need to square off the ends before attaching.
Step 6: Attaching the Bias Strips Together
You will want to attach all of your squared off bias strips to make one long bias tape to enclose the cording.
With rights sides together, lay your bias strips perpendicular to each other and pin in place. With a water soluble marker, draw a 45-degree angle.

Stitch across this line and press open. Trim away excess, leaving a 1/4” seam allowance. Repeat this process on all of the bias strips.
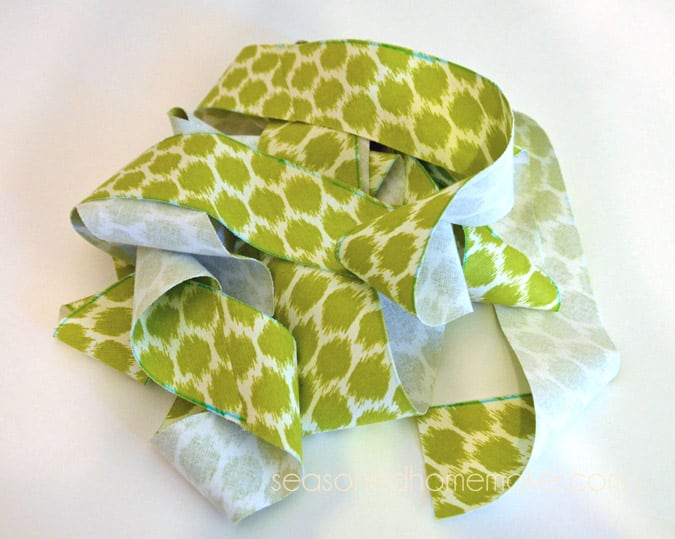
You now have yards and yards of beautiful bias tape that can be used to encase the cording.
Step 7: Making the Piping
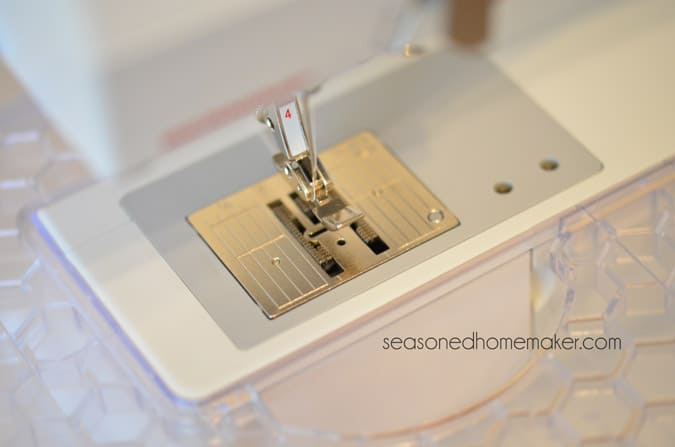
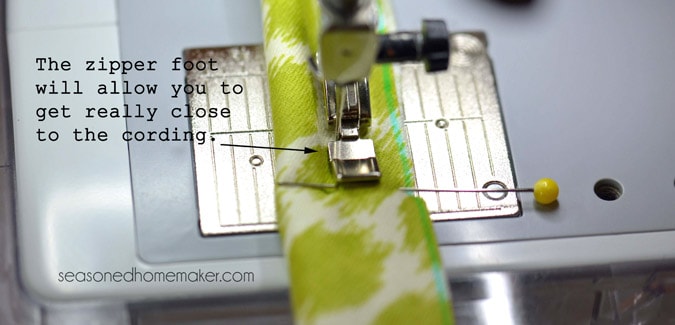
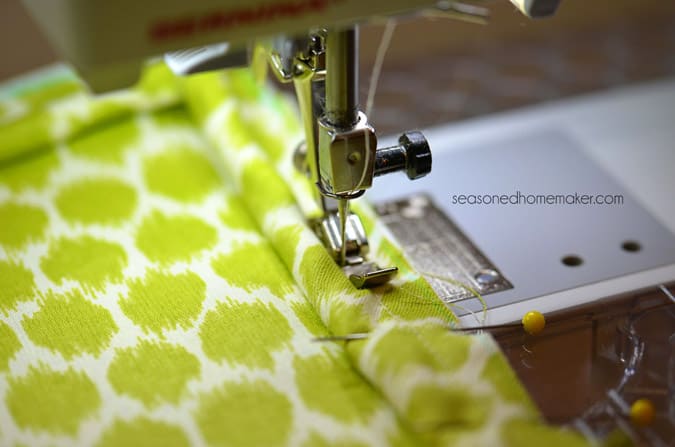
Prepare your sewing machine by putting on a zipper foot and adjusting the needle position to the left.
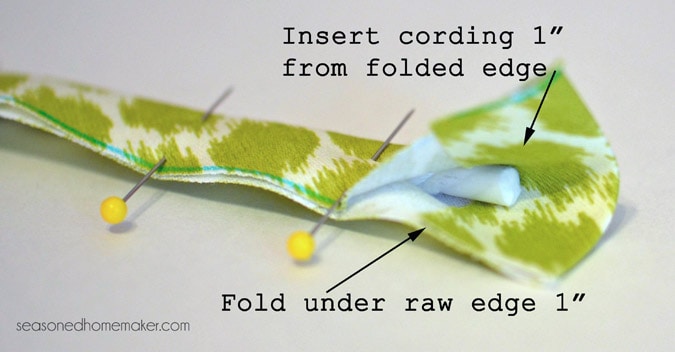
Fold under one of the bias tape short ends 1” and press. Insert the cording about 1” away from the folded end. Pin the cording inside the bias tape.
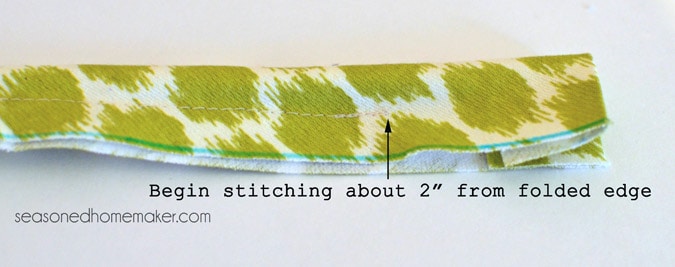
Begin stitching approximately 2” from the folded edge, leaving the folded end open. This will allow you to insert the other end once you attach the piping to the Pillow Front.
Get the zipper foot really close to the piping. If you are able to adjust the needle position, this will make it easier to get even closer.
Stitch as close as possible to the cording until all of it is encased.
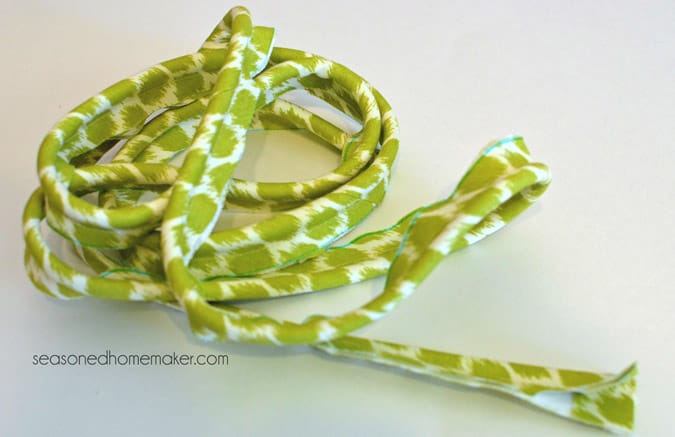
You now have several yards a lovely piping ready to attach to your Pillow Front.
Step 8: Attaching the Piping to Pillow Front
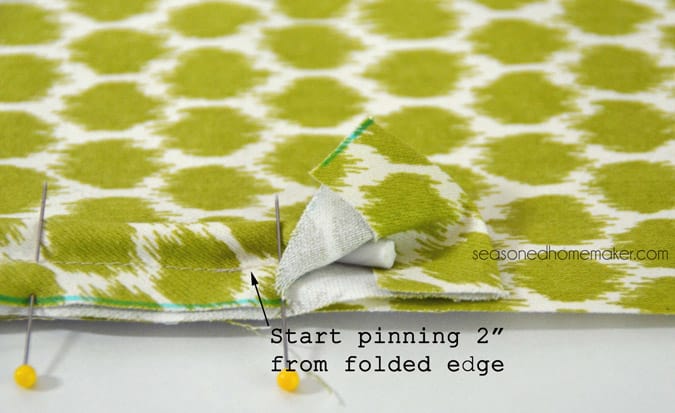
Match raw edges and start pinning the piping to the Pillow Front where the stitching starts. Leave the 2” un-sewn part unpinned.
Continue pinning around the pillow.
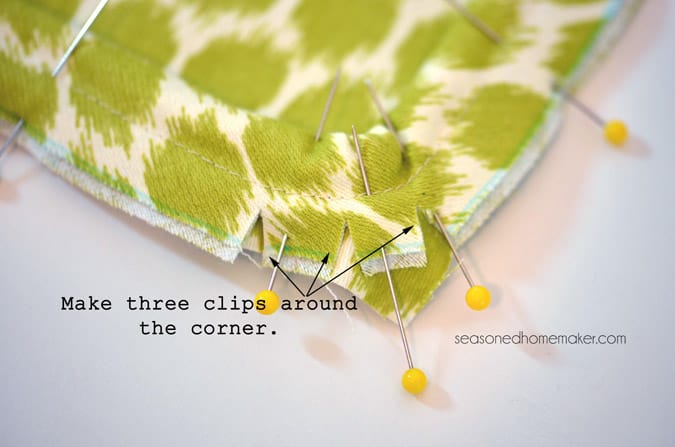
When you get to the corner, make three clips into the seam allowance. This will help the piping lay flat when going around each of the four corners.
Continue pinning in this manner until you are close to where you started. Leave the remaining piping unpinned.
Using the zipper foot, begin stitching at the first pin, getting as close to the cording as possible. Slow down at the corners.
Stitch around the pillow top until you get close to the starting point.
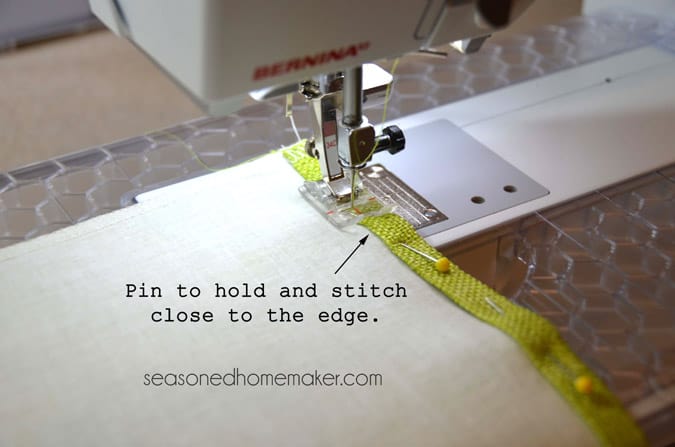
As you get near the starting point, line up the beginning and the end of cording. Slip the end of the piping into the folded opening at the beginning.
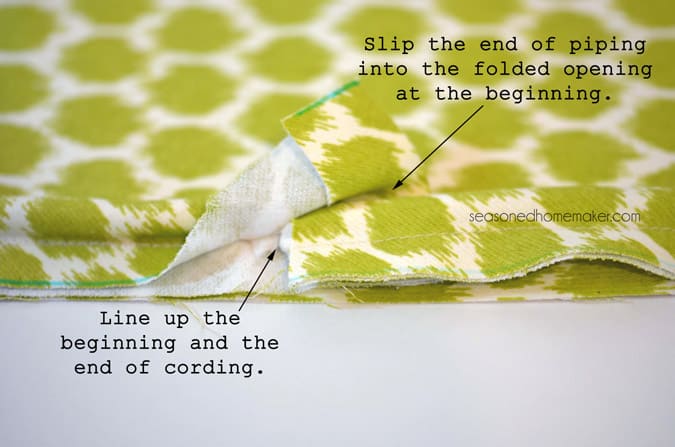
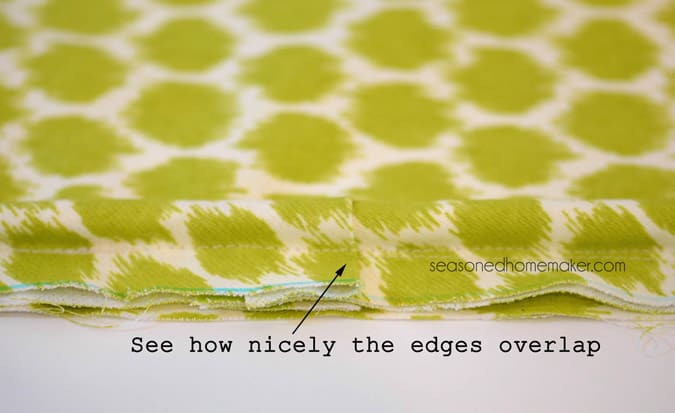
Line up raw edges, pin to hold and stitch down. The edges will overlap and the place where the piping meets will be almost invisible.
Step 9: Attaching Pillow Front and Pillow Back
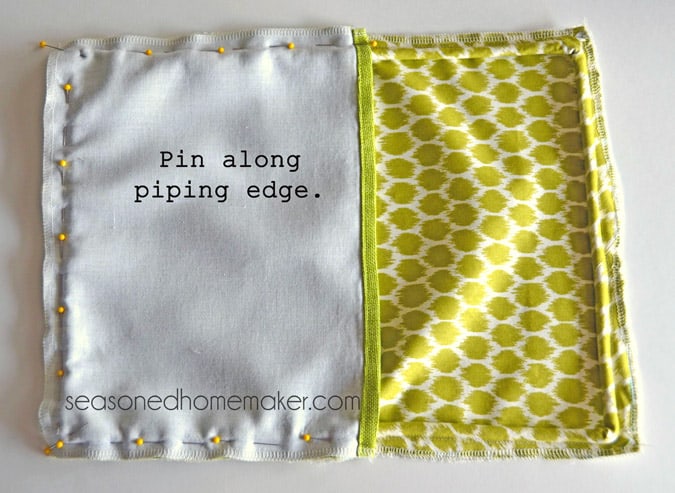
On a flat surface, lay out the Pillow Front with the right side facing up. With right sides together, lay the left Pillow Back piece on top of Pillow Front, matching the left corners. Pin close to the piping.
Next, with right sides together, place the right side of Pillow Back on top of Pillow Front. This piece will overlap the left side of Pillow Back.
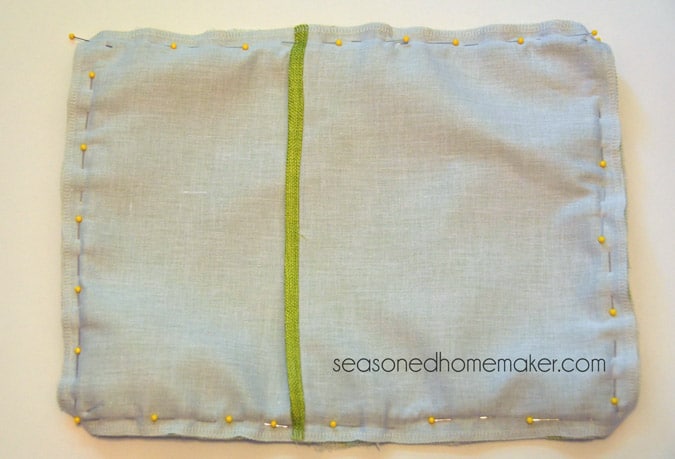
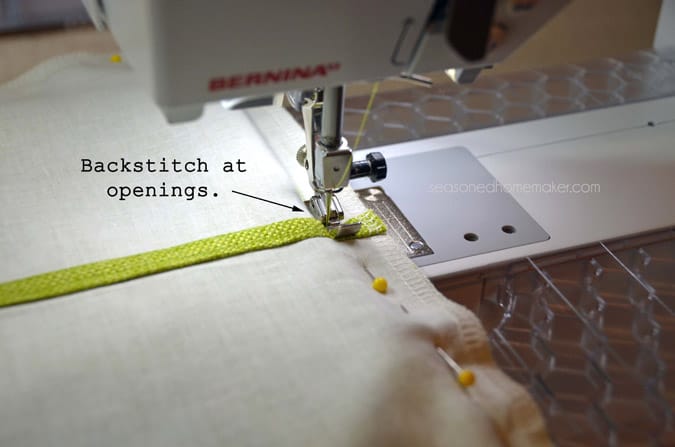
Using a 1/2″ seam allowance, stitch around the entire pillow, backstitching at the openings.

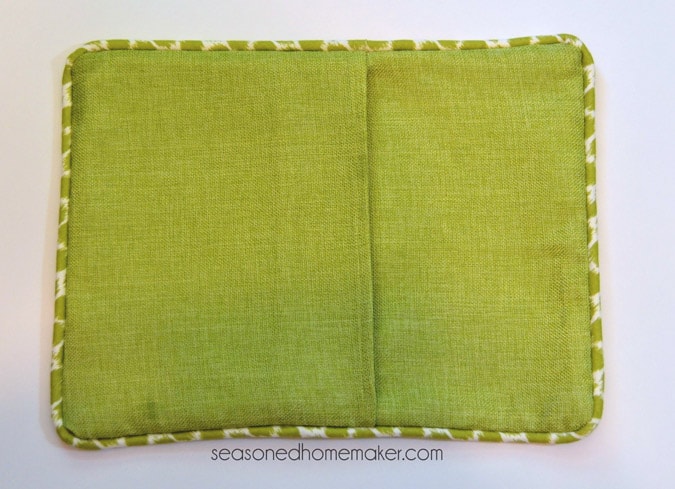
Slip the pillow form into the envelope opening in the back. Simple and chic!
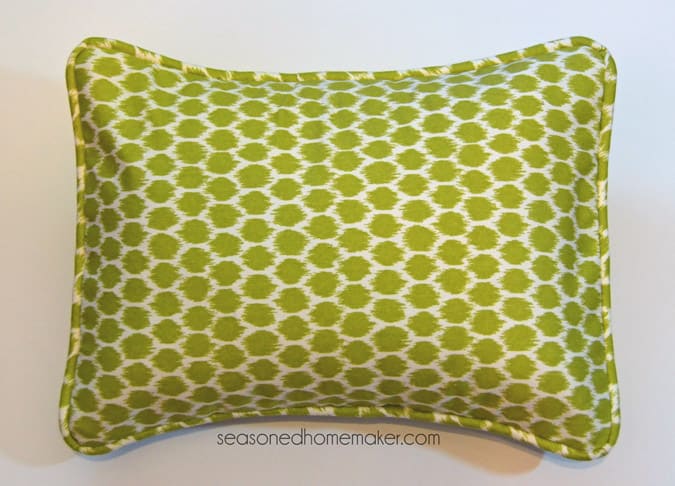
Once you master this technique, adding piping to an envelope pillow is simple and has endless possibilities.
P.S. If you love this post, please share it on Facebook and Pinterest. It would mean the world to me.