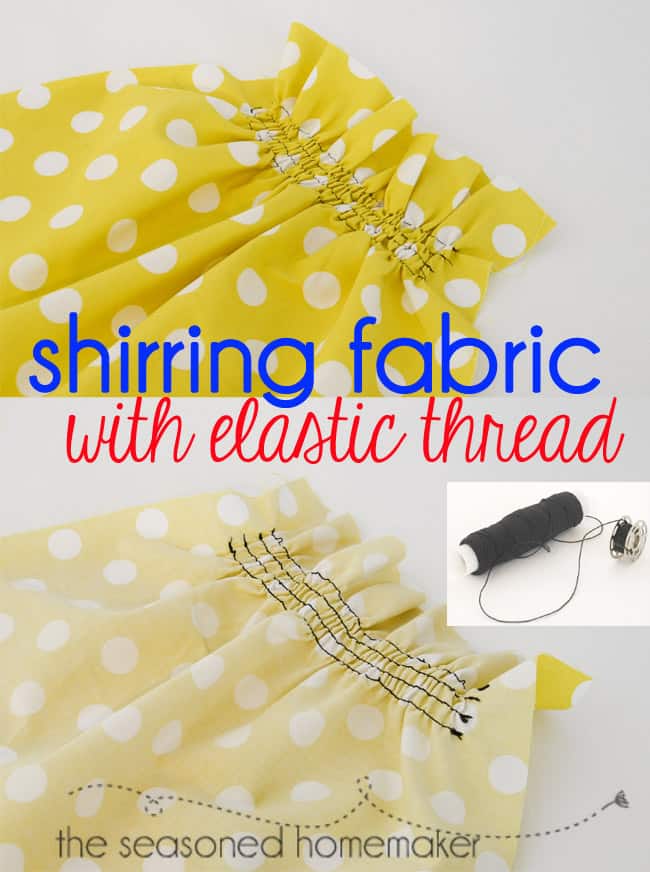
Shirring With Elastic Thread
This post may contain affiliate links which won’t change your price but will share a commission.

It always starts with a pattern. I wanted a simple dress that I could wear when I’m around the house on days when I’m sewing or writing. That is when I came upon April Rhodes’ Staple Dress (Google for pattern). It’s simple, doesn’t take a lot of fabric, and can be whipped up in no time. It also has shirring. Shirring with elastic thread. Not hard at all.
This is one of those easy, easy, easy patterns. It comes with a very well written instruction booklet. One problem, the photos are in black and white. When you get to the directions for shirring, it is a little difficult to see. I thought I’d throw together a very simple tutorial showing you how to shirr with elastic thread so you don’t miss out on this pattern or any others that might call for shirring.
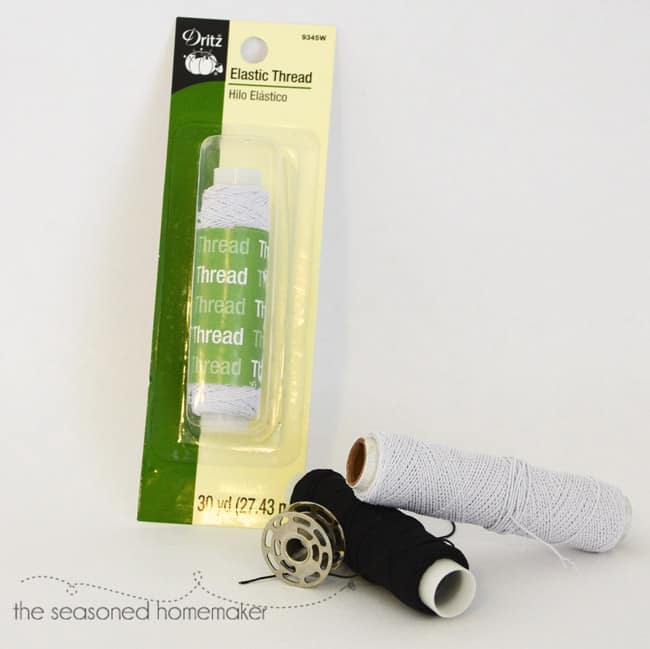
Elastic Thread
Shirring is one of those sewing basics that every sewist should take the time to learn. It is an easy way to gather and it allows for lots of movement in clothes without tons of volume. An all-round winner in my book. First you need to purchase a spool of elastic thread. This will not be with the regular thread, but should be located on the notions aisle of large sewing stores near the elastic. You can also purchase Dritz elastic thread or Gutermann elastic thread on Amazon. (affiliate links) Personally, I plan to get the Gutermann because it is a little higher quality.
How to Wind a Bobbin with Elastic Thread
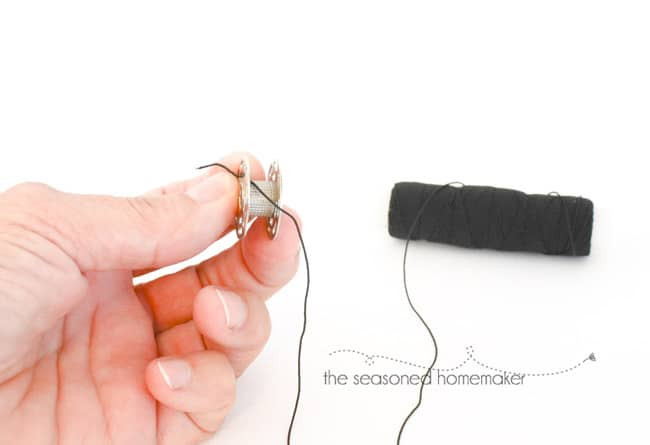
One of the keys to working with elastic thread is hand winding the bobbin. Again, you must hand wind the bobbin. It only takes a few minutes to do this. Most bobbins have some sort of pilot hole where you will stick the end of the thread. Be sure to do this before you start hand winding a bobbin otherwise the thread will keep unraveling.
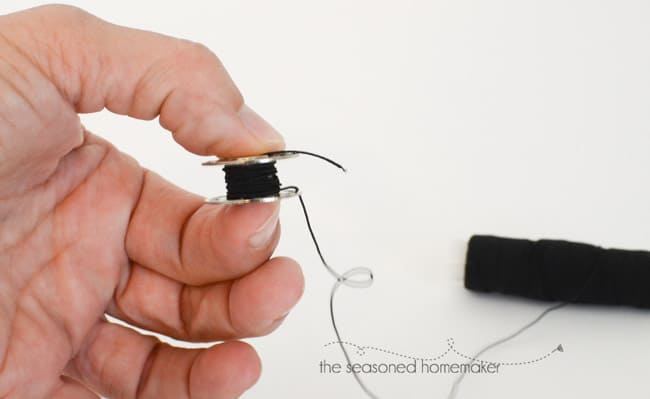
Next, start hand winding the bobbin. Be sure to go back and forth across the bobbin in order to get an even amount of elastic thread.
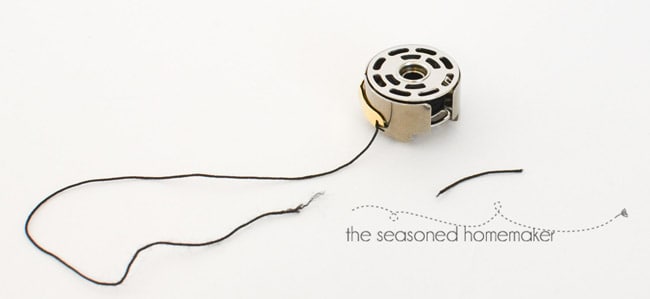
Once you’ve finished winding the bobbin, be sure to cut off the little tail. Then properly load the bobbin into your sewing machine. I have a front loading bobbin which has a bobbin holder that requires I insert my bobbin in a certain manner.
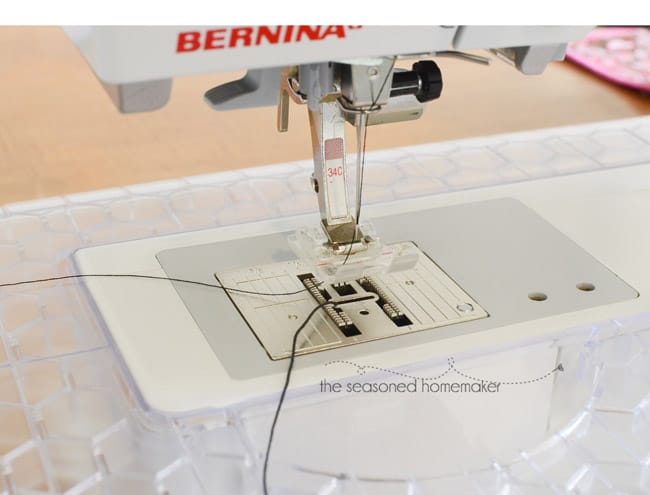
Load the Bobbin
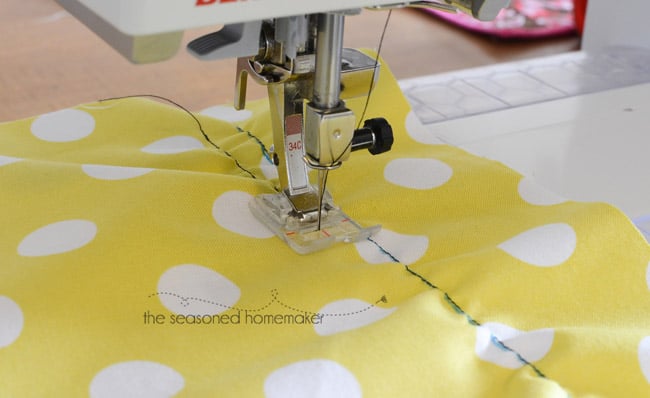
Load the bobbin into your machine according to the manufacturer’s directions. If you have a top loading bobbin then check your machine’s manual or this tutorial by Jamie Christina. At this point you are ready to shirr your fabric. The top needle needs all-purpose thread. I’m using black to demonstrate.
Preparing to Sew
Which brings up another point. Shirring works best on lightweight fabrics. The lighter the fabric the better the shirring. Heavy fabrics like corduroy are not suitable. I’m demonstrating on a piece of quilting weight cotton. A lawn or voile would be even better.
The stitch length will also depend on the weight of your fabric. For this quilting weight fabric I used my default setting of 2.5 mm. You will want to play around with this on your own machine. Stitch lengths can vary from 2.5mm – 4.0 mm, depending on your choice of fabric, your sewing machine, and how tightly (or loosely) you wound your bobbin.
I’ve marked my first row of stitching with a water erasable pen which disappears with water.

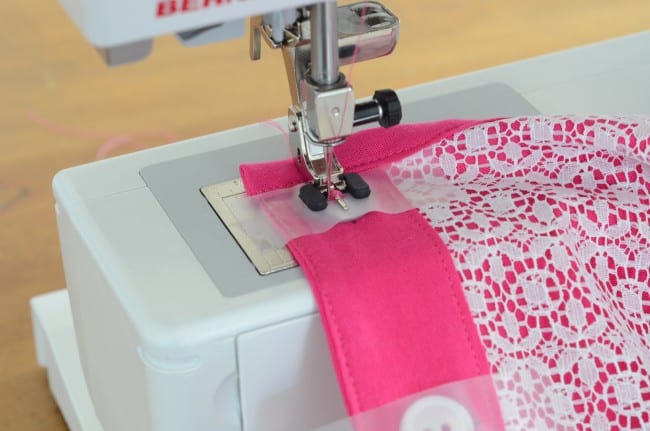
Sewing with Elastic Thread
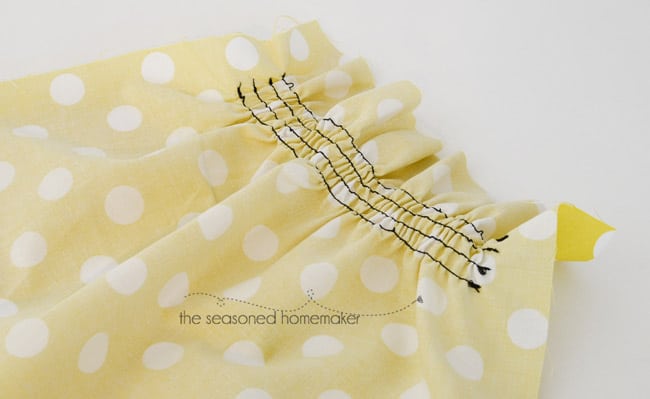
Now, just start sewing in a straight line. Backstitch at the beginning and end of each row. The Staple Dress pattern requires sewing completely around the dress. It is very important to backstitch at the start and stop ~ or your stitches might pop out. It will not really begin shirring until you’ve done a few rows.

Use the previous seam to line up and sew your second row. Line up the right edge of the presser foot with the previous seam. On my machine this creates a 3/8″ distance. Other machines may be different, so you might want to experiment a little.
That’s All There is to it
Keep sewing until you’ve reached the number rows of shirring that is called for by the pattern. For this demonstration I’ve sewn four rows which are also what I added to my dress.
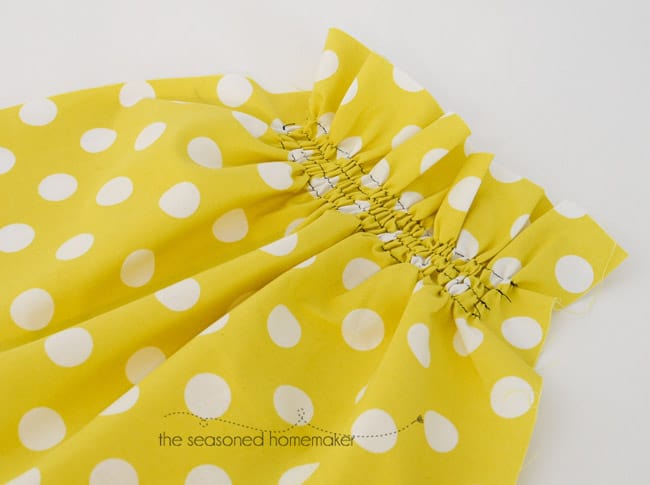
It’s really that easy. I encourage you to try shirring with elastic thread. There are so many applications, especially for girl’s clothes.