Seamless Print Matching for Quilt Backing: A Step-by-Step Guide to Perfect Alignment
This post may contain affiliate links which won’t change your price but will share a commission.
Creating a beautiful quilt involves attention to detail, including the backing fabric. When working with printed fabrics, achieving a seamless match can elevate the overall appearance of your quilt. In this step-by-step guide, we’ll explore the process of matching prints seamlessly for quilt backing.
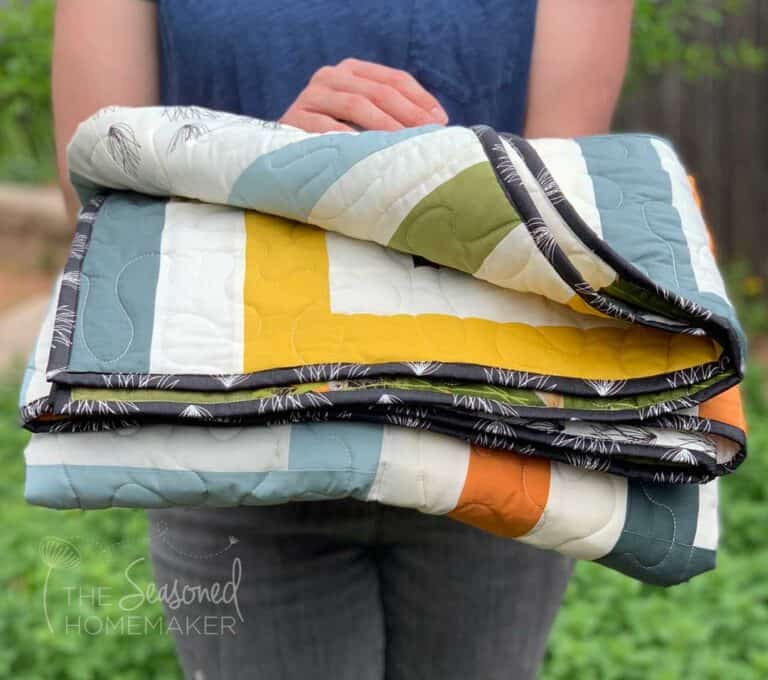
For most of my quilts I really try to find a wide backing that will work. But sometimes you find this perfect large-print backing fabric that both enhances and elevates your quilt. And that’s when you want to consider matching the pattern for your backing.
Pssst…can you find the seam?

Want an ad-free, printable copy of this tutorial? Scroll to the bottom of this post for more details!
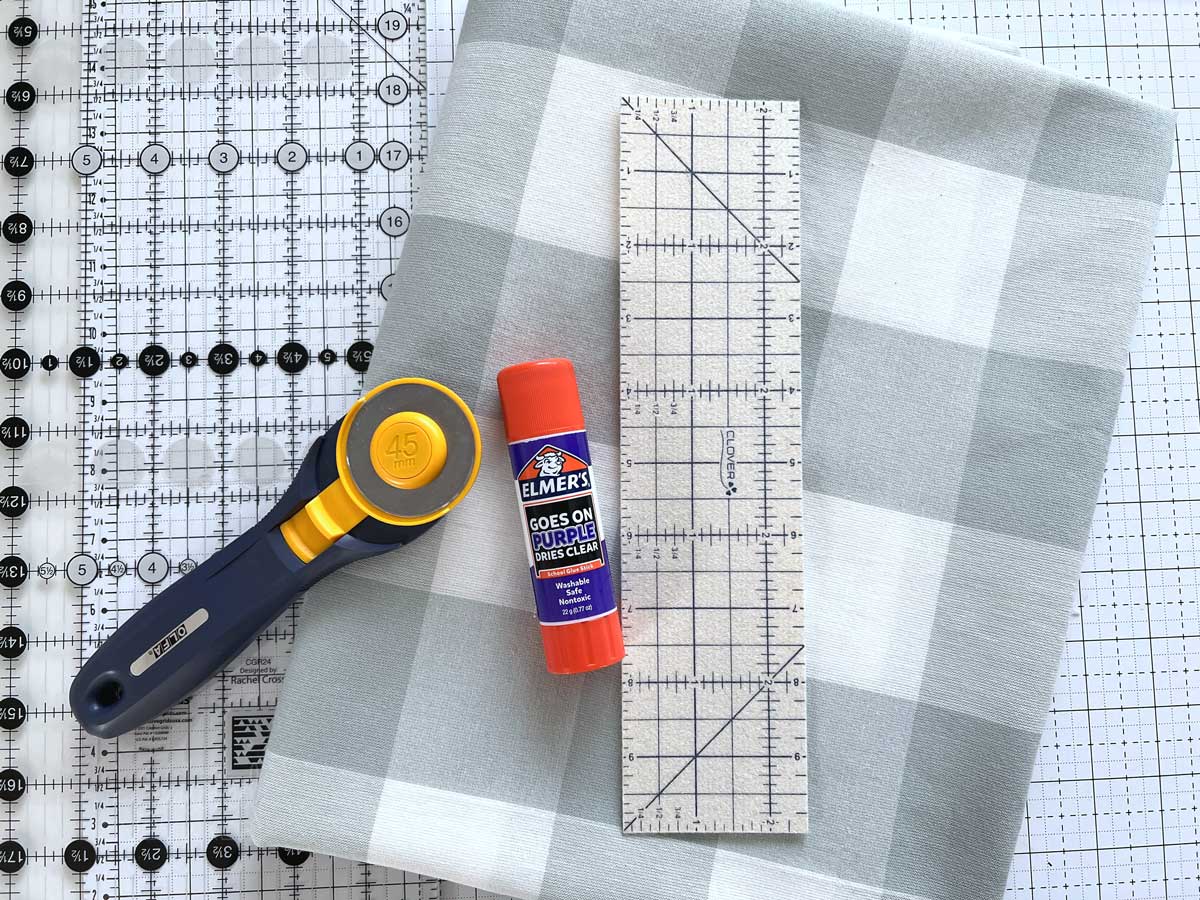
Supplies
- Backing fabric with repeating design
- Washable Glue Stick (Elmer’s is fine!)
- Hot Press Ruler
- Sewing Machine
- Aurifil 50 wt. Cotton Thread
- Rotary Cutter
- 6.5″ x 24.5″ Acrylic Ruler
- Self-Healing Rotary Cutting Mat
- Walking Foot (optional, but highly recommended)
- Iron & Ironing Board
Seamless Print Matching for Quilt Backing
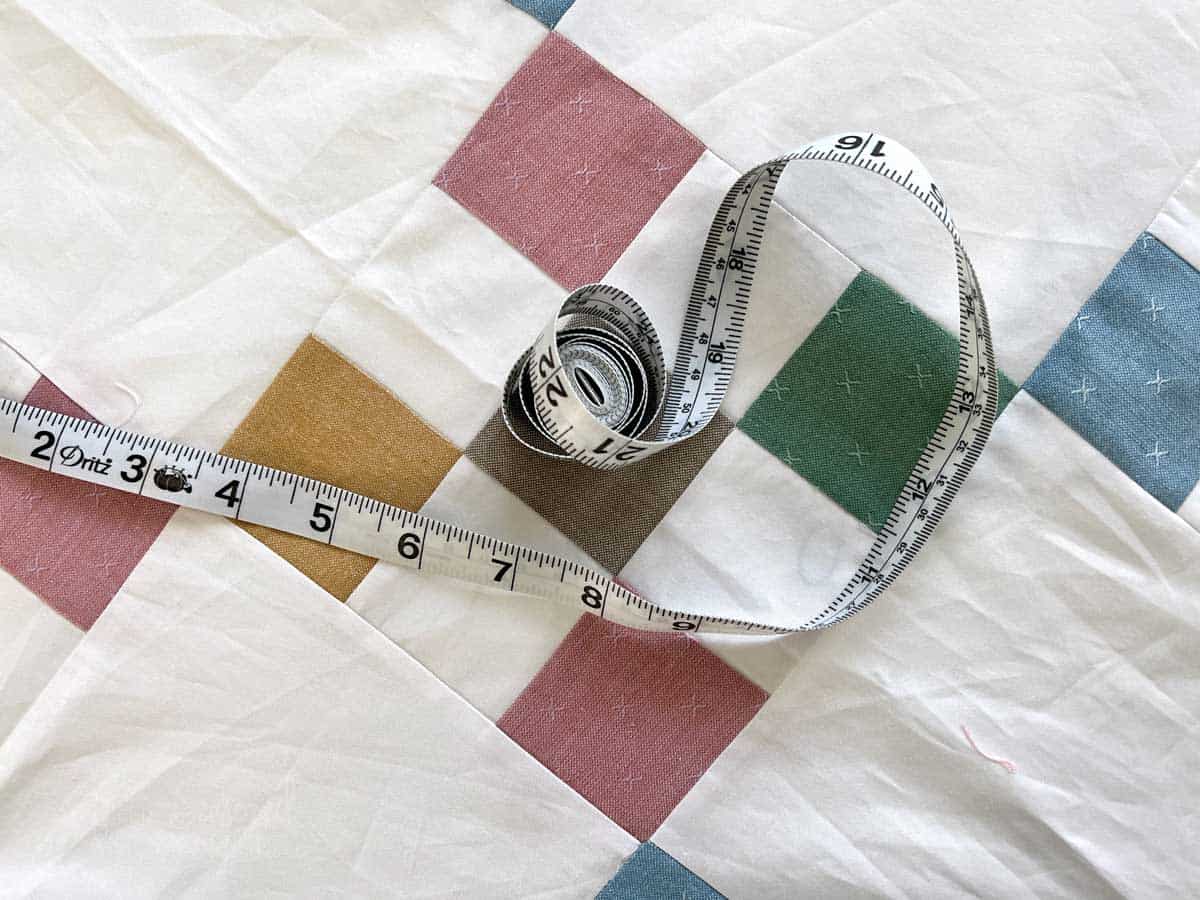
Step 1: Plan the Backing
Begin by determining the size of your quilt backing. You’ll need to carefully measure the finished quilt top before selecting your fabric to determine the size of your quilt and the amount of backing fabric required. Measure the width and length of your quilt top accurately, adding in an additional 8″ of width and 8″ of length for quilting.
In addition, you’ll need plenty of fabric to match the pattern plus leave enough for the width and length margins. If you plan to send your quilt off to a longarmer make sure you know their length and width requirements.
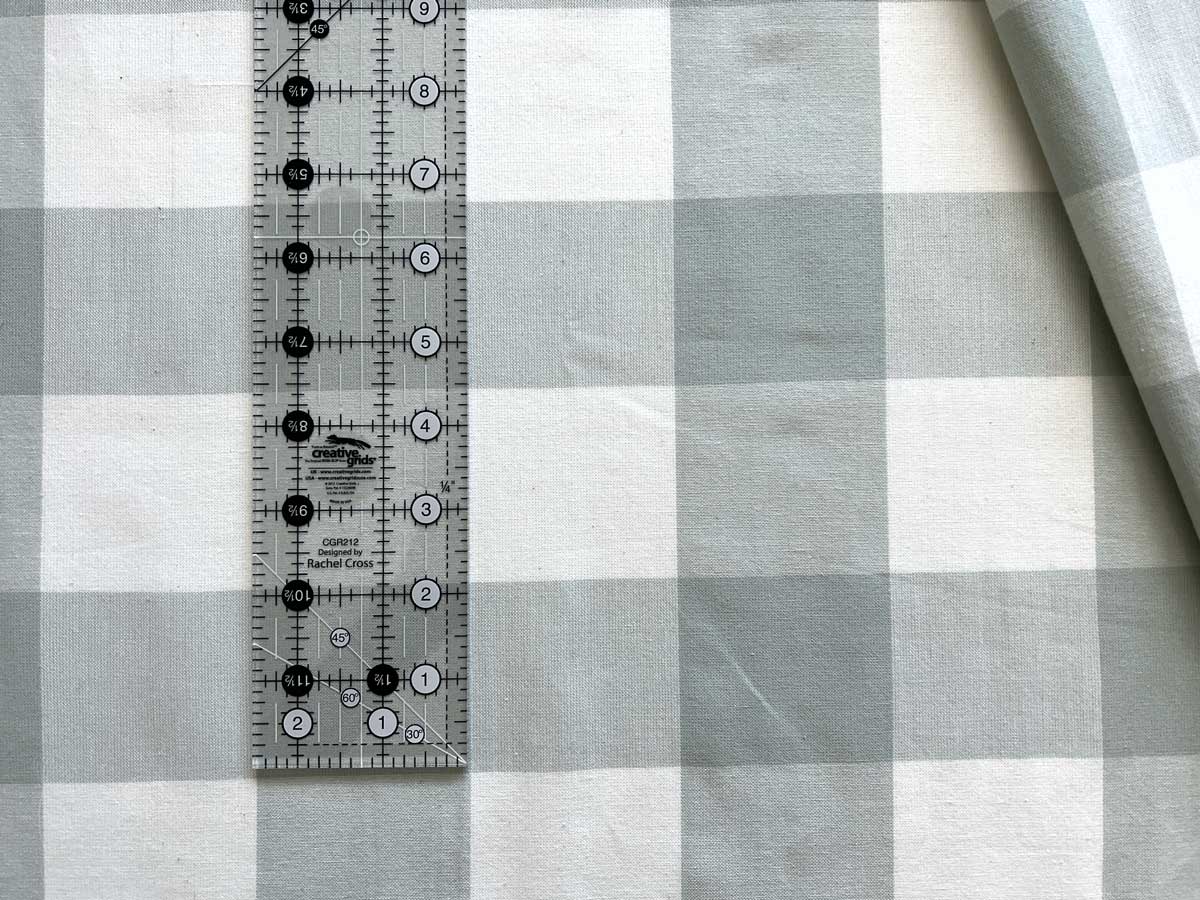
Step 2: Fabrics + Pattern Repeat
Choose a fabric for the quilt backing that complements the colors and theme of your quilt top. Ensure the print is suitable for matching, as some patterns may be more forgiving than others. Fabrics with a lot of open space between a design or an obvious repeat would be good candidates.
Once you’ve chosen an appropriate fabric, determine the pattern repeat. Remember, matching may require you lose some of your yardage so plan to purchase additional fabric to factor in the repeat.
One thing to keep in mind, you may also lose some of your backing width when matching and lining up the pattern designs and this will need to be accounted for when purchasing backing.
Once you’ve accurately determined the amount of fabric needed for the backing (example: 4 yards), it’s time to cut the yardage to create the two panels that will get matched.
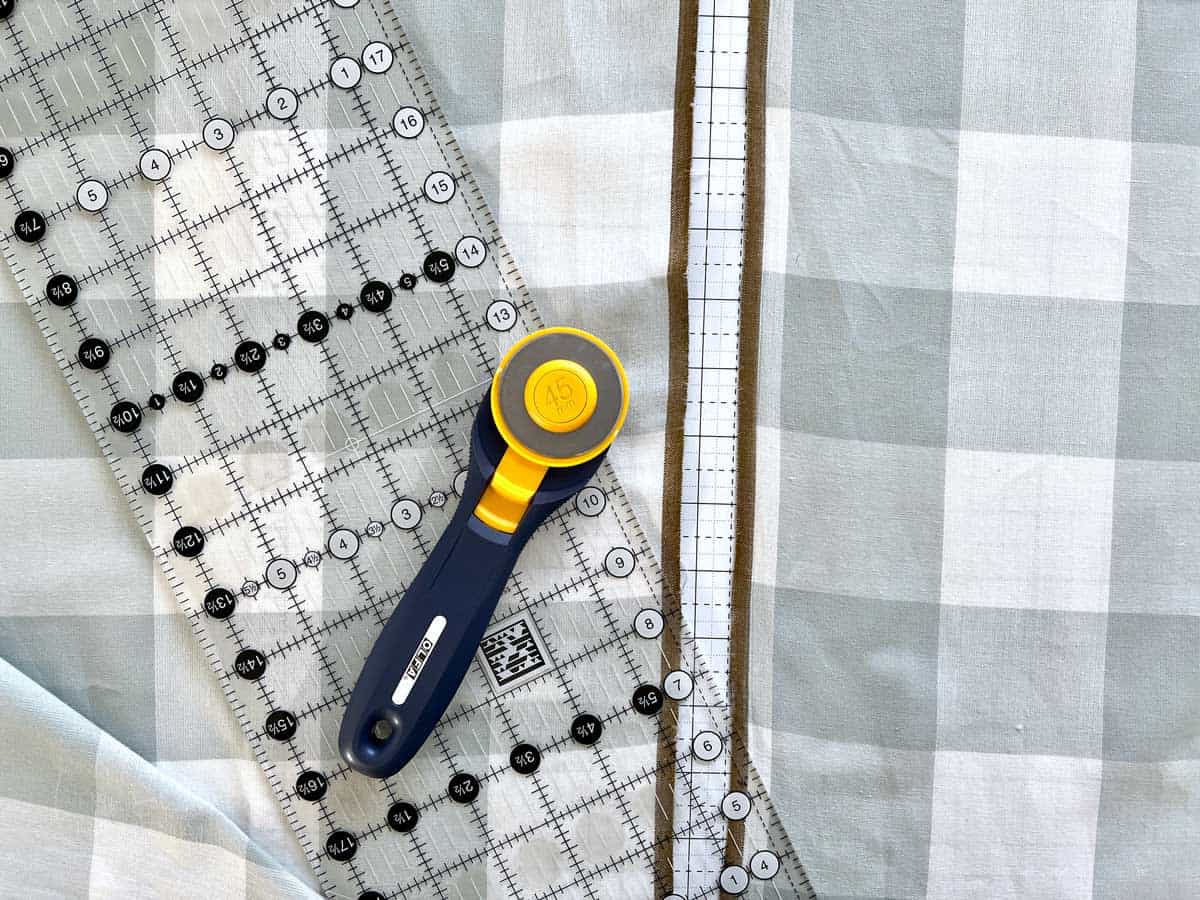
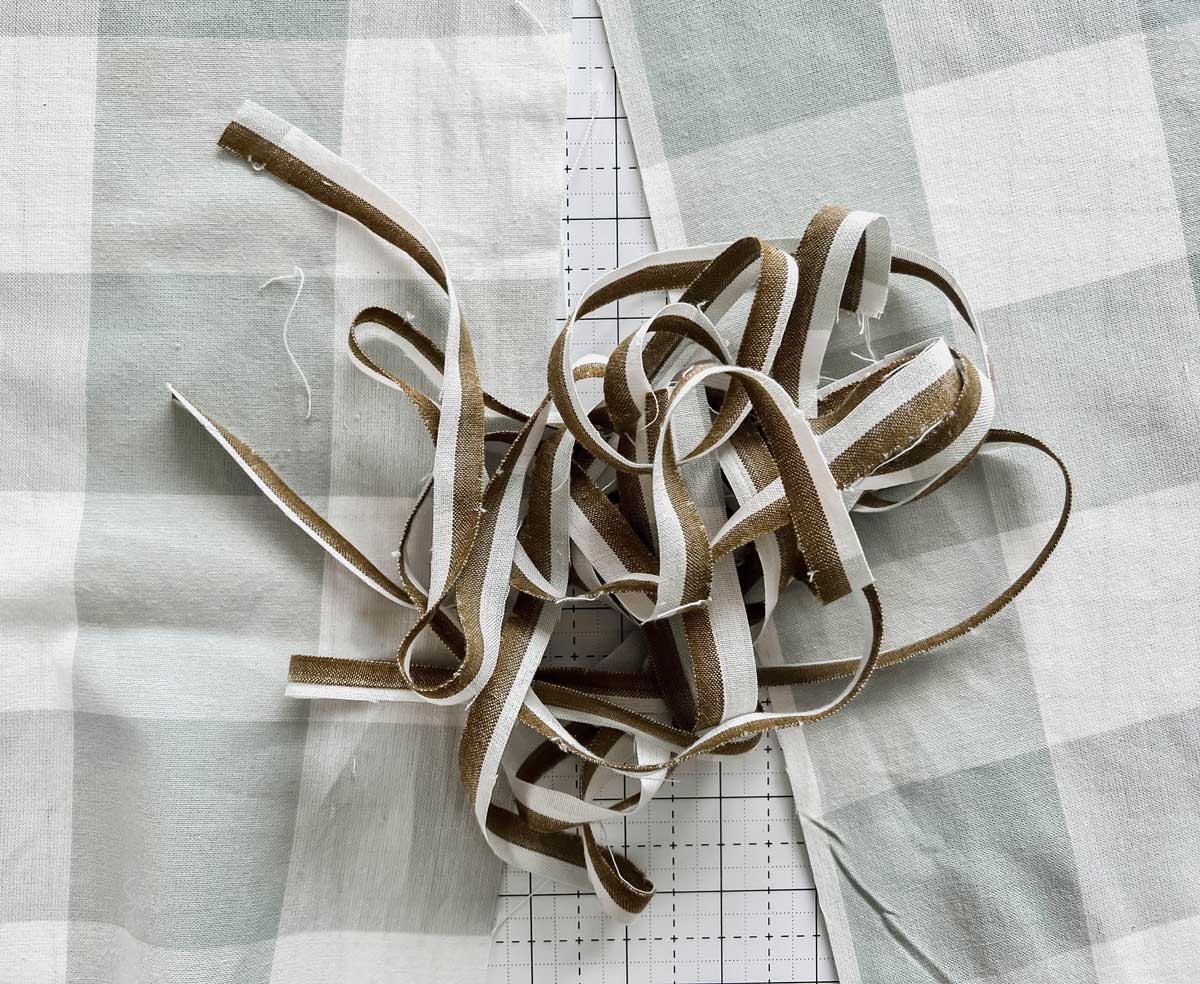
Step 3: Cut off Selvages
Selvages tend to distort a design and pull the fabric in a particular direction. For this reason you want the selvages removed before you begin the matching and glueing steps.
After you’ve trimmed away the selvages it’s a good time to press the raw edges so they are crisp and clean. A spritz of starch wouldn’t hurt, either, just don’t saturate your fabric edges.
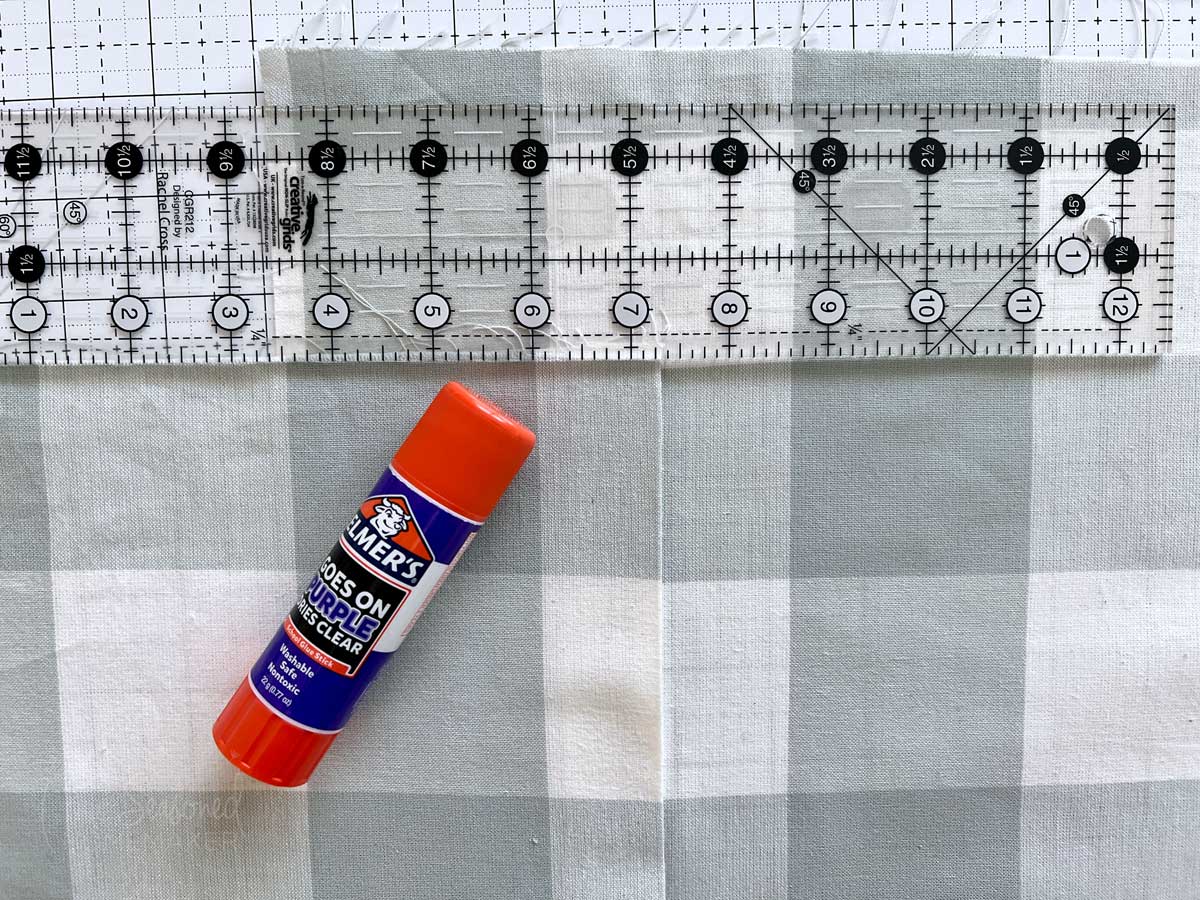
Step 4: Folding the Edge
You’ve identified the repeat and trimmed the selvages and now it’s time to begin the matching process.
On the wrong side of a fabric panel, use the Hot Press Ruler and fold in the edge 1″. Press in a 1″ crease down the length of this fabric piece.
After you’ve pressed in the crease, make sure that it will align with the repeat in the other fabric panel.

Step 5: Glue Setting the Seam
Use a washable glue stick to match to hold the two fabric panels together before sewing. Apply a small amount of the glue stick along the folded edge of the fabric panel.
Note: The purple color disappears and the glue stick washes out.
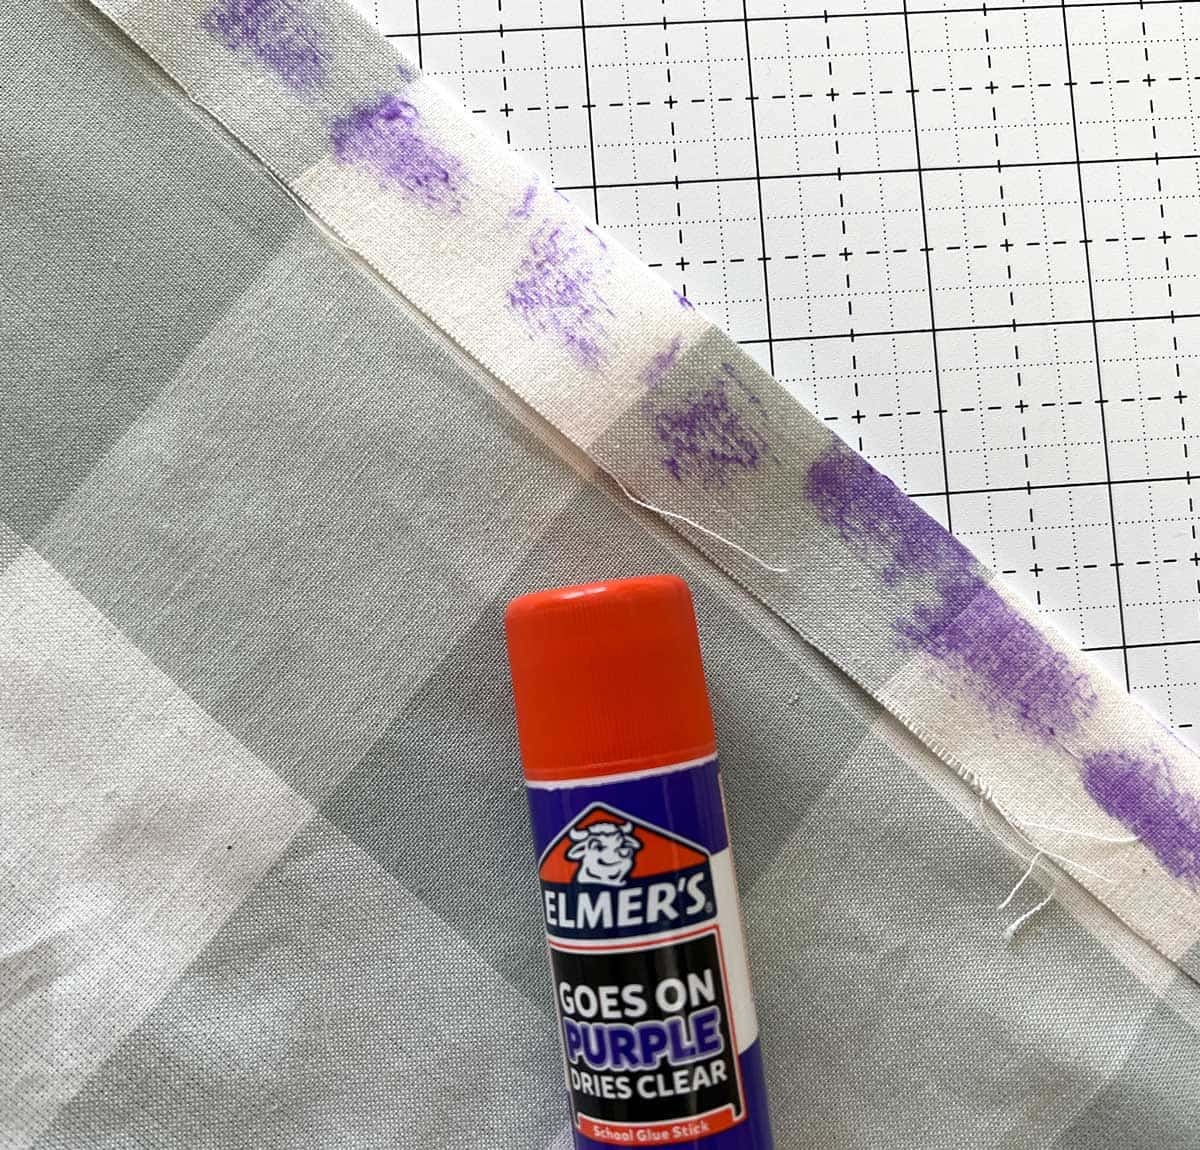
Place the fabric, glue side down, along the the folded edge of a panel. Try to align them as best you can. Nudge the two pieces together until you get a perfect match.
Use a hot, dry iron to gently press the seams together, making sure the pattern matches perfectly. This will set your seam in place. You may want to pin in a few places, especially if you have two large fabric panels that could pull apart when being sewn together. This helps prevent shifting and ensures a seamless alignment.
Step 6: Sewing the Backing Panels
With the two fabric panels right sides together, open the folded edge and sew along the crease.
Notice that the bottom panel seam allowance is wider than the top panel seam allowance. This is where the fabric matches.

Pro Tip: For best results, use a Walking Foot or a dual feed setting (if your machine has one). Another way to ensure a great match is to use an Edge Stitch Foot (sometimes call a Stitch in the Ditch foot).
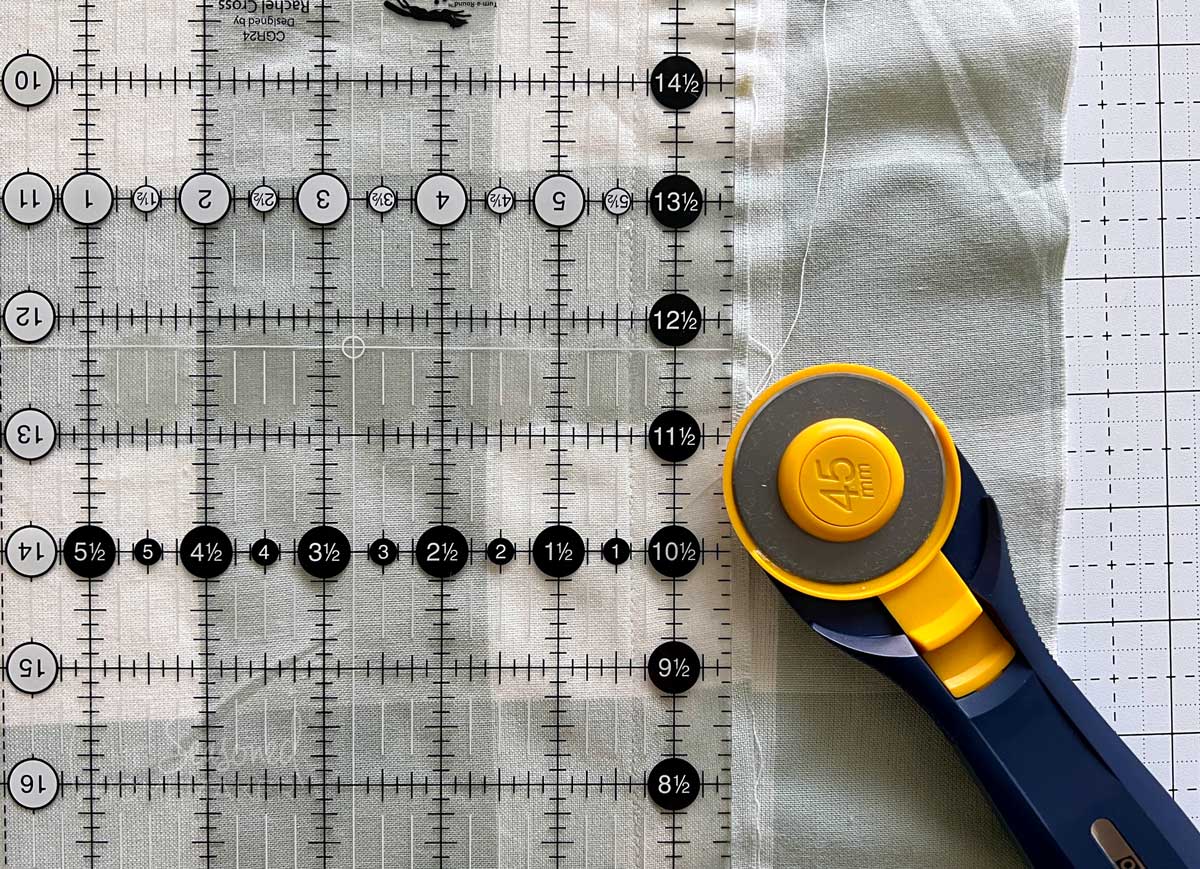
Step 7: Trim and Finish
This is also a good place to stop and look at all of the pattern matches. Although small imperfections likely won’t show, it’s a good idea to make any adjustments necessary before trimming.
Once any adjustments have been made, it’s time to trim the excess seam allowance. Remember, you started with a minimum 1″ seam allowance. For quilt backing I like to trim the seam allowance to 1/2″.
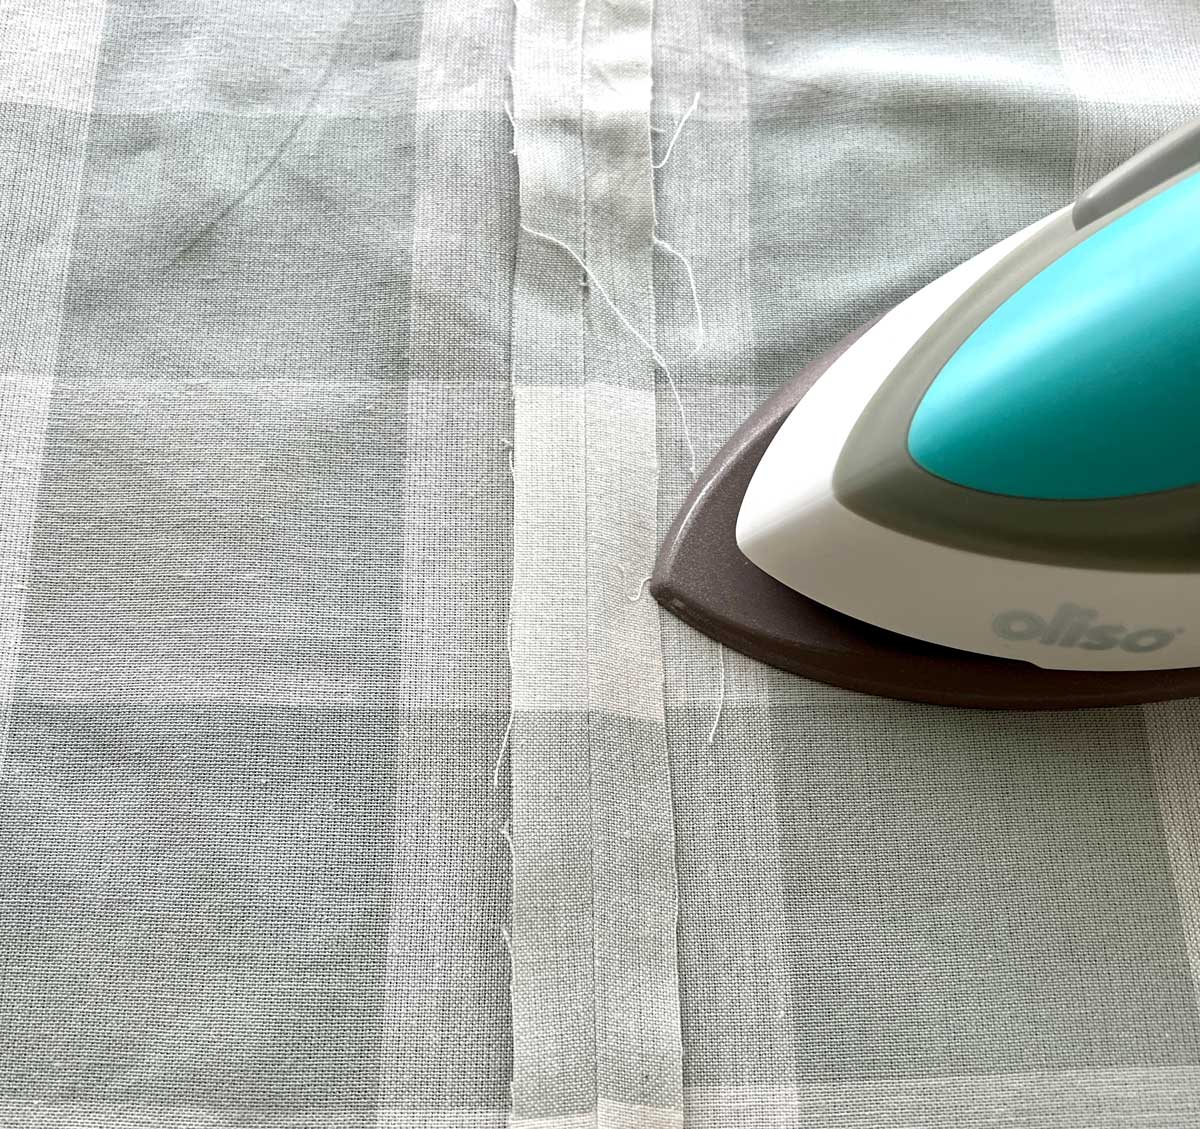
Step 8: Press Seams
Press open your seam allowance to avoid bulk when quilting. Note: When pressing seams open you will be pressing on the side that may have glue residue. I recommend using a pressing cloth to avoid getting glue on your iron.
Give your backing all-over pressing. It’s also a good idea to lightly starch before quilting.
Achieving a seamless print match for your quilt backing isn’t difficult, but it does require a little and attention to detail.
By following this step-by-step guide, you’ll let your creativity shine through as you create stunning quilts that delight both the eye and the heart.
Get the Printable Post
Want an ad-free, printable version of this post? Click the button below and download the Printable PDF tutorial.