How to Make a Perfect Hourglass Quilt Block
This post may contain affiliate links which won’t change your price but will share a commission.
Inside: How to Make a Perfect Hourglass Quilt Block
When looking at quilt blocks for this series I always like to see if I can find something unique or special about a block.
The Hourglass Quilt Block is one of those blocks that’s been around a while and was popular in the early 20th century. It goes by several different names: Big Dipper, Yankee Puzzle, Whirling Blade, Reverse X, Bow Ties, and (my personal favorite) Pork and Beans.
No matter how it got its name, I know you’re going to love how easy this quilt block is to make. And be sure to grab the FREE PDF assembly diagram below.
Want an ad-free, printable copy of this tutorial? Scroll to the bottom of this post for more details!
How to Make a Perfect Hourglass Quilt Block
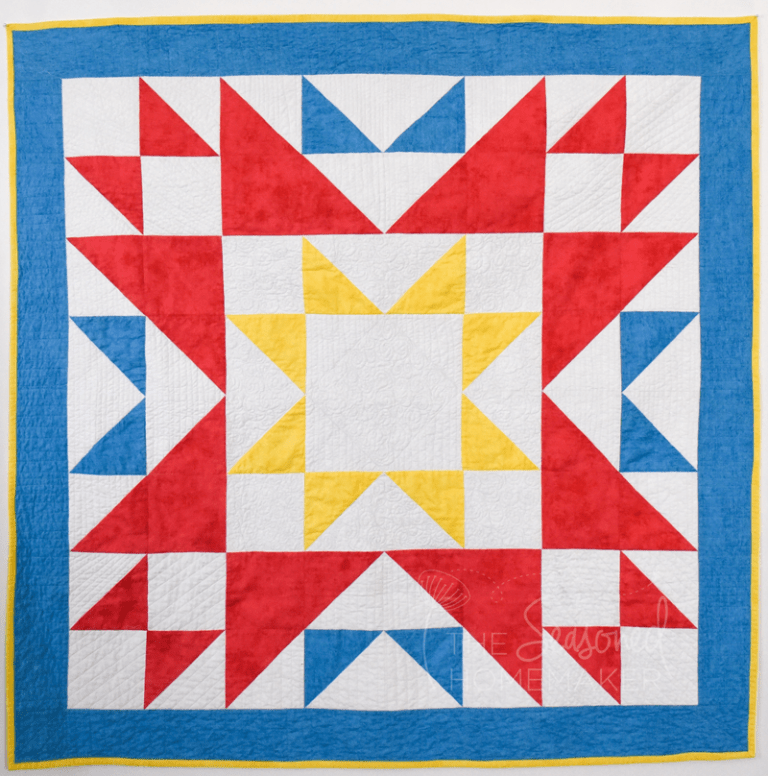
For this block I decided to make it a traditional 4-patch with four Hourglass blocks. This method offers you some variety because it can be dramatically different depending on your fabric choices.
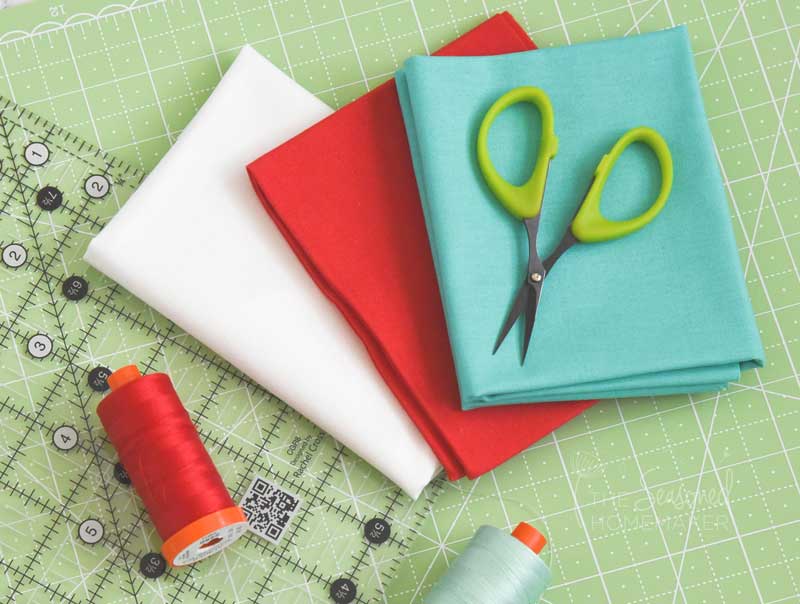
Supplies
This block is very economical. I used some solid fat quarters that were in my stash. As long as you choose fabrics that have a contrast, anything will work.
- Solid Fabric #1 (Red)
- Solid Fabric #2 (Turquoise)
- White Fabric (Kona White #1387)
Basic Sewing Supplies Needed
- Sewing Machine
- It’s nice to use a 1/4″ sewing foot to help maintain a perfect seam allowance
- Cotton Thread
- I prefer Aurifil 50 wt. thread
- Sewing Pins
- Rotary Cutter with sharp blade
- Acrylic Ruler
- Rotary Cutting Mat
- Iron & Ironing Board
Get a FREE Block Assembly Diagram
Click the pink button below and get a FREE downloadable PDF that includes assembly diagrams for the Hourglass Quilt Block with HST’s 2-at-a-Time and QSTs 2-at-a-Time.
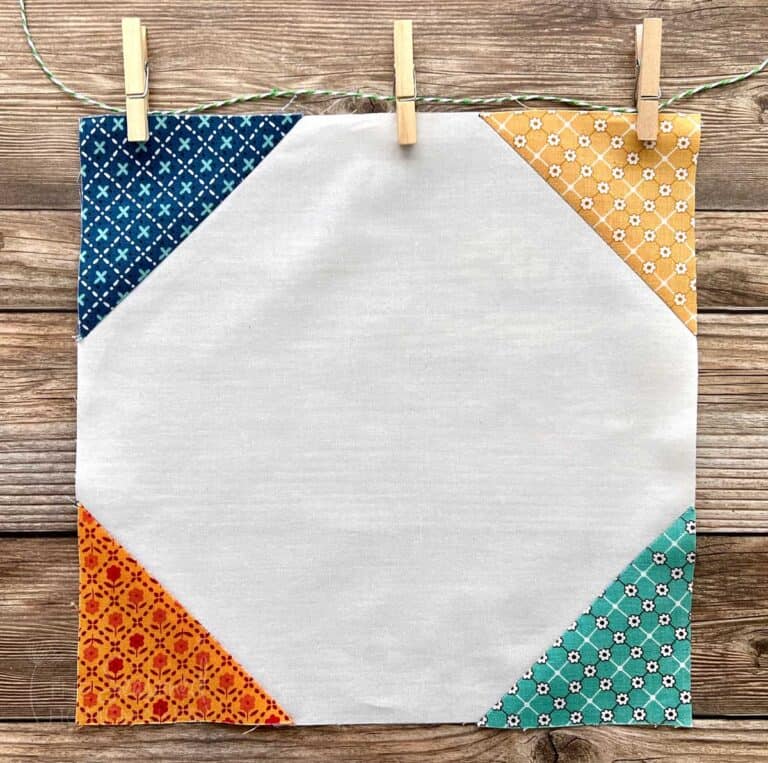
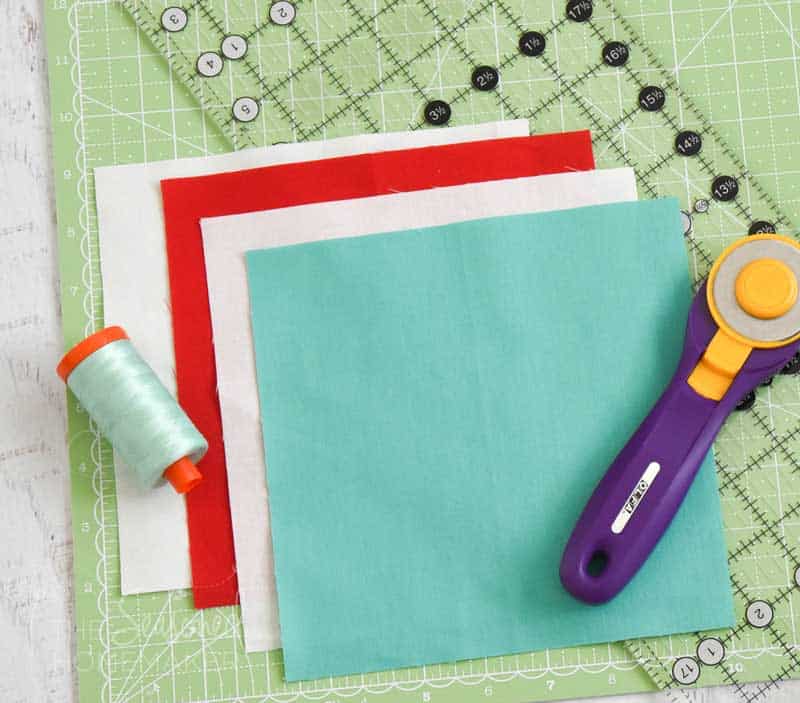
Step 1: Cutting and Marking
Iron your fabrics nice and flat to remove any wrinkles. Use the cutting measurements below to get your pieces cut out and in order.
- Qty (1) 7.25″x 7.25″ Red (A)
- Qty (1) 7.25″ x 7.25″ Turquoise (B)
- Qty (2) 7.25″ x 7.25″ White (C)
Step 2: Half Square Triangles (HST) 2-at-a-Time
Follow the diagram below to make the red/white HSTs and the teal/white HSTs.
- Place a light and a dark fabric square right sides together.
- Use a pencil or water soluble marker, draw a diagonal line from one corner to the opposite corner.
- On both sides of the diagonal line, stitch a scant 1/4″ seam. See How to Sew the Perfect Quilting Seam Allowance for more details.
- Using a quilter’s ruler and rotary cutter, cut along the pencil line.
- Press seams to one side.

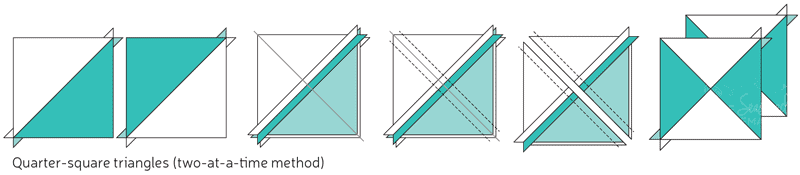
Step 3: Quarter Square Triangles (QST) 2-at-a-Time
- Arrange your HST squares in correct layout (pictured below). Place opposite sides on top of each other (light fabric on dark fabric). Be sure the seams line up. Secure with a pin. Hint: PLACEMENT MATTERS! Before sewing, fold back the fabric on one of the stitching lines. You should see an hourglass shape.
- Use a pencil or water soluble marker, draw a diagonal line from one corner to the opposite corner, bisecting the seam.
- On both sides of the diagonal line, stitch a scant 1/4″ seam.
- Using a quilter’s ruler and rotary cutter, cut along the pencil line.
- Press each completed QST, trim away dog ears, and square individual blocks to 6.5″ (if necessary).
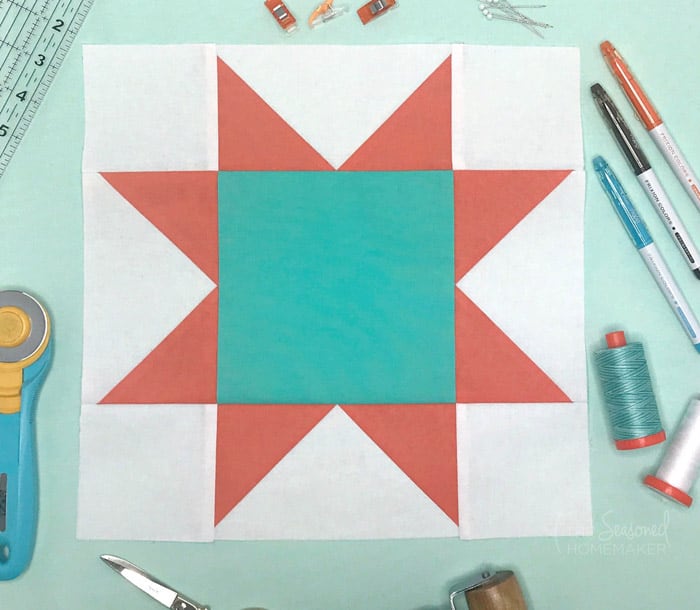
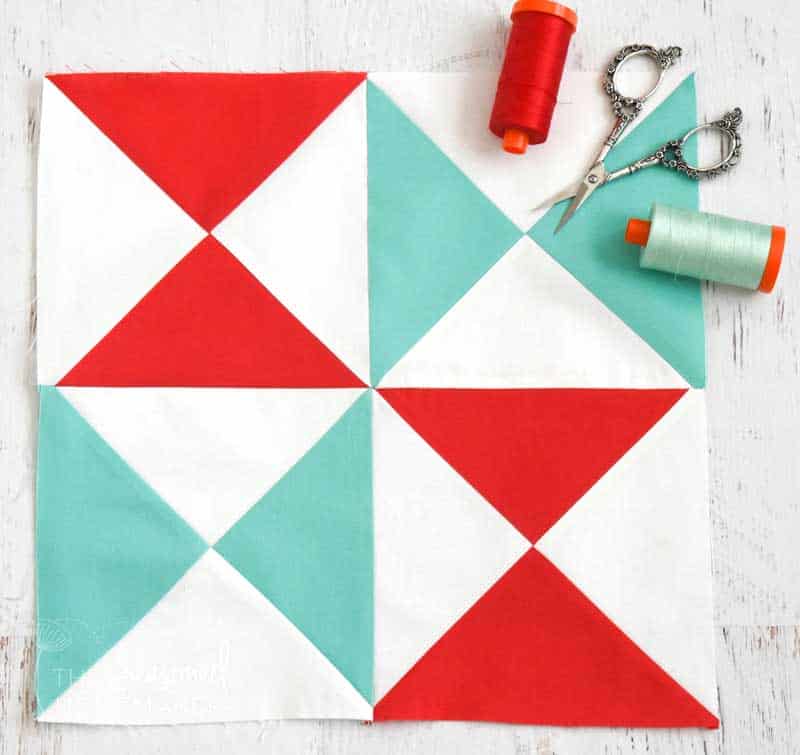
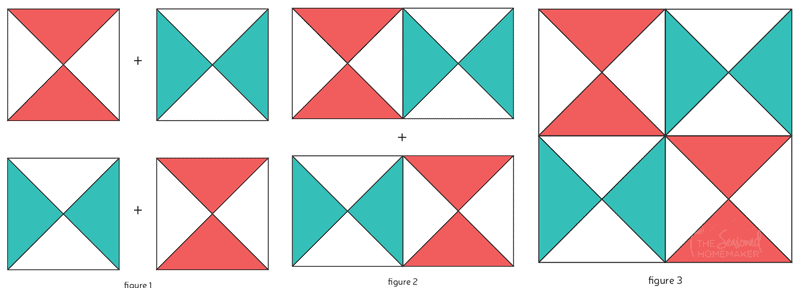
Step 4: Block Assembly
- Arrange your individual Hourglass squares in correct layout (pictured below).
- Using a quarter inch seam allowance, sew together the top row (4-patch style). Press seams in same direction. Repeat for the bottom row. Alternate pressing direction on each row.
- Join both rows using a quarter inch seam allowance. Take time to nest your seams.
- Press your completed block and trim down block to 12.5″ square (if necessary).
The Hourglass Quilt Block is a fun and easy quilt block with unlimited possibilities. Because of its simplicity, the options for this easy quilt block are limitless!
>>> Want a printable version of the post? Click the pink button, and download the Printable PDF instructions.