Sewing Machine Feet: The Buttonhole Foot
This post may contain affiliate links which won’t change your price but will share a commission.
Inside: Sewing Machine Feet: The Buttonhole Foot
The scariest, in my opinion, of all Sewing Machine Feet is the Buttonhole Foot. The sewing machine foot that strikes fear into the hearts of both novice and experienced sewists.
I am here to tell you there is nothing to fear. On most machines, the buttonhole foot is easy to use and somewhat idiot proof. The real secret to getting great buttonholes isn’t in the buttonhole foot, it’s in the way you prepare your fabric.
My buttonhole history
In my sewing history, I have used a variety of buttonhole attachments. For years I sewed on a Kenmore machine and it had this antiquated buttonhole system that had a plastic cog and gear plus a couple of cams. I calculate I’ve made well over 200 buttonholes with this attachment. I was sewing dresses and school uniforms for my two daughters. Many of the dresses buttoned at the shoulder or down the back. Some of the teeth that move the attachment were a little worn down, but the last time I used it I had great buttonholes.
Then, I purchased a Babylock Ellure which used this type of buttonhole attachment. This was a giant leap in buttonhole making and I could have stopped here and been a happy buttonhole maker. I have not done a scientific counting, but I think that this is the most common type of buttonhole attachment. I see something like it included in almost all new machines.

It’s easier than you think
Simply insert the button in a slot on the foot and then attach the foot to your sewing machine. There is a stop-bar that drops down; when you are sewing the buttonhole, the machine can stop (or be stopped by you) and reverse to sew the other side of the buttonhole. Some machines will even memorize the buttonhole size, making all of your buttonholes the same.
Older machines will have something that can only be called a contraption which will require some sort of manual to operate. After a lengthy search, I gave up on trying to find a photo to show you. If you learned sewing from a grandmother, you probably have some memory of this devise. These were not very consistent and are likely the source of most cases of buttonhole-a-phobia.
Both of my Bernina’s use this foot. I tell my machine what size buttonhole I want it to make (15 mm, 17.5 mm, etc.) and the machine programs the correct size and then remembers it with a memory chip. Once programmed, it will make the exact same size buttonhole until reprogrammed.

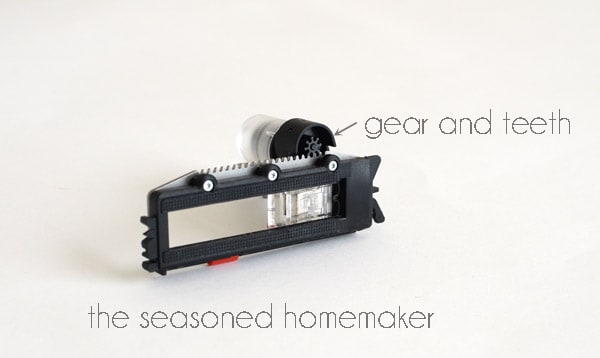
However, at its core the foot still has a cog, gears, and teeth to move the buttonhole foot while making a buttonhole. This is common on almost all buttonhole feet ~ even scary, antique contraptions.
The Secret to Perfect Buttonholes
The real secret to making a great buttonhole does not rely on fancy equipment or the latest technology. While these simplify the process of making a buttonhole and are nice to have, the key to buttonhole success is found in how you prepare your fabric before making the buttonhole.
Yep, you don’t need a fancy~schmancy machine to make beautiful buttonholes. All you need to do is properly prepare the fabric before making a buttonhole.
I’ve made a short video to see it all in action. (Sorry about my hand blocking some of the view.)
For those of you who like photos and written instructions, I’ve included them below.
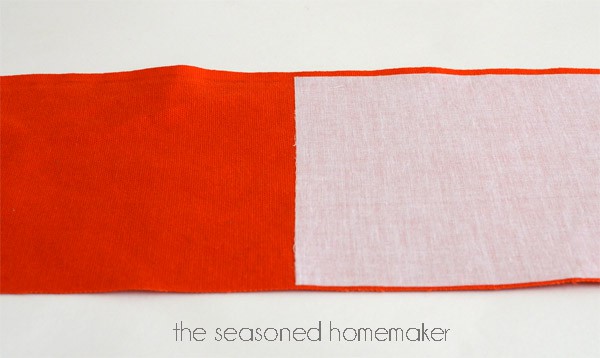
Step #1: Interface Fabric
Interface your fabric prior to making a buttonhole. Use a woven interfacing for woven fabrics or a stretchy tricot interfacing for knits. (I’m working with a woven, here).
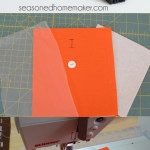
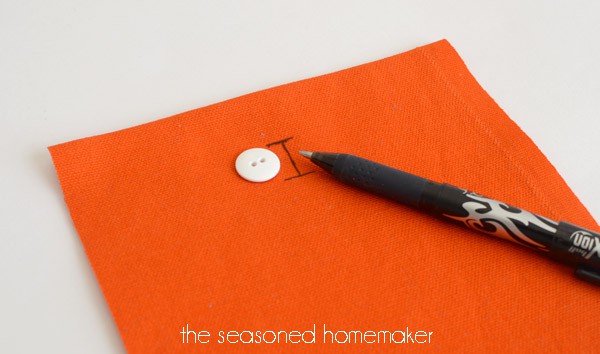
Step #2: Mark Buttonhole(s)
Using a removable marker, create a mark at the top, bottom, and center of the buttonhole location(s).
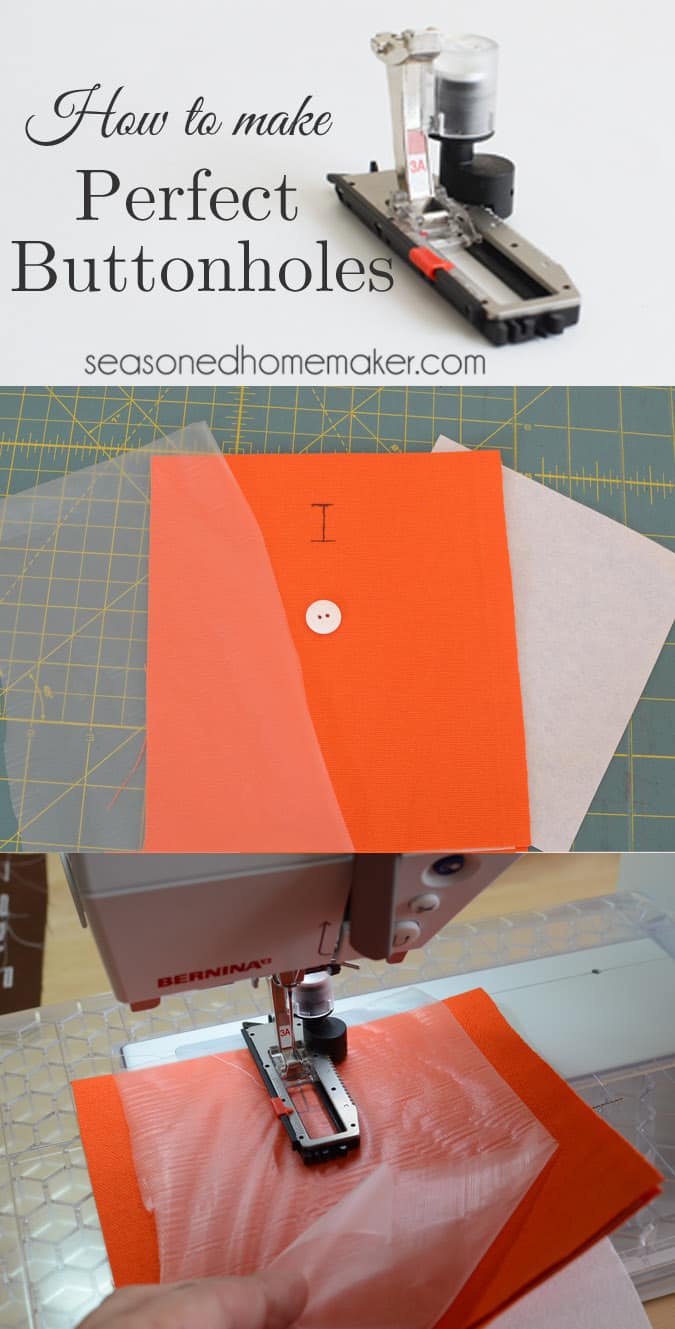
Step #3: Set Up Machine for Buttonholes
Attach the buttonhole foot and set the size for your buttonhole.

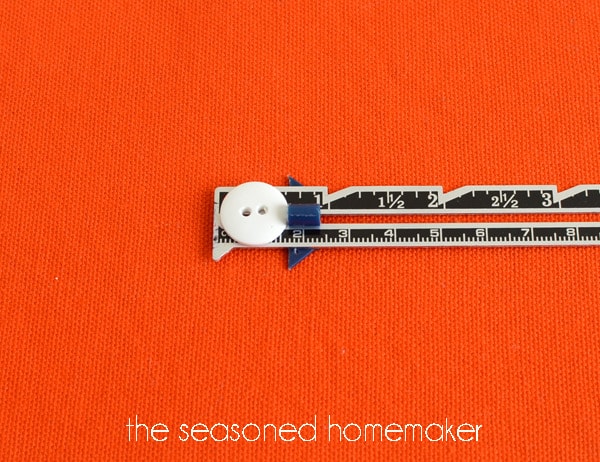
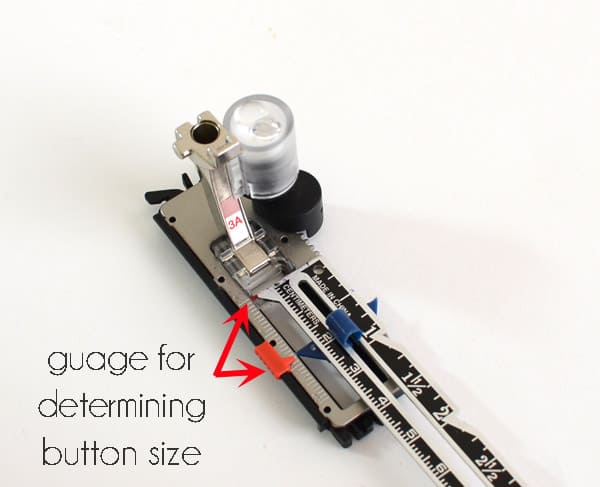
My machine has an electronic setting ~ I tell it the correct size and it sets it. If your machine doesn’t have this feature you can easily find the size by measuring the button and then following guidelines on your buttonhole foot.
Step #4: Stabilizing the Fabric
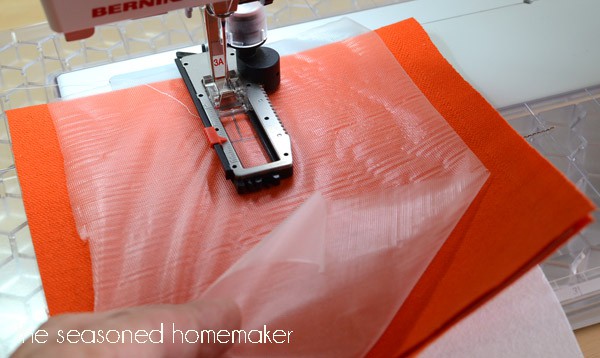
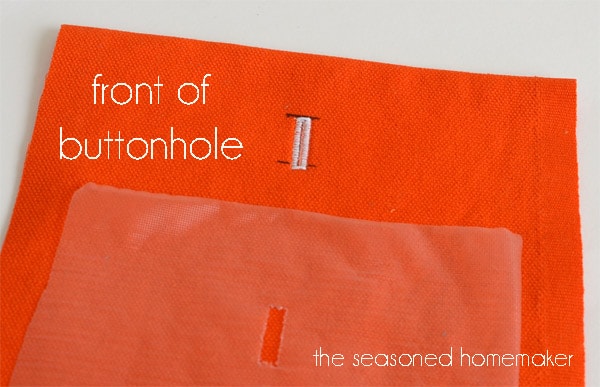
Cut a piece of Tear Away Stabilizer (affiliate) large enough to cover the buttonhole area and place it on the back of the fabric.
Cut a piece of Wash Away Stabilizer (affiliate) large enough to cover the buttonhole area and place it on top of the fabric.

Step #5: Making the Buttonhole
Following your manual, set the sewing machine to the buttonhole setting. {Always make a test buttonhole on a piece of scrap fabric.} Line up the markings on the fabric with the guideline markings on the buttonhole foot.
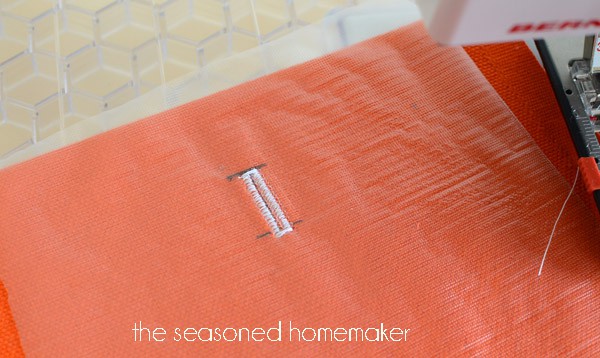
Begin making the buttonhole. My machine will start with a zigzag down the left side of the buttonhole. It stops and straight stitches back to the top, makes a bar tack, and zigzags back down the right side. It ends with a bar tack at the bottom of the buttonhole.
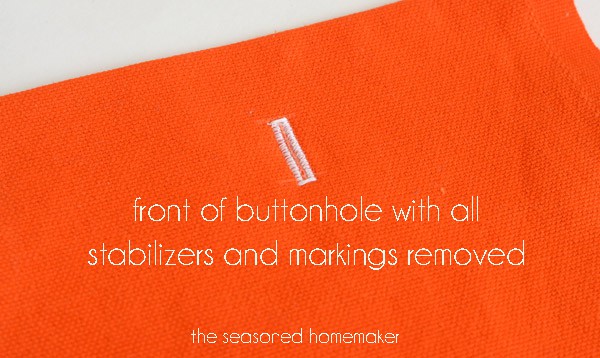
Step #6: Finishing the Buttonhole
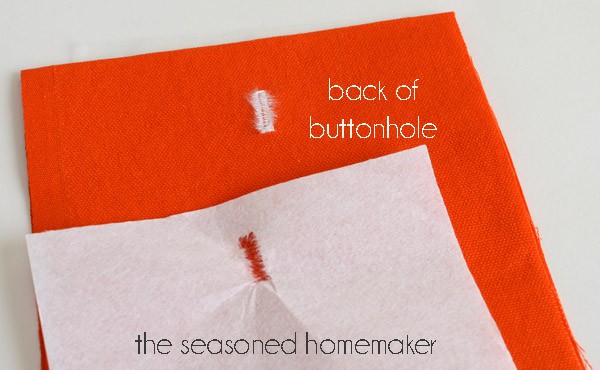
Remove the Tear Away Stabilizer from the back by tearing it away. Remove the Wash-Away Stabilizer on the front by tearing away. Remove any markings {mine will disappear with heat from the iron}. Any remaining stabilizer residue will dissolve with the first washing.
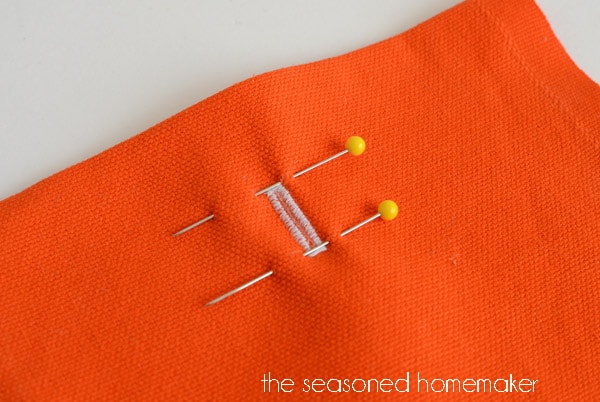
Step #7: Cutting Open the Buttonhole
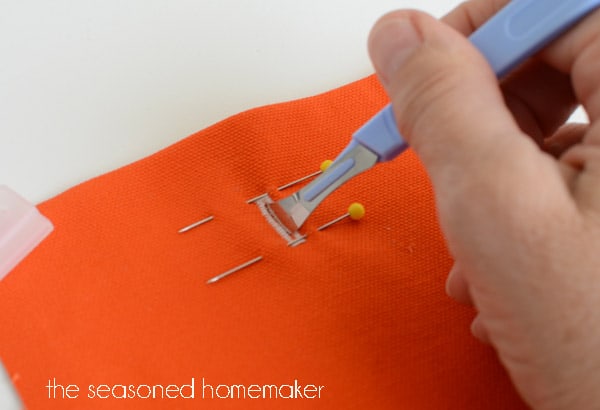
I had to learn this step the hard way. To avoid cutting through the buttonhole(s) you’ve just made, slide a pin through the top and bottom covering both of the bar tacks. You do not want to cut into the bar tack when opening the buttonhole.
To cut open buttonholes, I use an inexpensive buttonhole cutter (affiliate), but sharp scissors or a seam ripper will work, too. The key is patience.
It’s really that easy.

Scroll to the bottom of this page for a complete listing of this series on Sewing Machine Feet.
Search here for a buttonhole foot (affiliate) that works with your machine.