How to Applique Like a Pro
This post may contain affiliate links which won’t change your price but will share a commission.
Inside: How to Applique Like a Pro
Applique is the process of stitching small pieces of fabric to a larger piece of fabric, and in the process, creating a unique design. It’s an ideal way to customize a project (like a pillowcase!) by introducing a new color, some texture, or even a touch of whimsy.
The most basic applique can be as simple as adding a name or initials to something like a tote bag. But it doesn’t stop there – applique can be used to create scenes on pillows and quilts. You can literally add any design to any fabric. The possibilities are endless!

The key to applique success:
The key to successful applique is knowing which type of stitching works best for your project. And this tutorial will walk you through a few of the most basic applique stitches – straight stitch applique, zigzag applique, fussy cut applique, reverse applique, and decorative stitch applique.
Applique Techniques:
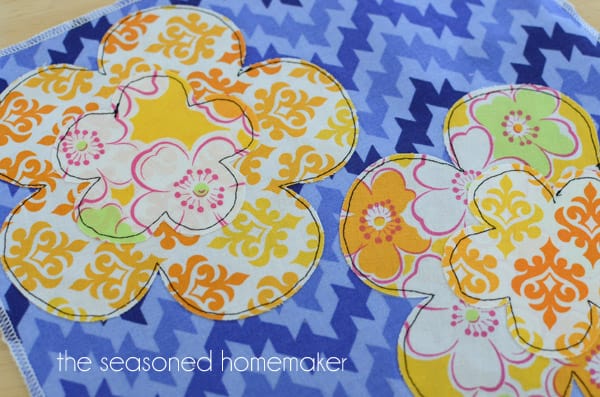
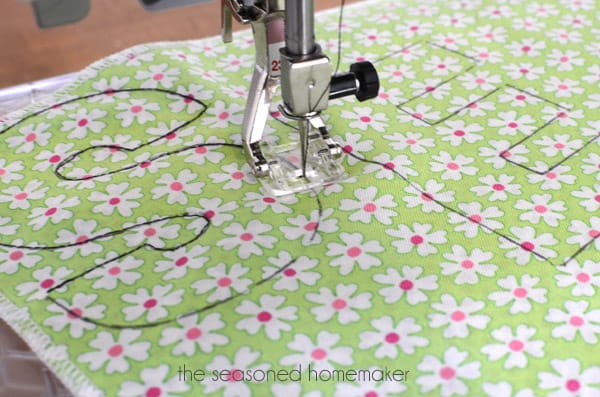
Step 1 – Straight Stitch Applique
This is about as easy as it gets and adds so much to any project. Once washed, it will fray around the edges and have an even better look.
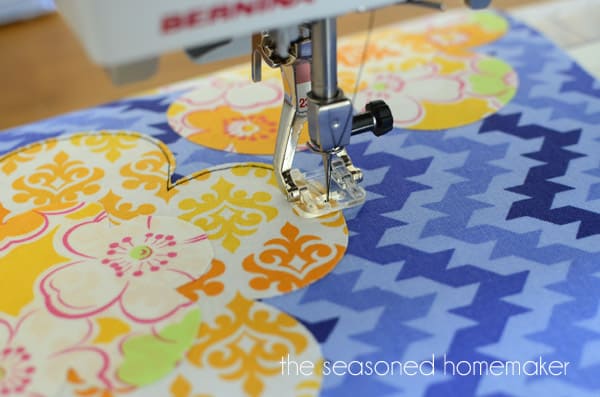
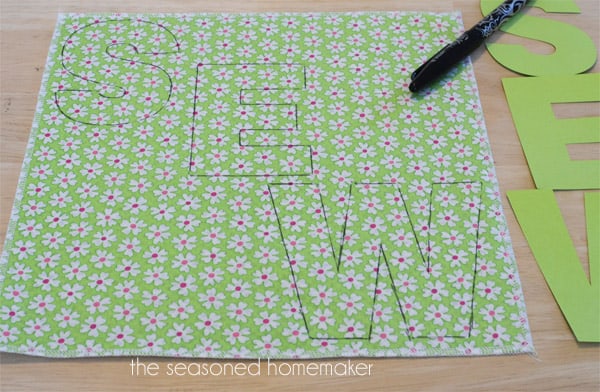
Step 2 – Lettering and Zigzag Stitch Applique
When I teach applique, I always teach students how to applique lettering and then stitch around the letters with a zigzag stitch.
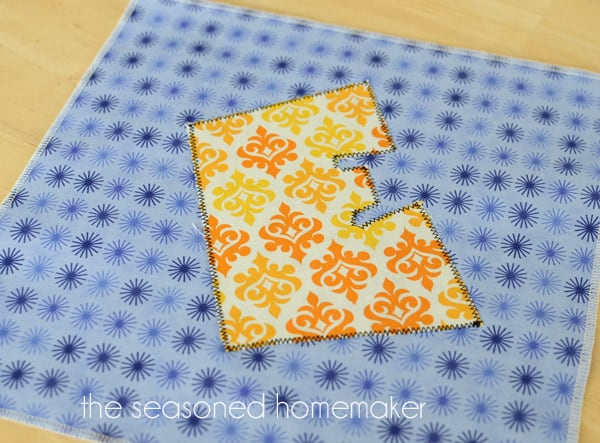
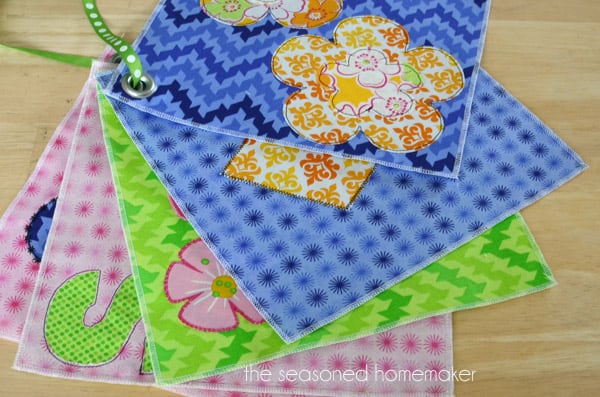
Step 3 – Fussy Cut Applique
Fussy Cut Applique is one of those sewing things where the possibilities are endless. It begins with a design on the fabric, but there is so much more you can do. For my sampler all I did was stitch around the outside of the design with invisible thread.
Another possibility would’ve been to satin stitch in matching colors all of the design. Dark pink around the dark pink out edges, light pink, orange, etc. That would need to be an entire class on satin stitch applique.

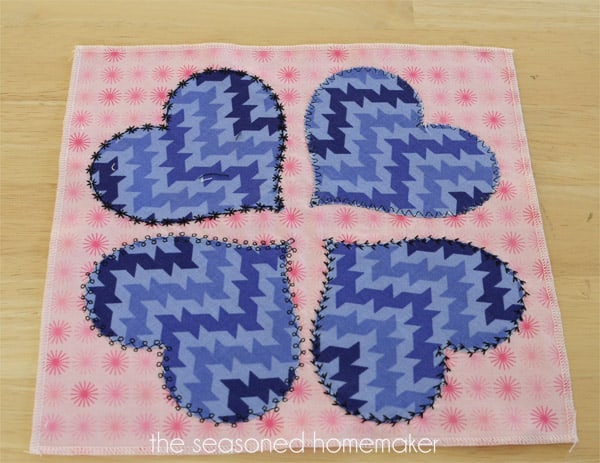
Step 4 – Decorative Stitch Applique
Time to pull out those decorative stitches on your machine and play with them. See how the decorative stitching makes the design really pop out. I’ve used a variety of stitches here. The key is to play with it until you love it.
Step 5 – Reverse Applique
Reverse Applique is one of my favorites. I think it can change a kid’s t-shirt from plain to WOW! And, it can cover a hole or two in a favorite garment.
Here’s a quick look at the process. First, you need two layers of fabric. Use a heat soluble or water soluble fabric pen to trace out your design.
Next, straight stitch around the design.
Carefully cut inside the stitching.
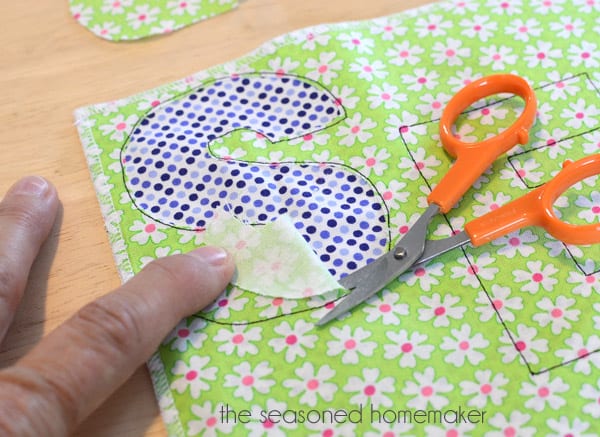
That’s all there is to it.

Finding Designs:
Isn’t applique easy and fun! Now it’s time to create some fun designs. This doesn’t have to be difficult. I have an entire section on this website with a variety of applique ideas. Visit my Applique Archives to learn more.
I also have a few applique template sets that are designed for beginners. Visit my Shop to learn more. Note: A few of my patterns also have a free tutorial project. Be sure to look for this!
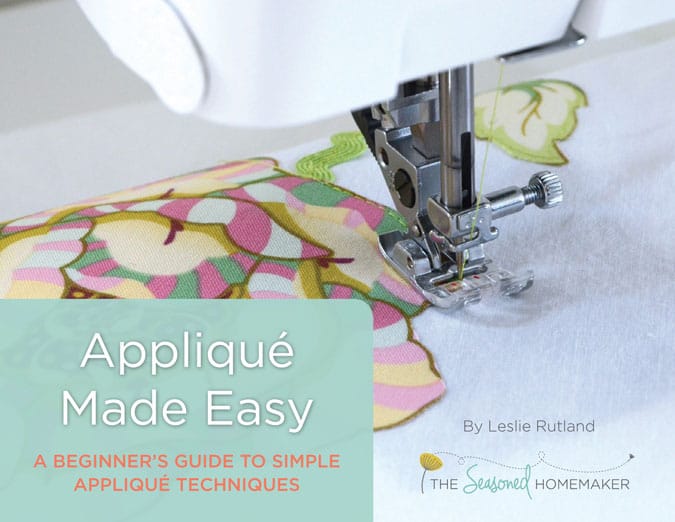
If you want to further develop your appliqué skills, check out my eBook:
Applique Made Easy: A Beginner’s Guide to Simple Appliqué Techniques
Watch a Video
I’ve included a short video that shows how easy it is to applique and start embellishing your own projects!