

How to Make a Fabric Storage Basket
This post may contain affiliate links which won’t change your price but will share a commission.

Inside: How to Make a Fabric Storage Basket
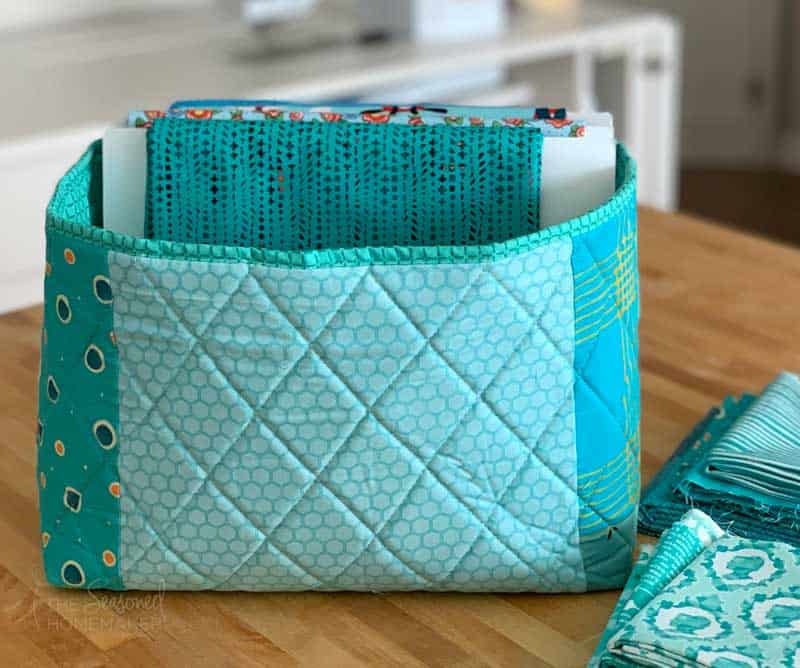
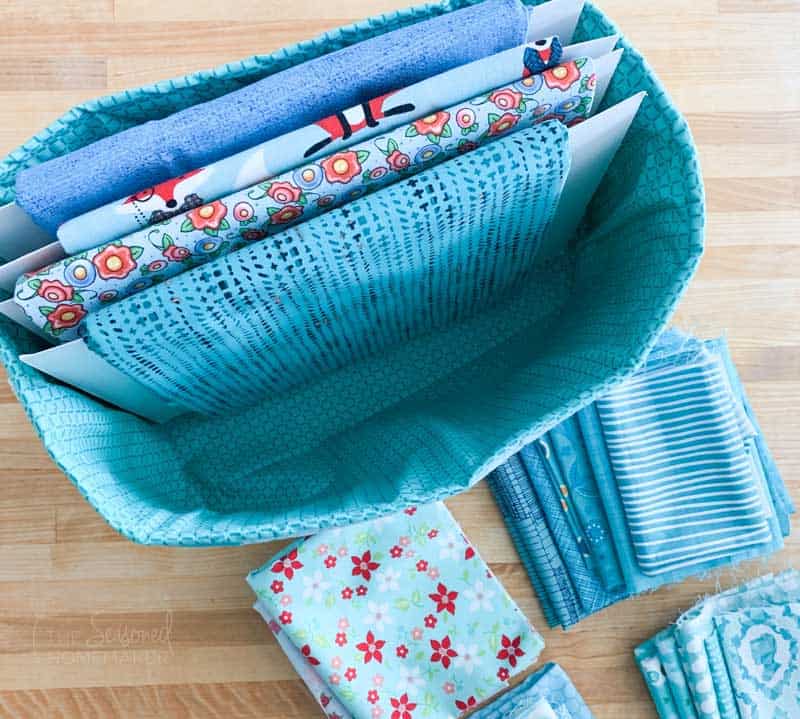
Fabric storage baskets are a great way to organize your scraps and stash. They are also a great way to use up some of your scraps.
This tutorial will show you how to make a fabric storage basket using a patchwork quilting technique. However, you can also make them out of a single piece of fabric and eliminate the optional quilting.
I recommend you use a single fabric color theme to make a series of baskets to hold your scraps. For instance, use red scraps to make a basket that will hold your red fabric scraps, use blue scraps to make a basket to hold your blue fabrics, etc.
Want an ad-free, printable copy of this tutorial? Scroll to the bottom of this post for more details!
Materials
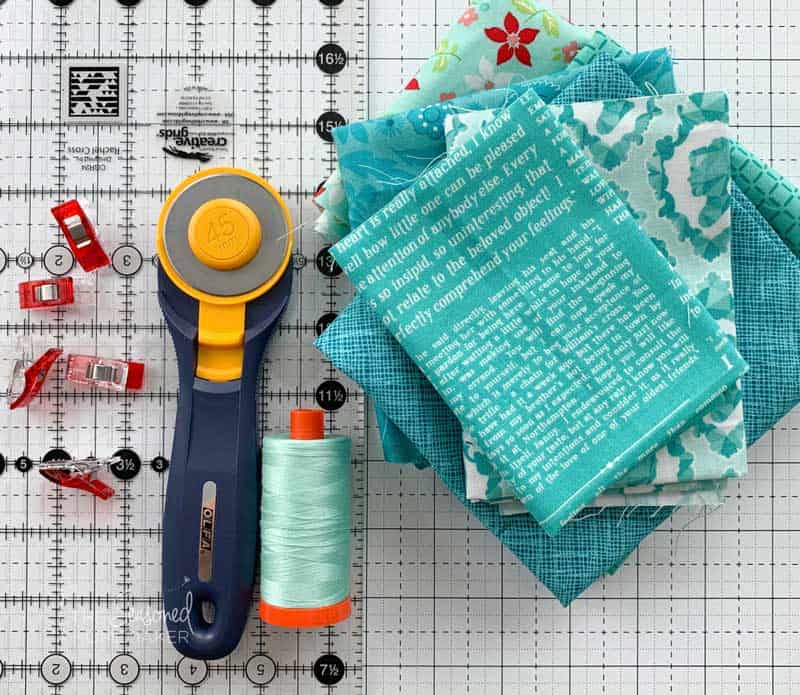
- (1) 18″ x 22″ piece of Patchwork Fabric (or Fat Quarter) for Basket Exterior
- (1) Fat Quarter for Basket Interior (18″ x 22″)
- Aurifil 50 wt. Cotton Thread
- Interfacing
- Single-sided Fusible Foam Interfacing – For soft, but firm sides (my preference and what is demonstrated in this tutorial)
- Peltex 71F Single-sided Fusible Interfacing – For stiff sides (not shown in tutorial)
- Water Erasable Pen
Supplies:
- Sewing Machine
- 1/4″ Foot for your sewing machine
- Wonder Clips
- Rotary Cutter with sharp blade
- Acrylic Ruler
- Self-Healing Rotary Cutting Mat
- Iron & Ironing Board
- Stripology Ruler (optional)
Fabric Storage Baskets Tutorial
Step 1: Cutting Instructions

Basket Exterior Cutting Instructions
- Cut one piece of fabric 18″ x 22″ for Basket Exterior. This can be from a fat quarter or a patchwork piece you create. See Patchwork Option below for ideas.
Patchwork Option:
Straight-cut a variety of fabric pieces in different widths and randomly piece together in a manner that is pleasing to your eye. Trim down to 18″ x 22″.
Pro Tip: I find the Stripology Ruler the perfect tool for cutting strips that will be pieced together. You can stack several layers of fabric together making it really fast to cut a variety of strips. Feel free to cut strips in a variety of sizes to give your patchwork a unique look.
Basket Lining Cutting Instructions
Cut one piece of fabric 18″ x 22″ for Basket Lining.
Note: The Basket Lining is designed to wrap over the top about 1/4″ to give the appearance of binding. If you prefer to have a wider “binding”, cut your fabric piece to 18.5″ x 22″. If you are using a fat quarter as your lining piece you can also trim down the top edge of the basket 1/4″ once it is constructed. Either method will give you the appearance of a wider binding.
Flexible Foam Cutting Instructions
- Cut one piece of single-sided fusible flexible foam 20″ x 24″.
Step 2: Quilting Basket Exterior
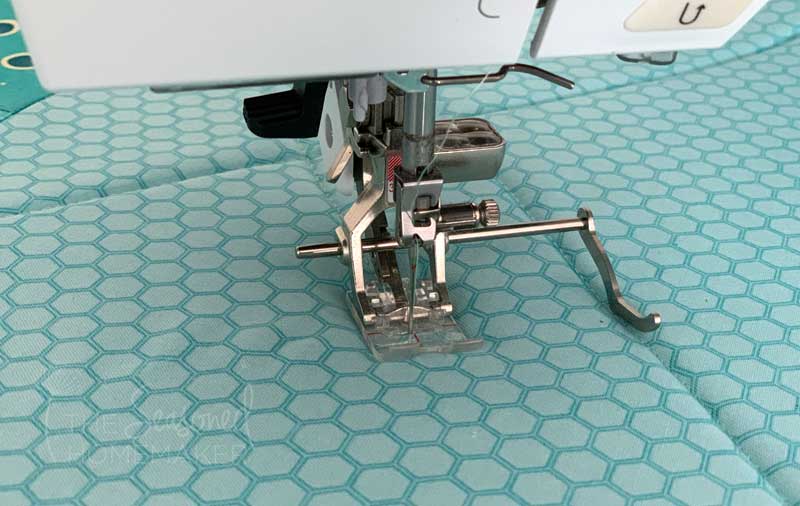
- Fuse the flexible foam interfacing to the wrong side of the Basket Exterior fabric. Note: To quilt a diagonal design, mark from corner to corner to create a starting line. Turn and mark from the opposite side corner to corner. Use a guide to quilt 1.5″ apart using a 3.5mm stitch length.
- Quilt the Exterior Fabric to the Flexible Foam. This will make your basket a little stiffer and it will make it sit more upright and slouch less.
- Trim down to 18″ x 22″
- Zigzag around the perimeter. This makes it easier when you’re putting everything together.
- With right sides together, fold the fabric in half matching up the 18″ sides. Stitch together with a 3/8″ seam allowance.
Step 3: Making the Bottom of the Basket
- In order for the basket to have a flat bottom you will need to create a pleat for both the Exterior and Lining fabrics. To do this, fold the bottom corner of your basket so it creates a triangle in the corner. Make sure that the triangle is centered with basket bottom. Pro Tip: Pressing the bottom edge flat will help you line up the seam for making your pleat.
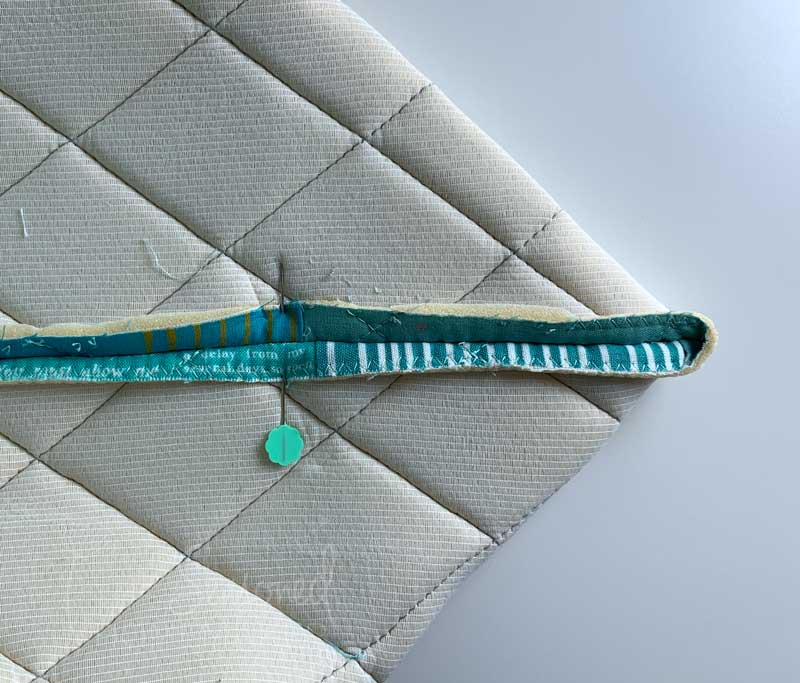
- Pin the corner. Using a water erasable pen, make a mark 2.5” away from the corner. Draw a stitching line and then stitch across to create a pleat.
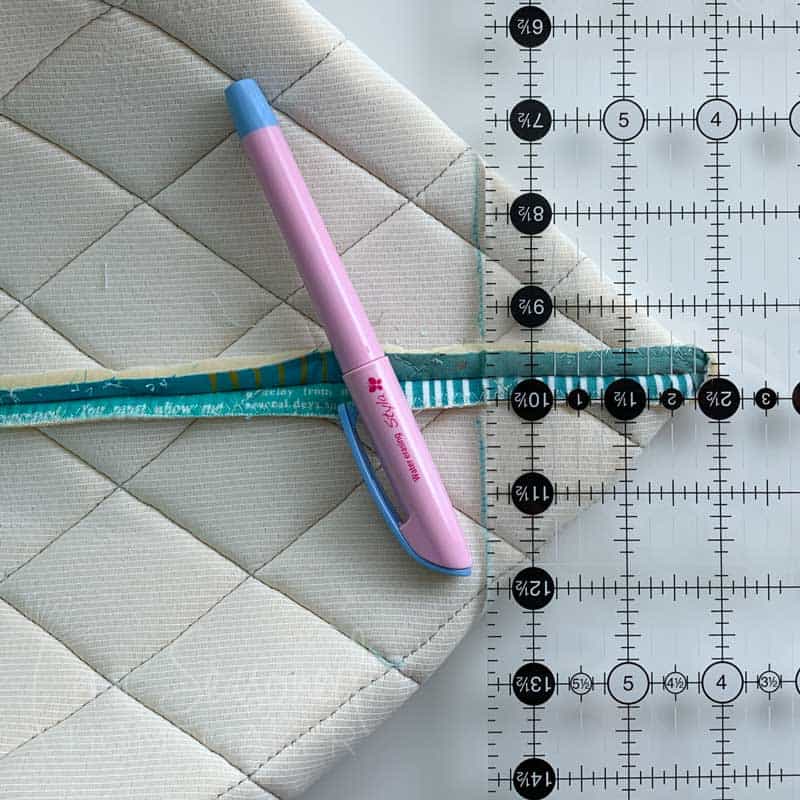
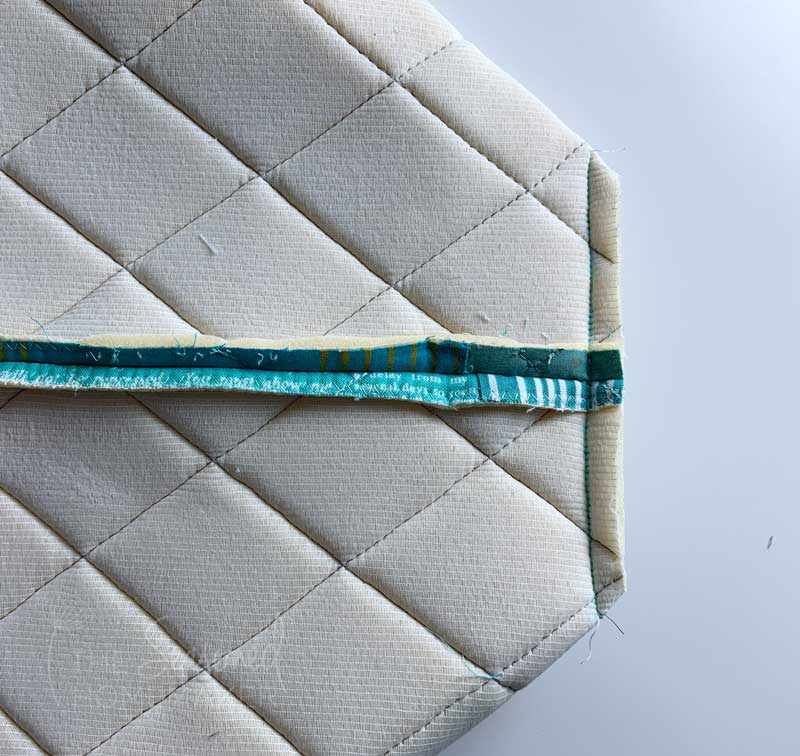
- Clip away the triangle, leaving a 1/4” seam allowance. Be sure to remove the markings.
- Repeat on opposite Exterior corner.
Step 4: Make the Lining
Note: See Step 3 for image examples.
- With right sides together, fold the Lining fabric in half matching up the 18″ sides. Stitch the two side seams together with a 3/8″ seam allowance.
- Pin the corner and with a water erasable pen, make a mark 2.5” away from the corner.
- Draw a stitching line and then stitch across to create a pleat.
- Clip away the triangle, leaving a 1/4” seam allowance. Be sure to remove the markings.
- Repeat on opposite Lining corner.
Step 5: Finishing the Basket
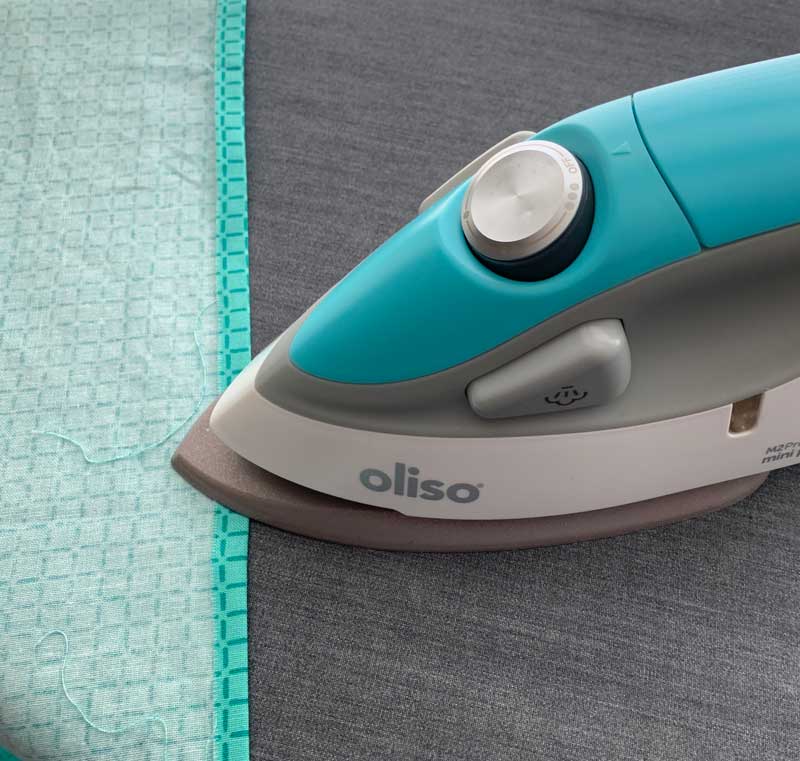
- Press under a 1/4″ hem on Basket Lining.
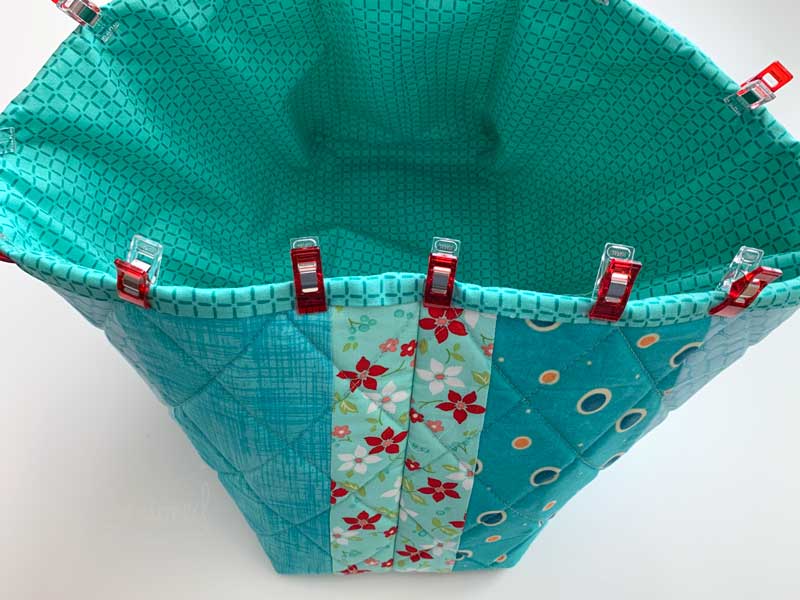
- Insert Basket Lining wrong sides together into the Basket Exterior.
- Be sure to line up the side seams.
- Fold over the turned hem 1/4″ and pin or clip to hold.
- Stitch down 1/8″ from folded edge.
Pro Tip: A little bit of basting glue will help hold this in place.
Step 6: Fill Your Basket
The finished size of this fabric basket is approximately 12″ W x 6″ D X 8″ H. This makes it the perfect size for wrapped fabric on comic book storage boards, fat quarters, or leftovers project scraps.
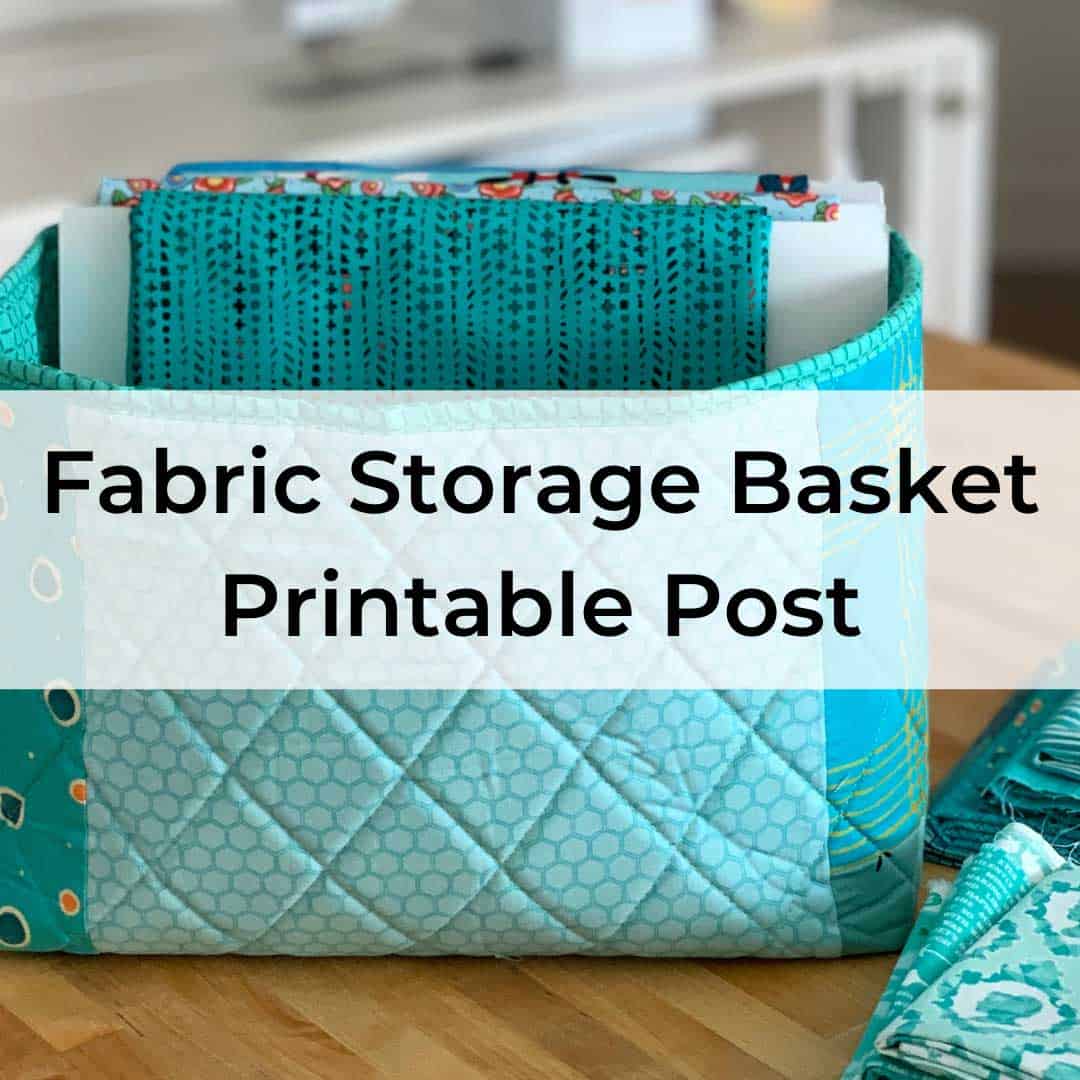
>>> Want a printable version of the post? Click the pink button, and download the Printable PDF instructions.
>>> Pin for later!

I love it ! This will be great for many things! Can’t wIt to get started! I can put cookie cutters, tea lights , so many great uses! Thank y!ou!
This basket is perfect for little girls to put things in. I will be making 2 for my twin grand daughters and 1 for my grandson to put his precious items in. Thank you
Julie!
You’ve done it again! Thank you for not only a fun project…but very useful!
The cameo and script fabric, what line is that? Am I correct that it is Bridgerton, or is it a different book? And where can I find it? Thank you kindly. Love this project by the way, it’s lovely.
It’s not Bridgerton, but a Pride & Prejudice fabric from a few years back.
That is such a cute basket. Always love your tutorials.
Thank you for such a great pattern. I will be making several of these! Additionally, thank you for your blog and ideas. It’s been great to see and provide challenges for me.
Do you use either fusible foam OR Peltex? One or the other? Looks like you used fusible foam only. Can’t wait to make a couple. Thank you 😊
I used fusible foam for this project. Peltex would work and make it stiffer.
Such a cute basket, will have to make one for my grandaughter. Could you please come up with one this size but with a cover, please. It is very dusty where I live in the middle of a field. Especially at plantIng and harvesting times. So I must keep everything covered or it becomes dusty. Thank you.
Oh I love this, a perfect time with the ice storm today. Thank you
Thank you so much for such a great tutorial! This has been just what I needed to use up my scraps (fabric AND foam), practice my free motion quilting and organize my sewing space! What more could we ask for??? I have made 4 and I know there are many more in my sewing future!
This is perfect timing. I’m going to be redoing my sewing area a bit and knew I needed to weed through my scraps. And then this post appeared. Methinks I’ll use several scraps to make some baskets so I have a place to put my scraps. Thank you.
Love your article on not purchasing fabric for a year, I have been working at using what I have on hand myself. I find that making the mats for dogs and cats at the shelter is an easy way to use a fabric that I am at a lost as to why in the world did I purchase this. I find the animals do not see the fabric is terrible in color but the fact someone sewed something to provide comfort for them and that is all the animals see. Ugly fabric mats have to be beat hands down sleeping on the cold concrete floors in an animals shelter.
Can you make a link to a printable link for this, please. I don’t have internet access in my sewing room and like a paper copy to follow. Thank you.
It is on the list – check back in my Shop and look for Printable Blog Posts.
Were you looking in my window this morning?? Being in a Retirement Center, seniors keep giving me older sewing supplies, like threads tangled up and in different colors. While watching the news this morning I taped threads off and put colors in separate sandwich bags, which I now have a stack, these baskets would be perfect to reach into and get that pretty blue spool of thread, even better if as you put it in a basket to match that color, Thanks for helping my clutter. (I am the seamstress in the building).