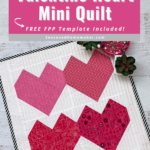
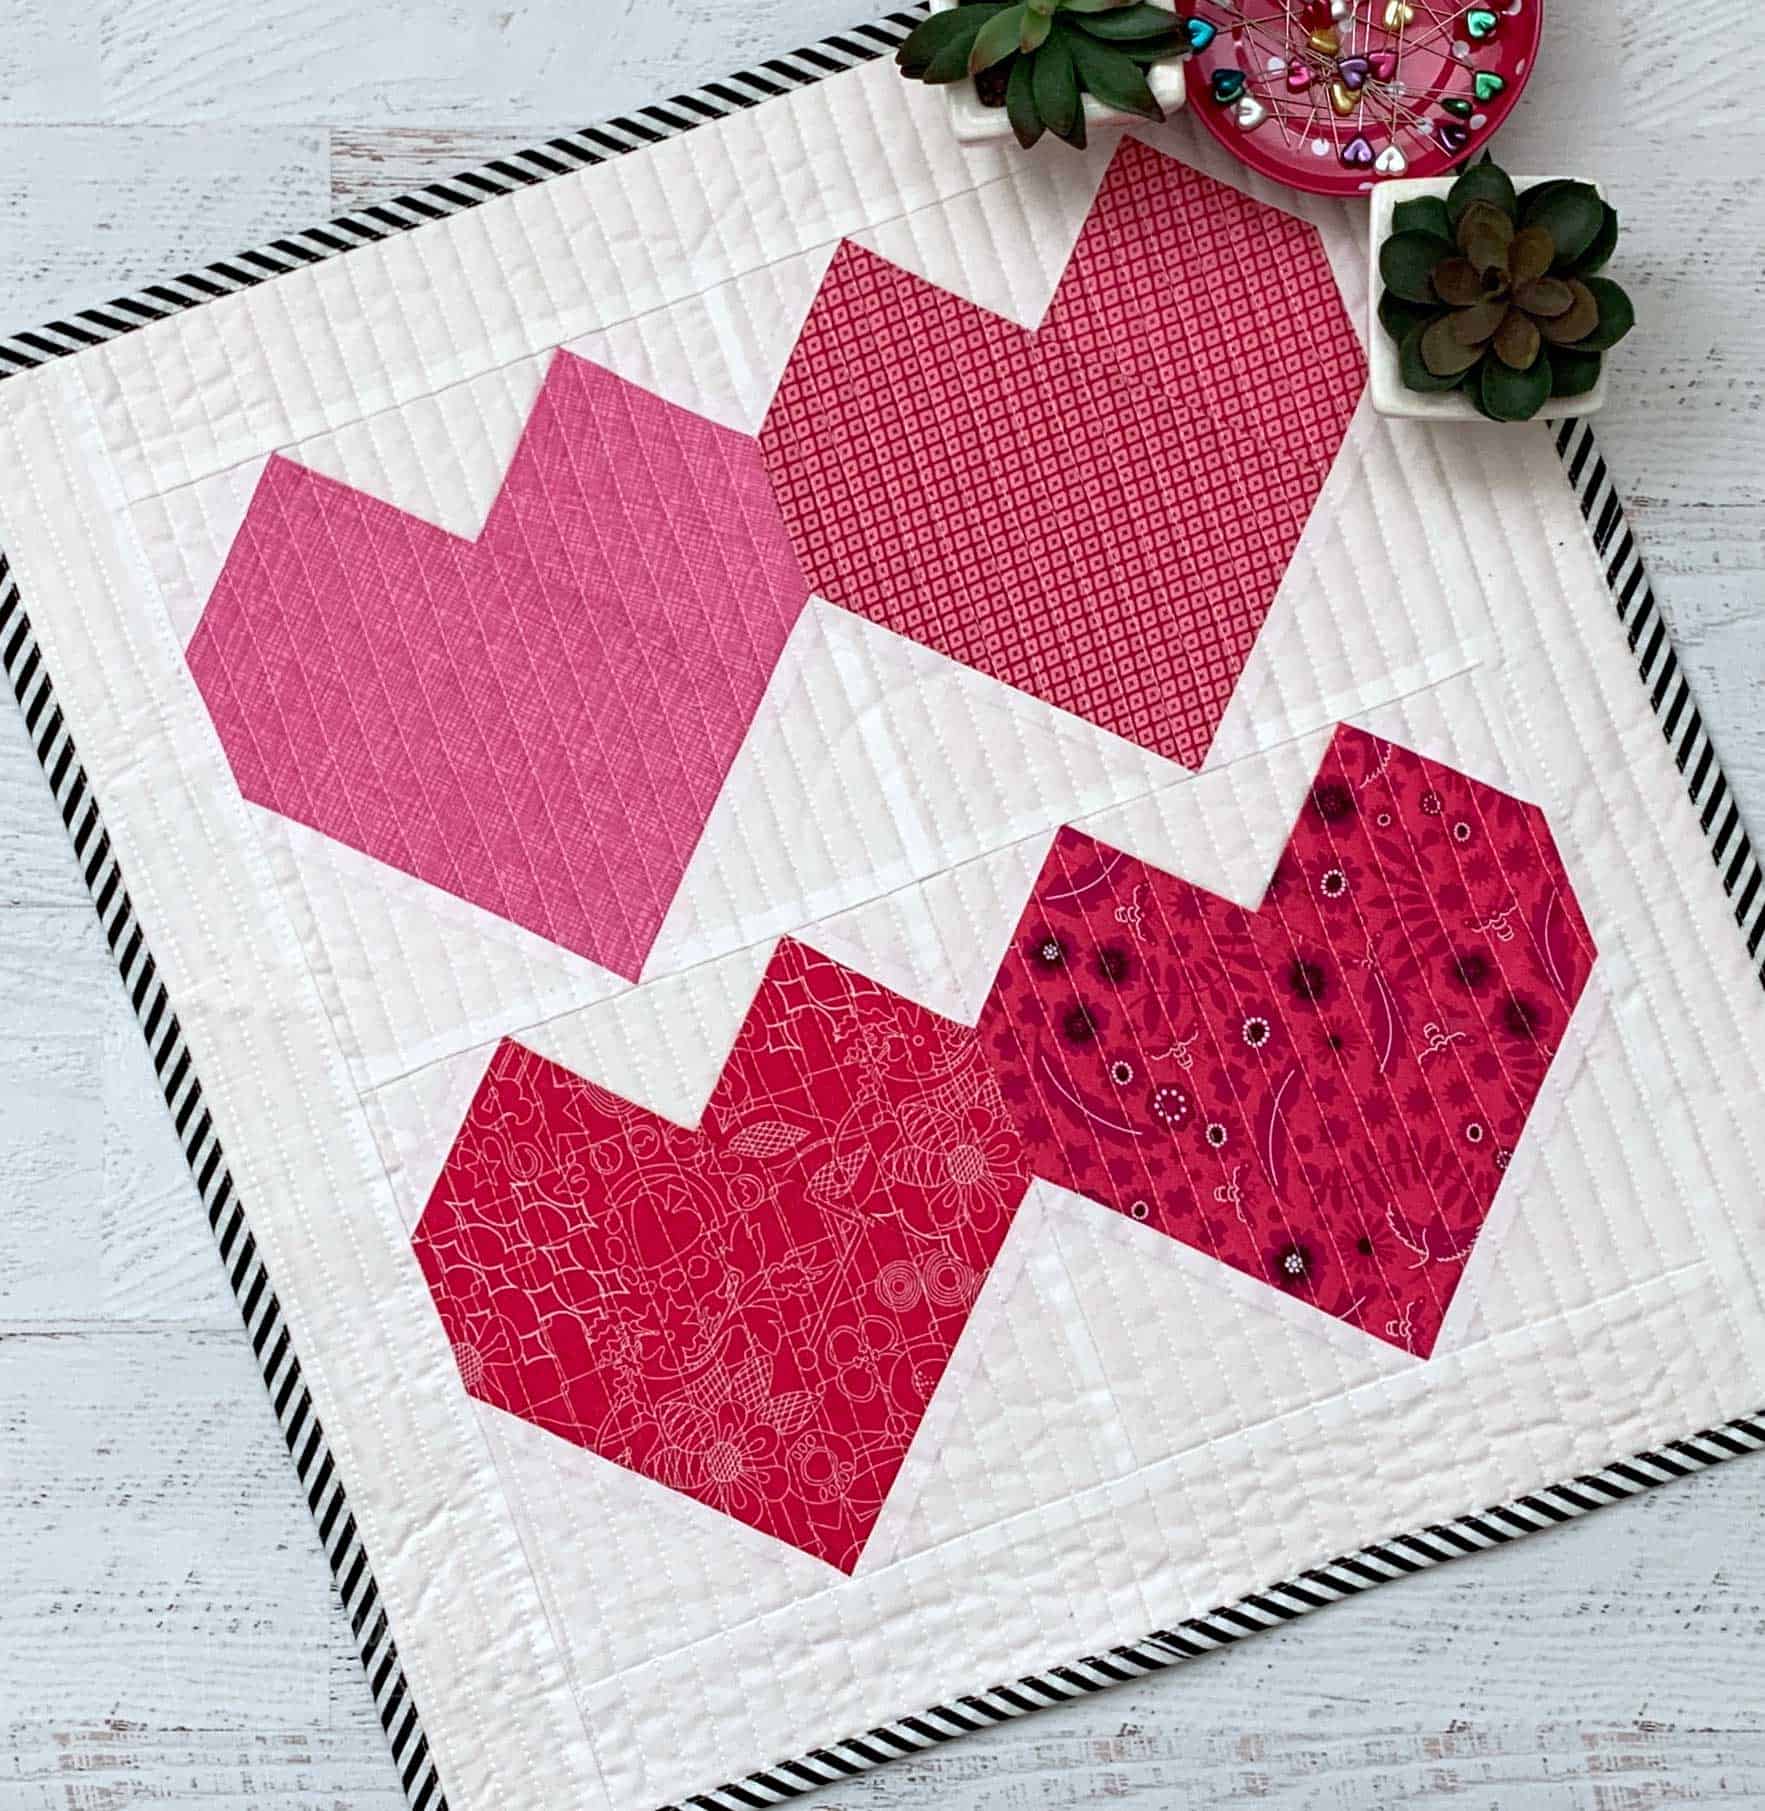
Valentine Heart Mini Quilt Pattern & Tutorial
This post may contain affiliate links which won’t change your price but will share a commission.
Inside: Valentine Heart Mini Quilt Pattern & Tutorial
This simple Valentine Heart Mini Quilt uses foundation paper piecing (FPP) to make perfect hearts for this sweet project.
It’s the perfect beginner project. Even if you’ve never tried FPP before, I promise you can do this.
If you are not familiar with FPP, I have a tutorial called How to Foundation Paper Piece that uses this design template. Click over to the post and practice making a few FPP hearts then come back here to get started on this mini quilt.
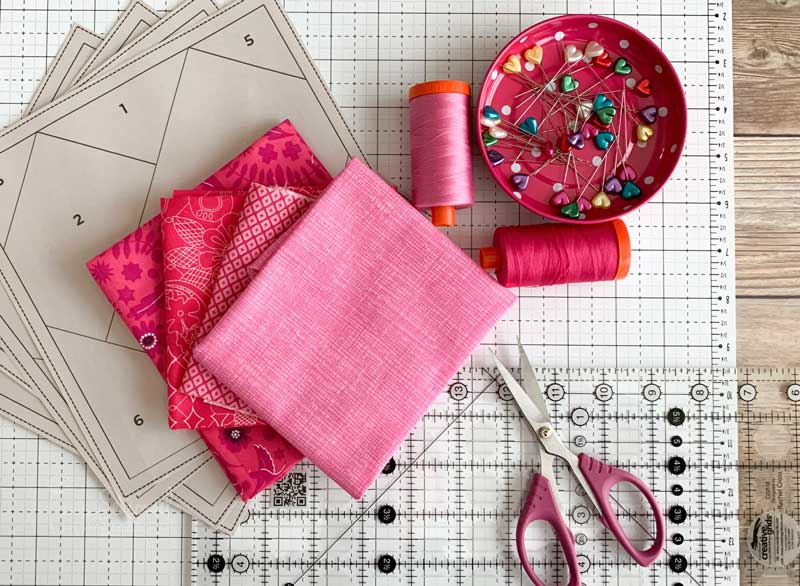
Materials
- Valentine Heart Paper Piecing Template for Printing (>>> see Step 1 below)
- Pink, Fuchsia, or Red Fabric Scraps
- 1/2 yard White (or tone-on-tone White) Fabric for background and borders
- 22″ x 22″ Fabric Scrap for Backing
- 1/4 – 1/2 yard Pink, Fuchsia, or Red Fabric for Binding
- 22″ x 22″ Fusible Batting
- Aurifil 50 wt. Thread
- Foundation Paper
- I recommend getting this paper if you think you’ll do more FPP.
- Add-A-Quarter Ruler
- This tool makes trimming your FPP seams a breeze.
- Rotary Cutting Mat
- Rotary Cutter with sharp blade
- Seam Roller
- Daylight Light Box (optional)
- This is a great tool to have if you plan to do a lot of FPP blocks. It’s 9 x 12 inches which is the perfect size for most quilt blocks.
- Daylight Cutting Mat (optional)
- The perfect add-on for the Daylight Light Box. It’s a clear cutting mat with grid line and it sits directly on top of the light box – making it easy to trim your seam allowances directly on the light box.
Valentine Heart Mini Quilt Pattern & Tutorial
Step 1: Get my FREE Pattern
I’ve created a simple heart design that you can download for free. Click the button below to receive the FREE FPP Heart Template.
Want an ad-free, printable copy of this tutorial? Scroll to the bottom of this post for more details!
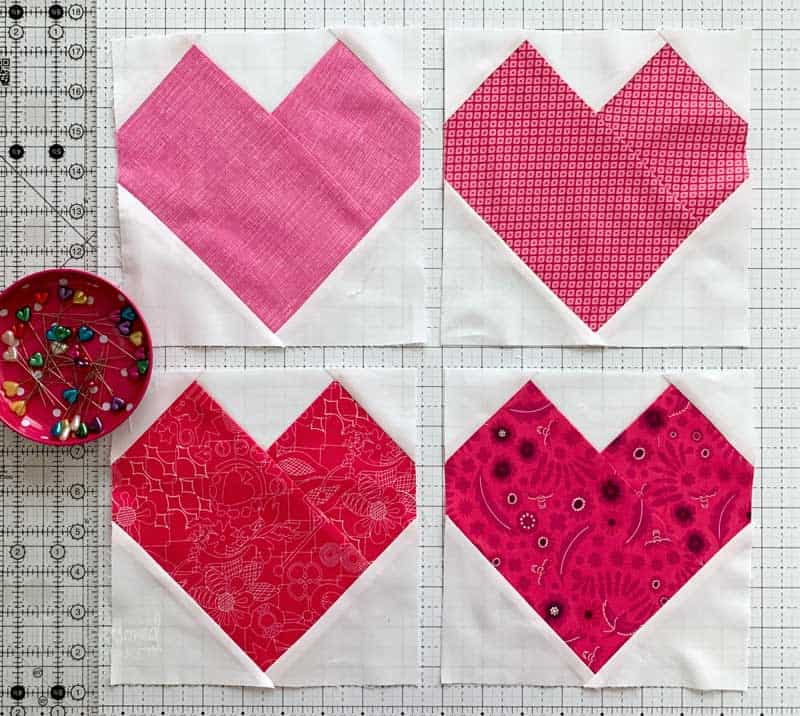
Step 2: Make Valentine Hearts
Note: For this step you may need to visit my blog post >>> How to Foundation Paper Piece.
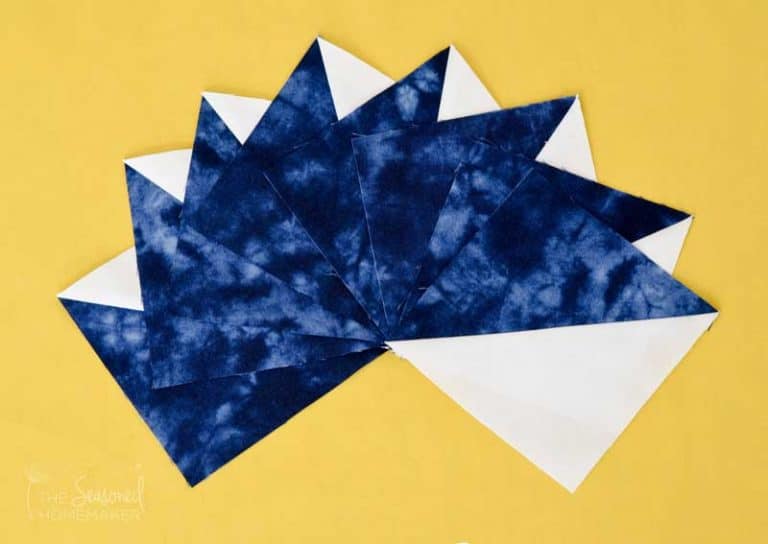
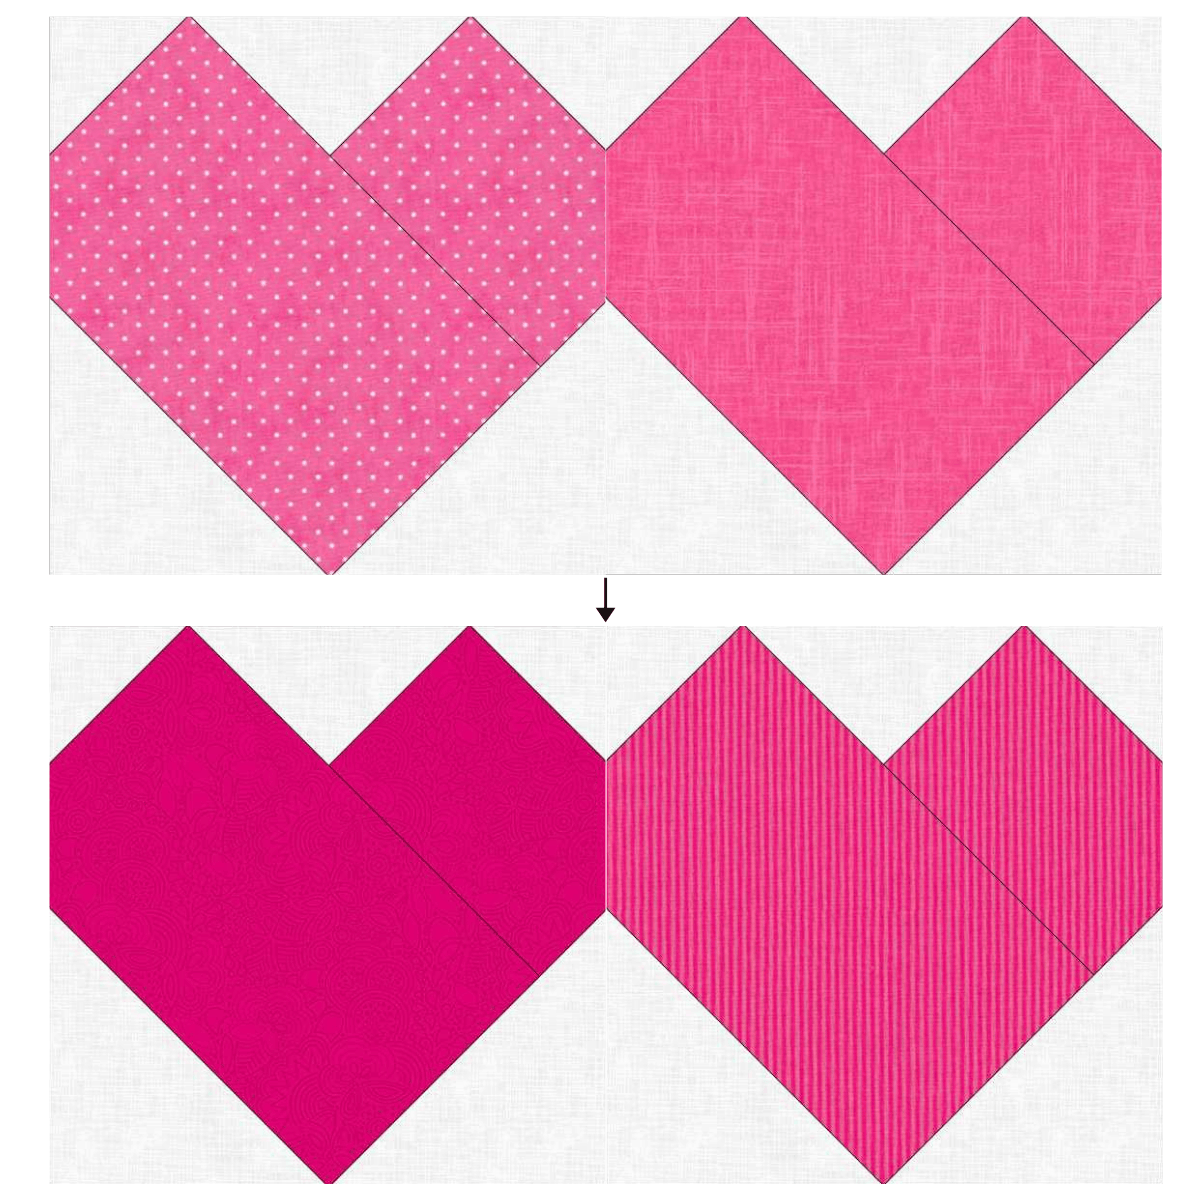
- Make four foundation paper pieced (FPP) Valentine Heart blocks using the free template in Step 1. If you’re unfamiliar with FPP, follow the steps in the tutorial linked above.
- After trimming, each block should be 7.75″. Press and set aside.
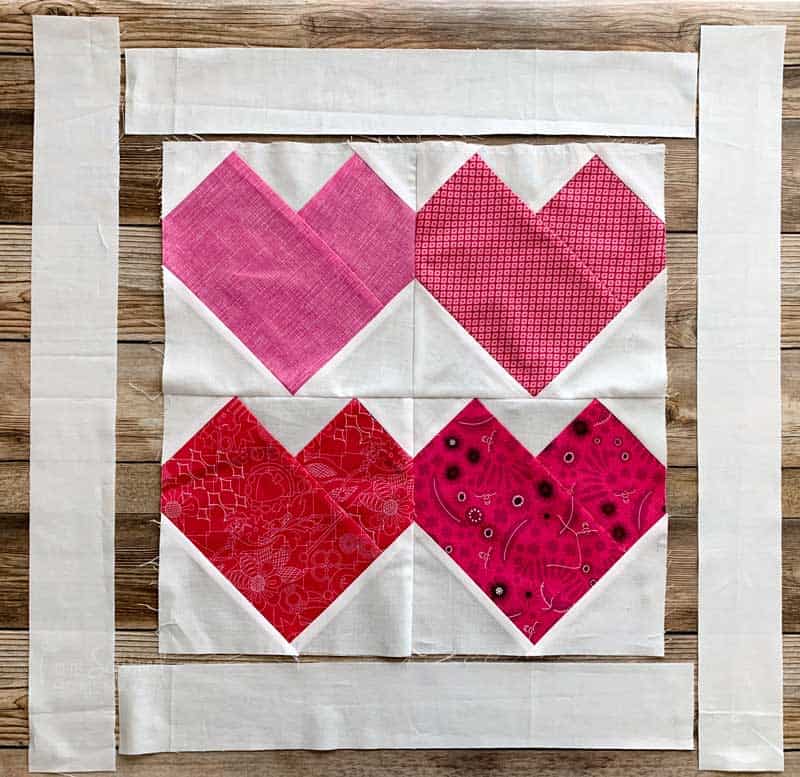
Step 3: Attaching the Hearts
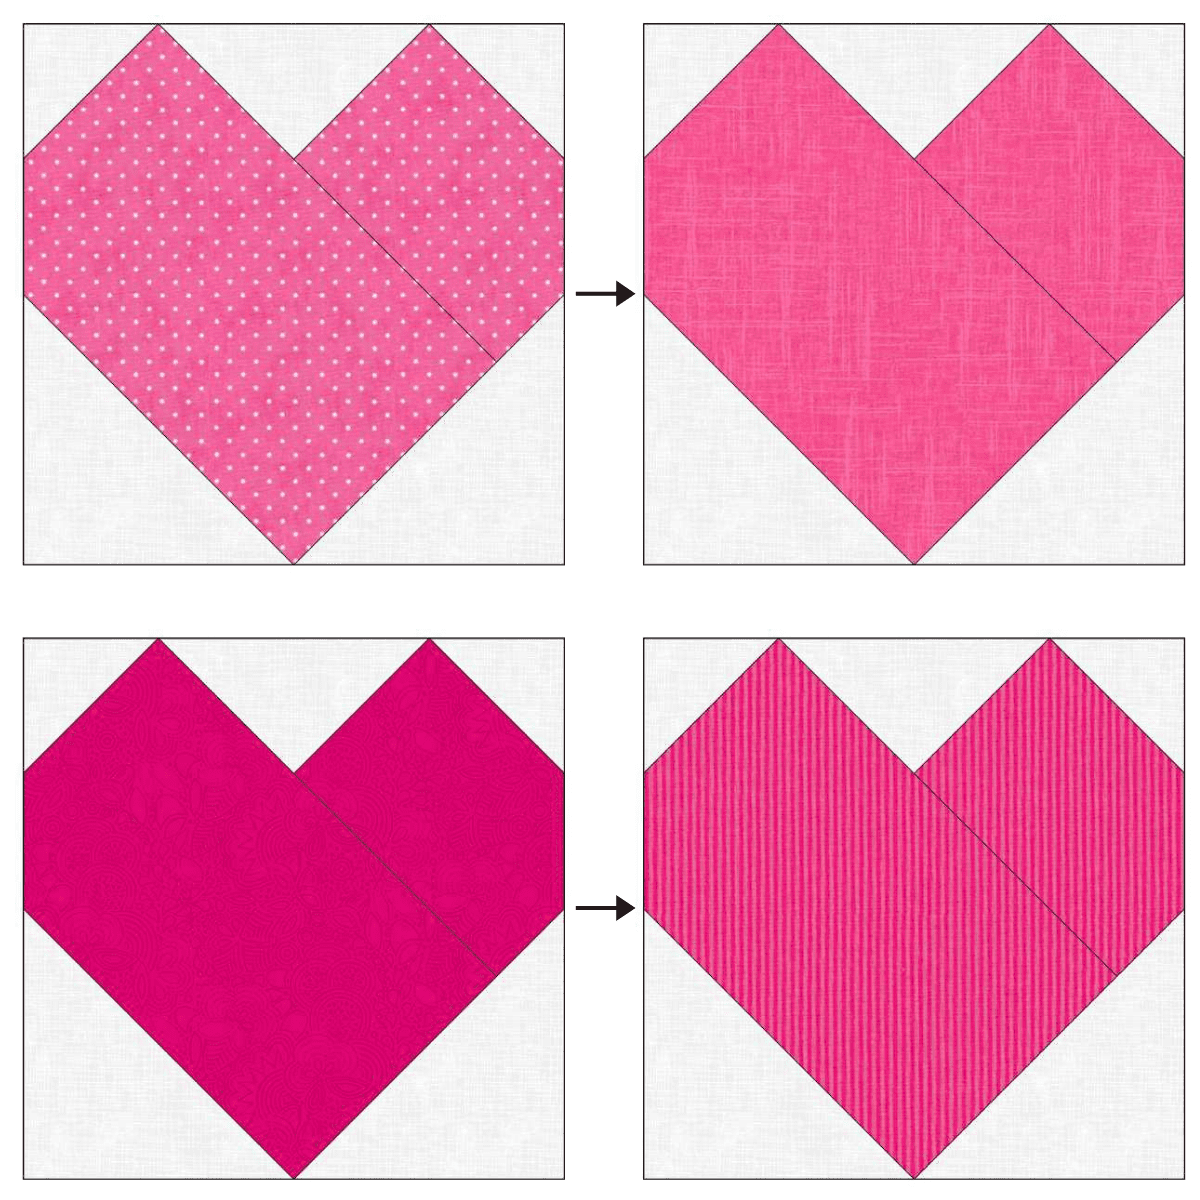
In this step you’ll be attaching all four hearts in pairs. If you’ve used different fabrics for each heart, then arrange them in a manner that is pleasing to your eyes.
Note: All seams will be 1/4″.
- Sew the top two hearts right sides together. Be sure to match up the seams. Press seams to one side.
- Sew the bottom two hearts together. Press seams in the opposite direction. This will allow you to nest your seams.
- Sew the top and bottom heart pairs together. Be sure to nest the center seams and watch for those points.
- You should now have a 15″ x 15″ square block. Press block. Note: Because FPP is so precise it probably won’t be necessary to square up the block, but it’s always a good idea to make sure it’s square.
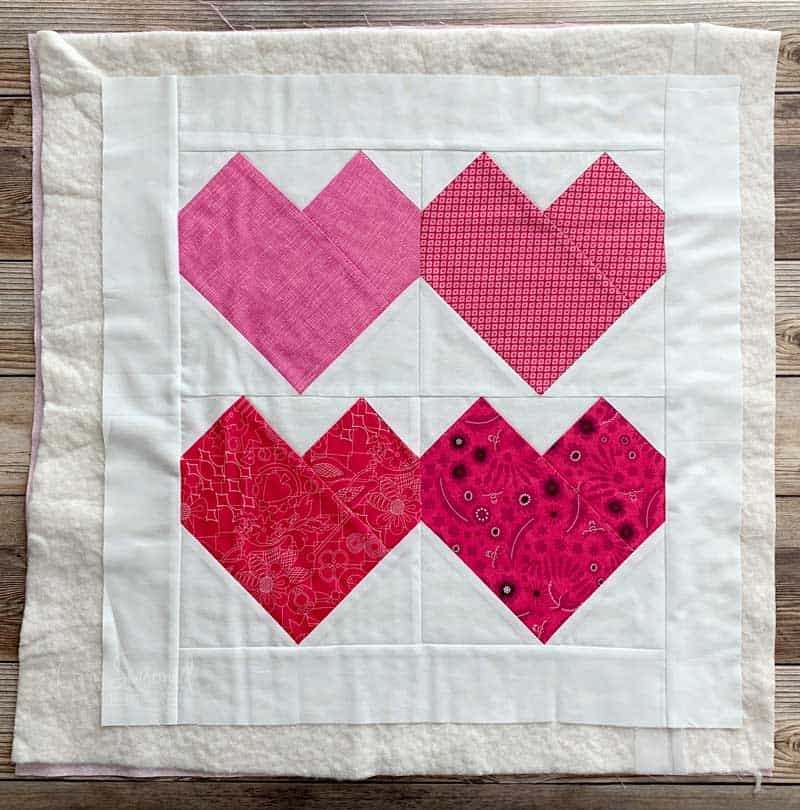
Step 4: Add the Borders
- From the White Fabric, cut (2) 2.5″ x 40″ (WOF) strips.
- From strip #1 cut one piece 2.5″ x 17″ and one piece 2.5″ x 22″.
- From strip #2 cut one piece 2.5″ x 17″ and one piece 2.5″ x 22″.
- With right sides together, attach the 17″ strips to the top and bottom of the quilt. Trim excess fabric from each side and press seams.
- With right sides together, attach the 22″ strips to the right and left sides of the quilt. Trim excess fabric from each side and press seams.
Step 5: Quilting & Squaring
- Make a quilt sandwich by laying the quilt back fabric right side down. Next, place a piece of fusible batting on top. Then place the quilt top wrong side down on top of the batting.
- Press the quilt sandwich with a hot, dry iron for 10 seconds to set the fusible batting.
- Pro Tip: If you have a Cricut EasyPress 2, set at 305° for 10 seconds.
- Quilt in your favorite style. This can be as simple as you want with straight line quilting or an all-over meander. For my sample quilt, I used a 3mm straight stitch and quilted 1/2″ apart.
Since this is a mini-quilt, it’s a good opportunity to try something fun like the wavy stitch that I did on my Midnight Star Table Topper.
Note: If quilting a grid, I recommend using a Walking Foot or an Open Toe foot.

Step 6: Finishing the Quilt
(Optional Step) If you’re making a wall hanging, I recommend adding hanging corners on the back. This allows you to slip in a small dowel for hanging.
To do this, fold two 3” fabric squares wrong sides together in half to form two triangles. With raw edges matching, pin the triangles to the top left and top right corners. Using a 1/8” seam allowance, stitch to hold in place until binding is added.
The final step is to bind your quilt. If you’re new to quilting, check out my tutorial below. There is also a quick video within the post that shows the process.
>>>Click here for a tutorial on How to Machine Bind a Quilt
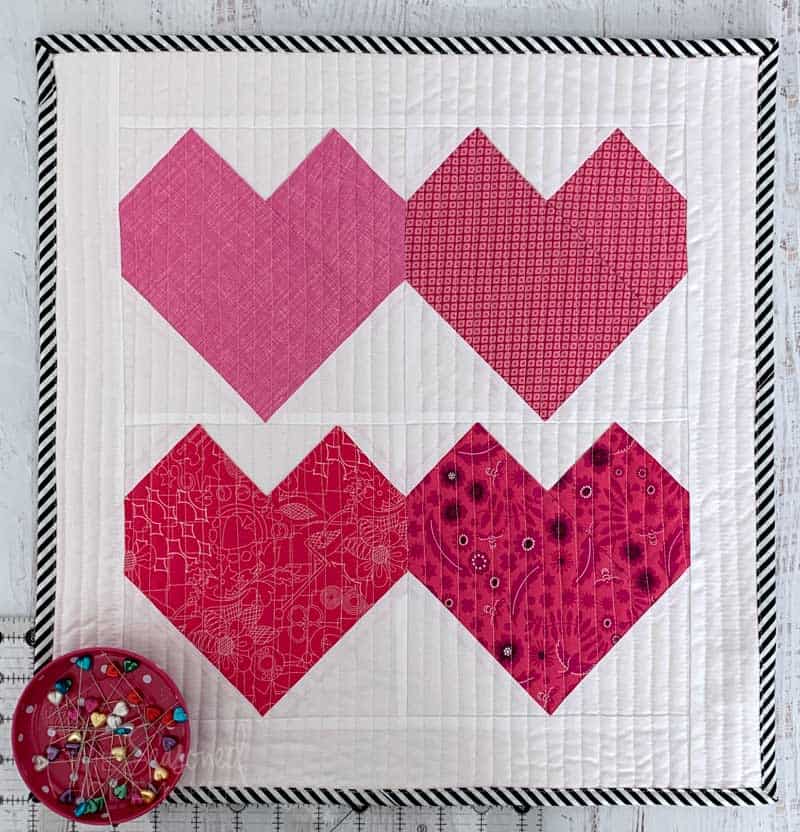
Once finished, your mini quilt will be 19″ x 19″ – the perfect size for a table topper or wall hanging.
Wasn’t that easy. Now, set your Valentine Heart Mini Quilt in the middle of your table and enjoy!
>>> Want a printable version of the post? Click the pink button to get a Printable PDF of this tutorial

A Few Other Valentine’s Day Projects
Valentine’s Day Quilted Table Runner
Easy Appliqued Valentine’s Onesie