The Ultimate Guide to Starching Quilt Fabrics
This post may contain affiliate links which won’t change your price but will share a commission.

Inside: Discover the secret to perfect quilt blocks with starched fabrics! Learn the secrets with the Ultimate Guide to Starching Quilt Fabrics. Say hello to the quilts of your dreams with this ultimate guide to starching quilt fabrics. Find out how starching will take your quilting to the next level!
What if I could guarantee that your quilt fabric wouldn’t stretch when you cut it – even when cutting narrow strips. Nor would it stretch when you sew across the bias. And (my favorite) the machine quilting process would be so much easier.
Well, this isn’t a fabric fantasy. There is a way to insure that your fabric stays stable throughout the quilt making process. It’s called fabric starch. Yep, good ol’ fashioned starch will stiffen your fabrics and make your projects go together much better. Best of all, it’s an inexpensive tool to have in your quilting arsenal.

Want an ad-free, printable copy of this tutorial? Scroll to the bottom of this post for more details!
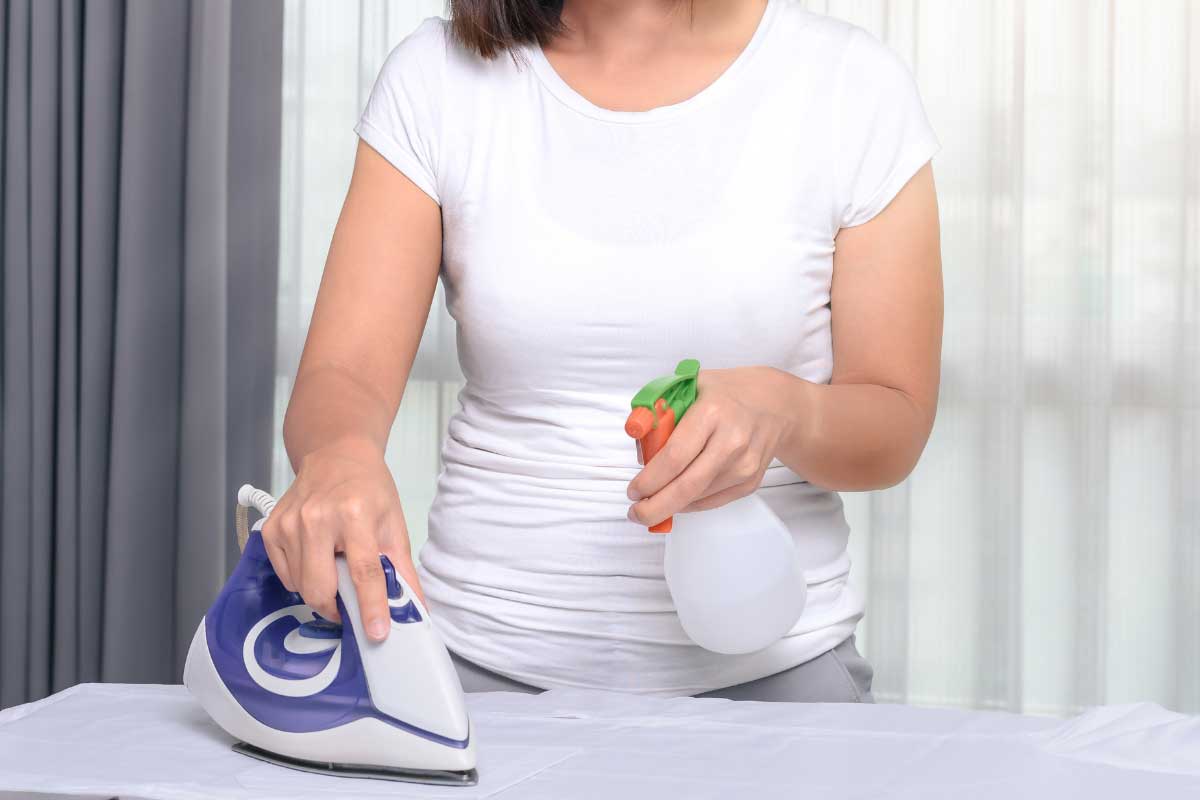
How to Starch Fabrics for Quilting
To begin with, if you’re they type of person who wants to dive into your quilt the minute you get your hands on some fabric, then starching might not be for you. And, you don’t have to starch your quilting fabric for your quilt to turn out amazing.
However, if you want perfect points, your piecing to be precise, and the quilting process to go smoothly, then you may want to consider starching your quilting fabric.
DO starch both sides of the fabric! This way, all your fabrics will have the same level of stiffness and stability, which can make it easier to achieve precise cuts and accurate piecing.
DO saturate your fabrics with starch.
AVOID starching precuts (jelly rolls, charm packs, layer cakes, etc.) because they will shrink in one direction. Or if you do be sure to account for a small amount of shrinkage.
DON’T starch and store your fabrics. Once you’ve starched and ironed your fabrics, be sure to use them right away. Starching your fabrics and then storing them can cause them to become stiff and brittle over time, which can make them more difficult to work with. It can also attract insects like silverfish.
When it comes to fabric starch, there are several options to choose from: Liquid Starch, Spray Starch, Craft Spray, and a homemade spray.
Option 1: Use Liquid Starch for Quilt Fabrics
Supplies
- Sta-flo Liquid Starch (easily found in grocery stores)
- Distilled Water
- Household Rubber Gloves
- Plastic Tub
- Collapsable Drying Rack
- Electric Spray Bottle (great option for continuous spraying)
- Clothes Wringer (optional, but really awesome!)
LIQUID STARCH is a concentrated solution that is mixed with water before being applied to your fabrics. It should be diluted by blending 50% starch with 50% water. If you prefer less starch, dilute in 10% increments (Ex: 40% starch/60% water).
- To use liquid starch, take your 50/50 blend and add to a plastic tub.
- Put on rubber gloves before adding fabrics to starch solution.
- Add in your fabrics, starting with lighter fabrics first, then really drench your fabrics in the starch solution by working it in with your hands.
- Wring out any excess and let it dry on a drying rack and allow it to thoroughly dry on a rack for 4-8 hours. Note: This is where you would use a wringer or the spin only cycle on your washer.
- Once dried, iron out the wrinkles.
- To avoid creases, cut fabric right away or roll up onto cardboard tubes.
Pro Tip: If you make a lot of quilts you might want to consider getting an old fashioned clothes wringer. It will wring out most of the moisture and your fabrics will dry really fast. Another option is to put your drenched fabrics in the washer using a no rinse spin-only cycle.
LIQUID STARCH PROS:
- This is the most economical and effective method of starching fabric.
- When done well, your cutting and piecing will go together beautifully.
LIQUID STARCH CONS:
- Is a little time consuming because you should allow 4-8 hours of drying time.
- The process can be messy.
- This is a grain-based product, so long-term storage could attract insects such as silverfish.
- If you’re the type of quilter who jumps right in when you get your fabric, this option probably isn’t a good one for you.

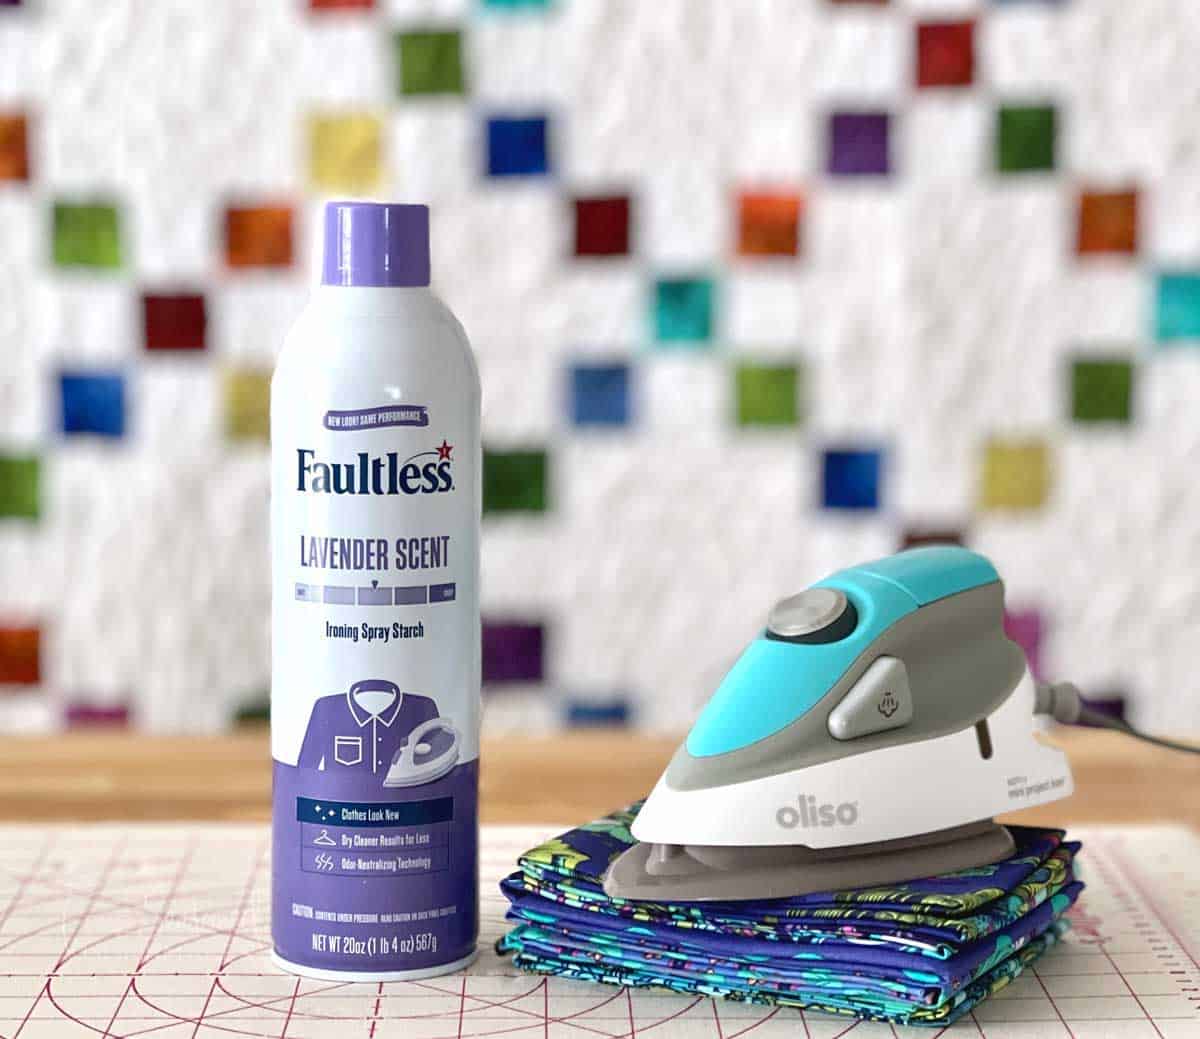
Option 2: Household Spray Starch for Quilt Fabrics
Supplies
- Spray Starch (I prefer this one or look for medium stiffness)
- Collapsable Drying Rack
- Well-ventilated area for spraying
- Flat surface
SPRAY STARCH comes in an aerosol can and is applied directly to your fabric. It’s a convenient, easy-to-use option, and it’s perfect for a quick and easy boost of stiffness if you’re short on time. One can of spray starch can usually starch the fabric for 1-2 medium quilts.
- Because it’s an aerosol, only spray in a well-ventilated space.
- I recommend evenly spraying all at once, otherwise you can get spots on your fabric (which do wash out).
- Saturate both sides of the fabric with starch and allow it to thoroughly dry on a rack for 4-8 hours.
- Place a sheet or towels on the floor when you’re spraying because the starch can embed into carpet or make floors slippery.
Pro Tip: I like to put my drying rack in a bathtub in case of any drips. You could also place a towel or sheet underneath, too.
HOUSEHOLD STARCH PROS:
- Fairly economical and widely available
- Seams press flatter
- Seams stay in the direction pressed
- Makes machine quilting easier
HOUSEHOLD STARCH CONS:
- Is a little time consuming because you should allow 4-8 hours of drying time.
- I recommend using canned spray starch outside because the overspray starches everything…like floors, blinds, sewing machines, and all surfaces. If spraying indoors, put a sheet or towel on the floor to protect carpets and flooring.
- It can flake when pressing – which is messy and drifts down to floors and lands on blinds. If you let the spray starch settle into the fabric and completely dry, this is less likely to happen.
- It can make a mess of your iron’s sole plate which will require cleaning the iron.
- Your finger can get tired from holding down the spray button when starching a large piece of fabric such as backing.
- The can’s exterior can get rust near the nozzle and, if unnoticed, can drip rust on your fabric which is almost impossible to remove. #ithappenedtome
- It has some less-than-desirable ingredients such as butane, propane, and hydroxyethyl starch. This could effect small children, pets, or anyone with compromised breathing issues (ex: asthma).
- The ingredients are corn and/or potato based which can cause insects such silverfish if left in stored fabric.
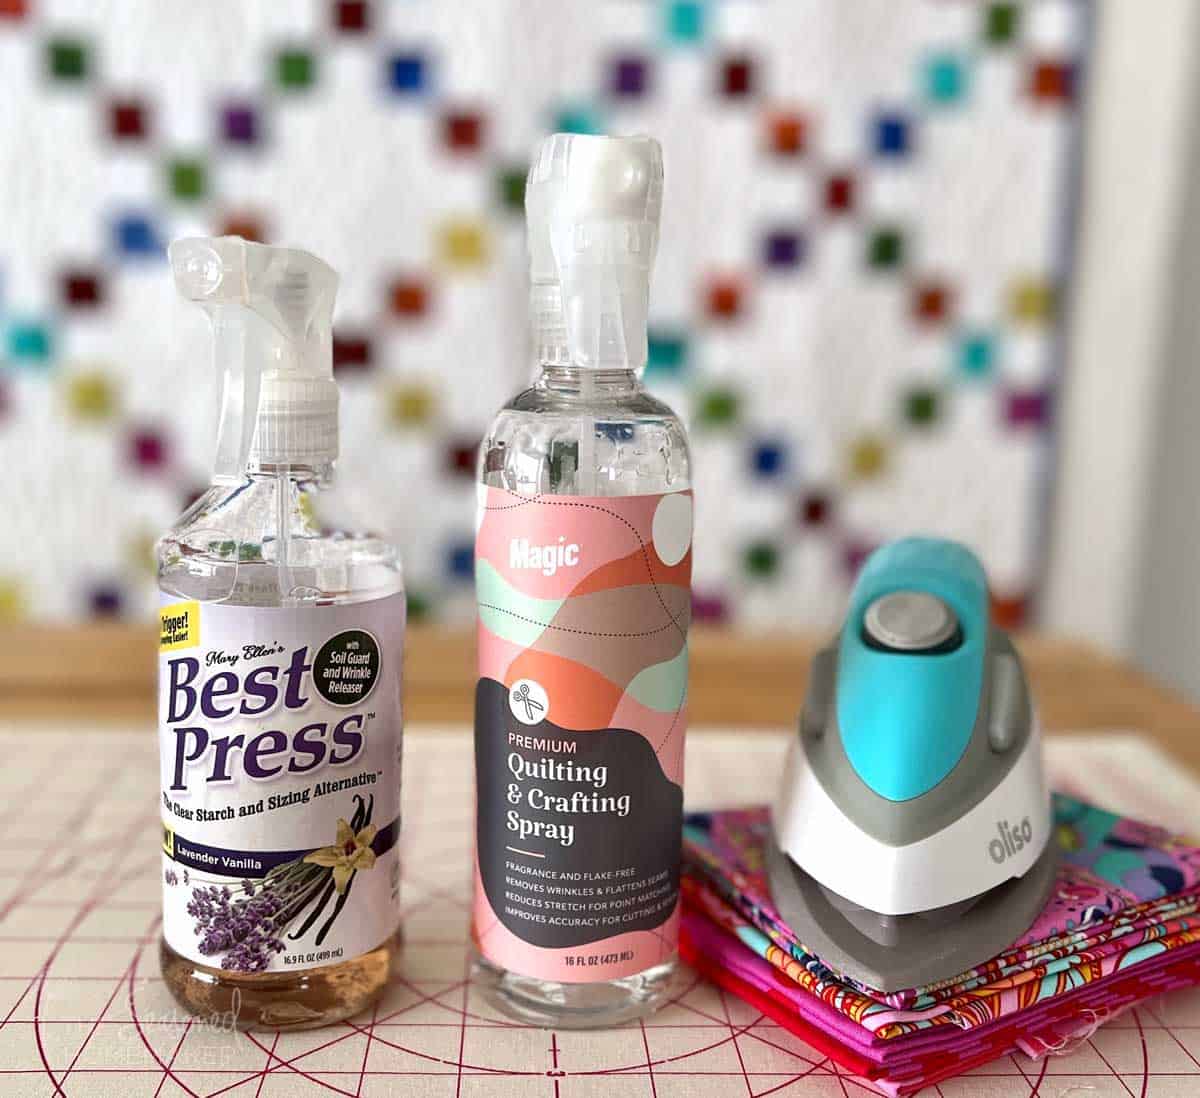
Option 3: Craft Sprays for Starching Quilt Fabrics
Supplies
- Continuous Mist Spray Bottle
- Collapsable Drying Rack
- Well-ventilated area for spraying
- Flat surface
CRAFTS SPRAYS such as Mary Ellen’s Best Press or Magic Quilting & Craft Spray are excellent options and the most expensive choice. Both of these brands are available in gallon size refills which makes them more economical.
Pro Tip: If you decide to use one of these products, I recommend purchasing a continuous spray mist bottle. It produces a lovely continuous mist that sprays evenly over large areas and you won’t get trigger finger fatigue. Just hold and spray!
CRAFT SPRAY PROS:
- My go-to product when I want to stiffen precuts like fat quarters and 10″ squares.
- Both products are excellent at layering on the product.
- Using the mist bottle isn’t as messy as spray starch, it dries quickly, and you can add another layer.
- Not a grain-based product.
- Non-aerosol product that won’t gum up the nozzle (or the environment)
- Magic Quilting & Craft Spray costs less than Mary Ellen’s Best Press and I cannot find any discernible differences in these two products.
- Magic Spray is unscented (my preference)
- Not likely to attract insects when stored.
CRAFT SPRAY CONS:
- Most expensive option, but worth it, in my opinion.
- Using the standard spray bottle can cause trigger-finger fatigue when covering a large piece of fabric.
- It’s more like fabric sizing.
- Must be layered on to get stiffer fabric.
- Fabrics don’t stiffen as effectively as starch.
- Most Best Press products are scented, but are available unscented.
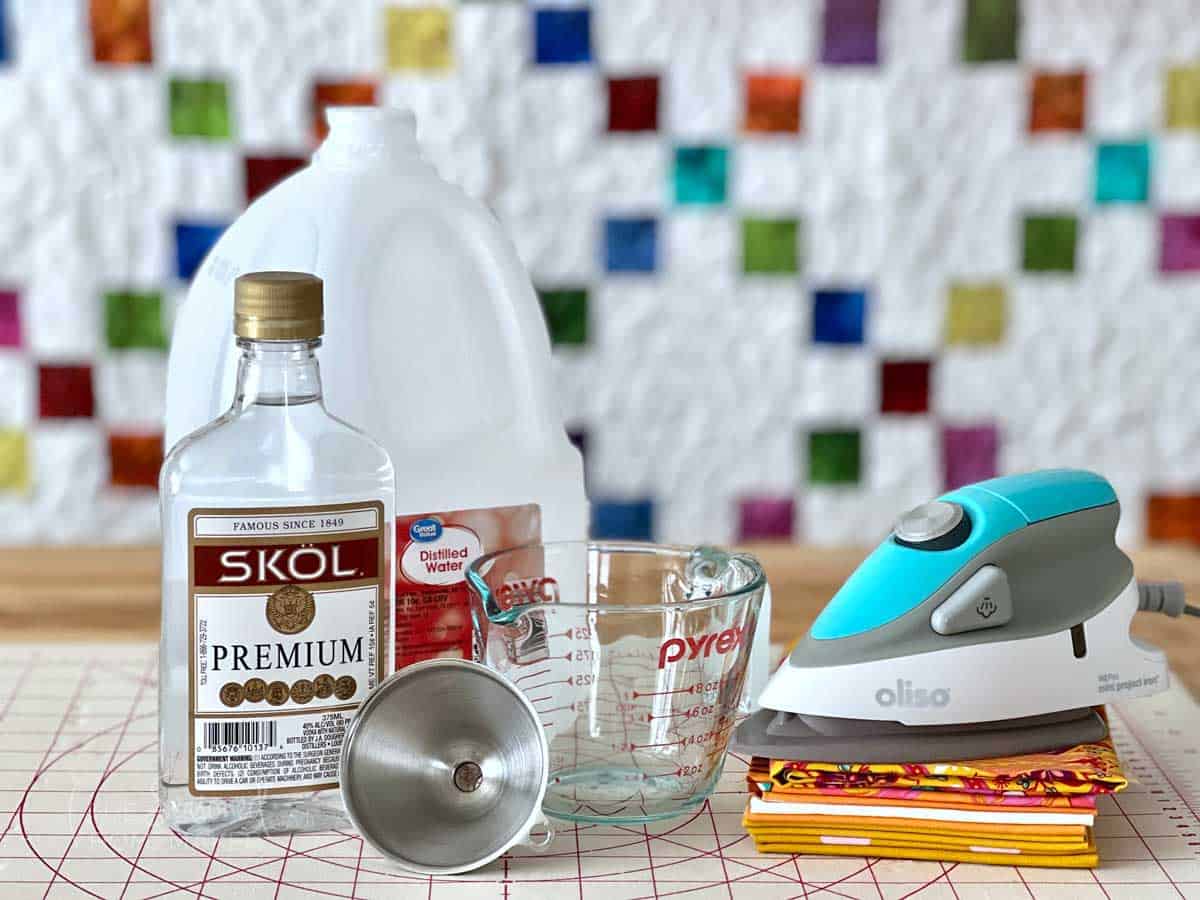
Option 4: Non-traditional Spray Starch
Supplies:
- Cheap Vodka
- Distilled Water
- Funnel
- Continuous Mist Spray Bottle
- Collapsable Drying Rack
- Well-ventilated area for spraying
- Flat surface
Options 1-3 above have some measure of chemicals with un-pronounceable names that can be harmful to humans, pets, and the environment. Thankfully, there is way to make your own spray starch using vodka and distilled water. The results are similar to using a Craft Spray. See below for directions.
RECIPE:
- Measure the ounces in your particular spray bottle and divide into thirds.
- To the spray bottle add the following ratio of vodka to water:
- 1 Part Vodka (ex: 1/3 C. Vodka)
- 2 Parts Distilled Water (ex: 2/3 C. water)
- Shake well before each use.
NON-TRADITIONAL SPRAY PROS:
- Inexpensive way to make a copycat of the expensive craft sprays.
- Easy to make.
- Simple ingredients.
- May cause a spontaneous party to break out in the sewing room if consumed by sewist.
NON-TRADITIONAL SPRAY CONS:
- Fabrics don’t stiffen as efficiently as starch.
- Tap water isn’t recommended because the minerals and the vodka might mess up your iron’s sole plate.
- Because it’s made from corn or potatoes, it could attract insects when stored.
- Friends and family may judge you when you’re seen walking out of a liquor store carrying two gallons of vodka!
- It can be tempting to drink your spray when you realize you need to rip out an entire section of a quilt.
To Starch or Not to Starch
First, you DO NOT have to starch fabric before starting a quilt. Most fabrics come with some sort of fabric finish or sizing which gives them a little body. If you’re worried about folds in precuts, spritzing with water will usually remove them.
However, if you want pristine quilts with every point sharp, all of your seams to match beautifully, little fabric fraying from handling, or stabilized bias cuts then you will want to starch your fabrics using one of the methods above.
My Own Starching Preferences: I’m somewhere in the lazy middle. I use a misting bottle and an unscented craft spray. When starching all of the fabrics for a quilt, I place a folded piece of fabric over my ironing board which gives me two layers to absorb any over-spray and protects my ironing board cover. I put an old shower curtain liner under the ironing board then I mist on a couple of layers of craft spray and drape my pieces over a drying rack. This works well for things like fat quarters and smaller cuts of fabric. For larger pieces like backing, I spray one layer of craft spray and drape the fabric over the drying rack. Depending on the size of the backing fabric I may have to fold it. I let this dry for at least 8 hours, switching around the folds, if needed.
At the end of the day, whether or not to use fabric starch is a personal preference and depends on the quality of fabric you’re working with and the end results you’re trying to achieve.
Experiment with a few of these options and see which one works best for you and your quilting projects. And, don’t be afraid to try different techniques and brands to find your ideal starching method for your quilting projects.