

Spiral Quilting with a Walking Foot
This post may contain affiliate links which won’t change your price but will share a commission.
As a novice quilter, I have mistakenly thought that my machine quilting needs to be perfect. As I’ve progressed in my quilting, I’ve learned to stop chasing perfection and embrace the imperfections.
One way I’m conquering my misplaced quilting perfectionism is by choosing a simple design and then quilting everything with that design.
The best way I’ve found to do this is by quilting with a walking foot and mastering a couple of walking foot designs. In theory, conquering a few walking foot designs, puts me (and you!) in a better place to tackle free motion quilting.
Spiral Quilting with a Walking Foot
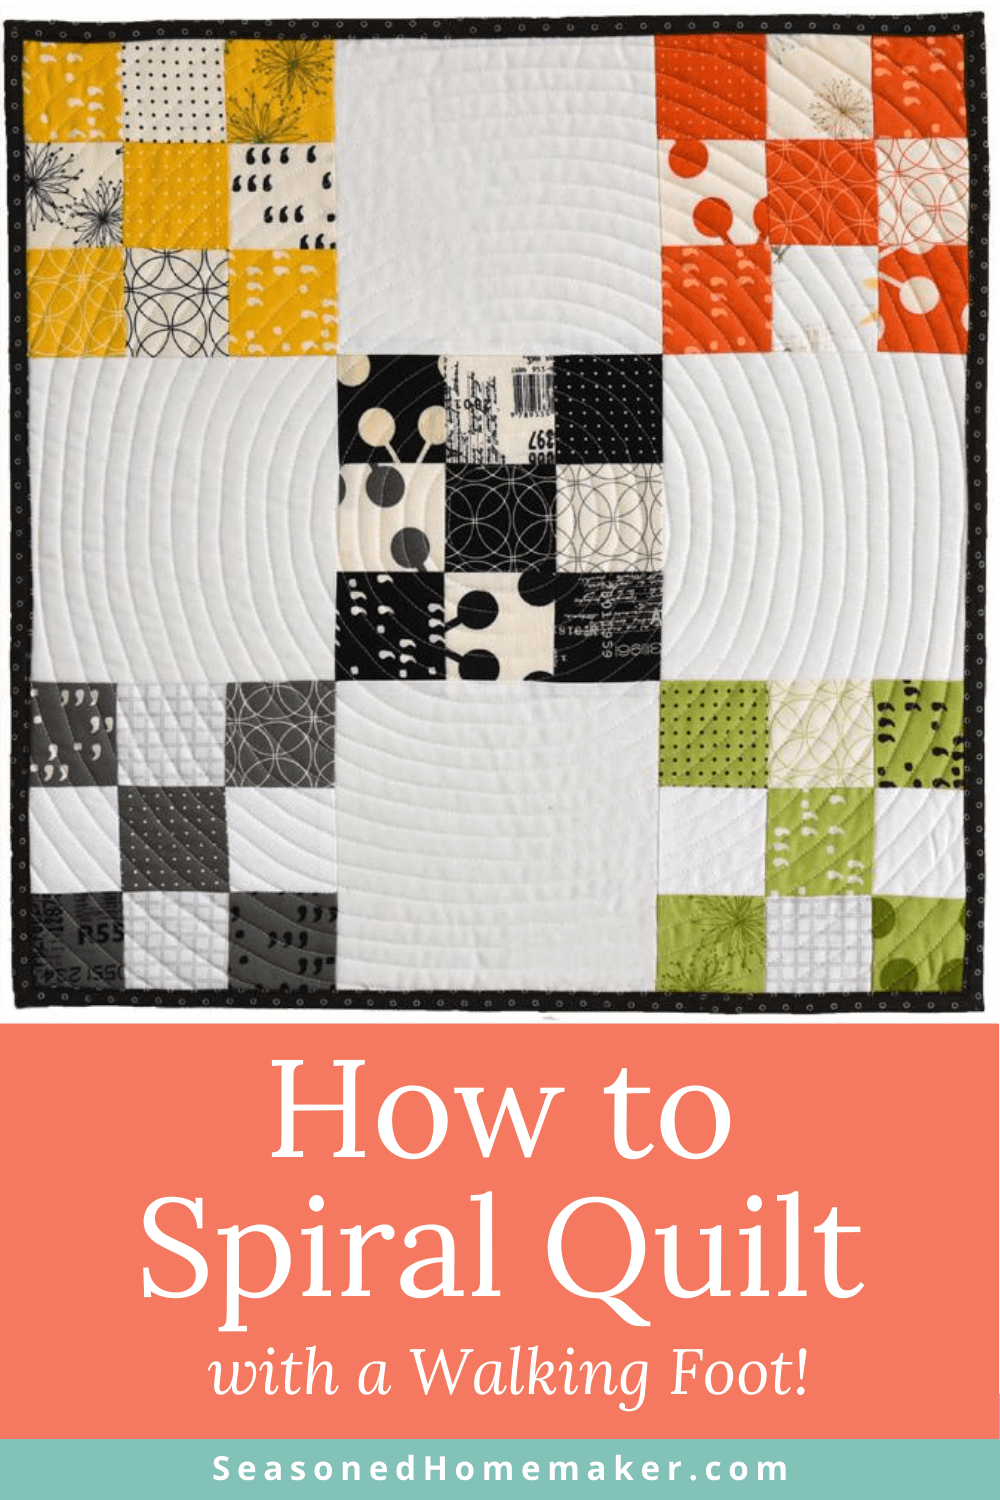
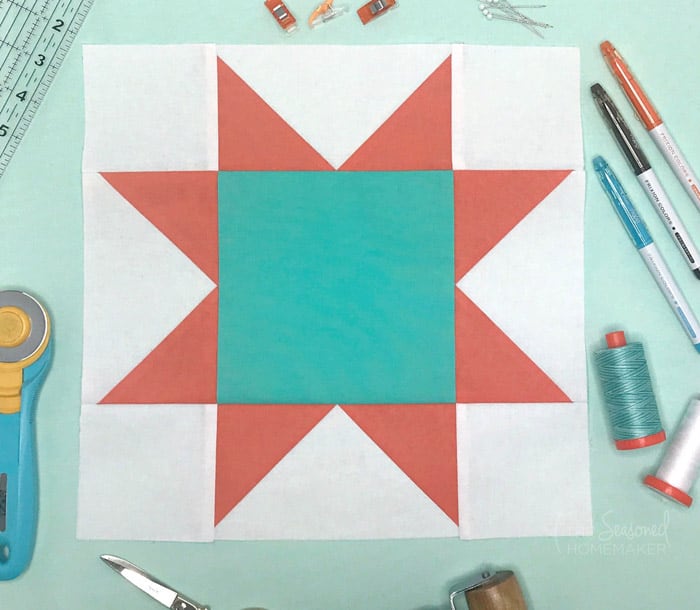
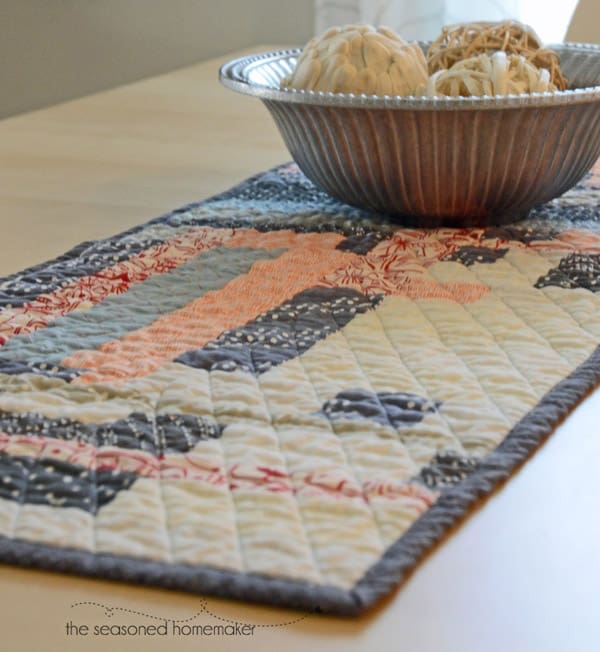
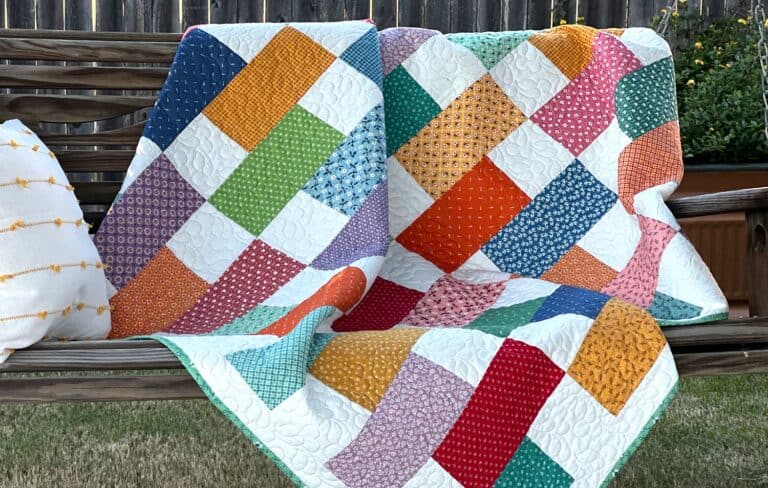
When I shared my Nine Patch Tutorial a few weeks ago, I received a lot of questions on how I quilted this project. I used a spiral design and a walking foot. While my quilting is far from perfect, this technique allowed me to finish my quilt in a fairly short period of time while adding an element of design.
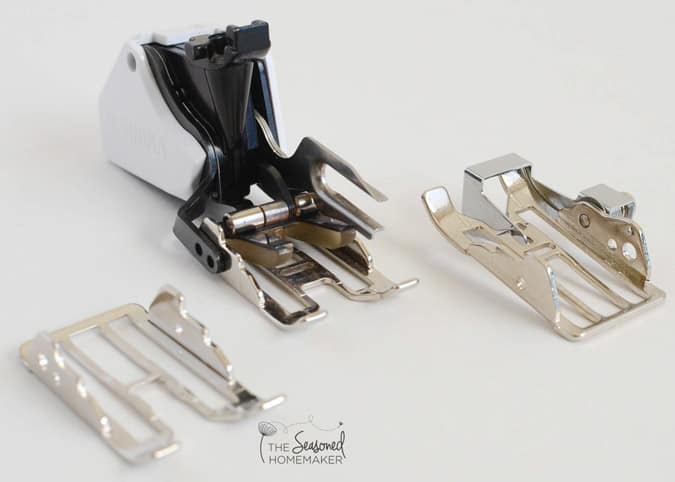
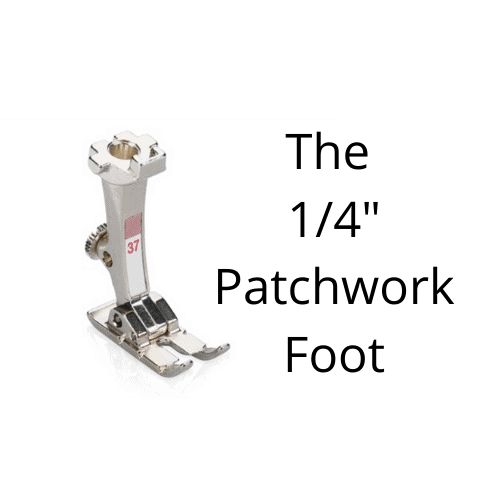
What is a Walking Foot?
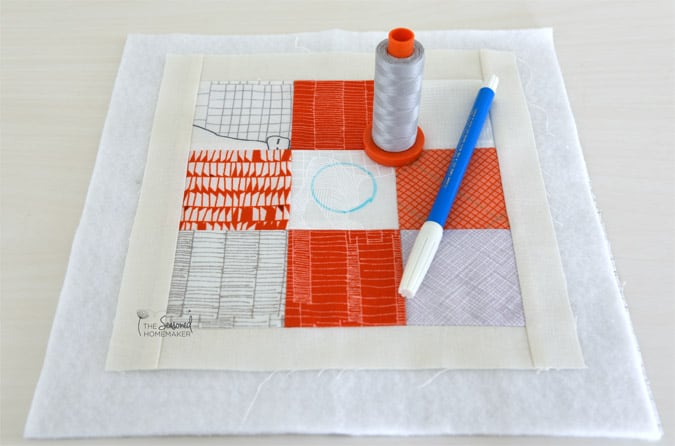
There are two keys to success for spiral quilting. One of the keys is to mark the beginning circle and the other key is to use a walking foot to do the quilting. Marking allows you to have a perfect starting circle and the walking foot keeps the spirals even and the layers from shifting.
If you’re unfamiliar with the walking foot, I have a post that covers the topic and answers most of your questions. For those of you who have never used a walking foot, I recommend you start there before proceeding. If you don’t own a walking foot but plan to purchase one I suggest you look for one with an open toe option.
Note: Many of you may own a machine that has an integrated dual feed system. This is the same as having a walking foot built into the machine and will perform identical to a walking foot. For the sake of this tutorial I will refer only to the walking foot.
The Key to Quilting Spirals
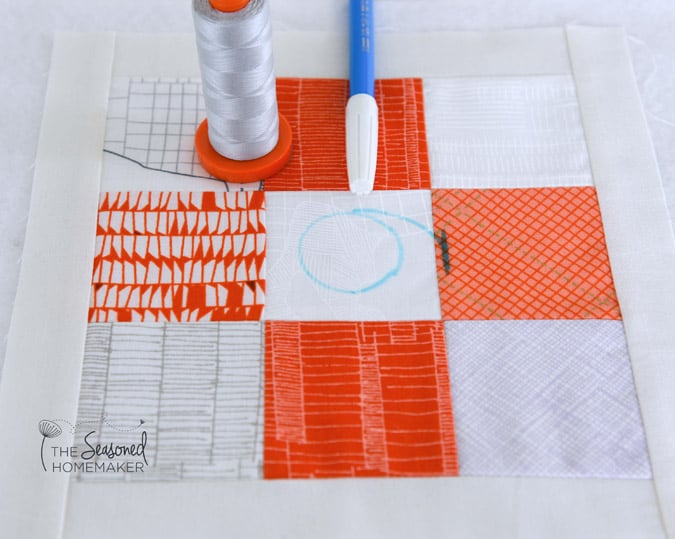
- The absolute key to spiral quilting is marking the starting circle. I recommend using something simple like a spool of thread to draw the first spiral. With a removable marker (affiliate), trace the bottom of the spool in the the place you want to start quilting.
- To the right of the starting circle, draw a straight line 1/2″ away.
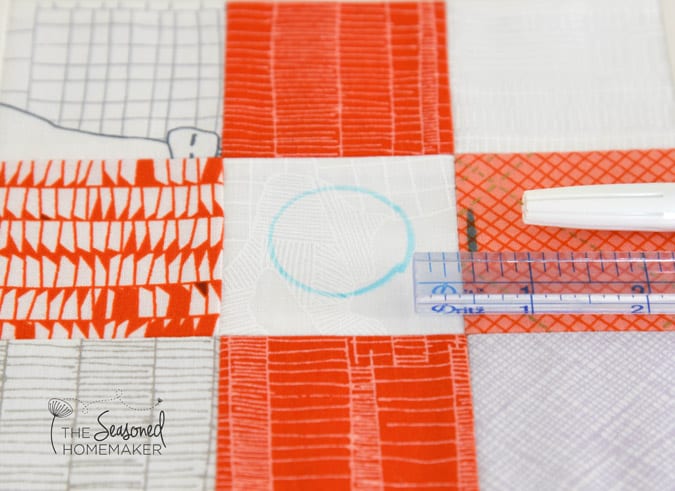
- Draw a curved line connecting the top of the circle to the straight line. You want this curve to be smooth, so use something like a thread spool to help you create a consistent curved line.
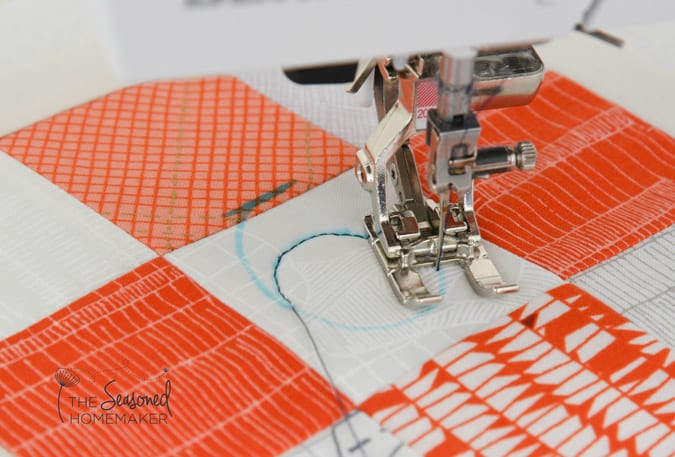
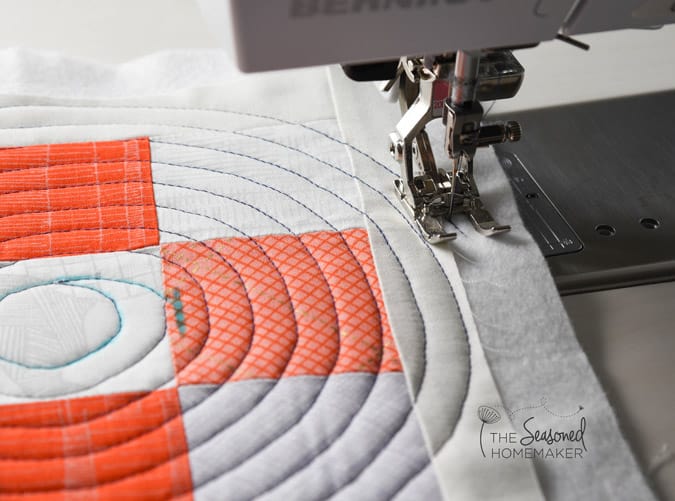
- Start quilting the spiral at the point where the starting circle and the connecting curved line meet. Go slowly, stop every 2-3 stitches, lower the needle, raise the presser foot, and turn the quilt slightly.
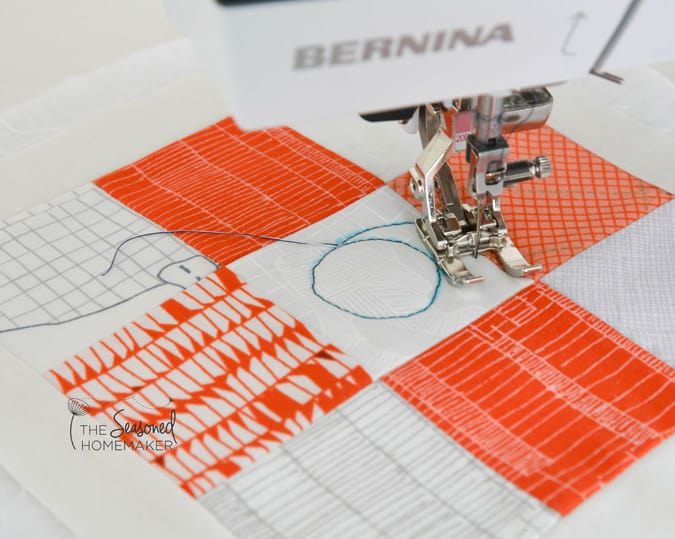
- Once you get back to the starting point, begin stitching on the connecting curved line. Go slowly, stop every few inches, lower the needle, raise the presser foot, and turn the quilt slightly. Your goal is to have the left edge of your foot follow along the starting circle stitching.
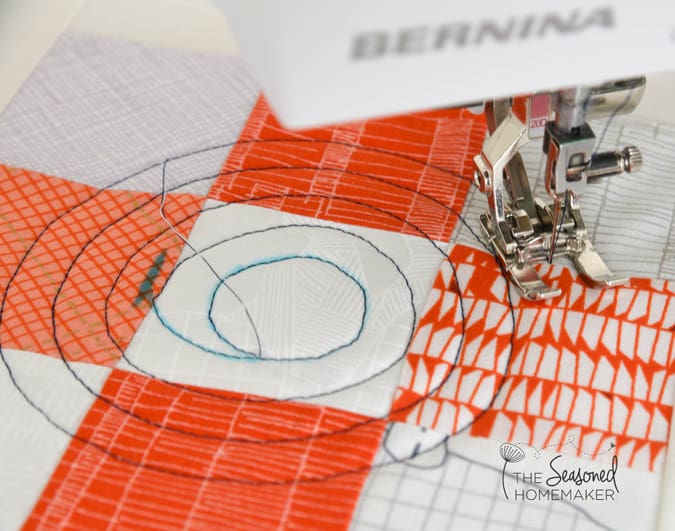
- Hug the edge of the curve and begin stitching a continuous spiral. Remember to go slowly for the first few spirals. Continue stitching spirals as you follow the edge of stitching.
Filling in the Corner
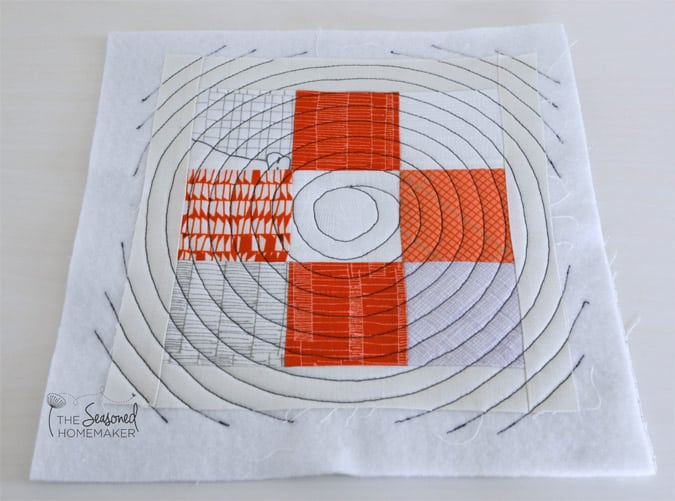
- Eventually you will stitch a complete spiral but still have unquilted corners. In order to finish your spiral design you will need to fill in the corners with echo quilting.
- Start your echo’s in the batting, and follow along the previous stitched edge. Sew the echo off into the batting and continue echo stitching until the corner is complete. Trim and bind your quilt.
Prints vs. Solids
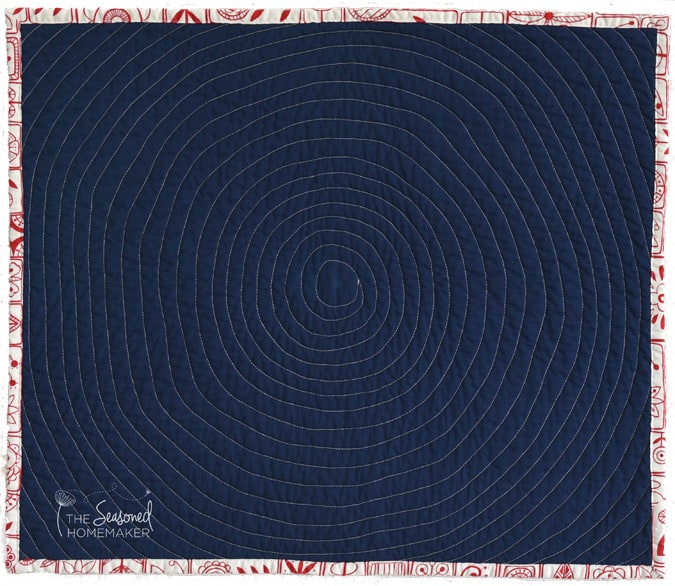
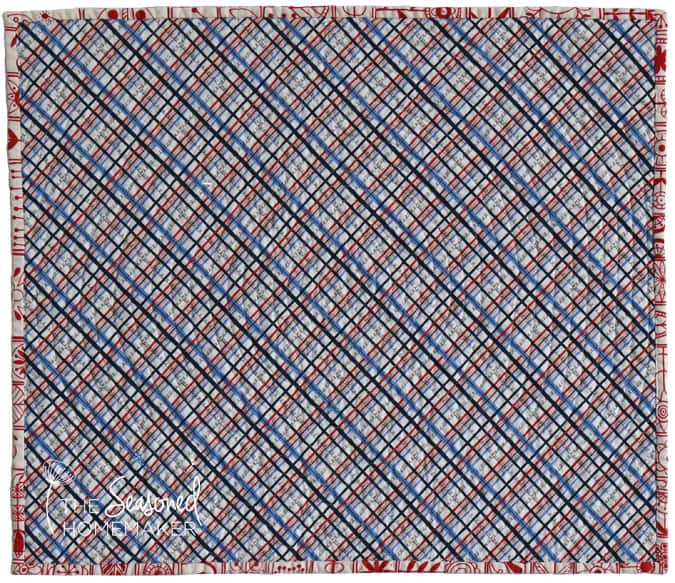
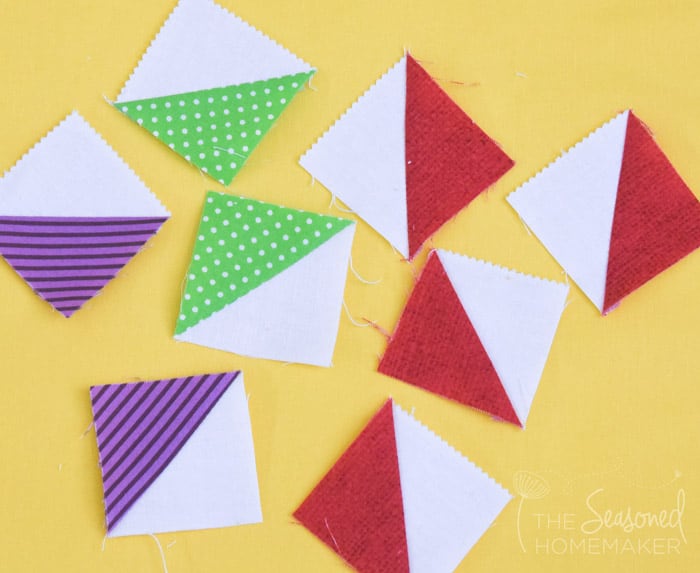
One thing to know about spiral quilting is this: It really shows up on solids. I mean really, really shows up on solids. Notice all of my imperfections. Not to mention that it looks like something from an Alfred Hitchcock movie.On the positive side, mistakes aren’t so noticeable on printed fabrics. Voila! Imperfections are gone.As a beginner, I recommend learning this process on a combination of prints and solids before progressing to solids only. I practiced my spirals using 10″ x 10″ quilt sandwiches with a small print on one side and a solid on the other. This helped me get the feel for spiral quilting and filling in the corners. After quilting 2 or 3 of these quilt sandwiches, I felt like I could tackle larger pieces successfully.
If I Can Do This ~ So Can You
I learned this technique at the 2016 Quilt Market in Houston when I took a class taught by Christa Watson on how to teach machine quilting using her book Machine Quilting with Style. The technique was so simple and added an incredible design element to an otherwise simple quilt. Currently, I’m working my way through the book and you should expect to see more posts using these techniques during the year. Because the book is easy to follow, you can rapidly master these techniques on your own. I find myself referring back to it when I need to remember the steps in order.

Since taking the live class at Quilt Market, Christa has created a Craftsy class that goes into further detail on how to master spiral quilting as well as other types of machine quilting. If you need more details on spiral quilting and want to master several other simple types of quilting from her book, then I highly recommend this class. Christa goes into more details that will insure you quilt perfect spirals.
Another Option
If space or lack of time is an obstacle to quilting, I suggest trying to spiral quilt using the Quilt As You Go method. As long as you keep at least a 1/4″ seam allowance around each block, you could have a quilt full of spiral quilted blocks.
Spiral quilting adds so much texture and design to a quilt that I will be using it over and over. It’s a great technique with many options. I believe it’s ideal for simple projects like pot holders, placemats, and table runners. You can even break up a larger quilt and add several spirals all over.
Like I said, learn one or two simple designs and then use them on all of your quilts. Once you’ve mastered one, move on to the next.
Pin for later….
Thank you so much for this.My quilt has been waiting for this lesson.
I love how you explain this, thank you so very much! You do beautiful work. I absolutely love sewing. I haven’t been at it too long but it’s awesome! I should’ve started sewing years ago. I see what you mean about the spirals showing up on solids more than prints! I choose to only see awesome quilting on both of yours! Sometimes we think are mistakes stand out when everyone thinks we meant for it to be that way. We are too hard on ourselves. Have a happy day!
Another wonderful post, Leslie…thanks! I made the mistake several years ago, when I started FMQ, of having a solid background…oh, the imperfections! I almost quit FMQ! But I had already promised a baby quilt to a friend’s daughter, so I reluctantly made another and this time, the backing was a busy nursery fabric and it looked good! Your visual was worth a thousand words. To this day, I steer clear of solid backs…”I ain’t got time for that!” ?
Oh I HEAR ya, sista!!! FMQ and solids are definitely not happy bedfellows!
Thank you for your clear directions and illustrations. I am eager to give the walking foot spiral a try. I really appreciate your site and encouraging information.
Thank you for this tutorial. You make this seem so simple. I’m going to make me a quilt sandwich and start practicing.
Thank you for this easy tutorial. I am excited to try it on my next quilt. I have been experimenting with free motion quilting. This will add nicely to my repertoire!
I simply love your blog! I find it inspirational and genuine. Thank you for taking the time to write it!
Thank you, how wonderful this is. Thank you for sharing your tip
Thank you – I’m really nervous about quilting my quilts and most times send them out. I have a small quilt top and I’m going to try this method. Oh Yes, I also like the solid background – I think it adds an extra element to the backing.
Thanks so much! I never understood how to get started and this is so clear, a real help.
Hi Leslie! Thank you so much for the tutorial. I have pinned your article on my Pinterest board. I have a new quilting blog, and plan to link to your article. I hope you don’t mind! Of course, I’ll give you credit. I am going to give this a try on my next machine quilting adventure. ~smile~
Tonight I found your article on spiral walking foot quilting (June 2017). Thanks so much! I’m done trying to learn FMQ. Maybe 1 year of continuous practice on muslin sandwiches, drawings of disney characters, continuous line bats and spiders (all my loves) and it still looks like i sewed with my toes. At 64 yrs old, finding your article has helped me kiss my failures goodbye. I practiced the spiral tonight for the 4th time and it’s beautiful (on 15×15 square muslin). A quick question, on a real quilt, maybe sized btwn throw and twin, will a spiral be too dense? Its going to be well used and i’d like to know if i need to make the spirals bigger? Can i send you a tiny picture of a quilt top i’ve done that i have no idea what to quilt on it. How can i tell if the pattern will be distorted with a spiral? It’s a giant helix, black/white. I’m very proud of it so that makes me scared, lines or spirals….Thanks in advance for yours and/or readers suggestions
I recommend Christa’s book. It has lots of variations for walking foot quilting. And, all are very easy.
Thank you! Very clear instructions xo
Thank you, Leslie. You’ve inspired me to try this quilting technique. I have a feeling I will be more successful at it and certainly more quickly than FMQ! 🙂
I’ve made the squares for a “quilt as you go” quilt, and was trying to figure out how to actually quilt it. You have probably just saved my sanity – THANK YOU!
Thank you for the tutorial and wonderful pictures. I am just starting to do my own quilting.
Thank you so much for this tutorial. I made a patchwork quilt which I learned the “how to” from YouTube during this covid pandemic. Since it is my first, I didn’t know what to do to make it look finished. Thanks to you, now I do! Can’t wait to try it! Thanks again.
Joyce
Thank you for the instruction and inspiration!