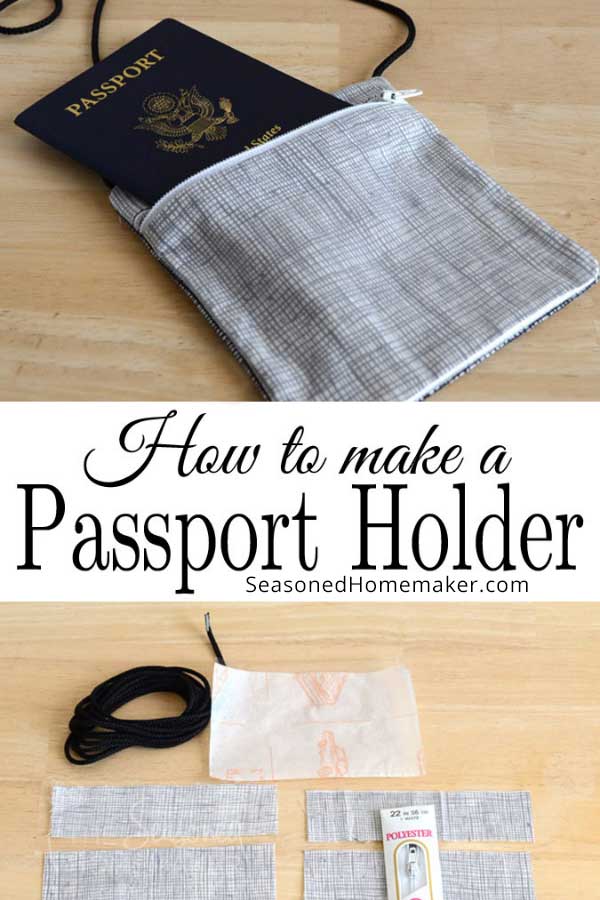
How to Make a Passport Holder
This post may contain affiliate links which won’t change your price but will share a commission.
Have you ever seen people in the airport with a Passport Holder around their neck? I think they are an excellent idea. And I wish I had worn one when I visited Calgary. Maybe I wouldn’t have been randomly selected for additional security measures.
Regardless, having my passport easily available while navigating Customs at the Calgary airport might have made my travel experience a little better. The thing about a passport holder is that it would also work well at a place like Quilt Market or any type of convention.
With that in mind, I’ve created a quick and easy tutorial so you can whip up one of these for international travel or the next quilt show you attend.
The Passport Holder is also ideal for quilt shows. When you’re walking around the vendor section there are always hand outs or {even better} some new and awesome sewing device you can purchase. I usually wear a backpack and stuff handouts and purchases into it, but that doesn’t leave room for a purse.
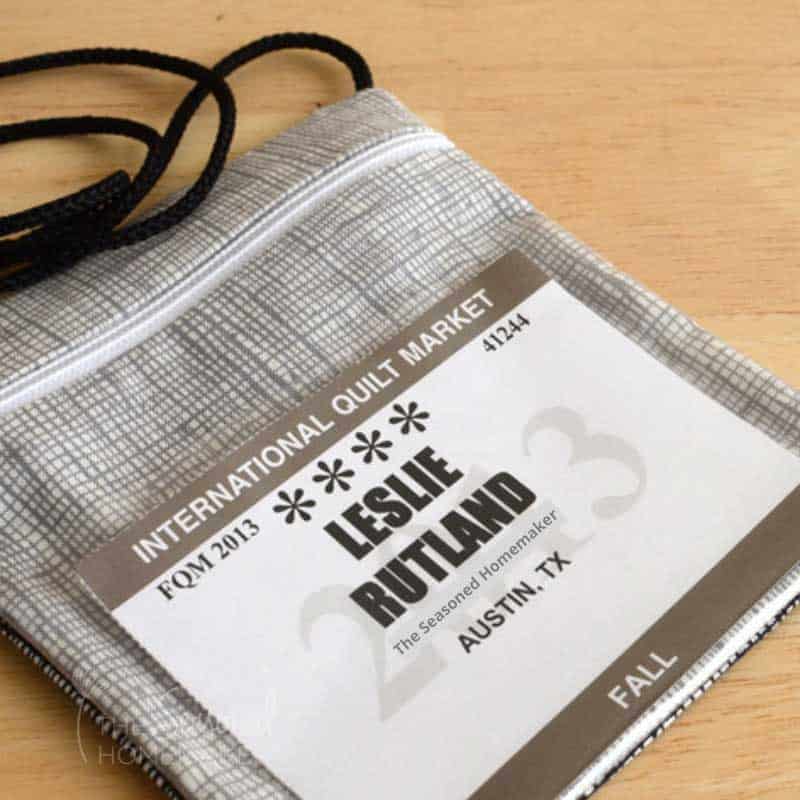
Instead, I wear a name badge/passport holder around my neck. It has a clear vinyl pocket where I put my name badge and a zipper section where I carry a little cash, a credit card, and my driver’s license.
Some ladies at Quilt Market have these elaborate quilted name badge holders. They have tassles and other embellishments. Some serious skills go into making them. If you want one of those name badge holders, you will have to look further.
I, on the other hand, just want something that I can whip up in an hour or less. It needs to hold a little cash, a driver’s license, and my credit card (and a passport when necessary).
This tutorial is about as basic as it gets. And, it took more time to go to the store and buy a zipper than it did to make my passport holder/quilt show name badge holder.
That’s what I’m talking about.
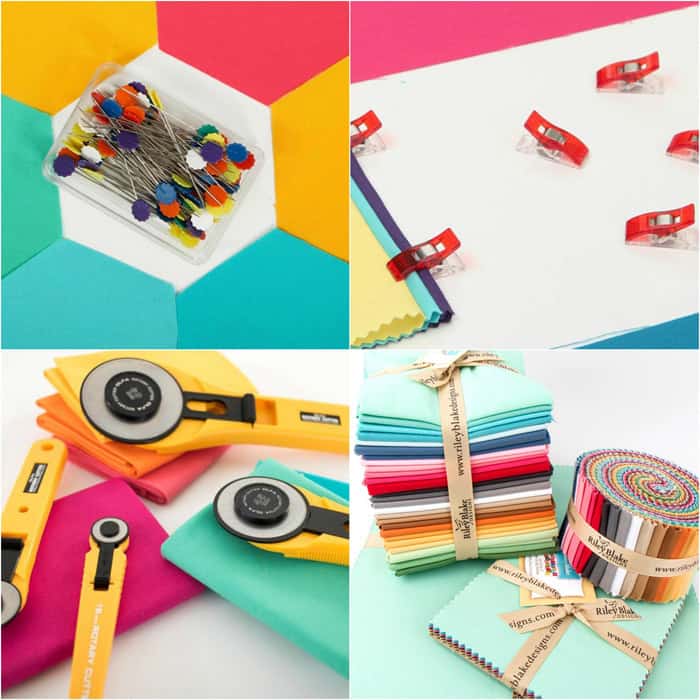
SUPPLIES:
- Scrap Fabric or 1 Fat Quarter
- 1 Zipper {any size will work}
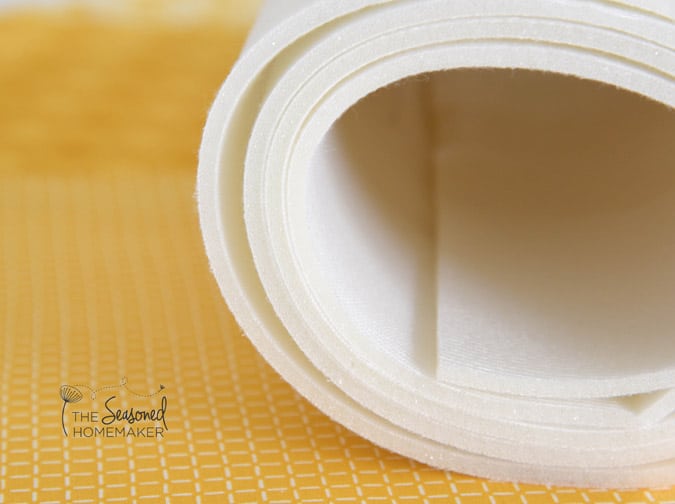
- 1/4 yard Clear Vinyl
- 1.25 yards Cotton Cording
STEPS:
- Large Front: Cut 2 pieces 5″ x 5 .75″
- Small Front: Cut 2 pieces 1.5″ x 5.75″
- Back: Cut 2 pieces 6.5″ x 5.75″ (I’m using two different fabrics for demonstration)
- Vinyl Pocket: Cut 1 piece 3.5″ x 5.75″
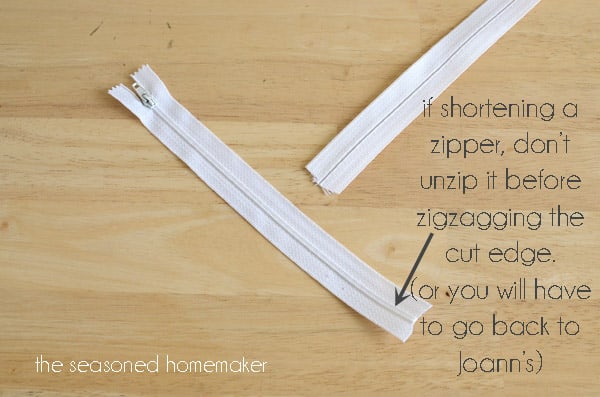
This next step is optional. If you have a really long zipper, you may want to cut it down. Be sure to NOT unzip it or you will have to make second trip to the sewing store and start all over again.
I think I heard that this happened to someone I know. I would never, ever do something that dumb. Yeah, right!
Pin the zipper right sides together onto one of the Large Front pieces. You want to pin it to the 5″ edge of the fabric.
Put the Zipper Foot on your sewing machine and stitch as close to the zipper teeth as the foot will allow. {I’m using black thread for demonstration – use any color thread you choose.}
Take the second Large Front piece and pin it over the stitching, right sides together, matching the other Large Front piece. With the zipper foot still attached, stitch in place.
With right sides up, fold over both sewn edges and press away from zipper teeth.
Repeat these same steps with the Small Front pieces. Press both sides away from zipper.
Once sewn, do not be tempted to unzip if you’ve cut your zipper.
Slowly, unzip to the middle of the front. Now, you are going to seal off the edges and cut the zipper. To secure the zipper set your sewing machine to a narrow zigzag stitch about 2 mm wide and 1mm long.
Stitch as close to the raw edge on both sides of the zipper. Be sure the zipper is unzipped to the middle.
Once both edges are secured, clip away zipper excess on both sides.
Optional Step: If you plan to use this bag as a convention pass holder then continue through this step.
Place the clear vinyl on top of the front with the bottom edge matching. Before sewing you must secure this. I’ve used Wonder Clips to hold my vinyl in place. You can use paper clips or those itty-bitty clothes pins they sell at craft stores. Just don’t use pins or it will leave holes. (affiliate)
Attach a Non-Stick Foot to your machine before sewing. If you don’t have a Non-Stick Foot, try putting a layer of tissue paper or adding-machine paper over the vinyl. I suggest you experiment with a scrap of vinyl before doing this on your project – it can be a little tricky. Tear away paper once you’ve finished the stitching.
Pin the cording to the top edge of the project 1/2″ from either side. Stitch and backstitch to hold in place. Cut away excess. I like to tuck my extra cording into the vinyl pocket so it doesn’t accidentally get sewn where it doesn’t belong.
Now for the Back pieces. Place Back Pieces wrong sides together. Stitch together using a 1/4″ seam and press flat.
Make sure the zipper is unzipped at least half way on the front. Place the Back to the Front, right sides together. Clamp together (don’t pin ~ remember the vinyl on the front).
Stitch around the entire passport holder. It wouldn’t hurt to backstitch over the zipper ends.
As an optional step, I serged the seams to keep threads from unraveling. If you don’t have a serger you can use a 2.5mm zigzag stitch and trim away any excess.
Turn inside out and push out corners (with a chopstick or knitting needle). Press from the back. Remember, there is vinyl on the front.
Add Passport….