How to Use a Cricut EasyPress 2
This post may contain affiliate links which won’t change your price but will share a commission.
Inside: How to Use a Cricut EasyPress 2
This is a sponsored conversation written by me on behalf of Cricut. The opinions and text are all mine.
I love to embellish things! Yep, whether it’s machine embroidery, appliqué, or vinyl, I like to add a little personalization.
The one area that I have never done well with is iron-on vinyl (sometimes called HTV or Heat Transfer Vinyl).
With my other machine I could never get the vinyl to stay on a t-shirt or bag. And, if my project did manage to stick to the fabric, it would start peeling away after one wash.
It turns out I was not applying the right amount of heat for my project. Iron-on vinyl needs a specific amount of heat + time properly applied to the base material in order for the vinyl to properly set.
The Cricut EasyPress 2 has solved this problem in a beautiful way.
Note: Cricut has updated to the EasyPress 3 – but all of the information in this post is still relevant.
What is the Cricut EasyPress 2?
In order to get iron-on vinyl to stick to things like pillows, t-shirts, and bags you have to apply heat. But, a regular iron just doesn’t cut it. The heat is too uneven so the vinyl never really sets. A large heat press could do this but these are big and get really hot.
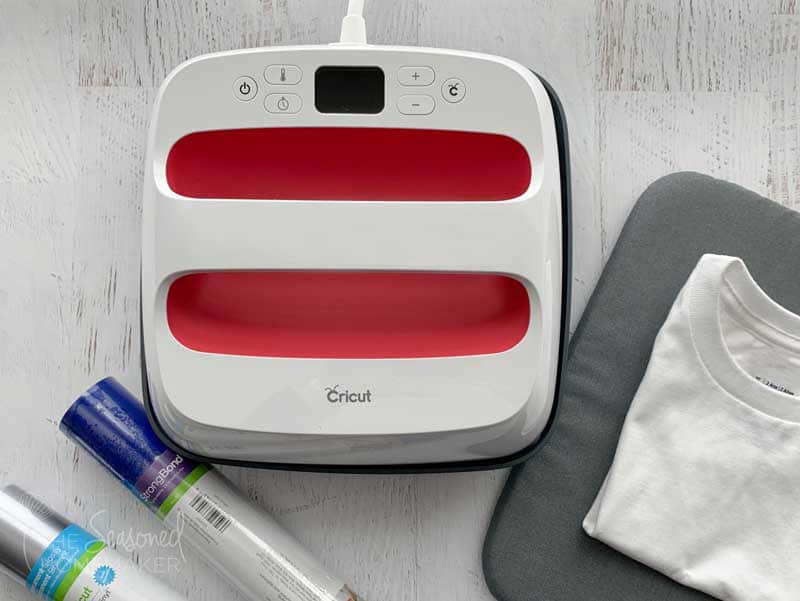
Cricut has beautifully solved this dilemma with the EasyPress 2. It’s the combination of a traditional heat press with the convenience of an iron. When used correctly, it will give you consistent results. This version of the EasyPress heats up faster and performs better than the original version.
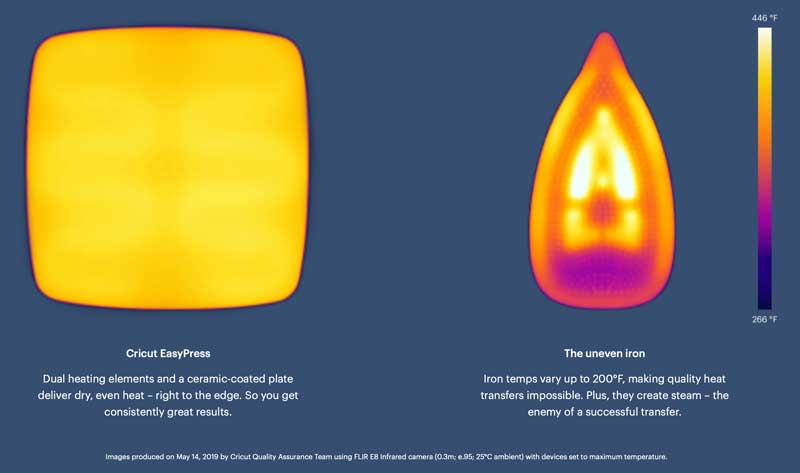
Image via Cricut
The Cricut EasyPress 2 is lightweight, portable, and easy to store. It comes with a Safety Base and has an automatic shut-off.
Best of all, it takes away all of the guess work on heat temperature setting and heat application time for your project. Just follow the heat and time settings found here, wait for the EasyPress 2 to beep, and your project is set!
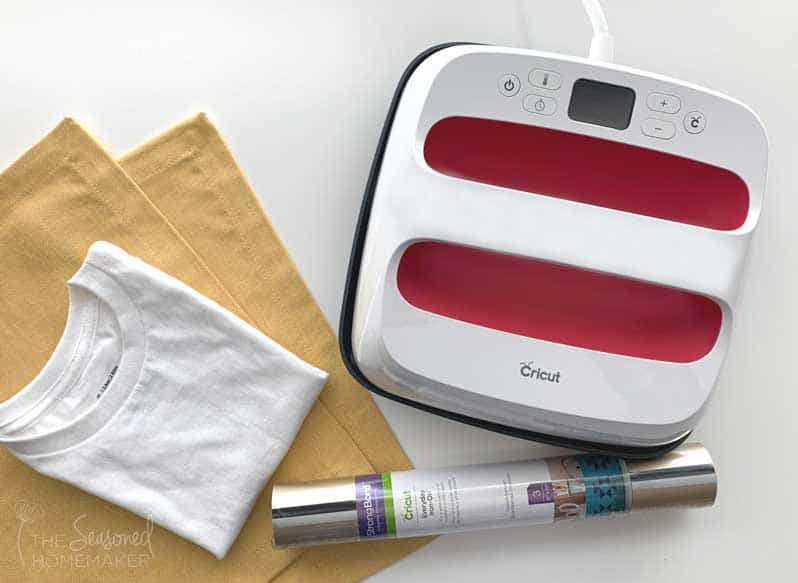
Supplies & Materials
- SVG Design
- Everyday Iron-On Vinyl
- Standard Grip Mat
- Cricut Maker or Explore Air
- Cricut EasyPress 2
- EasyPress Mat
- T-shirt, bag, or other blank for applying vinyl
How to Use the EasyPress 2
Step 1:
Choose an SVG design for your project. This can be from the Design Space shop or one previously purchased.
Choose the type of iron-on vinyl you want to use. Cricut has a variety of amazing iron-on vinyl products such as glitter, foil, holographic, SportFlex, plus many more.
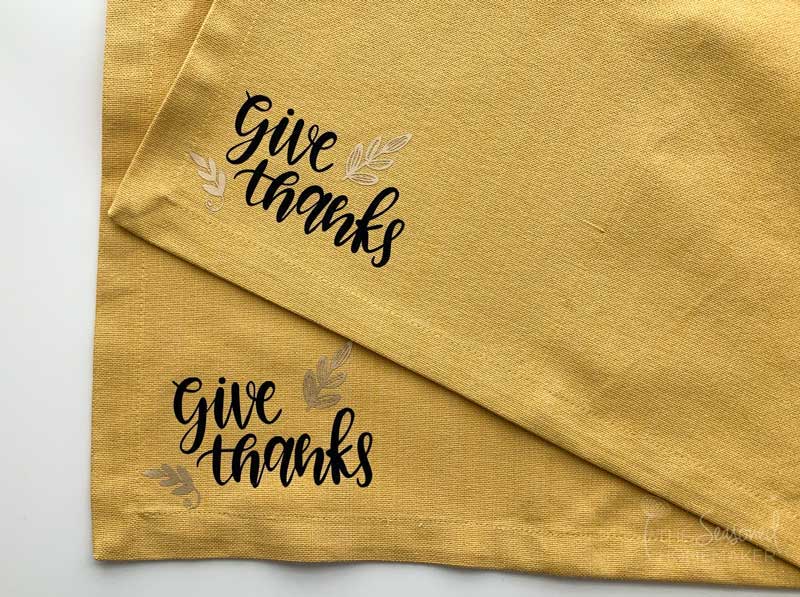
For my project I downloaded a simple Thanksgiving project from the Design Space shop and will be applying it to placemats. I’m using the Everyday Iron-On Classics Sampler for my vinyl.
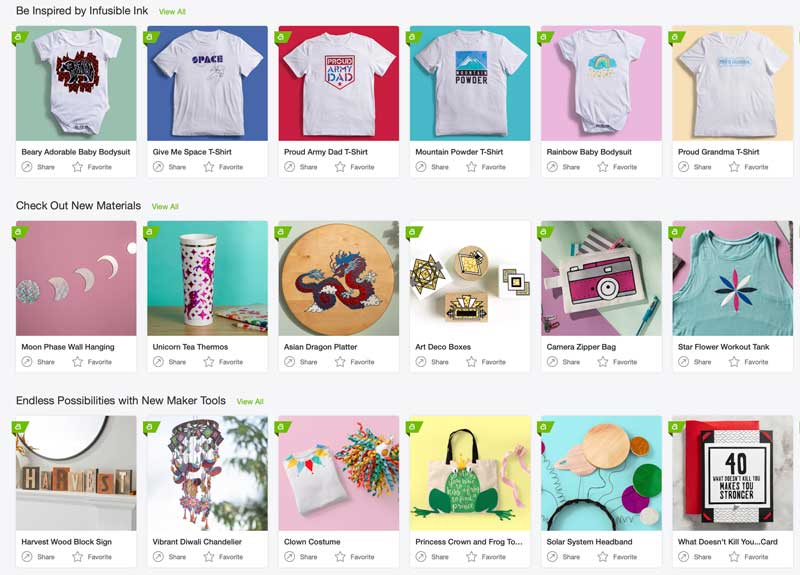
Image via Cricut
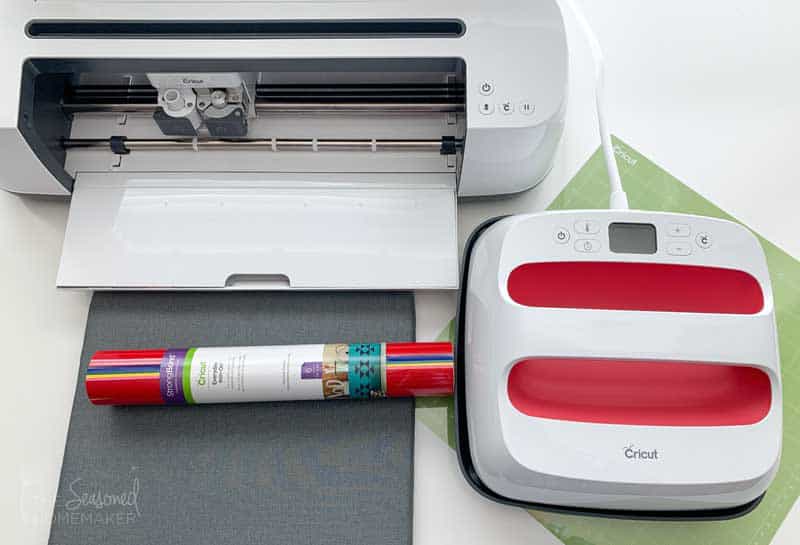
Step 2:
Using a Cricut Maker or Explore Air, cut out the design onto one of the Everyday Iron-on vinyls.
Once the design is finished cutting, remove from the machine and peel away the uncut vinyl. Be sure to weed out the negative spaces.
When the design is completely weeded it will be ready to apply to your project.
Notice the leaf on the right. See how well the Cricut Maker cut out the teeny-tiny little openings.

Step 3:
Time to heat up the EasyPress 2.
If you use a project from Cricut’s Design Space it will include the heat setting and time. If you’re using another project, visit Cricut to find the correct settings for your project by choosing your EasyPress + heat-transfer material + base material. Click the button for either the Cricut Mat or towel and your heat settings will show.
Turn on the EasyPress 2 and choose the correct heat setting and time for your project. A green light will show when it’s ready to use.
Step 4:
Use a flat surface and place your project on the EasyPress Mat. If you don’t have the mat, set project on a thick towel.
Do not use an ironing board because it could absorb too much of the heat.
Be sure everything is on a stable surface that allows you to comfortably hold onto the EasyPress while applying the vinyl design to your project.

Step 5:
Place the EasyPress onto your project and apply firm pressure.
Hit the Cricut button and the timer will begin to count down.
When it beeps, remove the EasyPress and set it onto Safety Base.
Note: If you’re making a larger project, move the EasyPress to the next section and repeat. When finished, return to Safety Base.
Step 6:
Carefully remove the transfer sheet. I prefer to start at one corner and peel at an angle.
I like to peel away the transfer sheet while the project is warm. This usually gives me the best results.
Be sure to go slowly.
If you find that something isn’t adhering well, then repeat the process.
That’s all there is to it!
The EasyPress 2 also works great with Cricut’s Infusible Ink….but that’s a project for another day.
And, I have found a couple of other great ways to use this awesome tool.
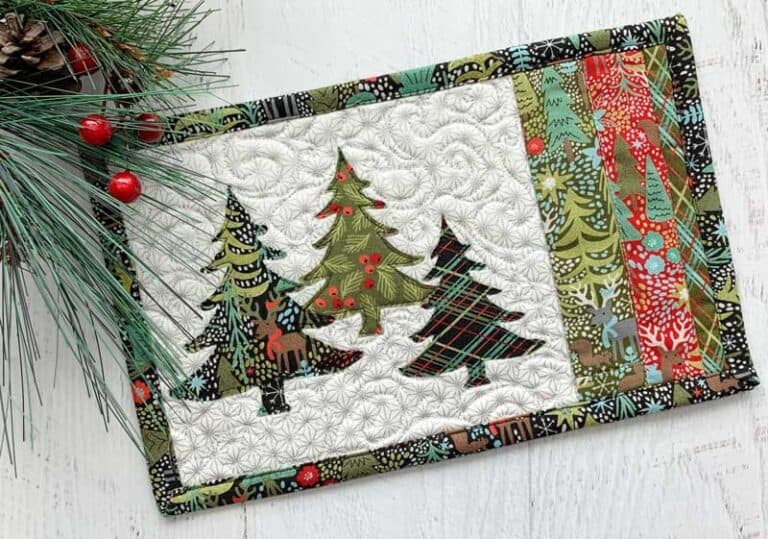
It can press quilt blocks like nobody’s business AND can flawlessly fuse appliqué designs.
Imagine the possibilities!