How to Read a Quilt Pattern
This post may contain affiliate links which won’t change your price but will share a commission.
Learning how to read a quilt pattern is essential to the quilting process. Master these steps and you’ll understand all of the details in a quilt pattern like a pro.
The first time I opened a printed quilt pattern I read over a couple of pages and I was done. It did not make any sense to me and I felt like a quilting failure. Abbreviations like WOF and phrases that said, “subcut (12) HSTs” completely overwhelmed me.
It took a little time, but I was able to understand what all of these details meant and how they worked hand-in-hand with a particular quilt pattern.
In this tutorial I’m breaking down the all of the steps so you can read any quilt pattern like a pro. This tutorial is essential if you’re new to quilting, and I’m sure those of you a little further along on your quilting journey will also find something beneficial.
Want an ad-free, printable copy of this tutorial? Scroll to the bottom of this post for more details!
Step 1: How to Choose a Pattern
Making a quilt starts with choosing a pattern that matches your skills and quilting level. There are countless quilt patterns to choose from and matching the right quilt pattern to the quilter can be overwhelming.
When choosing a pattern, the first thing to look for is the Skill Level.
- On digital patterns this can be found on the pattern sales page (hopefully, as the first item).
- On printed patterns it is usually on the front or back cover of a pattern.
- If the pattern is in a book or magazine it will indicate the skill level at the beginning of the pattern. This will likely be some sort of symbol.
Quilting Beginner Tip: Start by looking at beginner quilt patterns to get a feel for what you like. You can find patterns online, in quilting books, or at your local quilt shop.
Takeaway #1: Look at the pattern skill level before committing to a pattern.

A word about free quilt patterns. They are free for a reason. Quilt designers, fabric sellers, and fabric manufacturers put these out to sell their products. They will likely be a pared down version of a paid product. Skilled quilters will have no problem with them, but beginning quilters may struggle. However, they are a great option for learning how to read a quilt pattern.
Step 2: Print out the Pattern
It’s inevitable that you will have to step away from a quilting project – even for necessary things like eating. If you’re using a digital pattern on a tablet or computer it can be confusing when you come back to the pattern.
For this reason, I recommend printing out your pattern before you do anything else. Once printed, you can make lots of notes, keep track of your fabric, and check off any of the steps you’ve completed.
This is perfect for digital patterns because you can always print a copy of a single page. But I also recommend you make a copy of printed patterns from shops, magazines, and books before you get started.
Takeaway #2: Work from a printed copy of the pattern.
Note: For those of you who have shied away from digital patterns, I hope you will embrace them. They are the future and I personally prefer them.
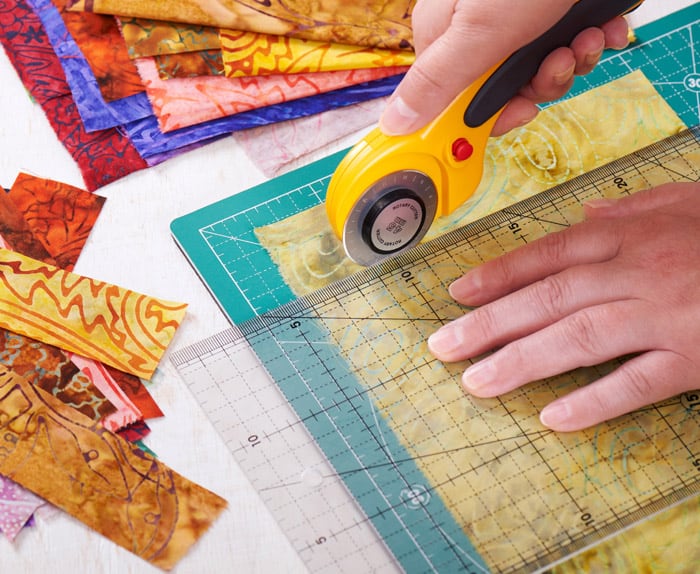
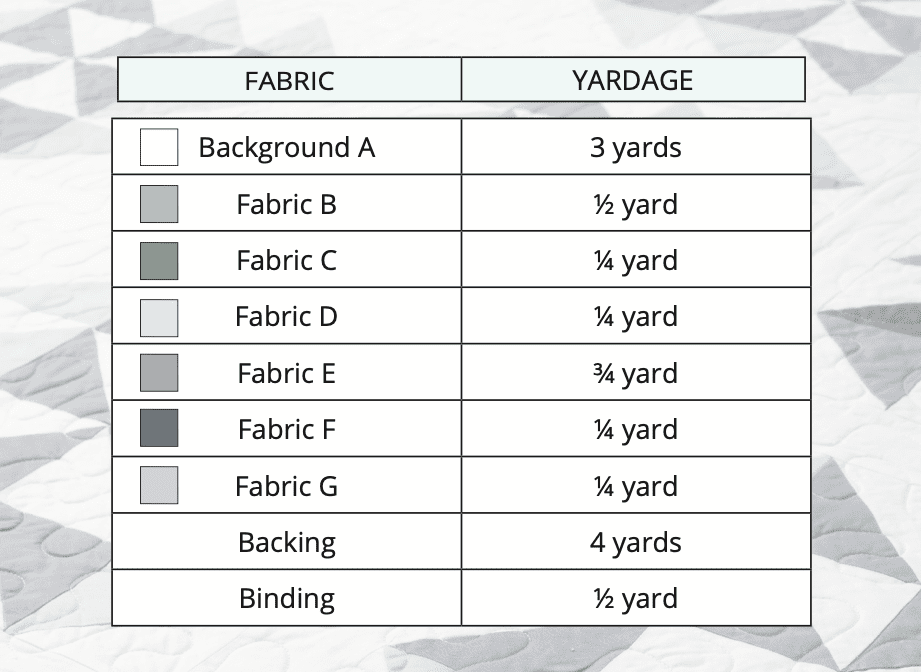
Step 3: Read the Fabric Requirements + Materials List
Once you’ve chosen a pattern, the next step is to read the fabric requirements and materials list. Do not skip this step!
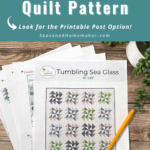
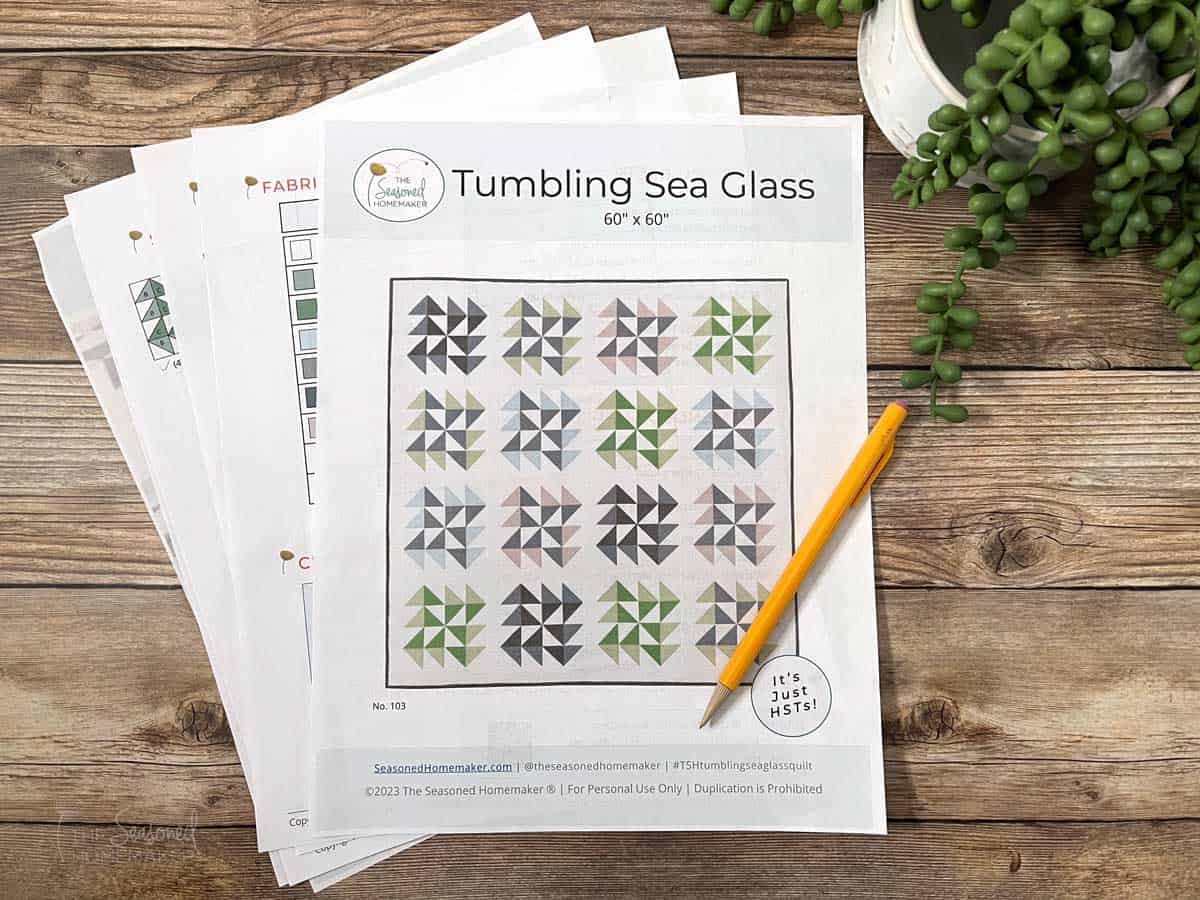
This will tell you everything you need to make the quilt, including the fabric, batting, thread, and any other materials or sewing tools necessary to complete a quilt. An example would be a quilt pattern requiring a special ruler for a technique included in the pattern. Note: This information can be found on a special page included on all new TSH patterns. See #5 below.
Reading through the materials list ensures you have all the necessary materials before you start.
Takeaway #3: Gather all fabrics and materials before starting.
Step 4: Read Through the Entire Pattern
When I say, “Read through the entire pattern,” I’m encouraging you read and understand everything about the pattern. Remember, patterns are written out in a step-by-step format. You need to understand what each of these steps require before advancing.
Quilt patterns include cutting instructions, piecing techniques, the order in which to stitch the pieces together and any special techniques needed for block construction. Some of these techniques won’t be needed until you’re further along in the process, but you’ll want to know about them before you start.
And don’t skim the pattern either. It’s way too easy to miss something essential. Read and re-read until you truly understand the pattern. When you do this, your quilt will turn out exactly as you planned.
Takeaway #4: Be familiar with every detail of the pattern before you make your first cut.
Step 5: Quilting Terms, Graphics, & Illustrations
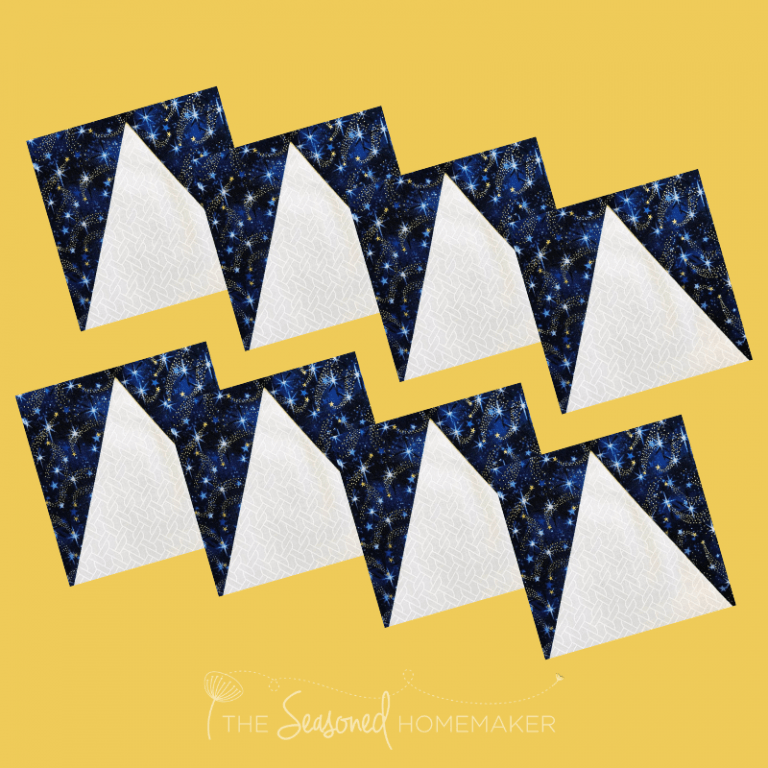
Quilt patterns are written in a way that uses all of the space on the page. To be more efficient, designers include abbreviations and descriptive graphics.
For instance the pattern may say, “Cut (12) 3 1/2″ HSTs” and includes a small graphic or illustration showing the steps to accomplish this. If you’re unfamiliar with any of these terms, techniques, or graphics you may need to search for additional tutorials. Note: The Seasoned Homemaker patterns have a way to link to all relevant tutorials – more in the yellow box below!
Quilt patterns will also have arrows to show what direction to press or special notes in a box with an asterisk. Pay attention to these small details because they are there for a reason.
Bottom line…familiarize yourself with any terms or graphics that you may not completely understand. They are intended to help you be successful when making the quilt.
Plus, learning these things will put you on the road to quilting like a pro.
Takeaway #5: Follow the links or QR Code* for further details which will include more details to help you complete your quilt.
*For my new patterns I’m including a QR Code in the pattern that links to a page that has enhanced details, links to additional tutorials, and pattern corrections (if needed) showing how to accomplish many of the steps in the pattern. I’m doing this because links in digital patterns can break, but the content found in the QR Code can be updated as needed. Embrace the QR Code – it’s there to help you successfully make a quilt!

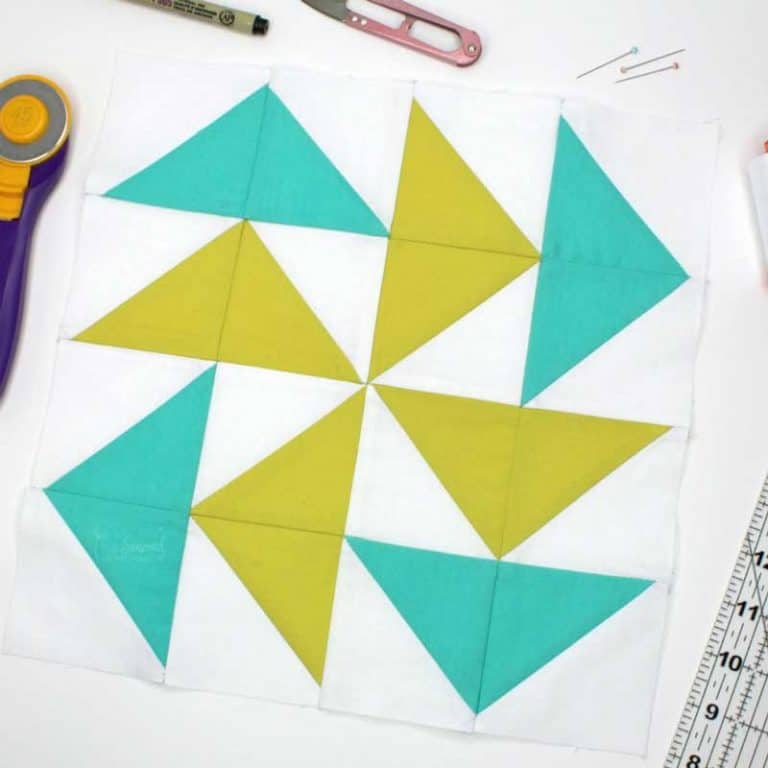
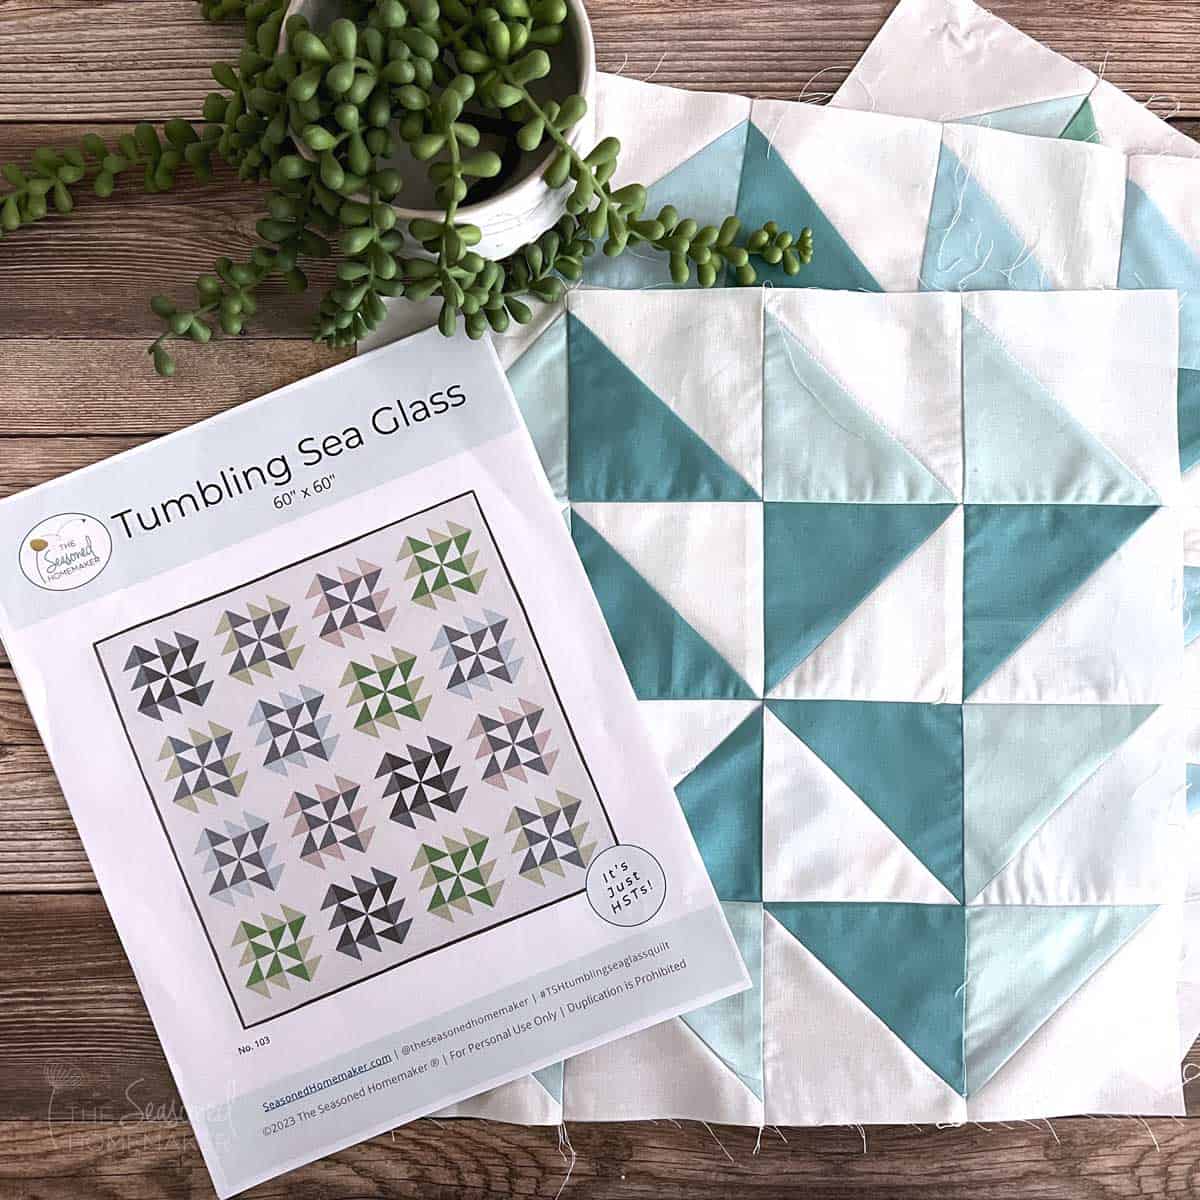
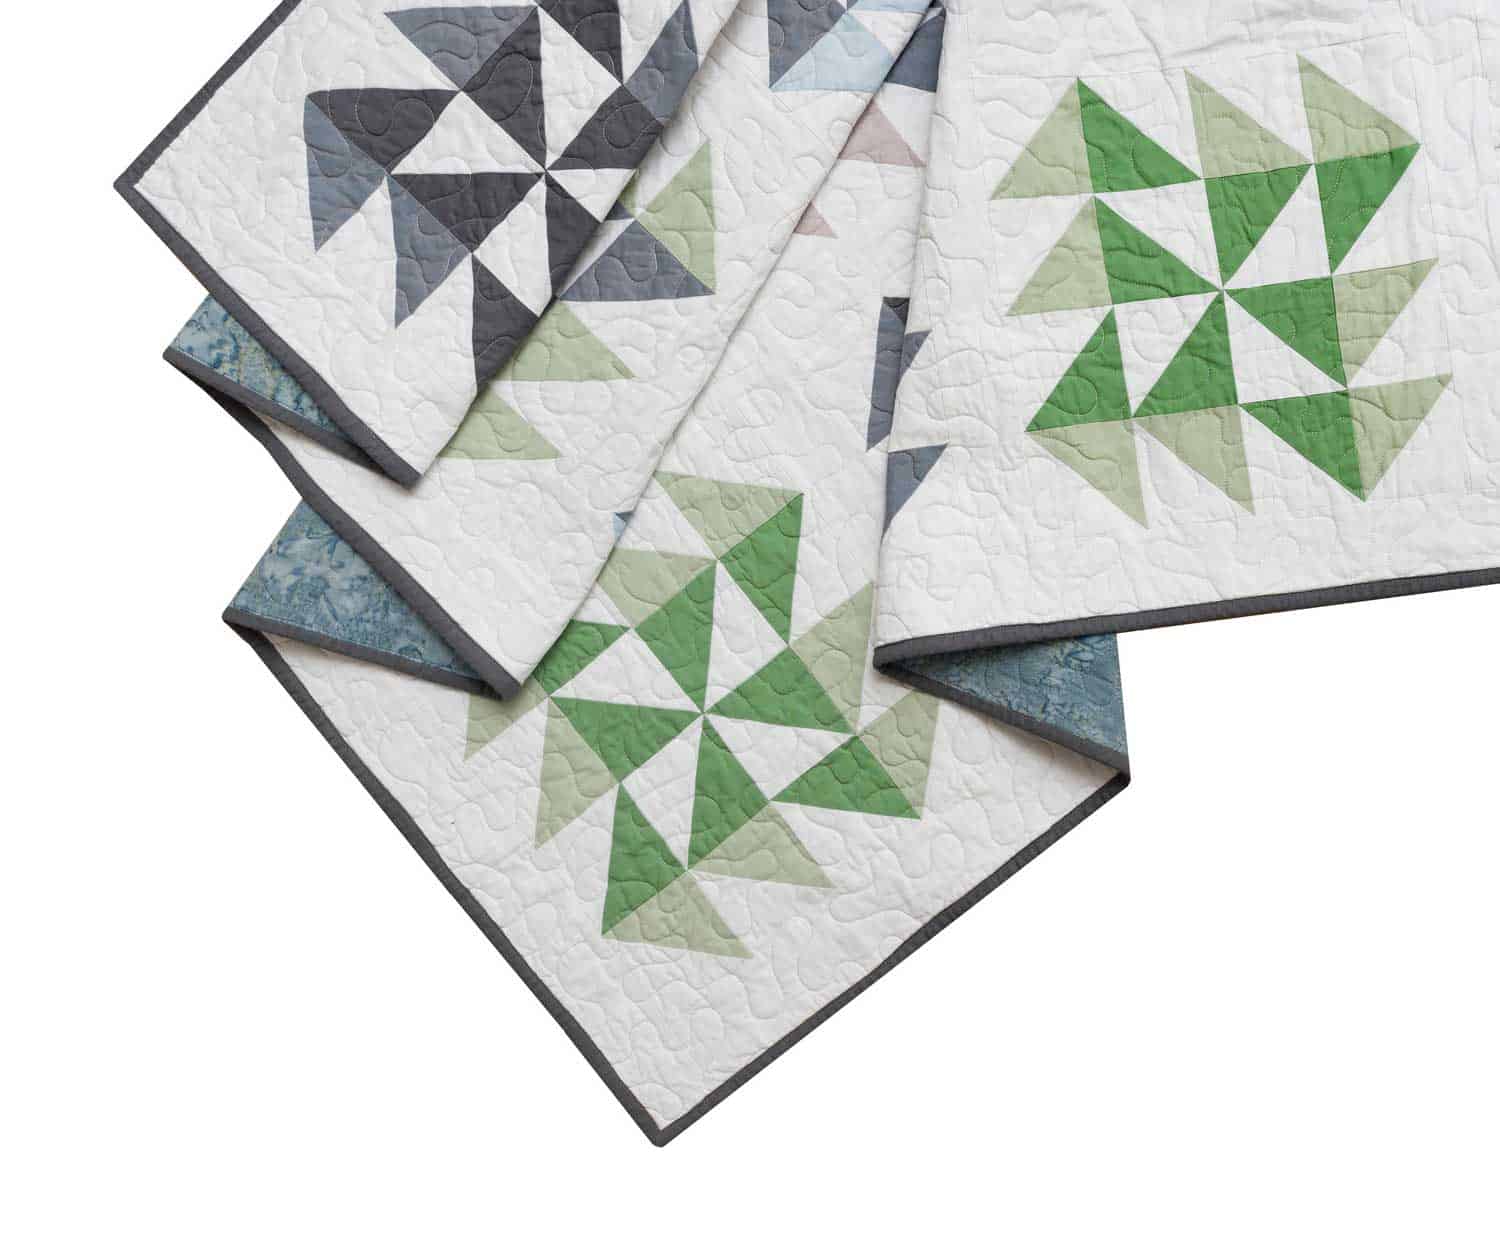
Step 6: Make a Test Block
Many quilts are made up of one or two particular blocks. It’s a good idea to follow the quilt pattern directions and make a test block from scraps.
You’ll begin to understand how the pattern designer takes you through the process and possibly where you might run into problems.
Takeaway #6: Making a test block will show you if more information is needed.
Reading a quilt pattern can seem overwhelming at first, but if you take it one step at a time and read the instructions carefully, you’ll be able to create a beautiful quilt in no time.
Happy quilting!
Get the Printable Post
Want an ad-free, printable version of this post? Click the button below and download the Printable PDF tutorial.