

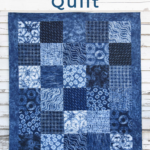
How to Make an Easy Patchwork Quilt
This post may contain affiliate links which won’t change your price but will share a commission.
Inside: How to Make an Easy Patchwork Quilt
I truly believe that there is an artist in everyone. And quilting is one of the best ways to share your inner artist.
However, there are times when we just want to make an easy quilt…for a quick win. Perfect for the beginner quilter.
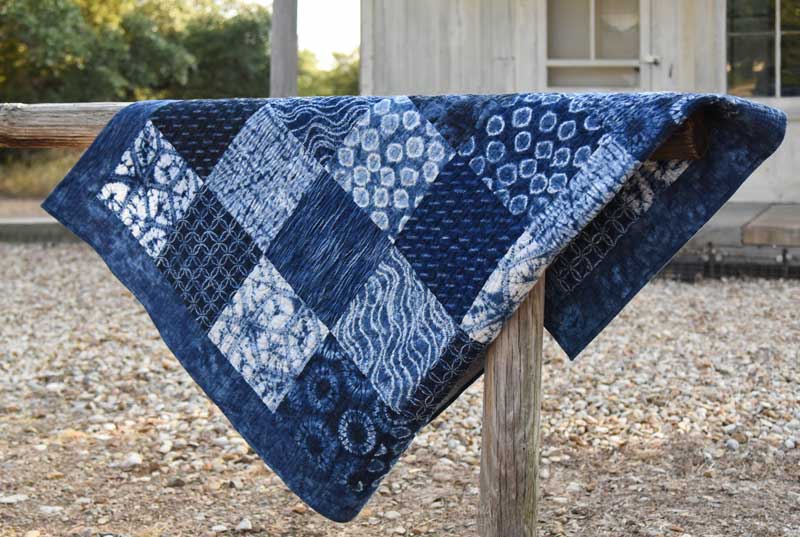
And that’s what this easy patchwork quilt is all about. It’s fast, it’s simple, and it uses 10″ precut fabric squares (aka layer cakes)!
Want an ad-free, printable copy of this tutorial? Scroll to the bottom of this post for more details!
How to Make an Easy Patchwork Quilt
Basic Materials and Sewing Supplies Needed
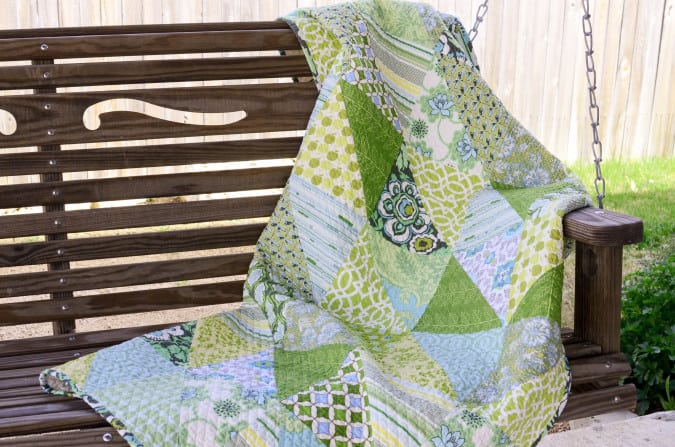
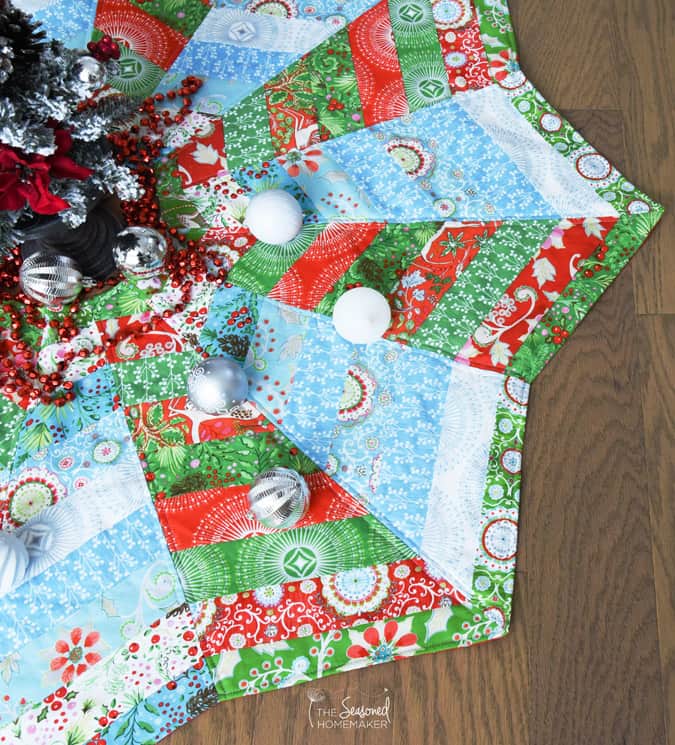
The main ingredient in this quilt is the precut collection. Choose one you love and you’ll love your quilt!
And, there is no wrong answer! If you love the fabrics, the quilt will be amazing.
When purchasing your precut square collection, I recommend getting border, binding, and backing fabric at the same time. It makes the process simple and fast!
- (35) 10″ x 10″ Your Favorite Precut fabric squares
- 1 Yard Border Fabric (optional)
- I used Debby Maddy Shibori Fabrics for both.
- 1/2 Yard Binding Fabric
- Backing Fabric (approximately 65″ x 85″ or about 3 1/2 yards)
- If you’re using a stack of precuts, there will be several squares left over that can be incorporated into the quilt back and will alter the amount of fabric needed.
- Quilt Batting
- Sewing Machine
- I recommend a 1/4″ sewing foot to help maintain a perfect seam allowance.
- Cotton Thread
- I prefer Aurifil 50 wt. thread
- Sewing Pins
- Scissors
- Rotary Cutter with sharp blade
- Acrylic Ruler
- Rotary Cutting Mat
- Iron & Ironing Board
Step 1: Layout the Design
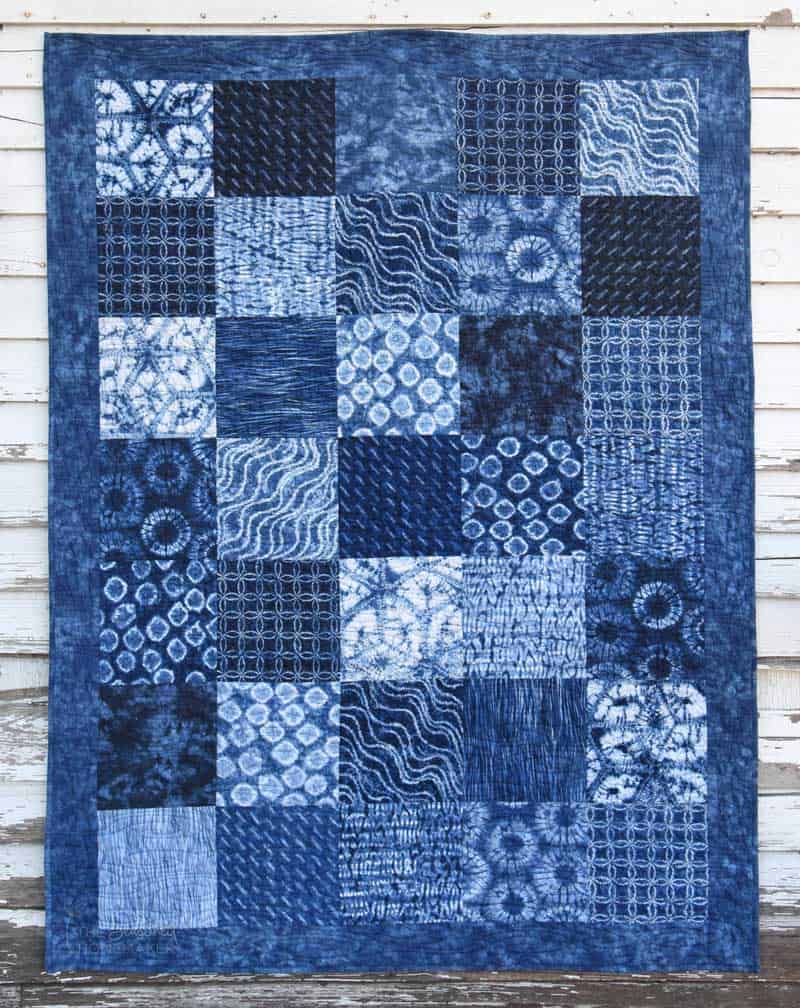
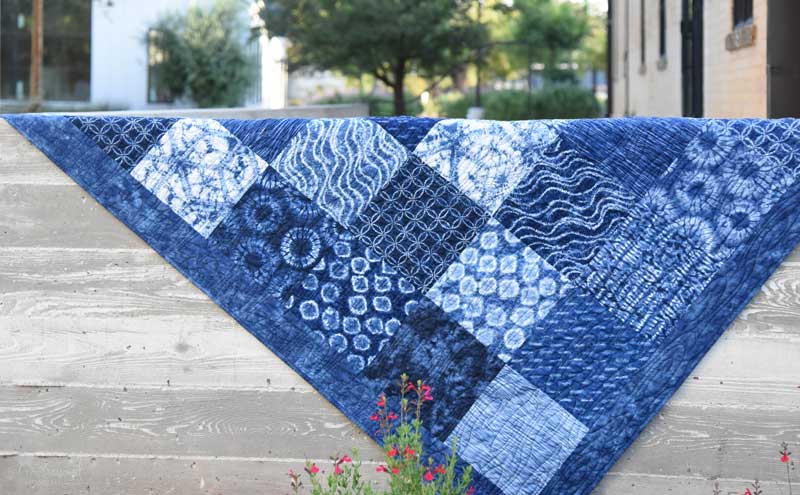
Set aside (35) 10″ squares of fabric for the project. Lay them out five squares across in a manner that is pleasing to your eye.
Layout seven rows with five squares across each row.
Rearrange them until you like the design. I recommend using a cell phone to snap photos to see if you like the design this creates. Use the black and white feature on your phone to determine color value. Adjust square placement as needed.
In this image you can see that I randomly selected fabrics from my collection and placed them so the design flowed across the quilt.
Step 2: Stitch Squares Together

Once you’ve chosen a layout, begin stitching the fabrics together.
Using a 1/4″ seam allowance, start at the top row and stitch the first of five squares across.
Continue in this manner until you have seven rows.
On each row, press the seam allowances in opposite directions. This will help when you attach your rows.
Step 3: Attach Rows
Pin the rows together at each intersection.
Stitch the seven rows together, one row at a time using a 1/4″ seam allowance
If you pressed each row in opposite directions your seams will nest nicely.
Press.
Step 4: Borders (optional)
At this point, you can call your quilt top finished unless you want to add a border.
From the Border Fabric, cut 3″ – 4″ (depending on how wide you want your quilt) strips to create the border.
- Cut two side borders the length of the quilt plus 3″ then attach them to the quilt sides and trim down.
- Cut top and bottom border strips the width of the quilt plus 3″ then attach and trim down.
Step 5: Preparing to Quilt
Make a quilt backing that is wider than the quilt top. I usually like to have 4″ of extra fabric on the top, bottom, and both sides.
This is especially important if you’re sending the quilt out to a longarmer.
If you plan to quilt it yourself, you will want to create a quilt sandwich and baste the quilt together.
Note: Watch a quick video for a simple way to baste your quilt.
Step 6: Quilting
Most people are afraid to tackle a larger quilt, but this one doesn’t have to be complicated.
Try one of these ways to quilt:
- Quilt diagonally in both directions. This will create a diamond effect. Use the squares as your guide. See here for a version of this.
- Straight line quilt about 2″ apart for a modern look. Begin by stitching in the ditch of each seam allowance and moving across from there. I recommend using a guide for straight lines.
- Quilt across using wavy lines. These don’t need to be exact or precise.
- Free motion quilt using a stipple design.
Bind the quilt using my easy Machine Binding Method.
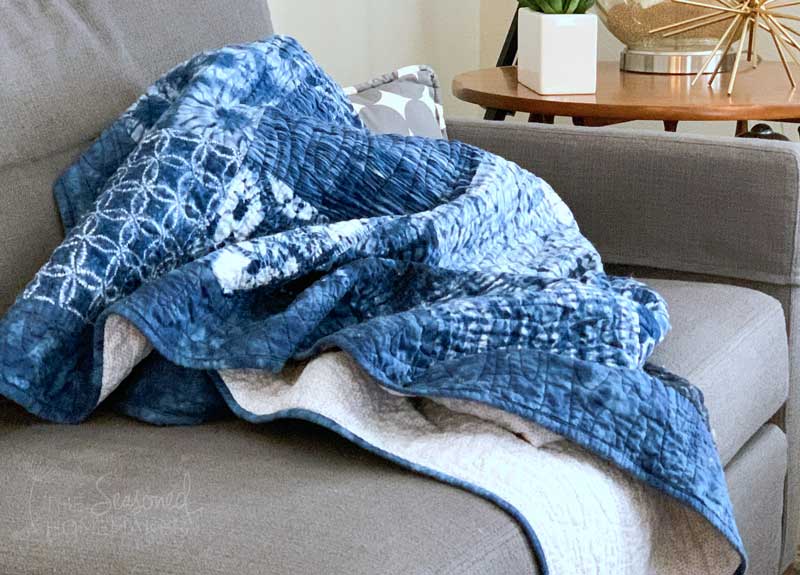
And, that’s all there is to it. Finished quilt size: 52″ x 68″ – perfect for snuggling up and watching TV
I love the quilt I made using this fabric.
It was fast and easy. Because there is very little cutting, I was able to jump in and get the top pieced in a few hours.
As you can see, it gets used daily and can be found wadded up on the end of my sofa.
Which was what I wanted all along.
>>> Want a printable version of the post? Click the pink button for the downloadable the Printable PDF instructions.

This is awesome! I love layer cakes. They make a simple, quick quilt. And if I’m feeling extra says make them into half quart triangles, lol. That fabric is gorgeous!
Love it….think I will do one in flannel for one of my sons for his birthday. Thanks for the inspiration!
I’m not a big fan of blue, BUT your quilt has made me rethink this. Not only do I want to make this quilt, but I have NO problem with blue. Thank you for sharing and opening my eyes to this happy little number.
I love this quilt. I’ve just started quilting. My first quilt/throw was for my great niece. It was Elsa from Frozen print with minky backing, then hand tied it. She loved it.
Hello, I love the colour of this quilt, it looks amazing. Can you tell me the dimensions of the finished quilt please ?
52″ x 68″ – just right for sofa sitting.
I love this! Could you complete this with out batting?
Yes, but you’d need to add a backing. This is sometimes referred to as a summer quilt.
I am truly a beginner and never understand what the directions mean here: “On each row, press quilt allowances in opposite directions.” Later, it says if you have done this, they will ‘nest’ nicely.
I know most quilters and sewists know what this means but it’s vague to us “newbies”! Can you please help me?
Nesting, in the context of connecting quilt blocks, is a technique used to ensure the seams of adjoining blocks align precisely with each other, creating a smooth, flat surface. This is typically achieved by pressing the seam allowances of adjacent blocks in opposite directions so that when the blocks are placed right sides together, the seam allowances “nest” or interlock. This method helps to reduce bulk at the seam intersections, making it easier to sew through multiple layers of fabric and improving the overall appearance and durability of the quilt.
OK I get that, thanks. But in the directions, does that mean that for each row of blocks sewn together, I press the seam allowances one up and one down, or for each row of blocks I press the seam allowance on the top “up” and the bottom “down”? Maybe it doesn’t matter and that both will work, as long as there is consistency? I know it’s probably simple but for someone who is new, this is the kind of stuff that stumps us. Well me anyway!