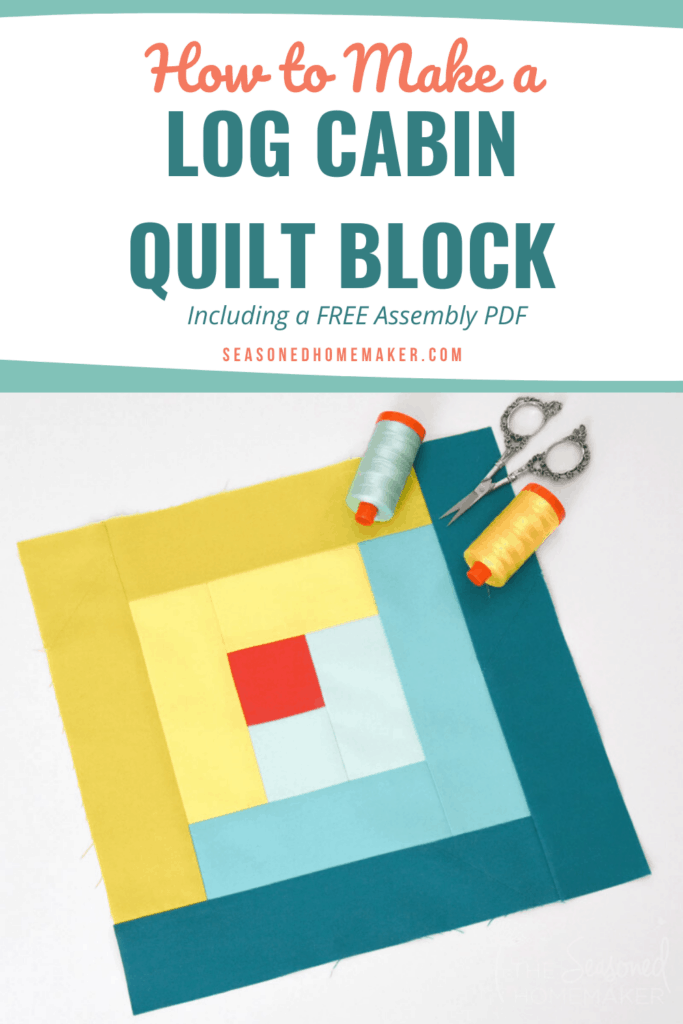
How to Make a Perfect Log Cabin Quilt Block
This post may contain affiliate links which won’t change your price but will share a commission.
Inside: How to Make a Perfect Log Cabin Quilt Block
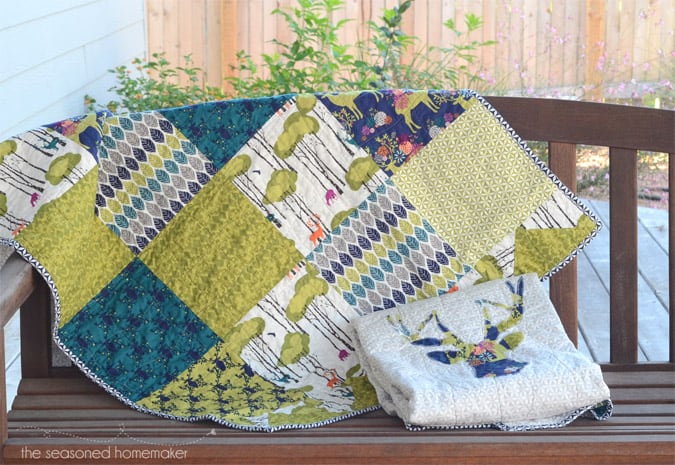
The Log Cabin Quilt Block is one of those perfect blocks. Once mastered, you can stop there because it is almost impossible to run out of ways to make unique log cabin quilts. It’s ideal for strip piecing and perfectly suited for using up scraps.
The Log Cabin Quilt Block
Like so many other quilt blocks, the Log Cabin Quilt Block became popular in the 1860s during the Civil War. The blocks popularity may have been connected to Abraham Lincoln because of his pioneer history and the American values of the era.
Traditional Log Cabin blocks would have lighter fabrics on one side and darker fabrics on the other. They would begin with a center square. If the center fabric was red it symbolized the hearth of the home. If the center was yellow it symbolized a light in the window for welcoming visitors.
Folklore says that if a log cabin quilt with a black center was hanging on a clothesline, the home would be a stop on the Underground Railroad.
Knowing the history of the Log Cabin Quilt Block connects it back to the story of our nation. When we make quilts today using this pattern, we are then able to insert ourselves into that story.
Want an ad-free, printable copy of this tutorial? Scroll to the bottom of this post for more details!
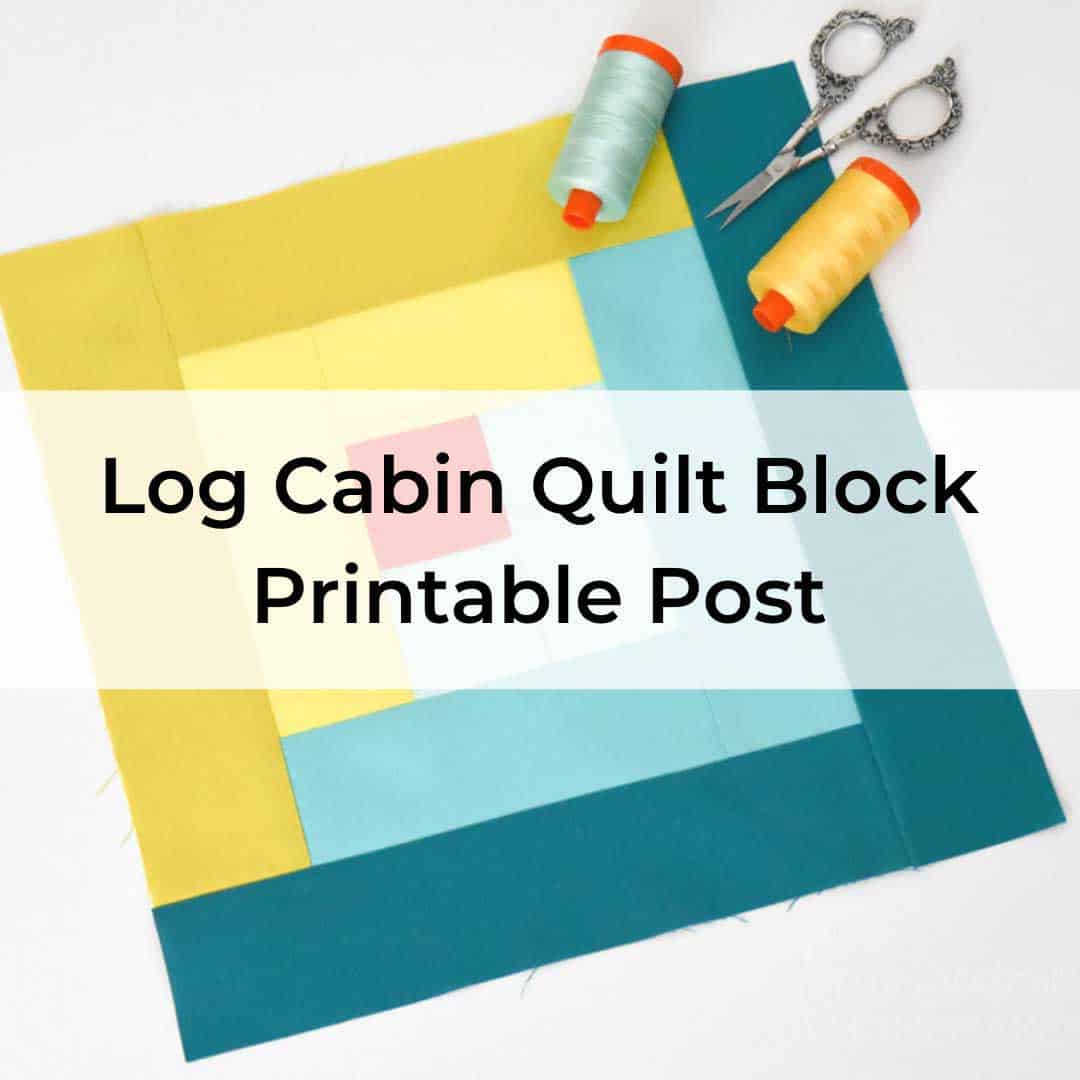
How to Make a Perfect Log Cabin Quilt Block
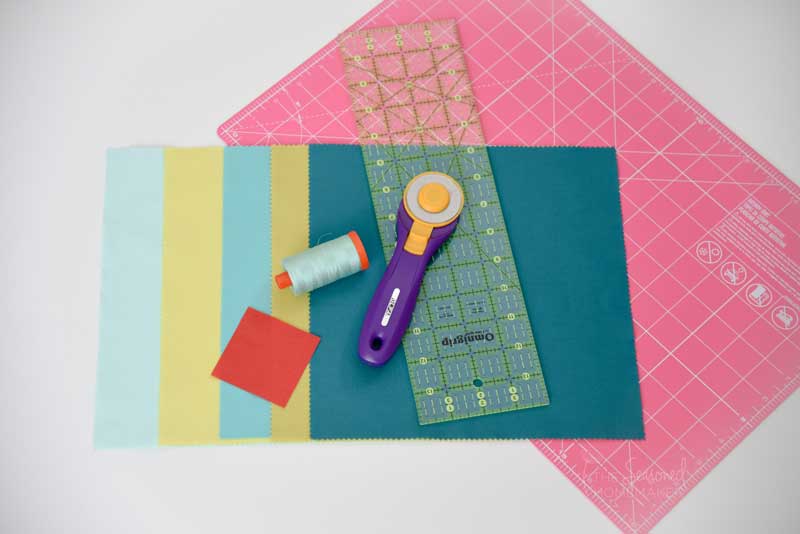
Supplies
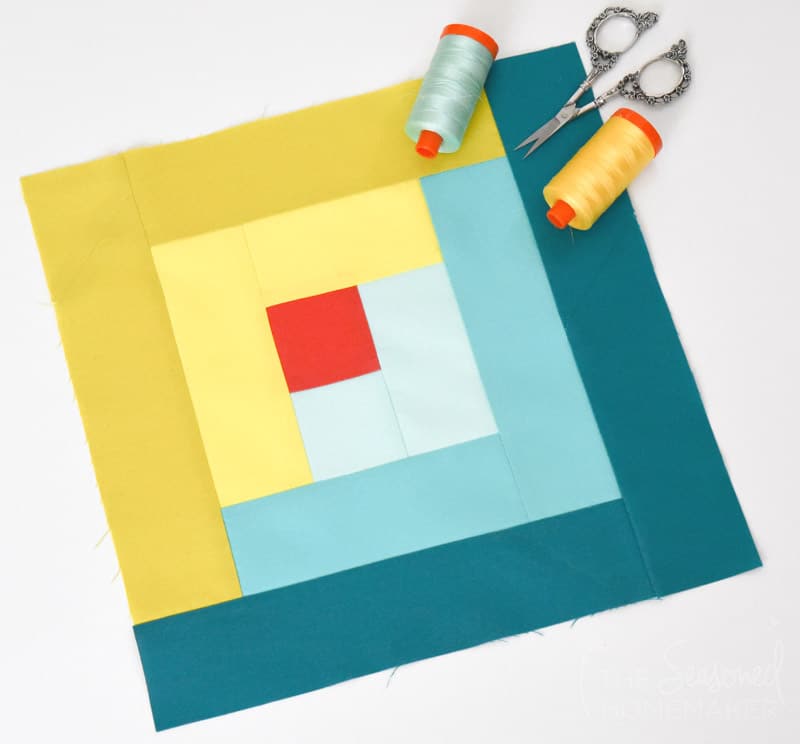
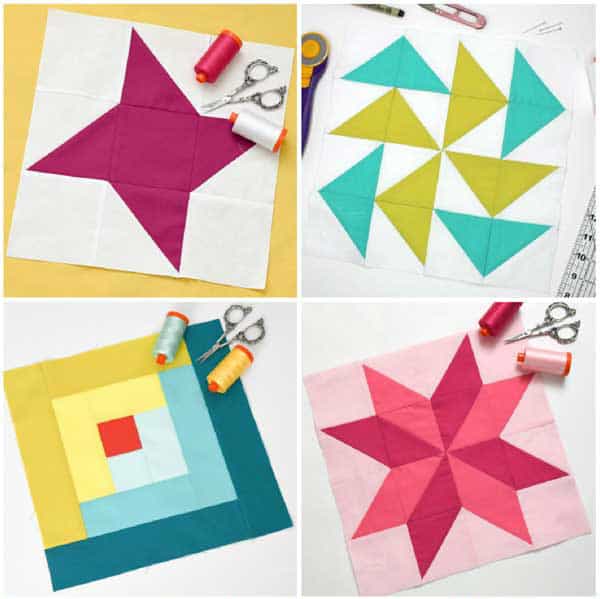
- 2 ½” Fabric strips in several colors – I’m using teals and yellows with a red for the center. I’m also using five 10″ squares and piecing my strips because it’s a great way to use up fabric and it will never really show in a quilt.
- Aurifil 50 wt. Cotton Thread
- Rotary Cutter with sharp blade
- Self Healing Rotary Cutting Mat
- Acrylic Ruler
- Sewing Machine
- Iron & Ironing Board
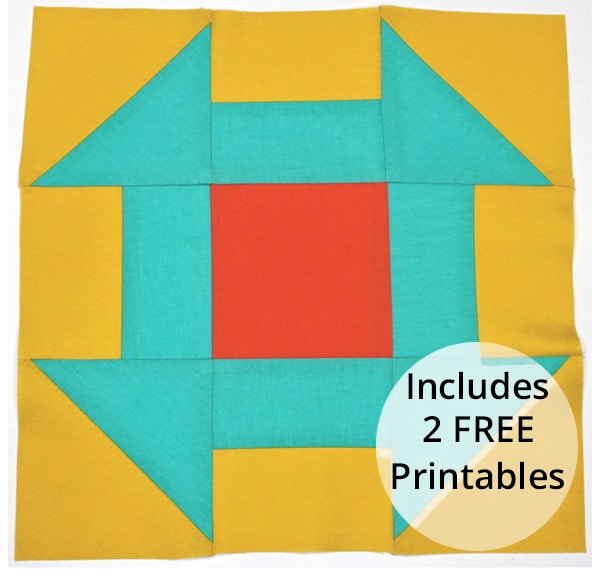
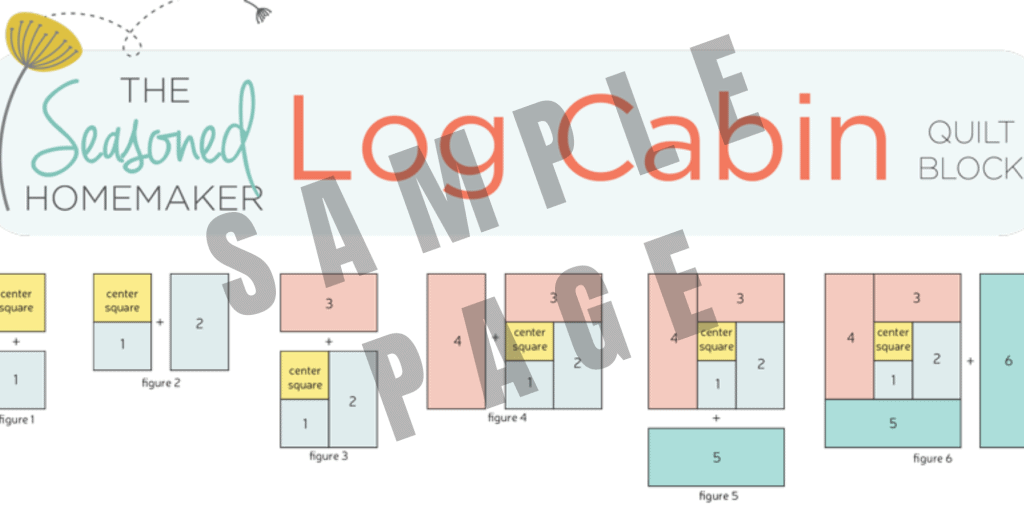
Step 1: Download the FREE Assembly Diagram
I’ve put the assembly diagrams into a one-page FREE downloadable PDF. Click the pink button below to get the free assembly diagram.
Step 2: Cutting Instructions:
You will want to cut your fabric strips on the length of grain because this adds stability to your block and keeps it from stretching out and causing puckers.
Add a thread’s width to the measurements when rotary cutting. The way to do this is by first cutting a clean edge with your rotary cutter and ruler. Then put the placement line of the ruler just outside the clean edge. This will insure you’ve allowed for a thread’s width and will keep the block correctly sized.
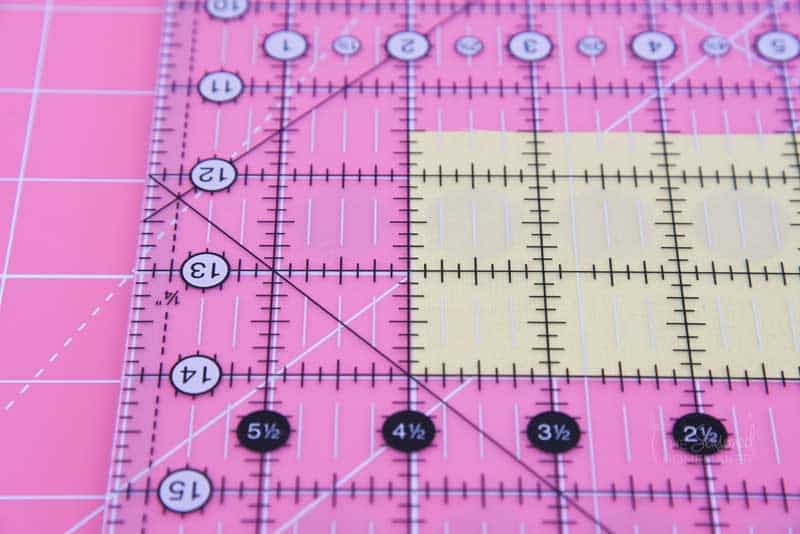
There are a couple of strip cutting methods for a Log Cabin Quilt Block. For the sake of this tutorial, I’m showing you exact measurements, but I recommend adding a little extra length to your strips when cutting them. Once attached, trim away the excess after adding each strip to the block.
If you’re using something like a jelly roll of fabric, you would want to use the second method which I call the add-and-trim method. This would be the most practical way to attach longer strips. Instead of trimming the fabric strips into (near) exact sizes, you would simply add a new strip to the block and trim away the excess.
If using the second method, one thing to watch for is over-trimming and accidentally shaving off too much. This is really easy to do and can throw off your block size (and possibly make you curse like a sailor).
Exact Measurements for a 12″ block:
- Qty. (1) 2 ½” square (Center Square)
- Qty. (1) 2 ½” square ( Piece 1)
- Qty. (1) 2 ½” x 4½” Strip (Piece 2)
- Qty. (1) 2 ½” x 4½” Strip (Piece 3)
- Qty. (1) 2 ½” x 6½” Strip (Piece 4)
- Qty. (1) 2 ½” x 6½” Strip (Piece 5)
- Qty. (1) 2 ½” x 8½” Strip (Piece 6)
- Qty. (1) 2 ½” x 8½” Strip (Piece 7)
- Qty. (1) 2 ½” x 10½” Strip (Piece 8)
- Qty. (1) 2 ½” x 10½” Strip (Piece 9)
- Qty. (1) 2 ½” x 12½” Strip (Piece 10)
Note: On my quilt block I stopped here because I wanted a 12 ½” block.
If you prefer a 14 ½” block, you can add two more strips as follows:
- Qty. (1) 2 ½” x 12½” Strip (Piece 11)
- Qty. (1) 2 ½” x 14½” Strip (Piece 12)
Step 3: Log Cabin Block Assembly:
- Using the free Assembly Diagram (see Step 1), lay out your logs on the table next to your machine. This will help you to keep the pieces in order.
- Place the Center Square and (Piece 1) Right Sides Together (RST) and sew a ¼” seam along one side.
- Press to set seam and press seam allowance away from the center.
- Working counter-clockwise select (Piece 2) and place it RST according to Figure 2 on the Assembly Diagram; note placement. Repeat these steps.
- Continue in this manner, adding logs in the order outlined in the diagram. Note that a new log always covers the end of the last log added.
- Square your block to 12 ½” (or 14 ½” if adding Pieces 11 and 12).
A Few Ideas
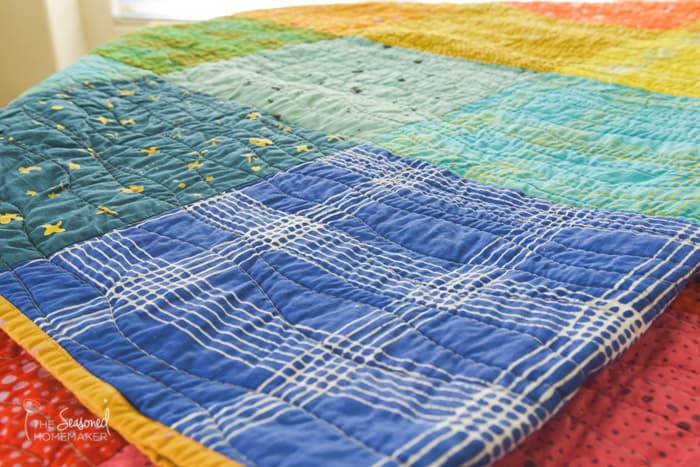
The Log Cabin Quilt Block is one that you will want to add to your block stable. It’s infinitely changeable and can be made into a variety of designs. With this design you’re only limited by your imagination and that means the possibilities are endless.
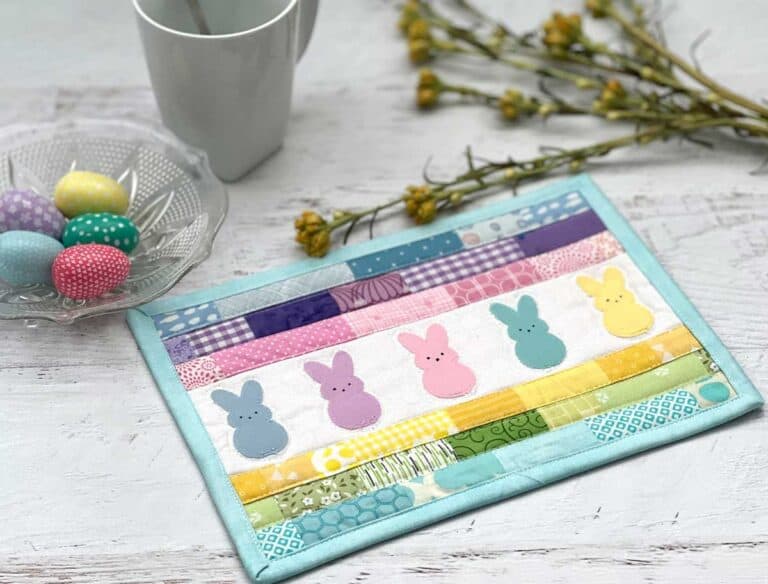
- Take some scraps and turn them into Log Cabin pot holders.
- Get an early start on holiday sewing by making a Log Cabin table runner.
- Because this block is so simple you could easily make a baby quilt in a weekend.
- Make something personal by appliquéing a design on top of the block.
>>> Want an ad-free, printable version of this post? Click the pink button below and download the Printable PDF instructions.
Did you like this post? Check out a few of the other Quilt Blocks in this Series.
>>> Click this link to see all of the Blocks of the Month
Pin for later…