How to Make a Halloween Dresden Neighborhood Mini Quilt
This post may contain affiliate links which won’t change your price but will share a commission.
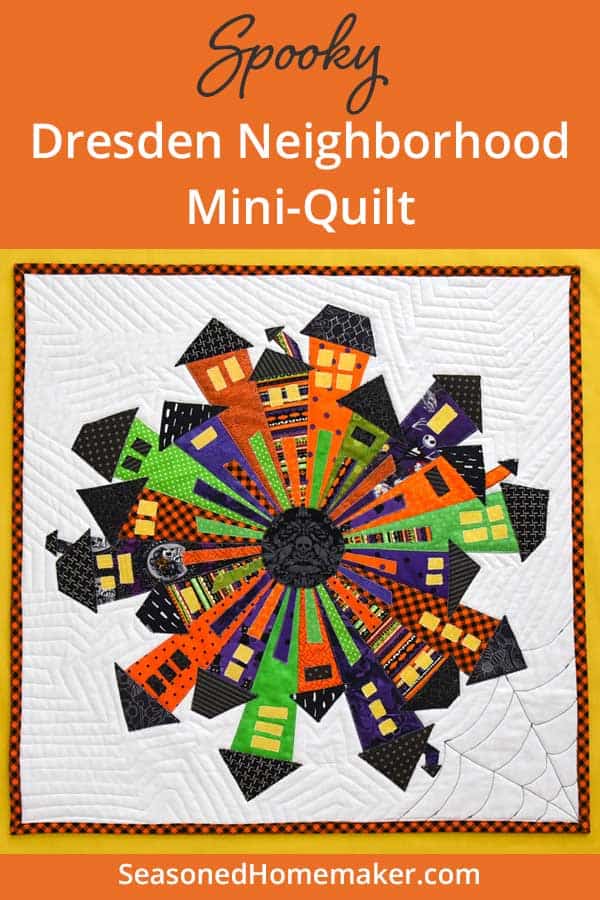
How to Make a Halloween Dresden Neighborhood Mini Quilt
Today, I’m hoping to inspire you with this fun Halloween sewing project. It’s called the Halloween Dresden Neighborhood Mini-Quilt.
Once you see how easy it is, you’re going to want to create your own Halloween Dresden Neighborhood Mini-Quilt.
A few things to note
- This pattern is easier than you think. In fact, it’s just a simple variation on the classic Dresden design.
- I did not create the pattern. It must be purchased from the designer (see link in Materials List below).
- This pattern is ideal for other holidays like Christmas, Valentine’s Day, or the Fourth of July.
How to Make a Halloween Dresden Neighborhood Mini Quilt
Materials List:
- Dresden Neighborhood Mini-Quilt Pattern
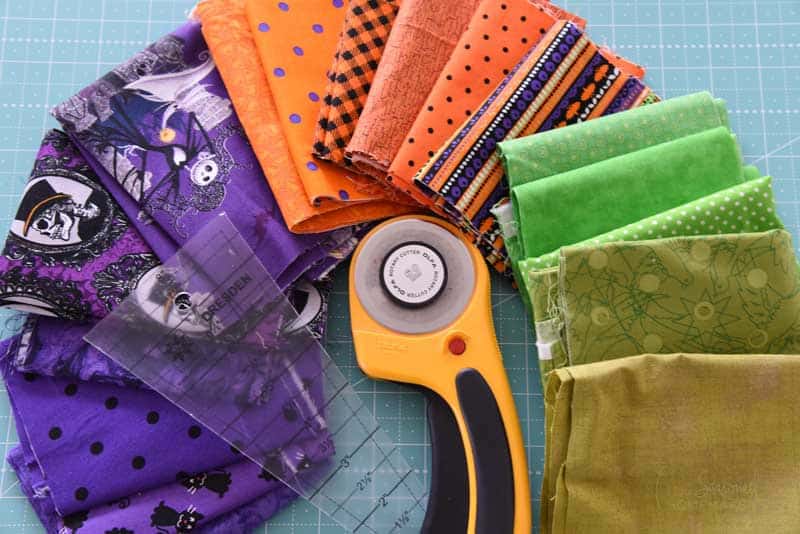
- Collection of Halloween fabrics
- Black fabric(s) scraps for rooftops
- Yellow fabric(s) scraps for windows
- (2) 24″ x 24″ pc. of background fabric
- Dresden Template
- Fusible Webbing for applique
- 24″ x 24″ pc. of fusible quilt batting
Supplies:
- Sewing Machine
- Quarter Inch foot for your sewing machine
- Aurifil 50 wt. Cotton Thread
- Sewing Pins
- Rotary Cutter with sharp blade
- Acrylic Ruler
- Self-Healing Rotary Cutting Mat
- Iron & Ironing Board
Making a Halloween Dresden Neighborhood
I recommend getting the pattern because it includes measurement details and the order to follow. For the most part the steps are simple to follow and most beginners should be able to tackle this project.
Step 1:
Cut out your houses. The pattern gives you specific directions for this step.
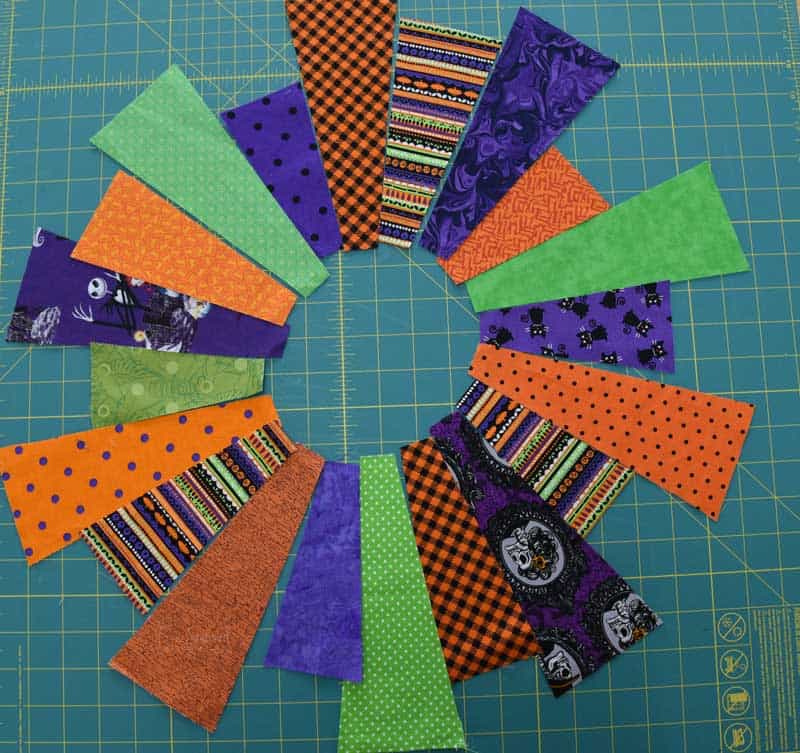
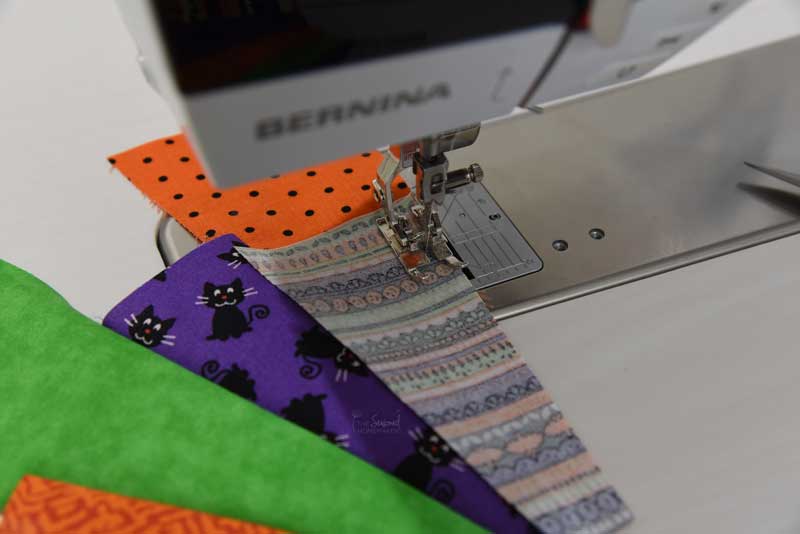
Step 2:
Stitch the houses together.
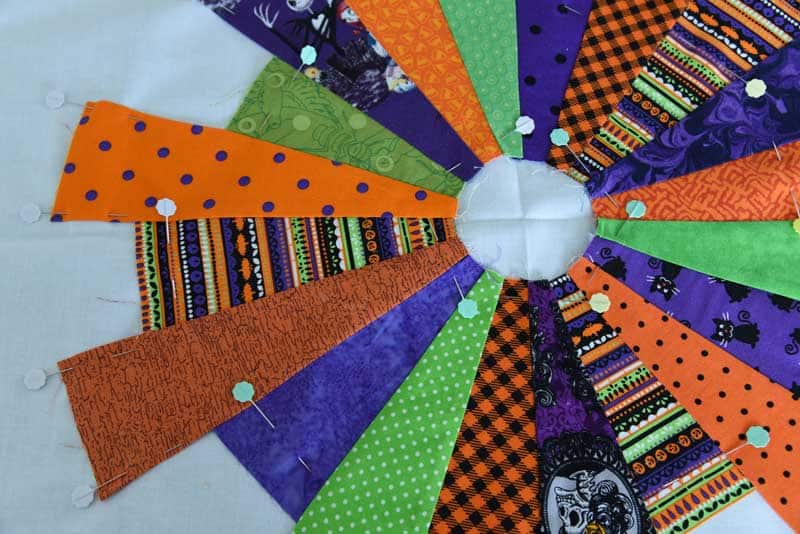
Step 3:
Place neighborhood onto background fabric.
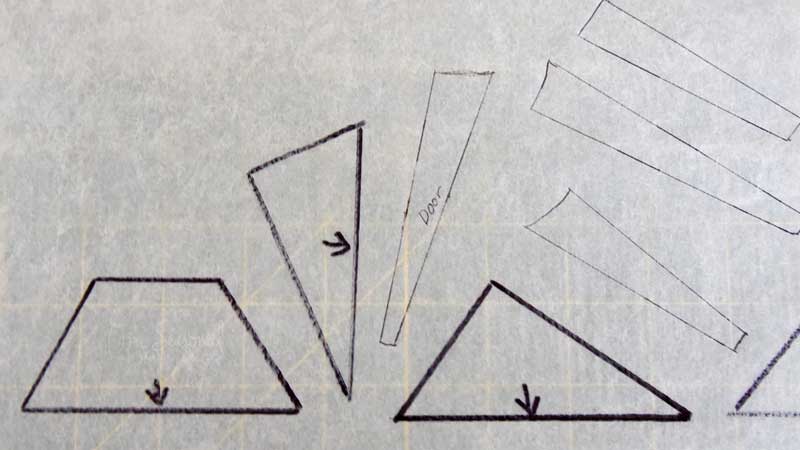
Step 4:
Draw your roof shapes, door shapes, and window shapes onto the paper side of your fusible product. I numbered all of mine to keep them in order of how I wanted them to look. This took a little more time, but I’m glad I took my time on this. It really can make a difference.
Rough cut around your designs and follow the pattern directions for creating the appliqués. Fuse the designs to the individual houses.

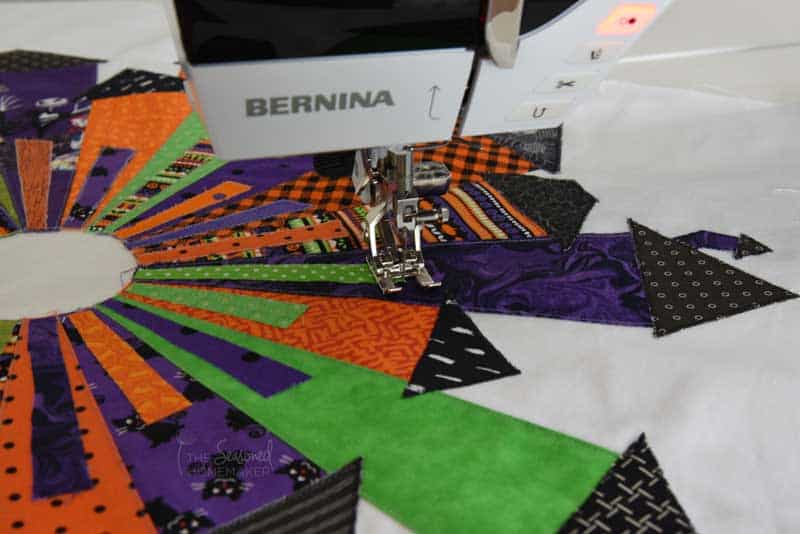
Step 5:
Stitch down the appliqués. This is where you can get really creative! I’ve seen people use decorative stitches for their houses and roofs. I used a small zigzag to secure mine.
Step 6:
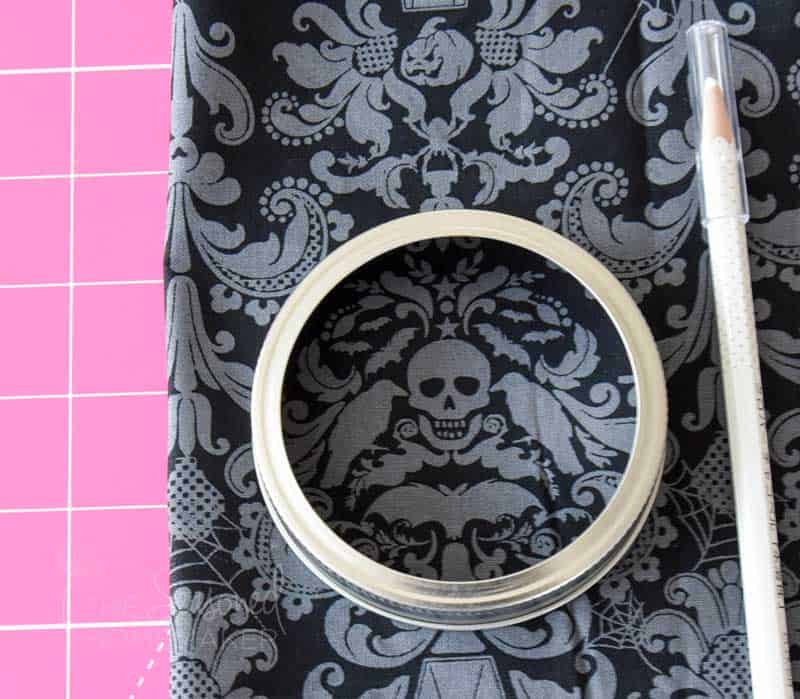
Cut out the center medallion. I used the lid of a wide-mouth mason jar for my template and it was the perfect size. I traced around the ring and then added 1/4″ for a seam allowance. This also allowed me to center my design for fussy cutting.
Step 7:
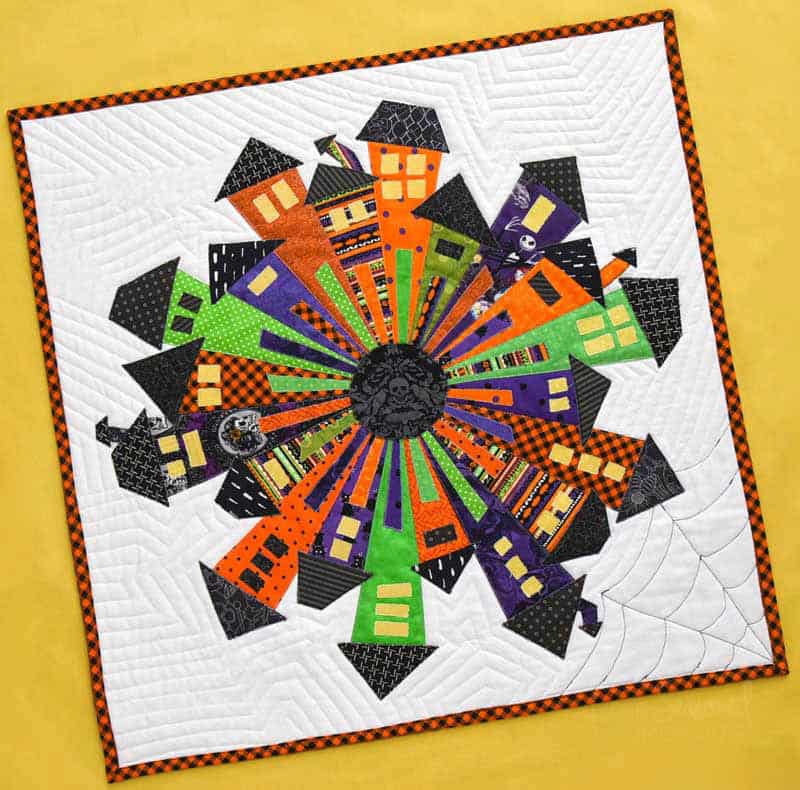
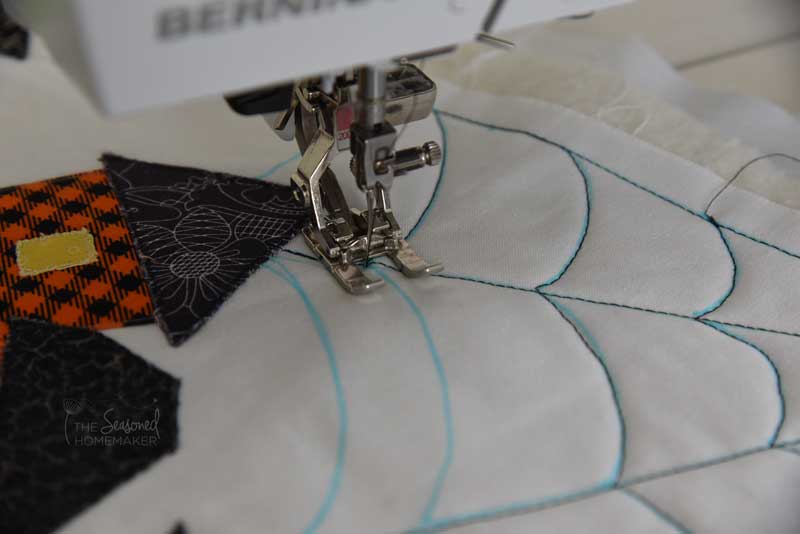
Make a quilt sandwich and start quilting. I used a fusible batting which I highly recommend for this type of project.
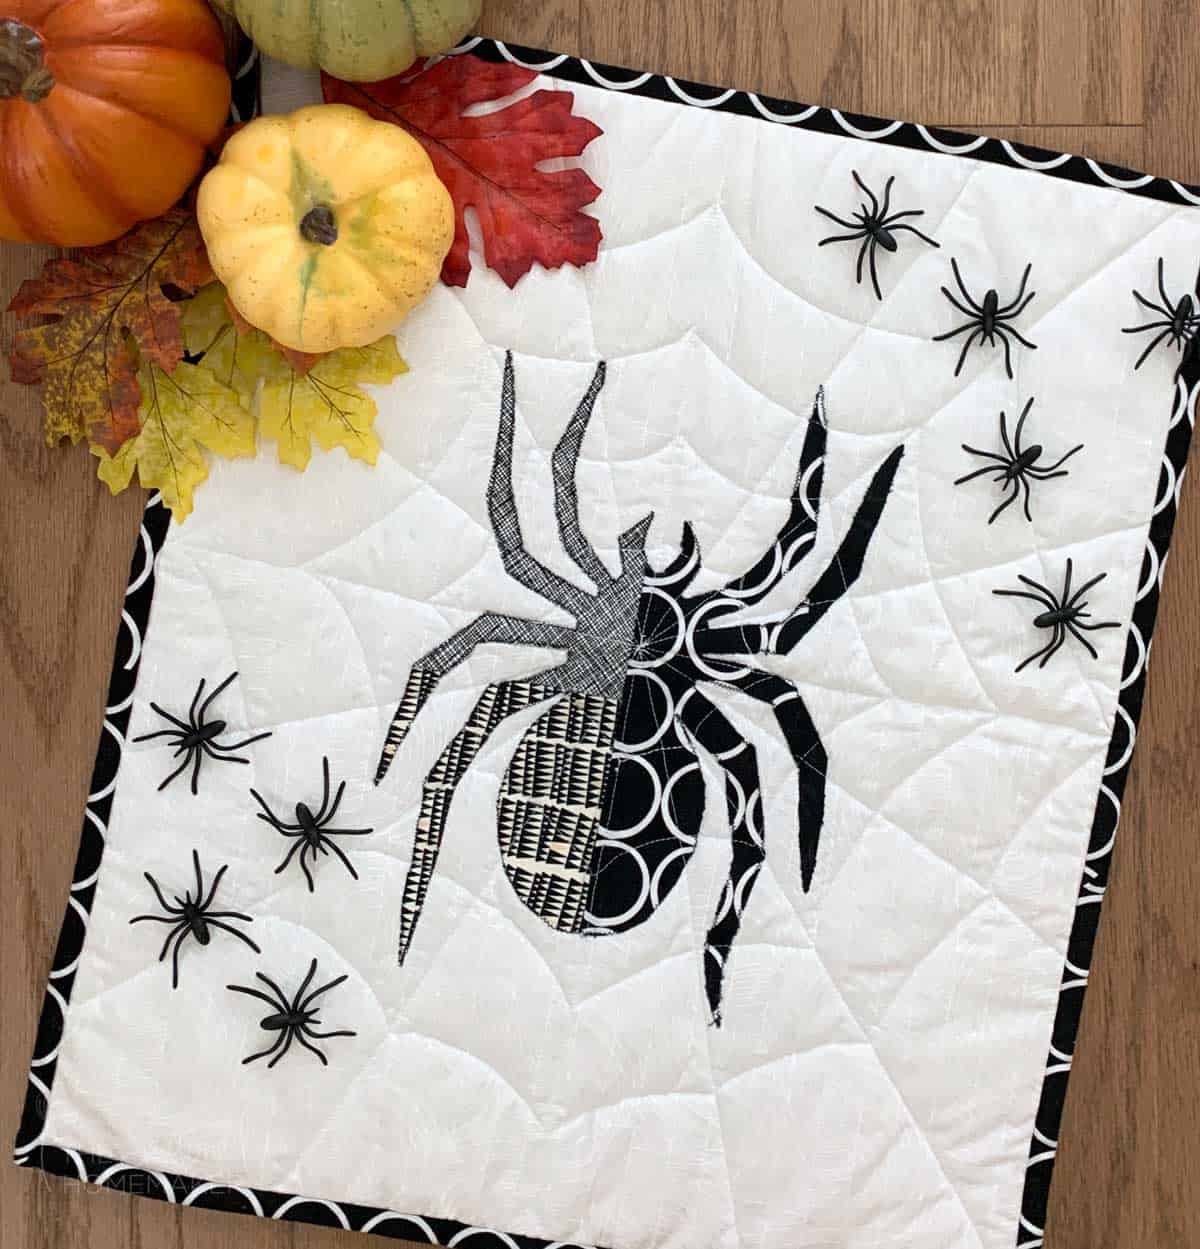
I had a lot of fun doing the quilting. The spider web is in one corner and the rest of the quilt follows the roof lines. I let the shapes dictate my quilting and basically echoed these lines. Be sure to use a dual feed or a walking foot to prevent any shifting.
I’ve also seen several people do spiral quilting. I almost went in this direction, but I really wanted a spider web.
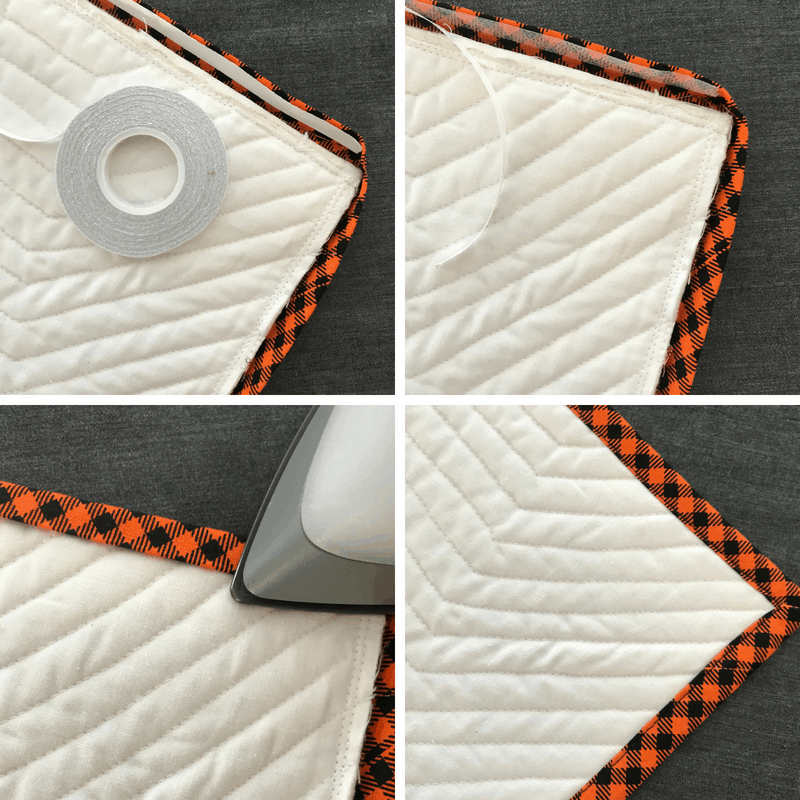
Step 8:
Trim and bind the quilt. There is a little trick I recommend for binding. Use Wonder Tape as a way to keep the binding from shifting while sewing. This product holds the binding secure while you sew and it washes out.
You can also get a better picture of my quilting, here.
That’s all there is to it. I can’t wait to hang this up for Halloween every year! And, I can’t wait to see your designs.
Here’s another Halloween Quilt Idea – the Halloween Spider Mini-Quilt!