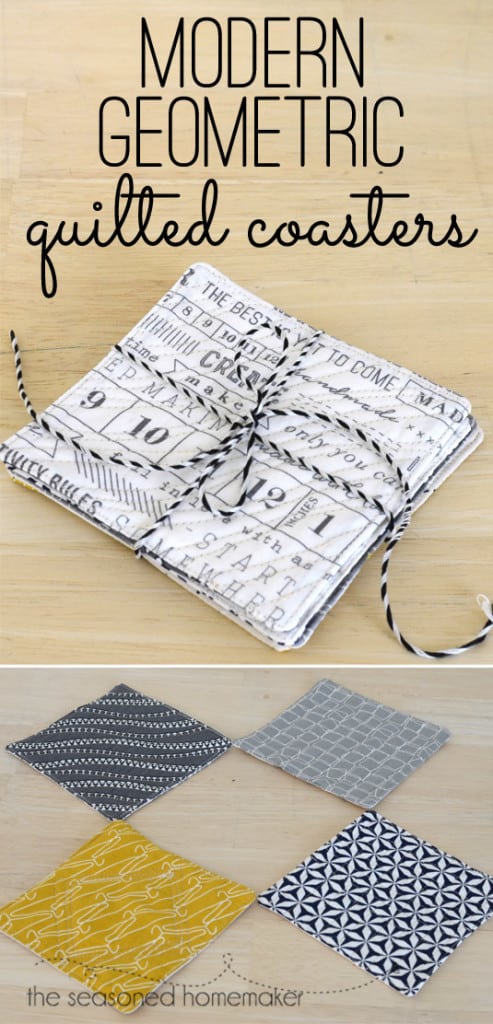
How to Create Modern Quilted Coasters
This post may contain affiliate links which won’t change your price but will share a commission.
You know, Mother’s Day is coming and I always like to write a tutorial for something that is quick and easy. This year I am showing you How to Create Modern Quilted Coasters in an Hour or Less. {Last year I showed you how to make a Teacup & Tea Pot Tea Towel}
Where Mother’s Day or any holiday is concerned, handmade (plus a little chocolate) always makes a great gift. This year, I chose a very simple project that anyone can make. Heck, even if you don’t have a sewing machine you could probably knock this one out in no time at all.
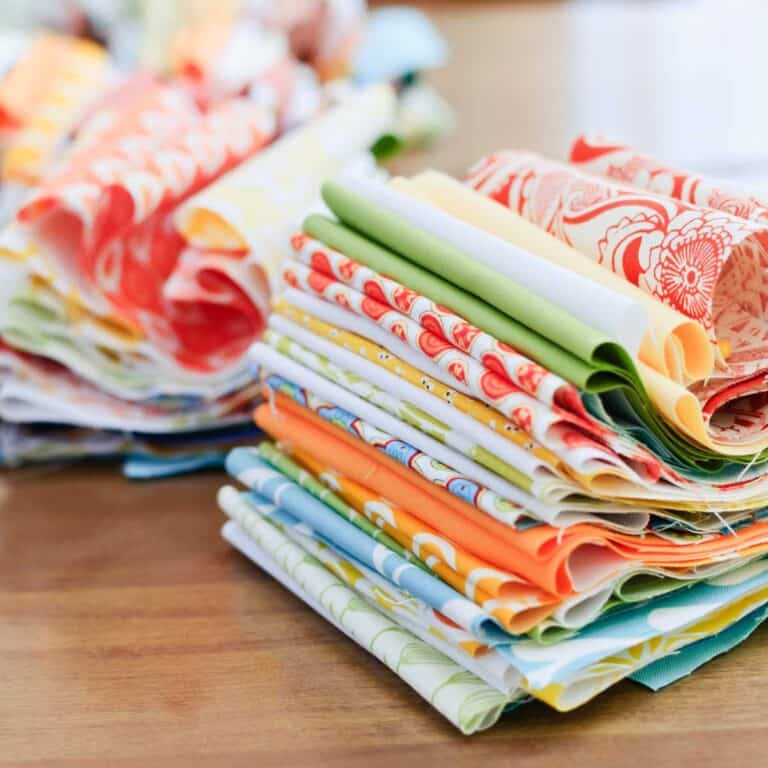
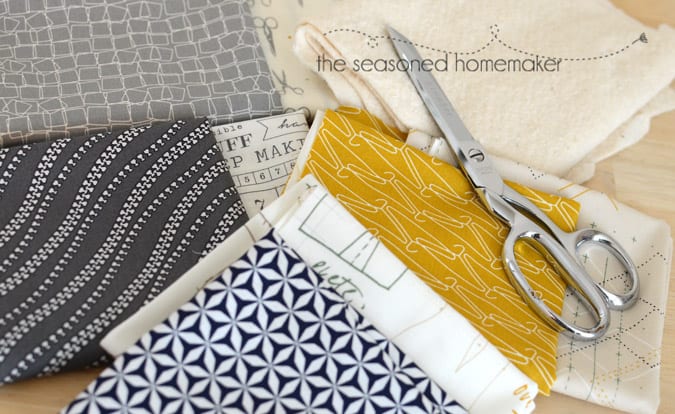
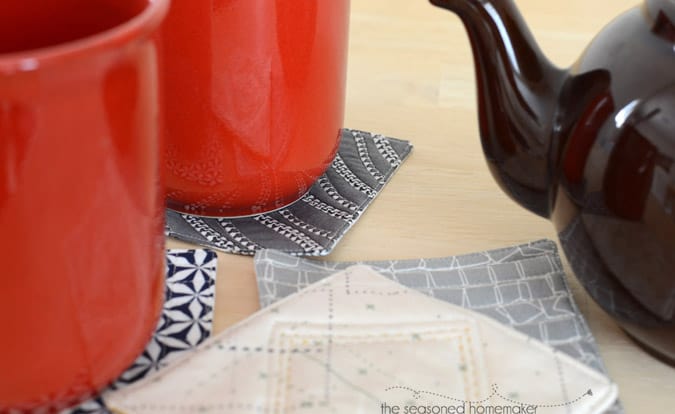
My project started with fabric. It’s called Maker by Art Gallery Fabrics and I would love to get my hands on a ton of it. Note: The navy blue fabric on the bottom right is from Michael Miller’s Rustique collection.
I was drawn to this fabric because of the Maker element. The zipper fabric is one of my favorites. I thought the fabric’s design could also be the template for the quilting.
Even if you aren’t a fan of modern design, find a fabric that has some sort of design that you can follow to create the quilting. Making quilted coasters is super easy. I made these into simple 4″ x 4″ squares. Of course, you can use your super-awesome piecing skills to create your own. I wanted this to be a simple project that any level sewist could complete.
1. Supplies
There isn’t much to the supplies for this project.
- Fabric Scraps – enough to cut out 8 pieces that are 4.5″ x 4.5″
- Quilt Batting Scraps – enough to cut out 4 pieces that are 4.5″ x 4.5″
- Thread – you may want a matching and a contrasting thread for the quilting
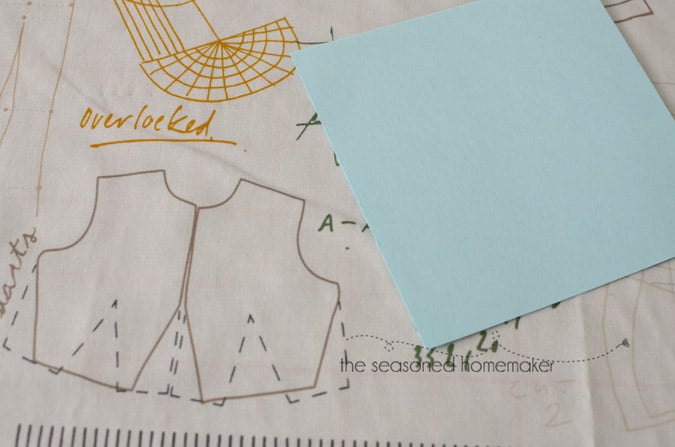
2. Make a Template
Several of my fabrics had graphics in them that I wanted to isolate. In order to do this I created a simple 4.5″ x 4.5″ template out of card stock. I then set the template over the design and traced around it with my Friction pens. (affiliate)
3. Cut out your Coasters
- Cut a 4.5″ x 4.5″ Front and a Back from each fabric. You should have 8 pieces of fabric.
- Cut 4 pieces of batting 4.5″ x 4.5″
- Stack the fabric and batting into four individual coasters.
4. Laying out the individual coasters
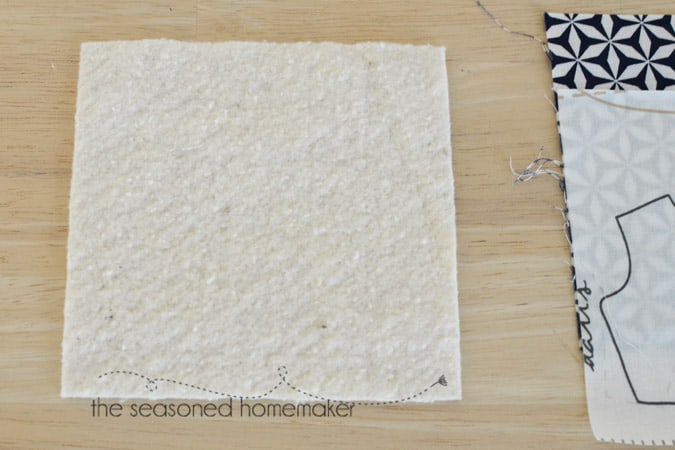
Layout the coasters into ready-to-sew stacks. Place the batting down first.
Place a piece of fabric right side up onto the batting. That means that the wrong side of the fabric will be facing the batting. We will call this the Back.
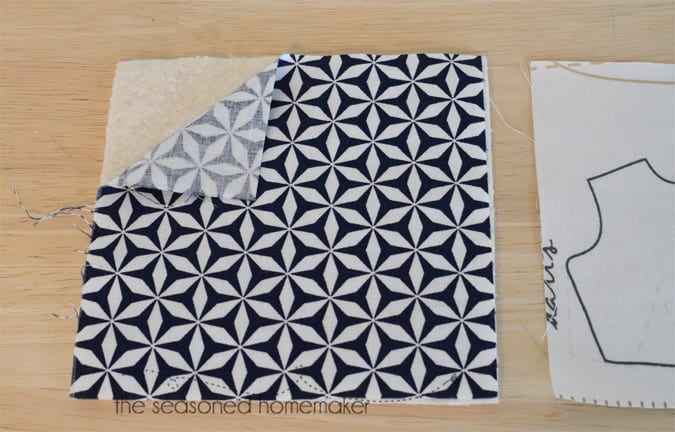
Place the other piece of fabric (the Front) Right side facing the Back. Now you have the Front and Back right sides together with the batting on the bottom.
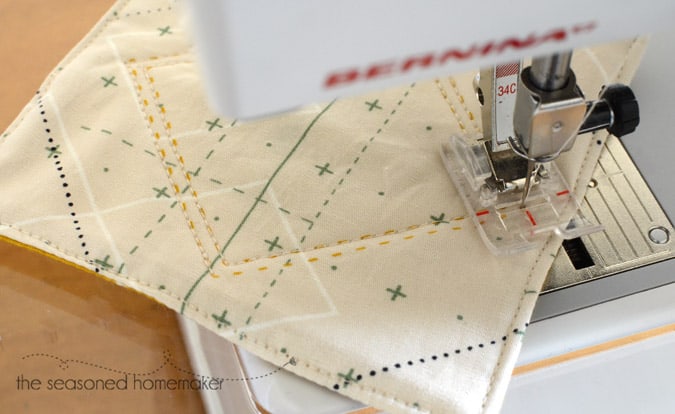
5. Sewing the Coasters
Using a 1/4″ seam allow stitch around the outer edge of the all four coasters. Be sure to leave a 2″ opening for turning the coasters right side out.
I am using a 1/4″ piecing foot with a guide. Most sewing machine manufacturers have a reasonably priced piecing foot. If you plan to make a lot of coasters, you may want to invest in this foot.

6. Turn right side out
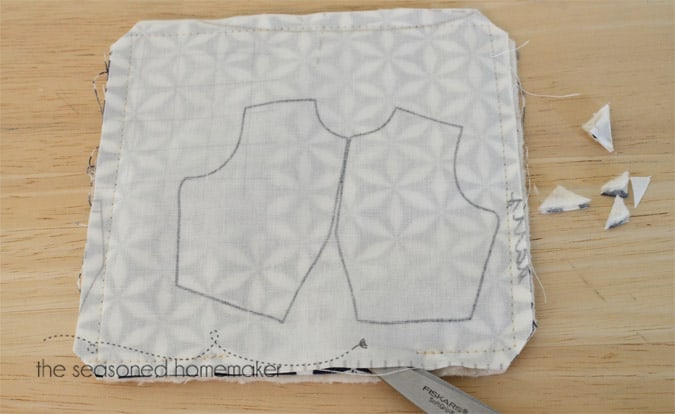
Once all four coasters are sewn, clip the corners close to the stitching. This will remove any bulk created by the layers.
Notice the opening for turning the fabric.
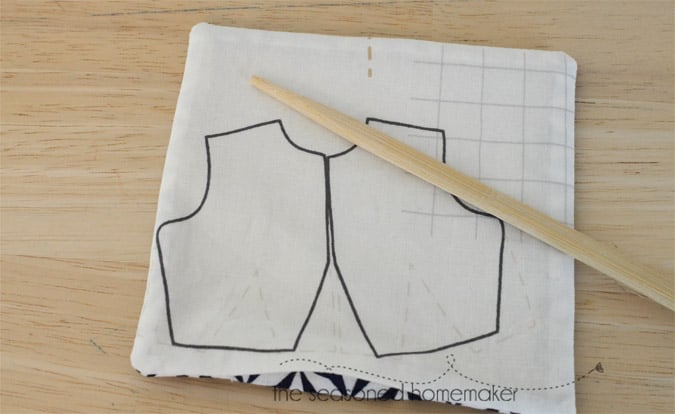
Turn the fabric right side out. Push out the corners with something sharp-ish. I like to use a chopstick or knitting needle. Be careful not to poke through the corners. Press out any wrinkles.
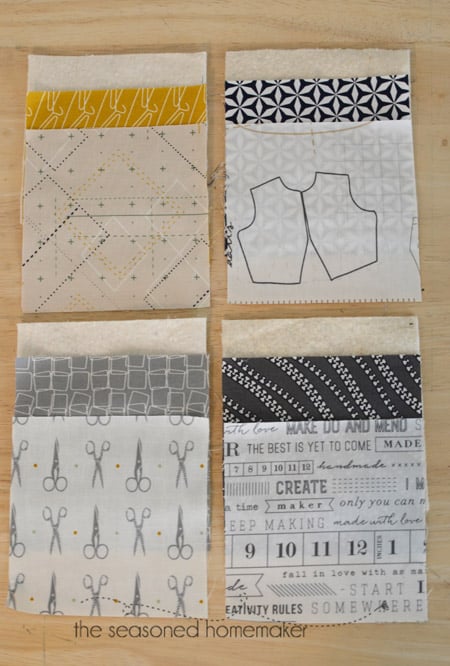
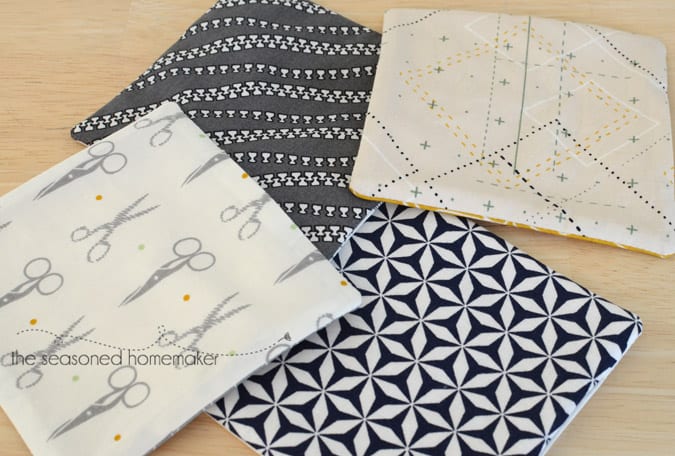
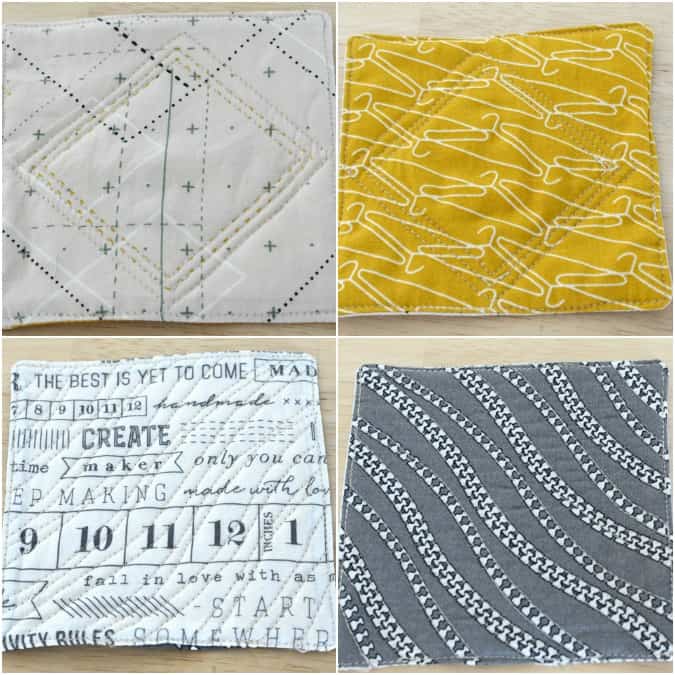
Here is one side of my four coasters. Notice the diamond design in the one on the top right. That will be my quilting template.
On the zipper fabric, I plan to quilt along both ‘zipper’ sides.
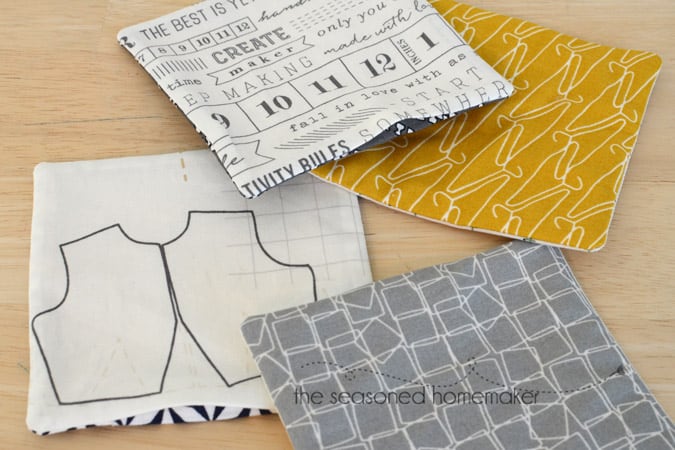
These are the backs of the coasters. The one with the writing has the zipper fabric on the opposite side.
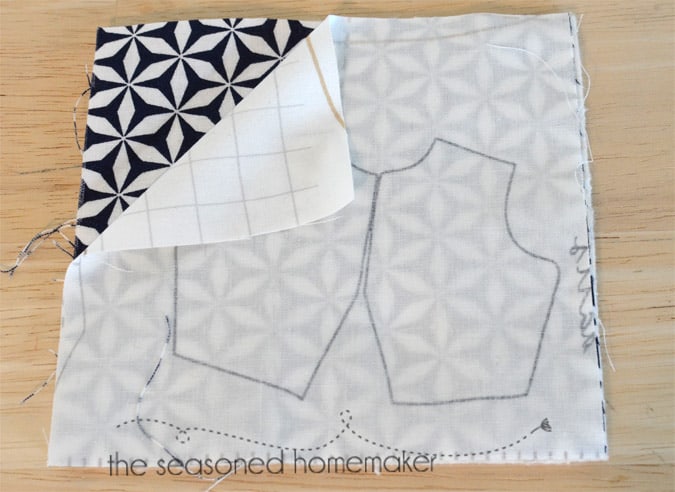
Also, notice the coaster with the bodice pattern design. In the upper right-hand corner is a grid. I think I will use this grid as my quilting template for this coaster.
7. Quilting the Coasters
On each coaster, you will want to stitch around the outer edge in order to close up the small opening. This can also become part of your quilting design.
Now for the really fun part. I let my fabric speak to me regarding the quilting. For instance. On this coaster, I isolated the diamond design which had what looked like stitching lines. I quilted along the stitching lines and then added one more line of stitching around the outer lines.
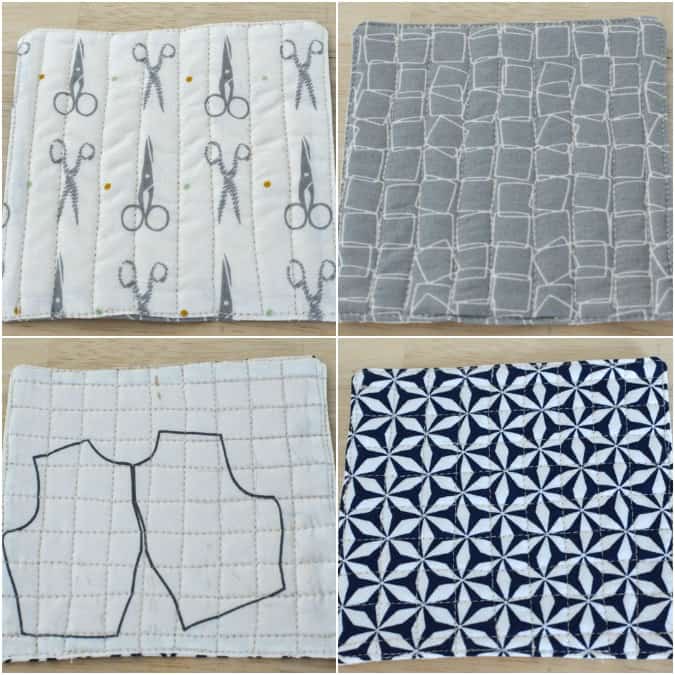
In all of the photos below, I have the front of the coaster on the left and the back of the coaster on the right. Notice how I let the design dictate the quilting.
In the first set, I stitched over the diamond in the center three times.
In the second set, I quilting the side of the fabric with the zipper teeth. I stitched along the outside of the zipper teeth and then traveled along the edge for continuous stitching.
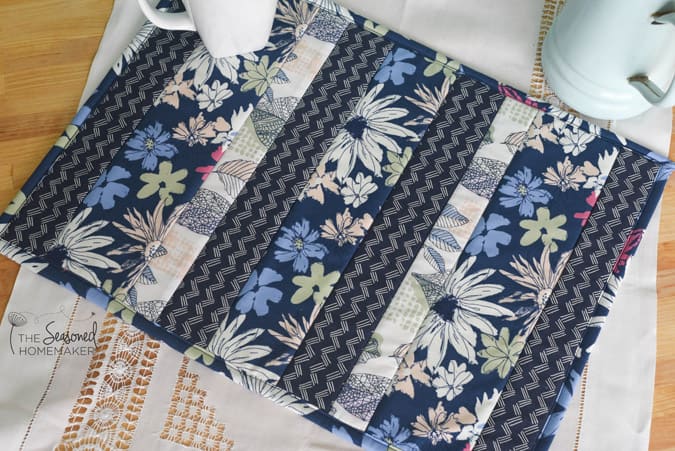
For the third coaster, I went with vertical lines because both the front and the back had vertical designs. I used the lines on the gray design to set my line width.
For the final coaster, you will have to scroll back up and look at the pre-quilted design with the bodice pattern print. In the upper right-hand corner is a grid. I used this as my inspiration for quilting this coaster. I think it works on both sides of the fabric.
This is an incredibly easy project that could also be considered a scrap buster. I think I will make a few more sets to have on hand for small hostess gifts.
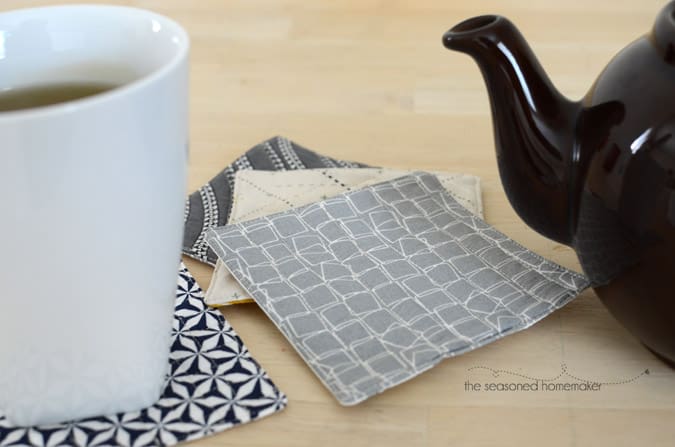
A set of coasters, a nice tea mug, and a small box of chocolates would make almost any Mom happy!