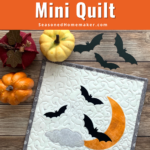
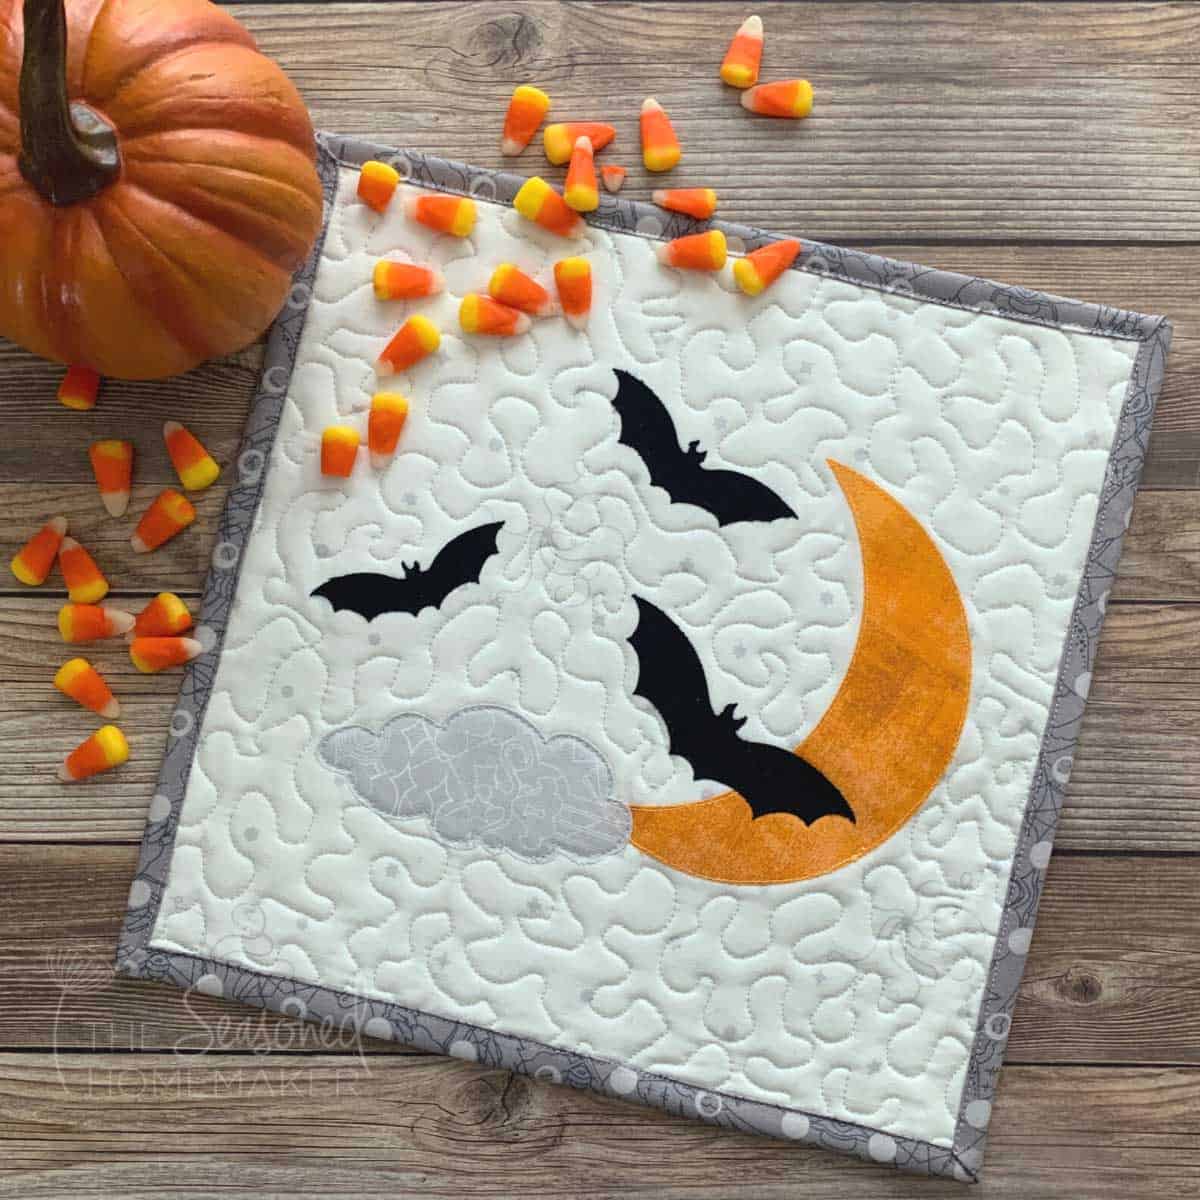
Halloween Bats Mini Quilt
This post may contain affiliate links which won’t change your price but will share a commission.
Inside: Halloween Bats Mini Quilt
Looking for a quick Halloween quilting project? The Halloween Bats Mini Quilt has lots of options for creating scary mini quilts, mug rugs, and other fun quilt-y projects.
Why? Because Bewitching bats, Spooky spiders, and Ghostly ghouls make everything so festive. This project is ideal for any sewing level and the design works on a variety of projects such as a mini quilt, mug rug, or pillow.
Materials

- Halloween Bats Applique Set (options below)
- (2) 14″ x 14″ pieces of fabrics for quilt front and quilt back
- 1/4 yard binding fabric
- Variety of black, gold or yellow Halloween fabrics (fat quarters, scraps, etc.)
- Heat’n Bond Lite
- Fusible Quilt Batting
- Superior Threads Mono-Poly Thread (optional)
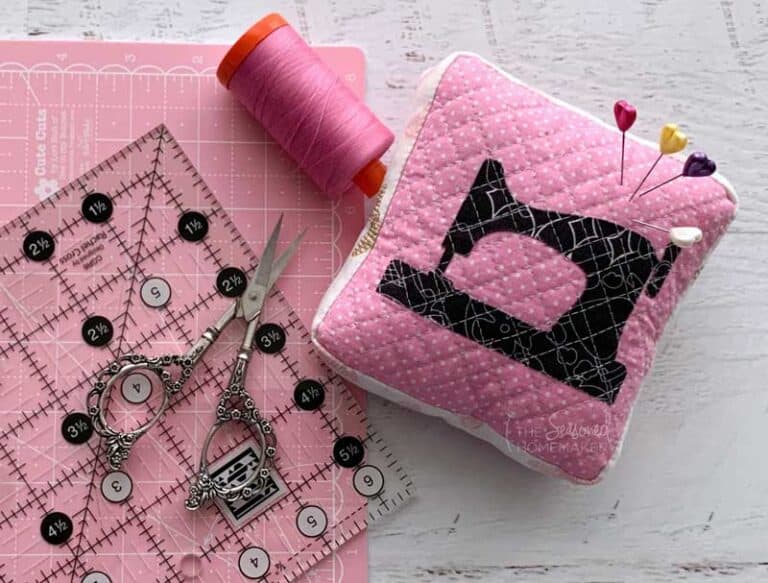
- Aurifil 50 wt. Cotton Thread
- Fabric Starch
Supplies
- Sewing Machine
- 1/4″ Foot for your sewing machine
- Water-Erasable Pen
- Wonder Clips or Straight Pins
- Walking Foot
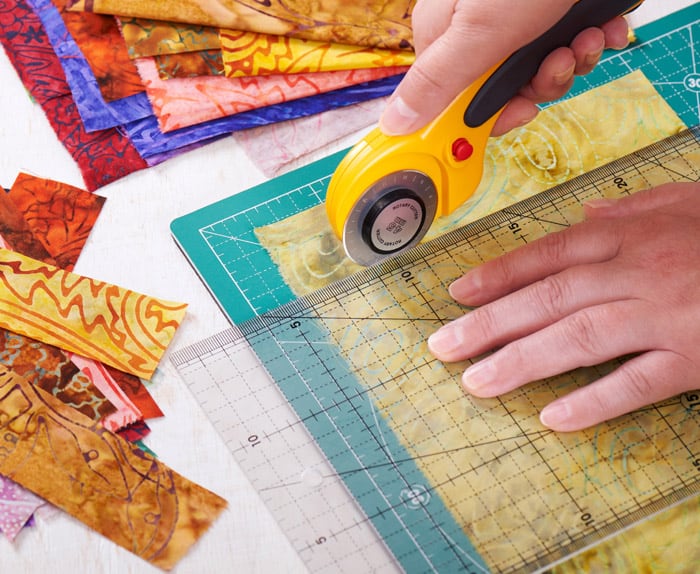
- Rotary Cutter with sharp blade
- Acrylic Ruler
- Self-Healing Rotary Cutting Mat
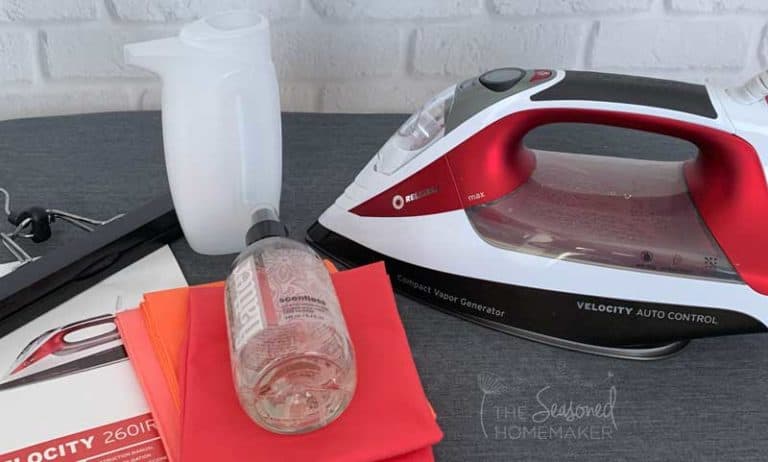
- Iron & Ironing Board
Optional Supplies
- Cricut Maker
- Cricut EasyPress 2
- Cricut Rotary Blade
- Pink FabricGrip Mat
- Cricut Brayer
- Cricut EasyPress Mat
- Cricut Basic Tool Set
How to Make the Halloween Bats Mini Quilt
This tutorial uses elements from my Halloween Bat Applique Set which includes (6) bat sizes, (1) moon, and (1) cloud. The design set includes Printable PDF Instructions and all the design elements are in PDF and SVG (Cricut) format. Click the button below to learn more about the Halloween Bat Applique Set.

Try out the FREE Template!
This tutorial includes a FREE Bat Template for you to make your own fun Halloween Bat projects (See Step 1 below). Note: I am not sharing specific Cricut cutting examples in this tutorial. See all of my Cricut tutorials here for instructions.
Step 1: Try a FREE Pattern
If you prefer to try it before you buy it, I’m giving you a FREE Bat Template from the Halloween Bat Applique Set. Click here to get the >>> FREE Halloween Bat Template.
Note: Use a desktop or laptop for your download. Phones and tablets may not process your download.
Step 2: Cut out fabrics
This steps in this tutorial are for making a 12″ x 12″ mini quilt.
- Cut out (1) 14″ x 14″ piece of quilt front fabric
- Cut out (1) 14″ x 14″ piece of quilt back fabric
- Starch fabric and set aside
Step 3: Prepare Design Elements
Note: All of the design elements in this tutorial were cut out on a Cricut Maker. I am not sharing specific Cricut cutting examples in this tutorial. See all of my Cricut tutorials here for instructions. You do not need to own a Cricut Maker to cut out the designs. Instead, just cut them out by hand!
For Cricut owners, you can put your design together in Cricut Design Space like I did here. Or, you can print out the design elements and arrange them in a way that you prefer.

- Download the Halloween Bats Applique Set
- Print the design elements for the Bats, Cloud, and Moon. (Note: Multi-sized Bats, Cloud, and Moon are ONLY included in the Halloween Bat Applique Set)
- Cut out all of the design elements.
- Trace all elements onto the paper side of the Heat’n Bond
- Rough cut around each of the design elements, leaving a 1/4″ margin
Pro Tip: All SVG design elements can easily be resized in Cricut Design Space. All PDF design elements can be resized by changing the percentage up or down on your printer.
Step 4: Cut out design elements
- Place the rough or shiny side of the the individual design elements onto the back of your fabric.
- Use a hot, dry iron and fuse the elements to the wrong side of your fabrics. Let cool.
- Cut out each of the elements on the tracing line. Set aside.
Need more applique help. Watch this quick video!
You will also need basic knowledge about applique. Watch this short video on how to applique or see my eBook Applique Made Easy.
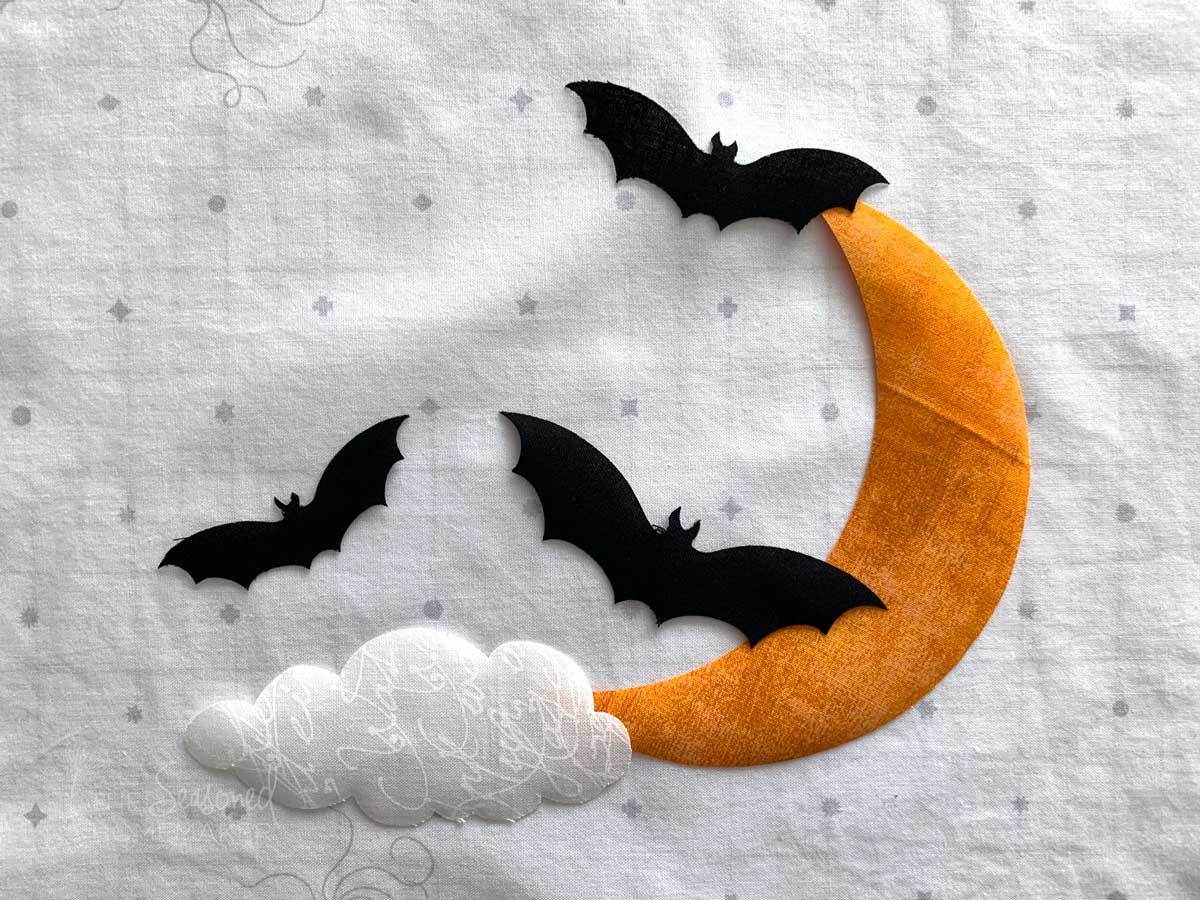
Step 5: Placing applique designs
There is a specific order to placing the design elements. You will place down an element, fuse to the fabric, then stitch it in place before layering on the next element.
Before placing any element be sure to remove the Heat’n Bond paper backing.
Pro Tip: If you choose to use a zigzag stitch be sure to add a stabilizer to the back of the fabric. Carefully remove it when all elements are stitched down.
For this tutorial I’ll be making a simple 12″ x 12″ mini quilt, however all of these steps would apply if you were making a mug rug, wall hanging, banner, or pillow.
- Place the Moon element to one side of your project. Note: When placing the elements it’s a good idea to trace their location with a water-erasable pen.
- Fuse in place using a hot, dry iron.
- Using either matching thread or Superior Threads Mono-Poly Thread, straight stitch or use a tiny zigzag stitch around the Moon.
- Layer on the Cloud and repeat the above steps.
- Add in the Bats one at a time and repeat the above steps.
Pro Tip: Use an Open Toe Foot when stitching down your design elements. You’ll have much more control over the stitching!

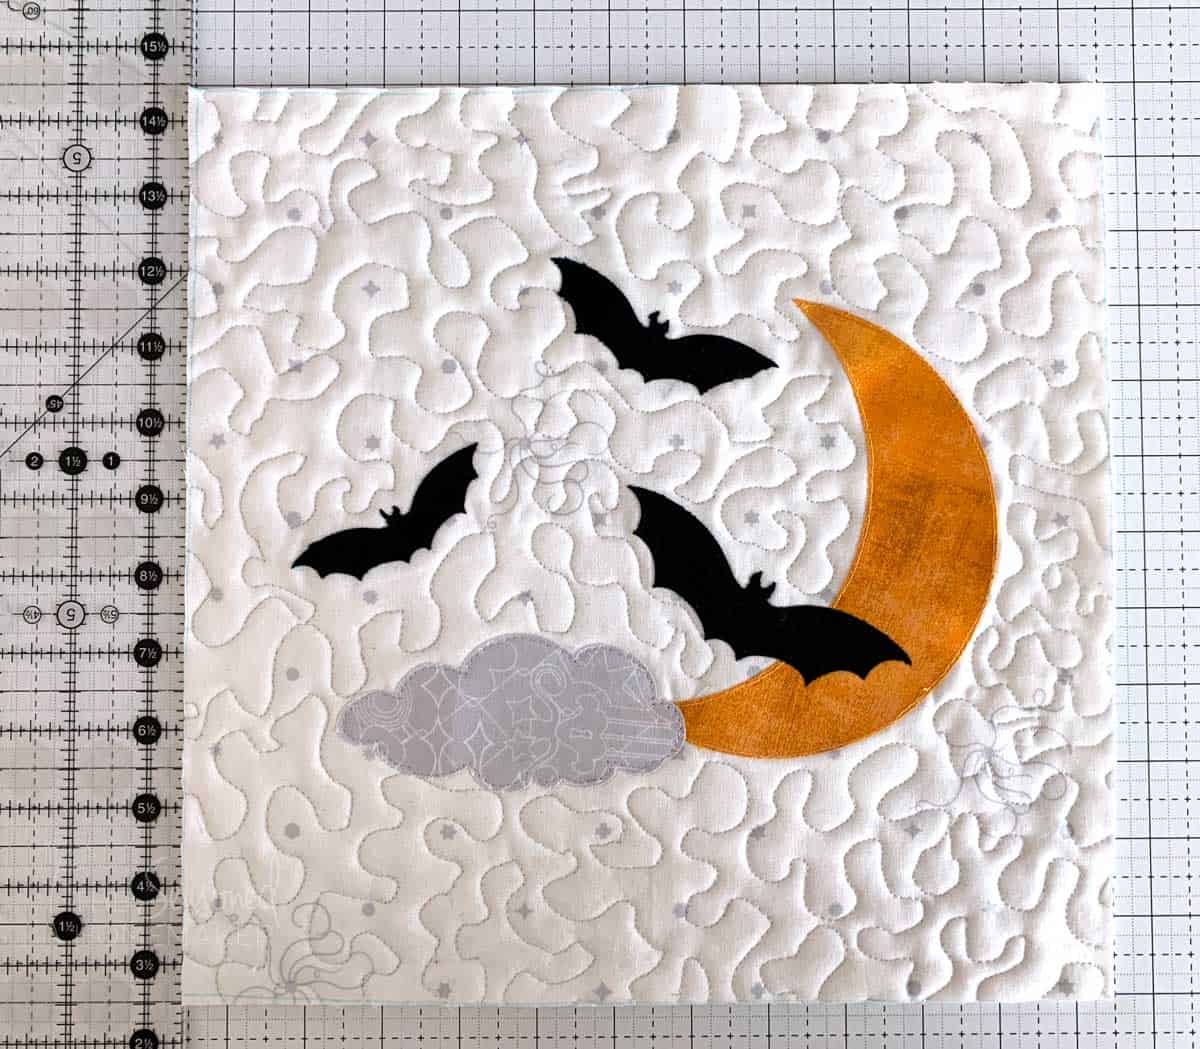
Step 6: Making the Quilt
This project is designed with quilting in mind, however, you could turn it into a simple banner like this one that doesn’t require any quilting.
Note: The Halloween Bats Applique Set includes more instructions for quilting.
Follow these steps if you choose to quilt your project.
- Make a quilt sandwich with the quilt top, batting, and quilt back.
- Quilt in any manner desired. Since this is a Halloween design, something with movement would be fun.
- Once quilting is finished trim away excess fabric and batting, then square your quilt to 12″ x 12″.
Step 7: Binding the Quilt
- Choose a fun Halloween binding to make your mini quilt stand out.
- Cut (2) 2.25″ or 2.5″ x WOF Strips
- Attach strips and press wrong sides together
- Sew binding to quilt
If you need help with binding instructions see my tutorial: How to Machine Bind a Quilt.
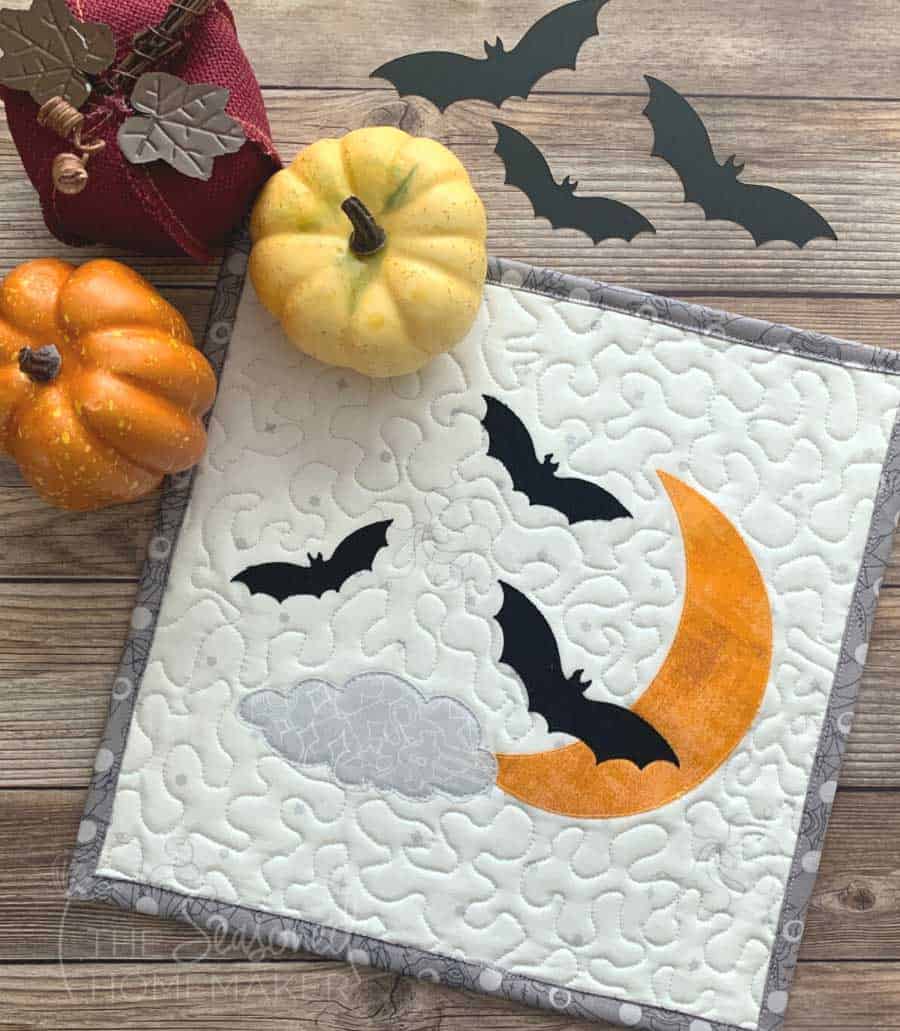
Wasn’t that fun! With the Halloween Bats Applique Set you’ll be able to create all sorts of fun scenes.
Save this Pin for later