

Four-Patch Beginner Quilt Block
This post may contain affiliate links which won’t change your price but will share a commission.
In the world of quilting, the four-patch beginner quilt block is easily the most versatile patchwork block.
Whenever I attend a local quilt guild or wander through a quilt show there are beautiful quilts crafted by skillful hands. I recognize that my quilting skills can’t compare to the level it takes to master many of these advanced designs.
This dilemma hasn’t stopped me in my quilting pursuits. Instead, I know that taking quilting baby steps will one day allow me to gain the experience to create my own masterpieces. And, I believe the same is true for you.
Quilting fun begins when you master quilt block fundamentals, and the Mother-of-Them-All is the 4-Patch Beginner quilt block. In the world of patchwork quilting, it’s one of those iconic blocks that has been deconstructed and reworked into a multitude of quilt designs. At its core, it’s still four same-sized blocks pieced in the exact same manner.
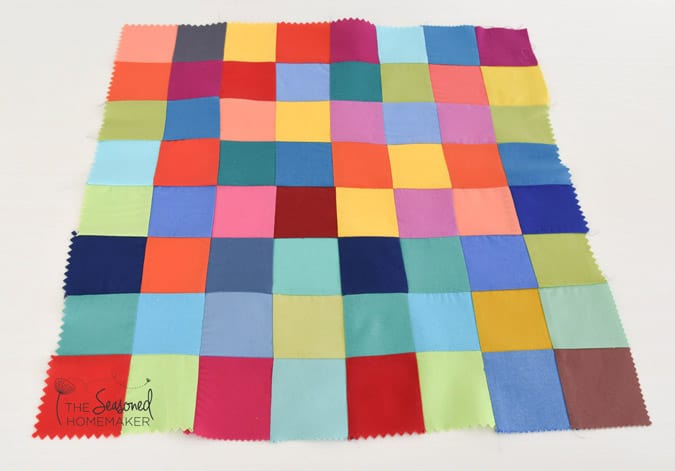
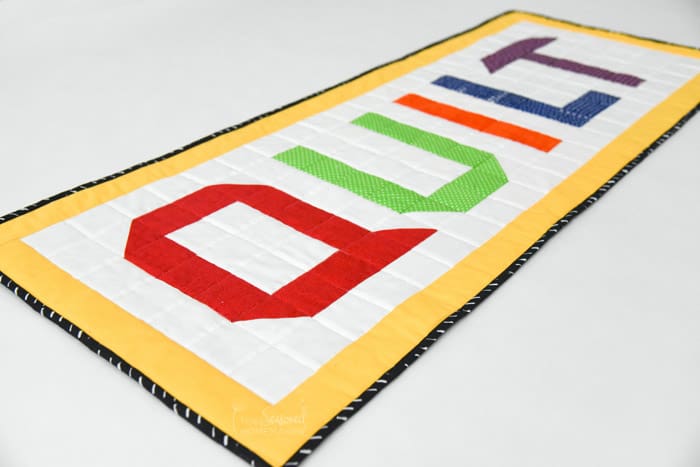
Look at the design below. Can you see all of the 4-patch blocks?

A Little Four-Patch Quilt History
Like the 9-Patch Quilt Block, the 4-patch quilt block has been around for a long time and has a personality of its own. You will have to travel back to an earlier time in our nation when quilting was a necessity for survival. Women knew they had to make use of every scrap of fabric. If they continuously added bits and scraps to a quilt it would quickly become unwieldy, making it difficult to handle due to its growing size.
Enter the quilt block. Early quilters soon realized that they could break down their fabric pieces into simple geometric shapes, such as squares, then slowly piece them back together to form a quilt top. And that’s how the simple 4-patch quilt block came into being.
While this short history lesson gives you a brief understanding of the 4-patch quilt block’s origins, it by no means tells the entire story. This block’s simple design makes almost any fabric stand out and come to life. It can be deconstructed and reimagined so many different ways; however, for the sake of simplicity, I’m sticking with the basics. Some time into the future I will likely refer back to this post when I’m telling the story of another quilt block.
What’s So Great About the Four-Patch Block?
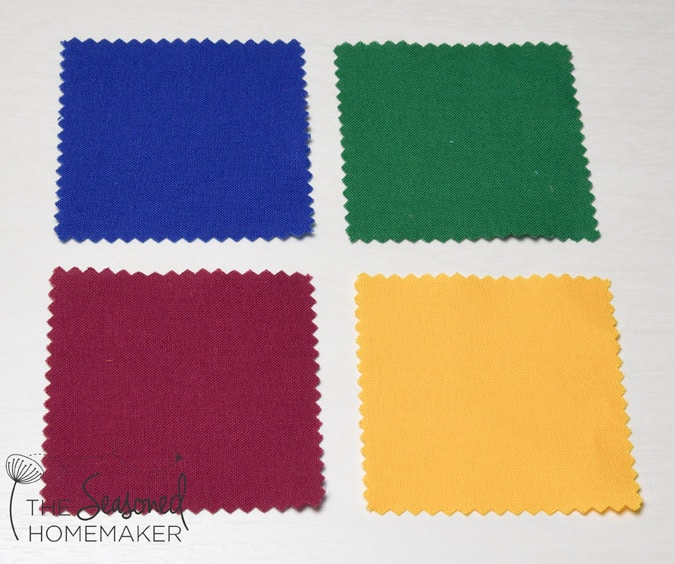
The Four-Patch Quilt Block is ideal for mastering simple piecing techniques. At its core, you are connecting four equally-sized squares to form one block. I’m using 2.5″ squares below to demonstrate.
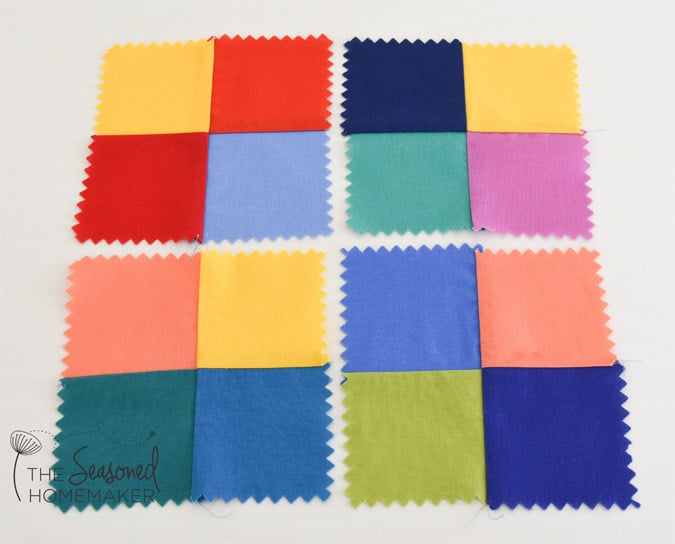
It gets interesting when you keep expanding. Below, I chain-pieced all of my squares and then turned them into small 4-patch blocks.
Next, I connected all of these smaller four-patch blocks to create one medium block and then repeated this four more times.
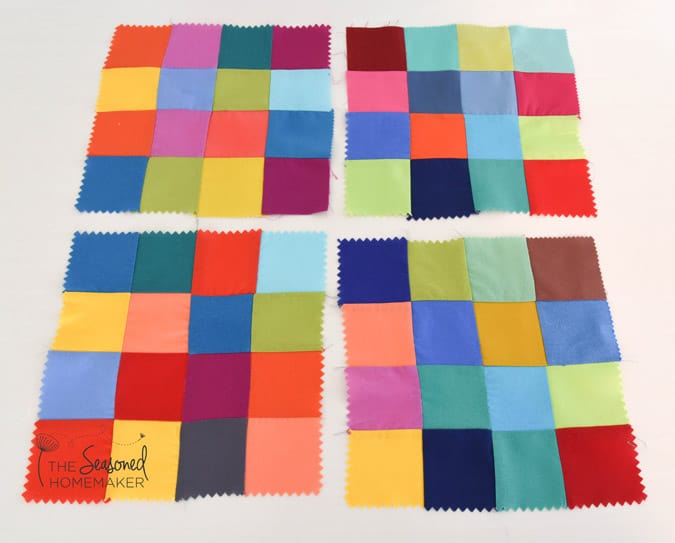
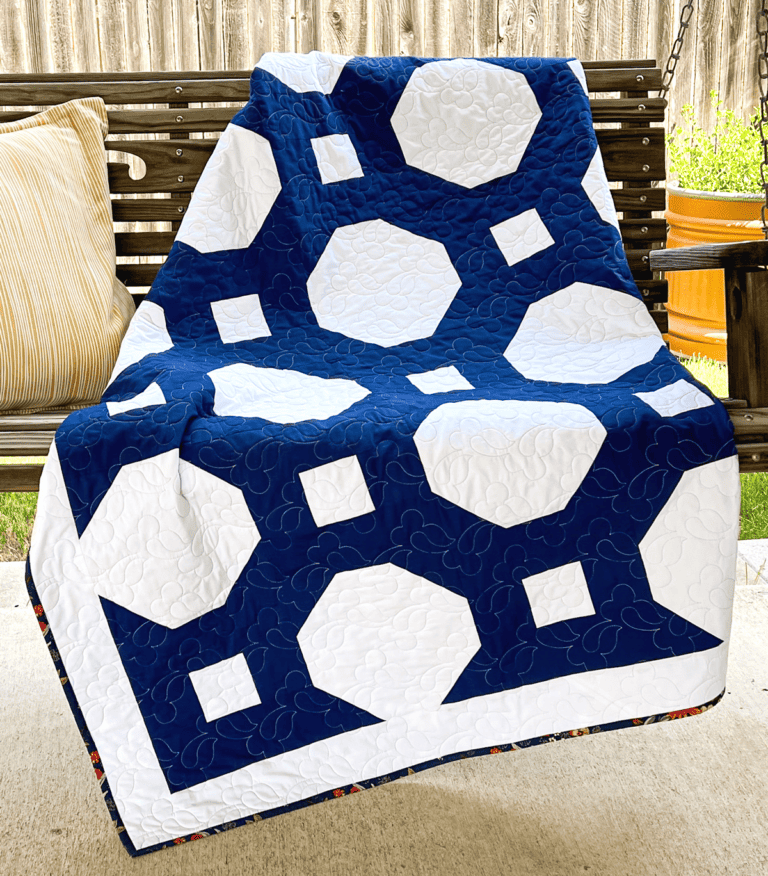
Lastly, I connected all of the medium 4-patch blocks to create one giant block which I will use in the center of a wall hanging.
An Easier Way to Piece
For the sake of this tutorial, I pieced all of these 2.5″ blocks using the chain piecing method. You can see from the photos that it’s not that uniform; however, once it’s all quilted that will likely disappear.
There is an easier way to create a four-patch block using strip piecing. This tutorial demonstrates how to strip piece a block.
Disappearing Four-Patch
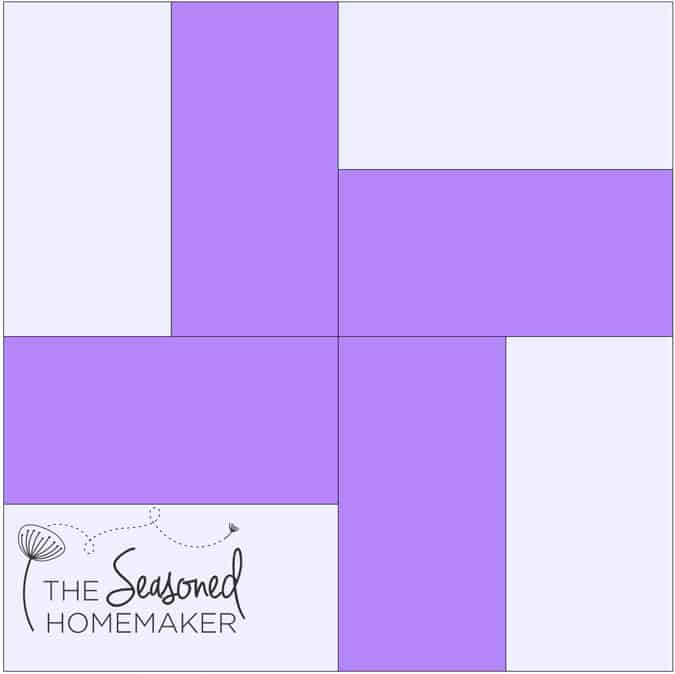
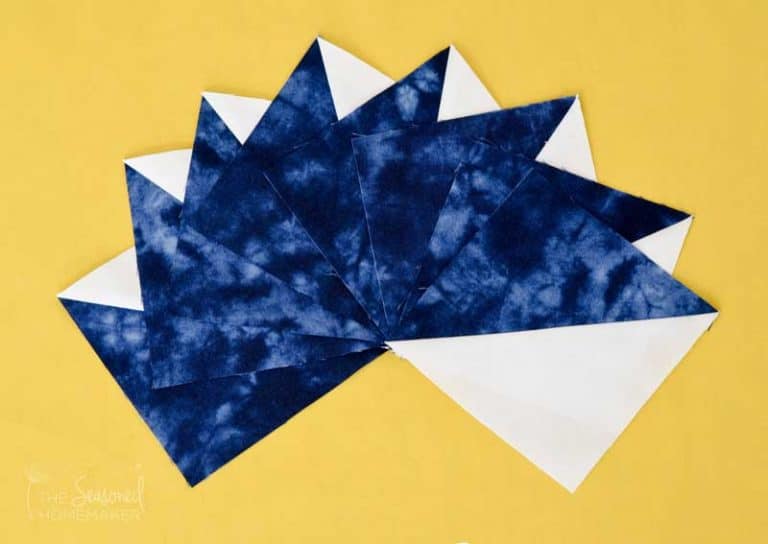
Once you’ve mastered the basic concepts of a four-patch quilt block, you can deconstruct it and add variety to a quilt. This first block demonstrates how a block looks if you use two different fabrics in each of the individual blocks. By turning the blocks before attaching, you will get an entirely different look. This technique is sometimes called Disappearing 4-Patch.
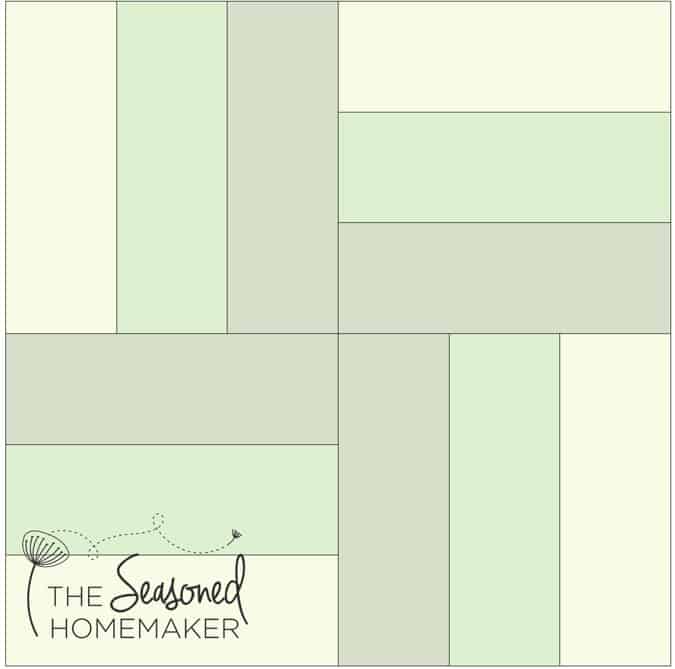
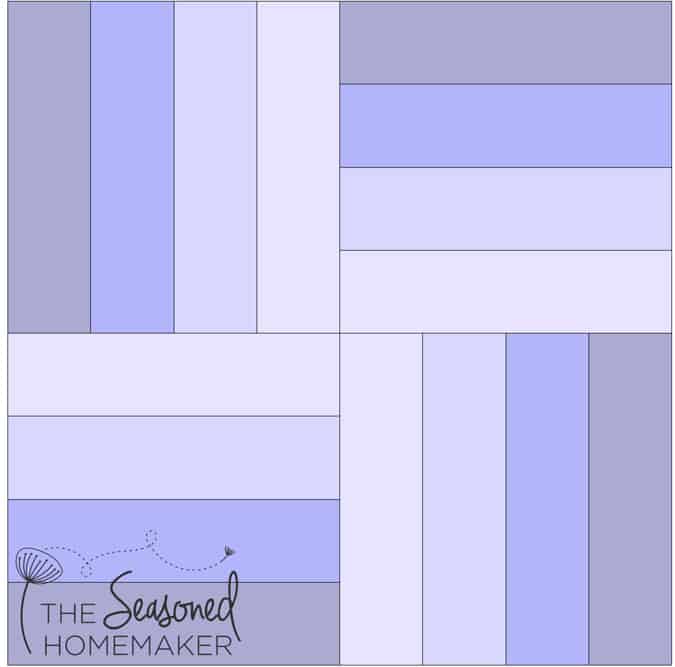
To get an entirely different look, break down the block into three or four strips per block. Once they are rearranged, it barely resembles a four-patch block.
A Little Versatility
The Four-Patch quilt block is one of the best blocks to start with if you’re a beginning quilter. It is one of the most recognized quilt blocks in the quilting world.
In spite of its simplicity, the 4-patch quilt block shows us how it’s done. This quilting dynamo has the ability to be changed dozens of different ways when paired with different blocks.
The four-patch quilt block is so versatile, and can literally create dozens of unique designs. It’s ideal for making almost any fabric stand out and come to life. It has the ability to be deconstructed and reimagined so many different ways.
Best of all, it’s about as simple as it gets and that means the possibilities are endless.
Thank you Leslie. If you were to make a bed quilt it would be important not to use pinking shears. Straight cuts are better for precision quarter inch seams, at least that is my opinion. 🙂
I agree. For this project I used a collection of freebie mini charm packs given to me at Quilt Market.
Yes, I agree with you Leslie. Most strip packs and charm squares come with pinked edges and lining them up then stitching them can be fraught with frustration for beginners like me! Kimberly Einmo does an amazing Craftsy tutorial called Magical Jelly Rolls and I asked her that exact question. She said to make sure the strips are pressed and to make sure the pinked edges are lined up precisely. She is a fantastic teacher…I have all her Craftsy classes and if (hopefully WHEN!!) she gets to Australia, I will move everything on my calendar and empty my piggy bank to be in the front row of her classes.
thanks for the article…. i always recommend starting with a simple pattern… too many people want to try quilting with a complicated pattern..and then give up because it is difficult. the 4 patch is pretty and versatile.. and i love the disappearing 4 patch. very pretty wall haniging
Are these littleblocks sewn by hand or machine.
By machine. I used the chain stitching method.
Hate the pinked edges, bought once and never again. It was so unpopular with quilters the shop refuses to stock them
They definitely have a learning curve. One trick I use is a sticky lint roller. It eliminates much of the lint. Another secret is to know that the pinked edge is the edge. Once you’ve retrained your eye, it’s not hard at all.
I marvel at the quilt creations that I see on virtual tours. It’s like looking at Picasso’s and Rembrandt’s while I’m just using crayons! It is too easy to begin quilting and looking at such works–to include FMQ expertise and feel daunted. There are art quilts that are meant to be viewed, and then there are comfort quilts that are meant to be used and loved.
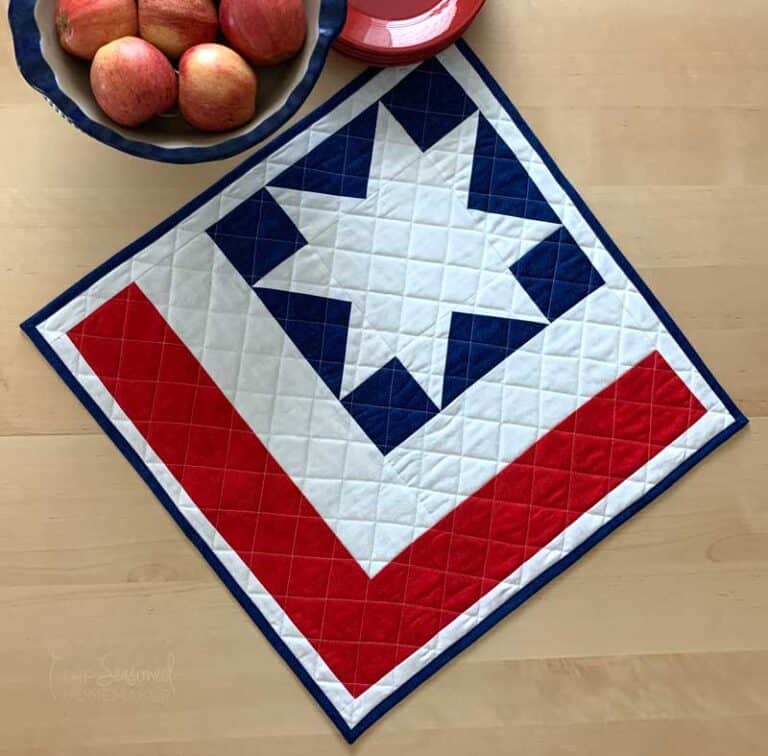
I made a lovely Hunter’s Star Baby Quilt. “We love this quilt and use it for pictures in the park”….I had to say I was both overjoyed that they thought it beautiful (and it was), but disappointed that it seemed too pretty for the everyday utility of baby business!