Finishing the Cold & Flu Relief Tonic
This post may contain affiliate links which won’t change your price but will share a commission.

It’s time to strain the Flu Tonic.

If you have no idea what I’m talking about, catch up here and here.

Here’s what you need to do:


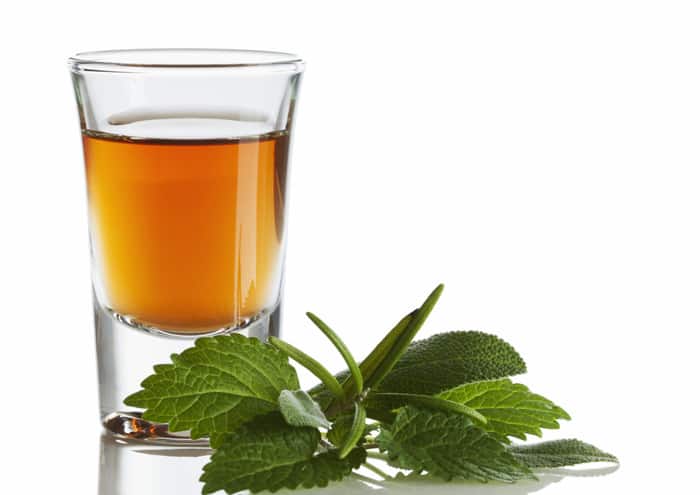
1. This is what your finished tonic should look like.
2. To strain your tonic you will need a wide mouth funnel, a strainer, an unbleached cheesecloth, and a jar to store your tonic.
3. Place the funnel over a mason jar.
4. Place the strainer over the funnel.
5. Put the cheese cloth over the strainer.
6. Pour the tonic into the chessecloth.
7. Save the strained vegetables ~ these can be pureed and added to soups and stews. They are just as potent as the tonic and can really help ward off colds.
8. After about an hour, it is normal for particles to the bottom. Depending on the actual vegetables you used, it should be a golden amber color in a day or so.
How to Use the Tonic:
If you have a nasty cold, the flu or are around anyone with symptoms, take 1/2 – 1 ounce of tonic daily. You will be surprised at how fast your symptoms disappear.
Keep in mind that this is a powerful tonic and the hot peppers make it really spicy. It goes down better in a small glass of orange juice.
You do not need to refrigerate your tonic, but it must be kept out of the light. It has an indefinite shelf life, but I prefer to keep mine in the fridge because it tastes better when it is cold and the dark helps preserve the potency.
FLU TONIC DISCLOSURE: Keep in mind that I am not a doctor and have no medical training. You should consult a qualified healthcare practitioner if you have health issues that need attention – DO NOT use this or any other site for medical information or advice!