DIY Pom Pom Napkins with Mitered Corners
This post may contain affiliate links which won’t change your price but will share a commission.

I have a confession. I really love cloth napkins; and, when company comes, I like to pull them out {if I can remember}. They are practical, eco-friendly, and can be totally beautiful. I also think they make a great hostess gift for dinner parties.
DIY Pom Pom Napkins with Mitered Corners
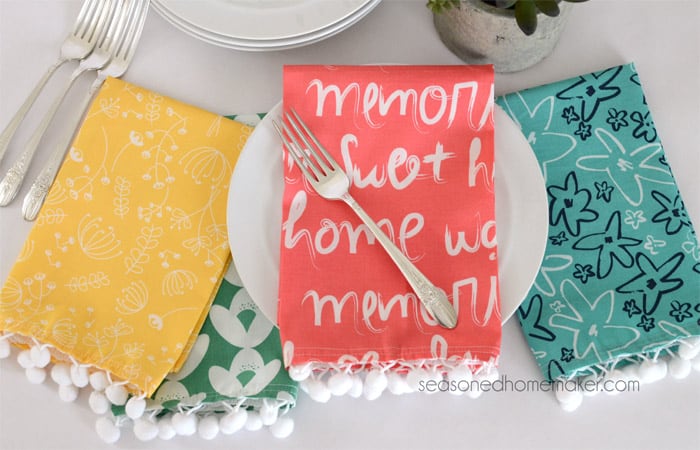
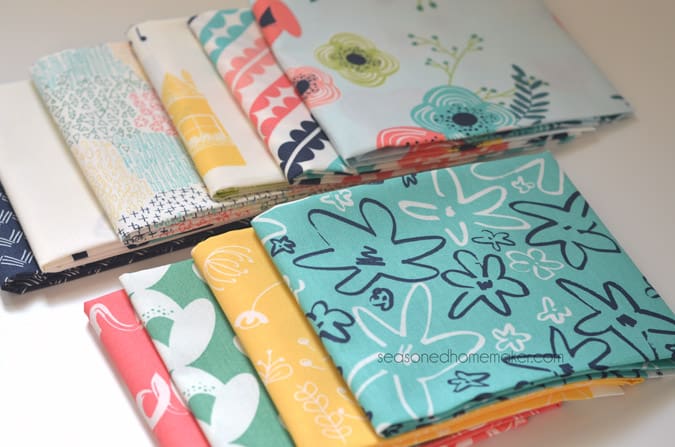
When Fat Quarter Shop sent me this gorgeous fat quarter bundle called Fun Happy Home by Sew Caroline I knew it would be perfect for a set of DIY Dinner Napkins with Pom Pom Trim.
Along with having some super cute dinner napkins, I’m also going to show you how to sew perfectly mitered corners. You can use this method to sew tea towels and table cloths as well as dinner napkins.
Also, I’m making 4 dinner napkins and saving the other fat quarters for future projects.
Materials:
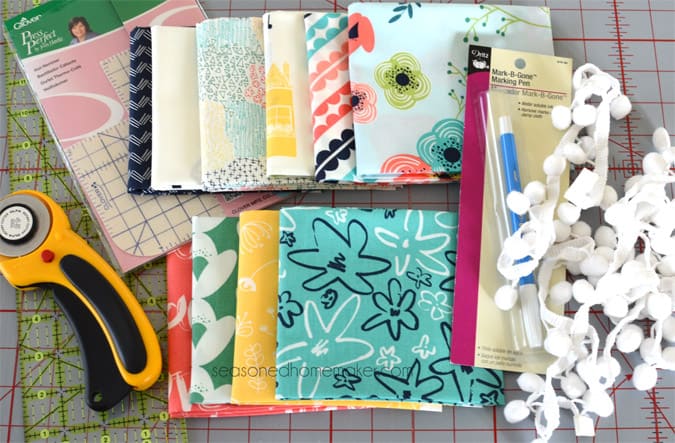
- 1 Fat Quarter Bundle
- 2 yards of 3/8″ Pom Pom Trim (Check Joann’s or Hobby Lobby)
- Clover Hot Hemmer
- Marked Quilting Ruler like this one
- Rotary Cutter
- Cutting Mat
- Water Soluble Fabric Marker
- Fray Check
- Matching Thread
- Usual Sewing Supplies (sewing machine, iron/ironing board, scissors, pins, etc.)
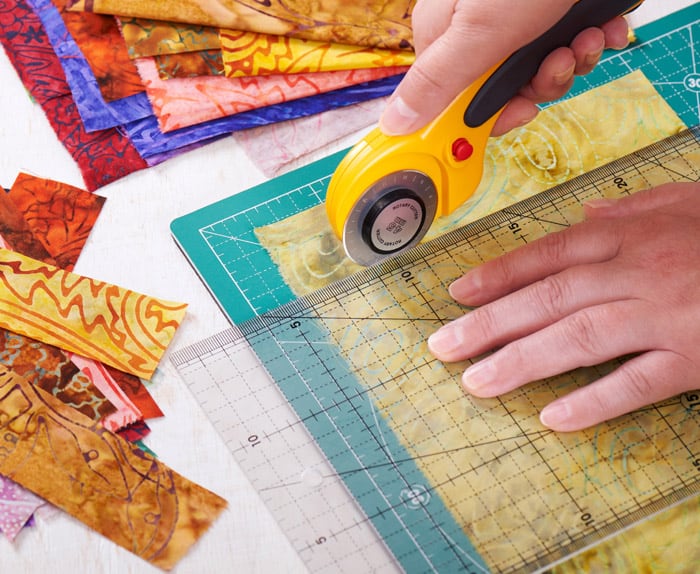
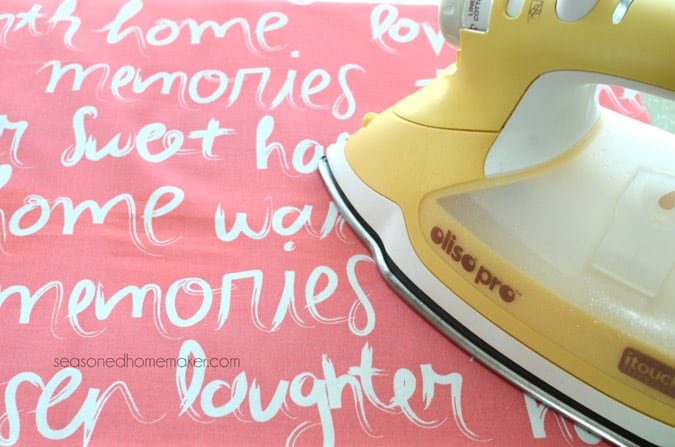
Step 1: Press & Trim
Most fat quarters come folded so press each fat quarter until there are no creases.
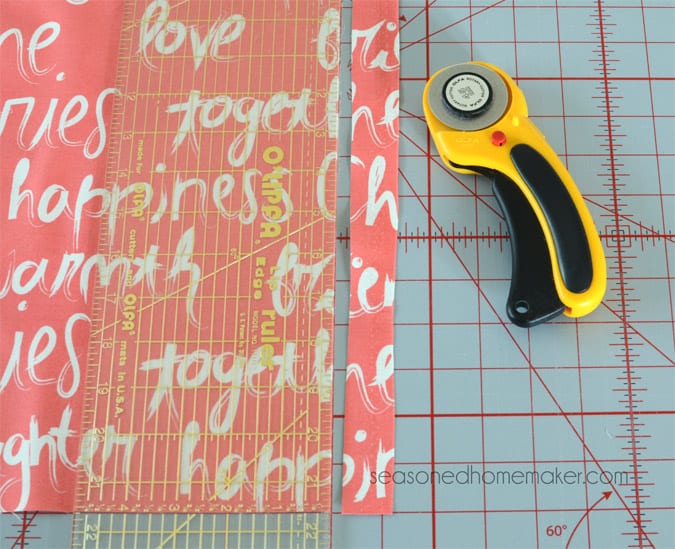
Since we are using fat quarters it is a good idea to trim them down a bit. Fat quarters are 18″ x 22″ so you will want to trim them into 18″ x 18″ squares. Be sure to trim from the selvage edge. Also, if you are using a directional print like I am then be sure that you trim accordingly. Later on we will be putting pom pom trim on the bottom edge. If you’ve not taken notice you may end up with your trim in an off position.
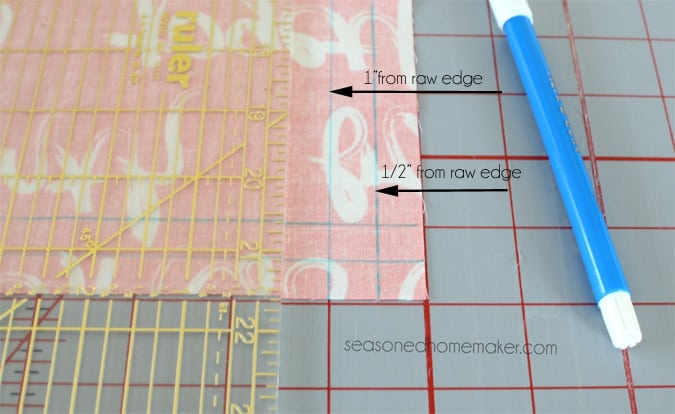
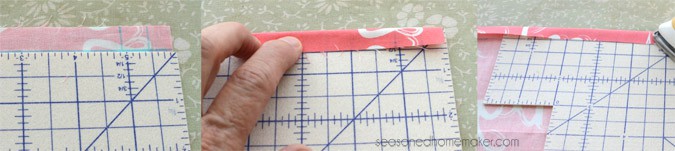
Step 2: Marking the Fabric
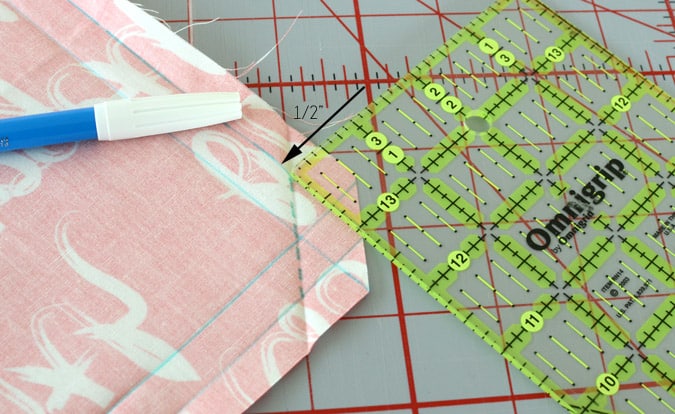
Using a water soluble fabric marker, draw a line 1″ from the raw edge. Then, draw a second line 1/2″ from the raw edge. Repeat this on all four corners of your napkin.
Using the Hot Hemmer, press under 1″ around all four sides.
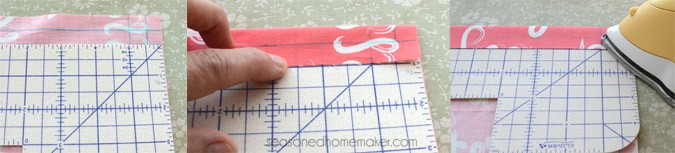
Then go back and fold under the raw edge 1/2″. {Note: The raw edge will line up with the 1″ fold.} Press under the raw edges 1/2″.
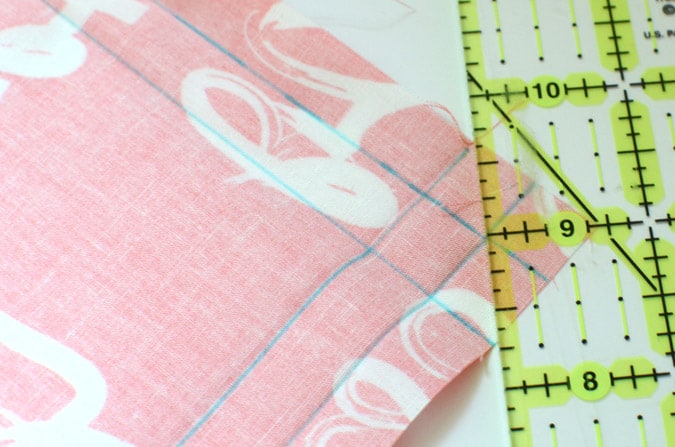
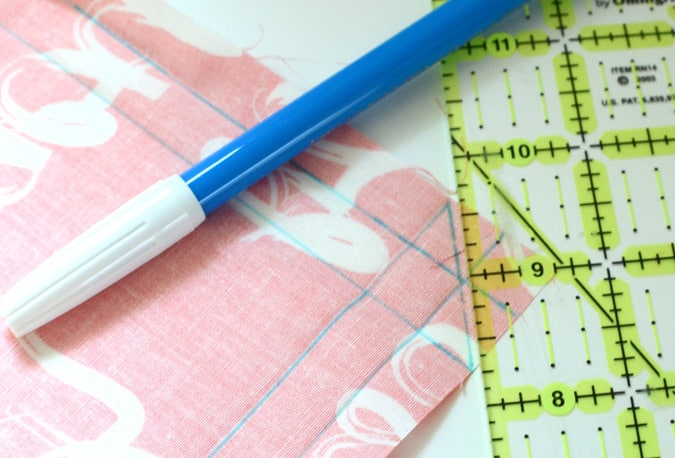
Step 3: Trim Away Corner
Trim away the corner. Using a marked ruler (like for quilting) precisely measure in 5/8″. Make sure the corner point is directly on the 5/8″ mark. Once this is carefully lined up, make a mark and cut away the corner. See the up close photos for accuracy.
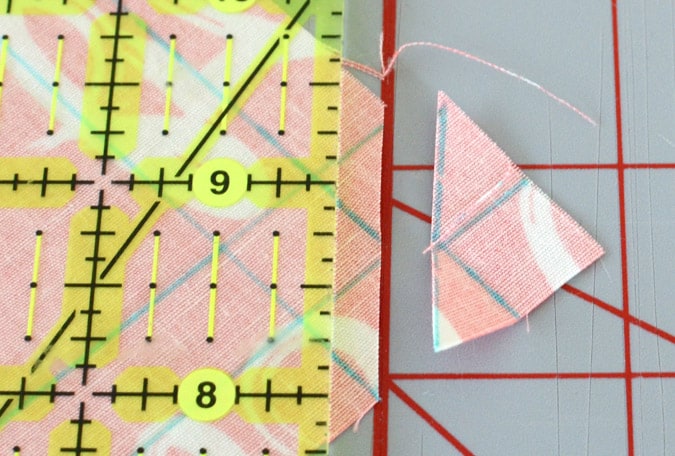
Step 4:
Fold in from the just-trimmed corner until the the the raw edge points meet with the 1″ fabric mark. This should fit perfectly and will be a 5/8″ fold. Notice how the two points from the corner trimmed in Step 3 meet the 1″ fold line perfectly! Press.

Step 5: Fold in Corner
Open the folded edge and mark a stitching line 1/2″ from each of the sides. The stitching line will NOT be all the way across.
Step 6: Pin and Stitch
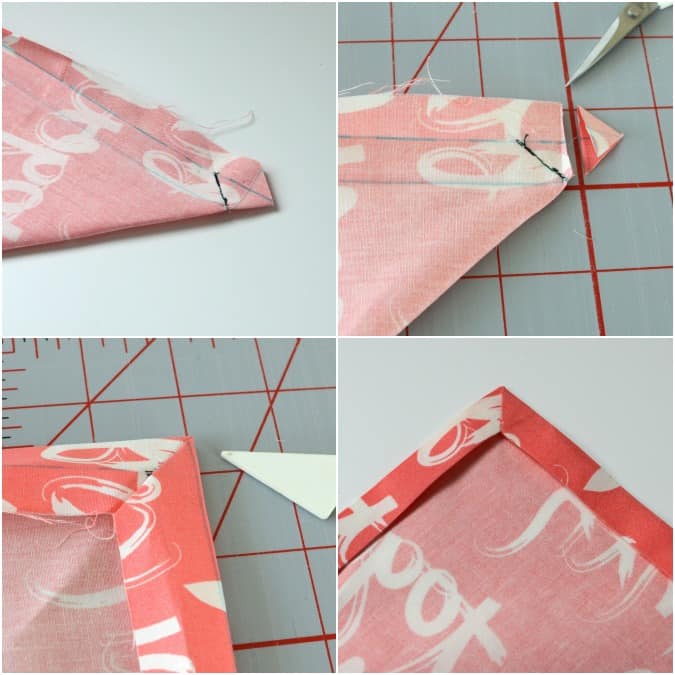
With right sides together, carefully pin the stitching line. Notice how my pin lines up perfectly on both sides. This will insure that you get a perfect corner.

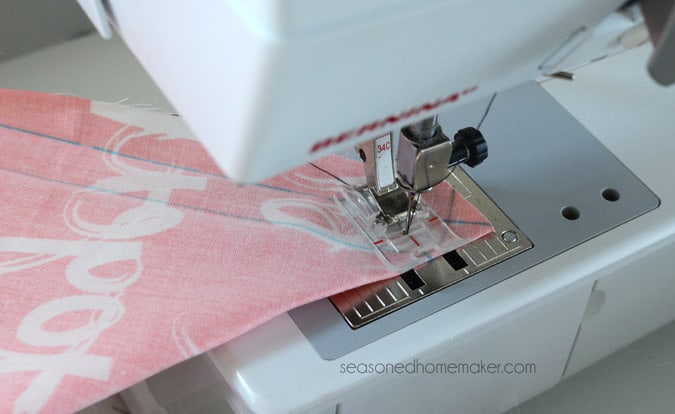
Sew along the stitching line you drew in Step 5. {Note: I’ve used a dark thread for better visibility. I recommend using a matching thread.}
Step 7: Trim and Fold Under
Cut away the corner triangle and turn the corner right side out. Use a point pushing tool (or chopstick, knitting needle, etc.) to create a sharp point.
Fold under the folded corners and press flat. There should not be any bulk and it should fit perfectly.
Step 8: Repeat Steps
Repeat Steps 1 -7 on the other 3 corners. Realistically speaking, after one or two more corners you will be able to breeze through these steps ~ even to point of just relying on the ironed-in folds.
If you’ve used a water soluble fabric pen, take a spray bottle of water and spritz the markings. They will immediately disappear.
Step 9: Hemming the Napkins
Now that you have four beautiful mitered corners you will need to stitch them down. I prefer to use an Edge Stitch Foot to create perfect top stitching. Using a 3mm stitch length, top stitch approximately 1/8″ from the folded edge.


Step 10: Adding the Pom Pom Fringe
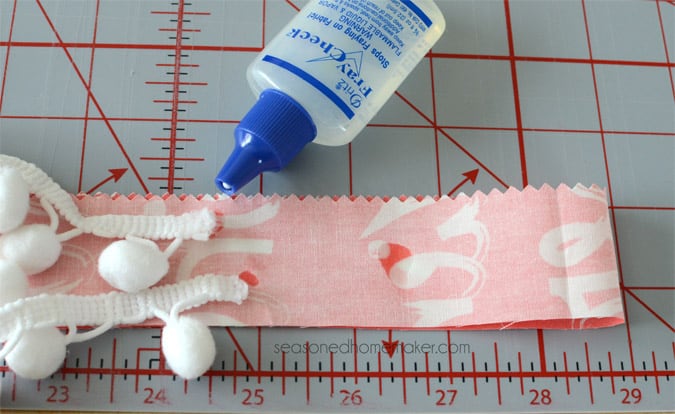
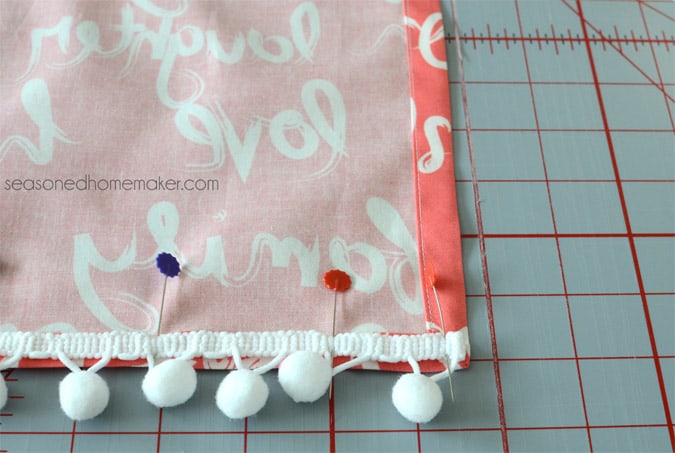
Cut a piece of pom pom trim approximately 19″ long. This will vary based on where the pom poms are place. You may need to snip off a pom pom or two in order to get the sizing right. This trim tends to unravel so secure the ends and places you’ve trimmed away a pom pom with Fray Check to prevent unravelling. Let the Fray Check dry before sewing.
Pin the pom pom trim to the bottom edge of the napkin. Be sure to pay attention if your fabric is directional (as mine is). Fold under the raw ends of the pom pom trim. Carefully stitch down the pom pom trim. Note: The pom pom trim tends to stretch when you sew it. Be sure to allow for this when stitching or it will pucker badly on the front.
Give you napkins a quick press with the iron and you’re done. Aren’t these adorable. I think they would make great gifts.
Also, a huge Thank You to Fat Quarter Shop for providing the Fun Happy Home Fat Quarters.