DIY Christmas Banner Tutorial
This post may contain affiliate links which won’t change your price but will share a commission.
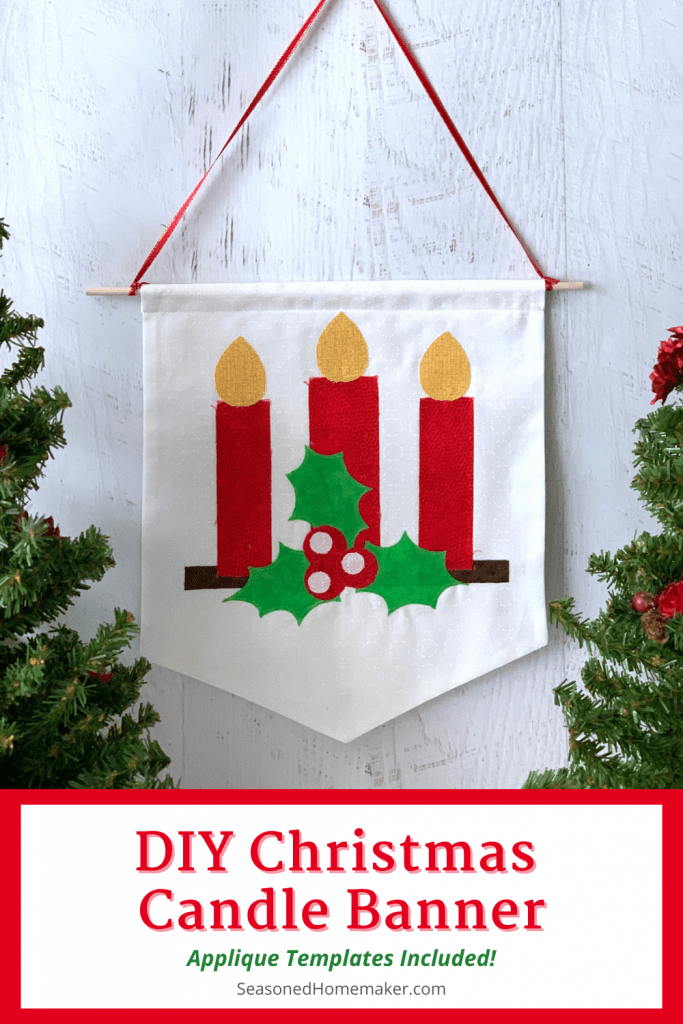
Inside: DIY Christmas Banner Tutorial
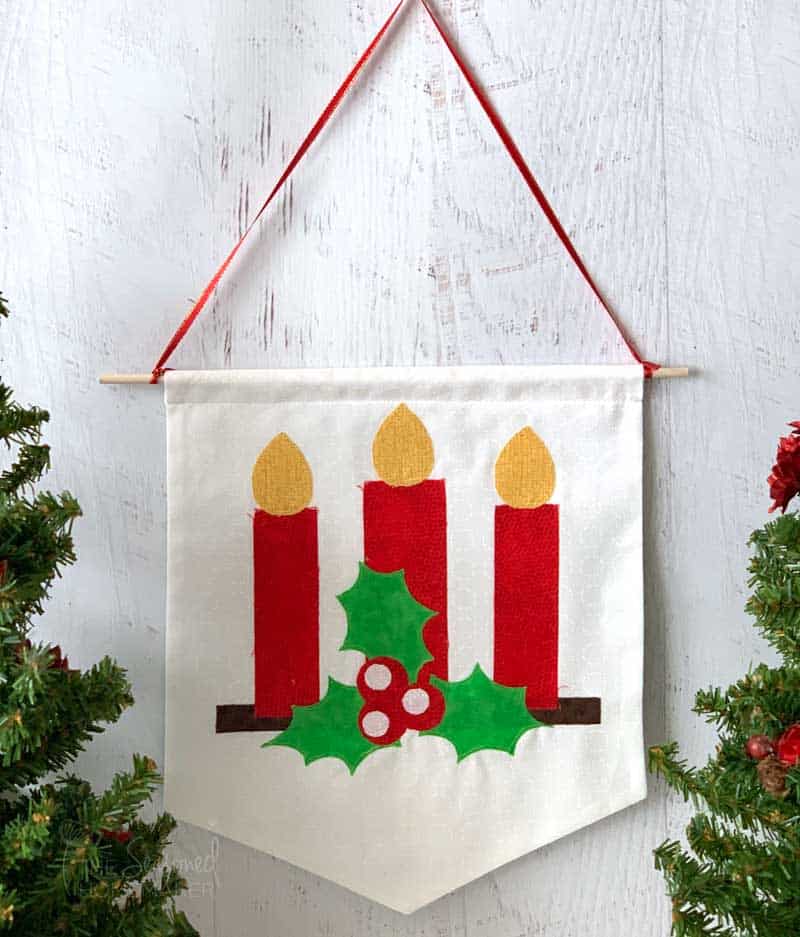
This simple Christmas banner makes a nice addition to your holiday decor and can be customized a ton of different ways.
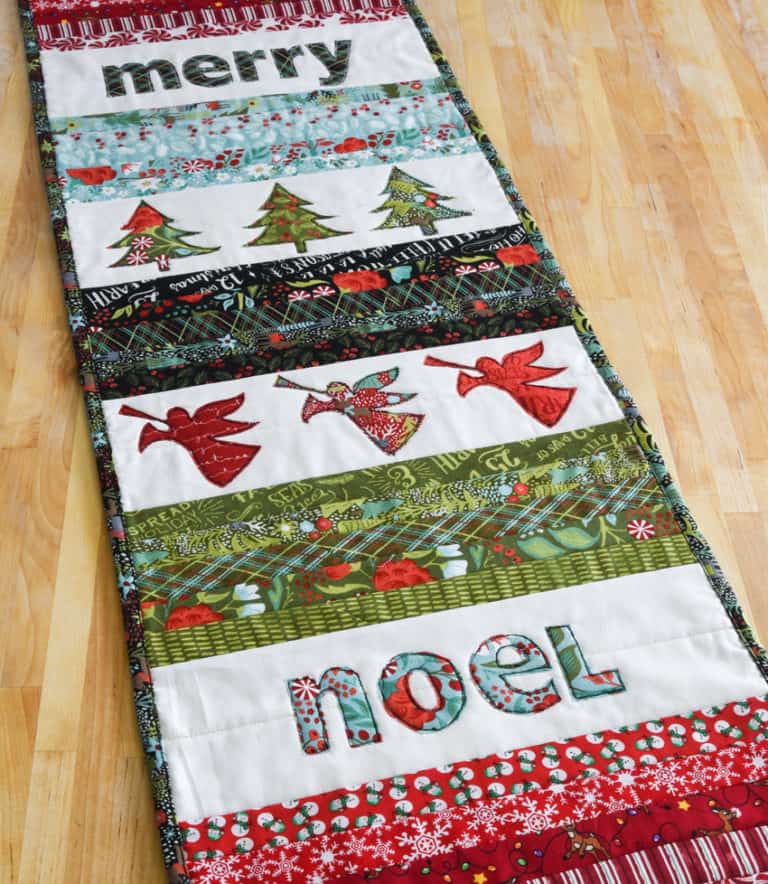
It’s ideal for anyone learning about applique and the design works on a pillow, or it would make a nice Advent table topper.
Just imagine the possibilities.
Materials

Here’s what you’ll need:
- Applique Templates (Download them HERE). The download includes printable applique templates. For Cricut Maker users there is a link to the design elements that will open in Cricut Design Space.
- 2 Fat Quarters or ½ yard of light colored fabric or canvas
- Fabric scraps for applique design elements
- Heat’n Bond Lite
- Aurifil 50 wt. Cotton Thread in variety of colors or Superior Threads Mono-Poly Thread
- 24″ Ribbon for hanging the banner (1/8″ or 1/4″)
- 12″ Dowel Rod (3/16″ or 1/4″ dowel)
- (Optional) Red buttons – in place of the holly berries
Supplies
- Sewing Machine
- Open Toe Foot for your sewing machine
- Quarter Inch foot for your sewing machine
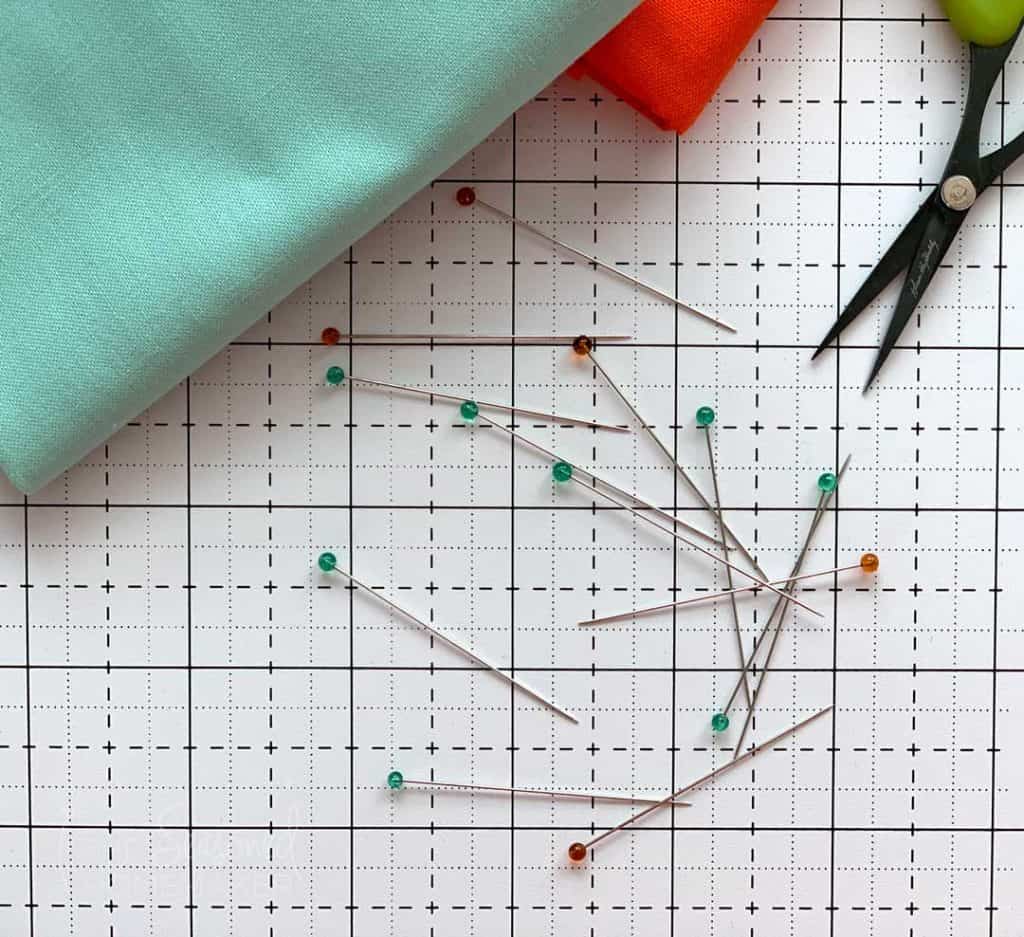
- Wonder Clips or Straight Pins
- Rotary Cutter with sharp blade
- Acrylic Ruler
- Self-Healing Rotary Cutting Mat
- Iron & Ironing Board
Optional Supplies for Cricut Cutting
- Cricut Maker
- Cricut Rotary Blade (included with Cricut Maker)
- 12″ x 12″ Pink FabricGrip Mat
- 12″ x 24″ Pink FabricGrip Mat
- Cricut Brayer
- Cricut EasyPress 2
- Cricut EasyPress Mat
- Cricut Basic Tool Set
DIY Christmas Banner Tutorial
Note: I am not sharing specific Cricut cutting examples in this tutorial. See all of my Cricut tutorials here for instructions. Find the Cricut design links in the Free Design Template Download below.
Step 1: Preparing to applique
Note: Use a desktop or laptop for your download. Phones and tablets may not process your download.
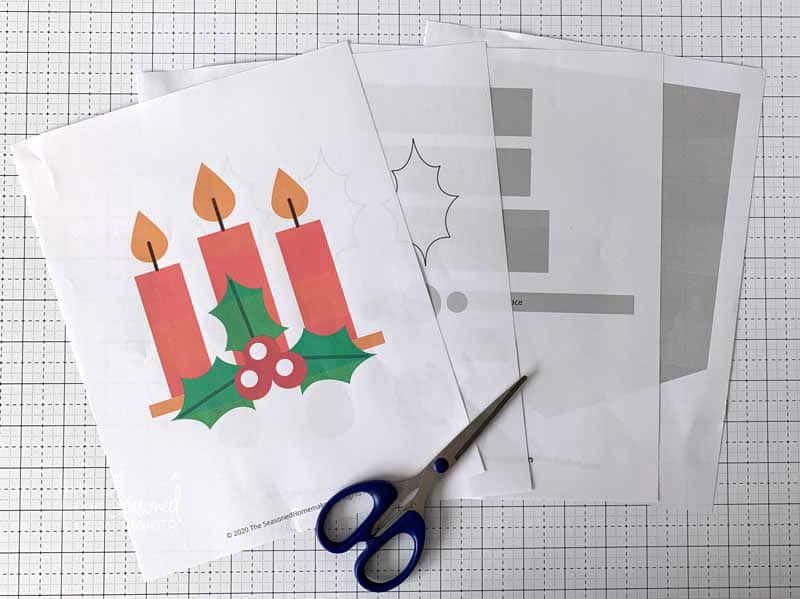
- Download the Free Applique Design Set.
- Print the design elements for the Candles, Table Surface, Leaves, Flames, and Holly Berries on pages 4-5.
- Cut out all of the design elements.
- Trace all elements onto the paper side of the Heat’n Bond
- Rough cut around each of the design elements, leaving a 1/4″ margin
Pro Tip: I recommend putting all of the elements into an envelope so they don’t get lost.
Step 2: Cut out the design elements

- Place the rough or shiny side of the the individual design elements onto the back of your fabric.
- Use a hot, dry iron and fuse the elements to the wrong side of your fabrics. Let cool.
- Cut out each of the elements on the tracing line. Set aside.
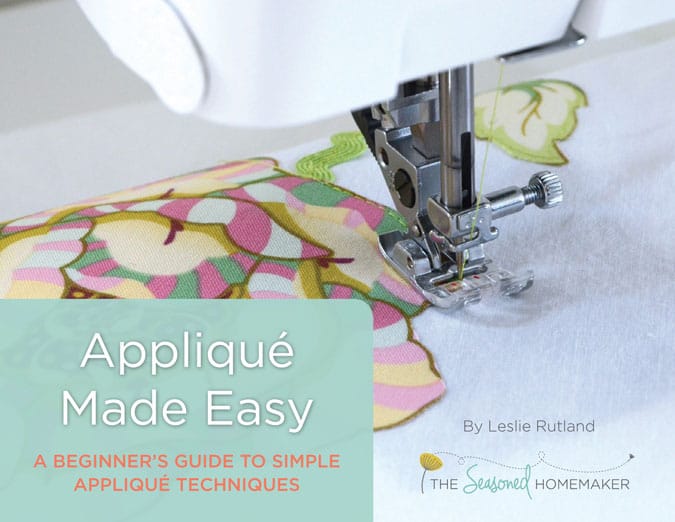
Need more applique help. Watch this quick video!
For more help with applique try my eBook: Applique Made Easy
Step 3: Cutting out and preparing the banner
- Cut out two banners using the size directions in the FREE Applique Design Set. Set aside.
- Create a center crease in the Banner Front by double folding the front banner and pressing in a crease. This will simplify centering the design elements.

Step 4: Placing applique designs
There is a specific order to placing the design elements. You will place down an element and then stitch it in place before layering on the next element.
Before placing any element be sure to remove the Heat’n Bond paper backing.
Pro Tip: If you choose to use a zigzag stitch be sure to add a stabilizer to the back of the Banner Front. Carefully remove it when all elements are stitched down.
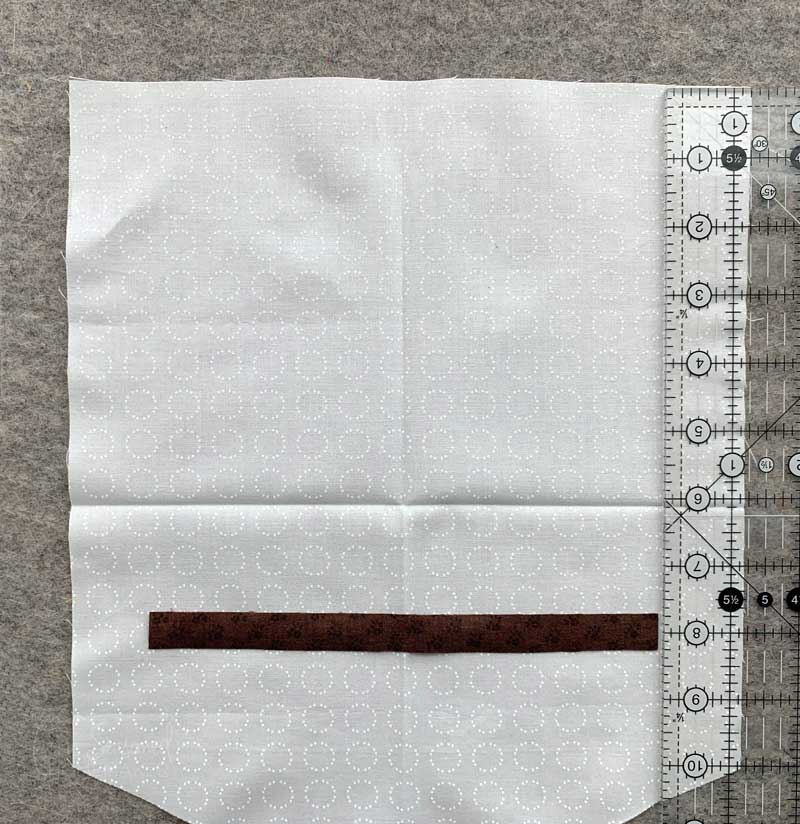
Candle Table Surface
- Place the Candle Table Surface element 1.25″ from each side and about 8″-9″ from the top edge of the banner.
- Fuse in place using a hot, dry iron.
- Using either matching thread or Superior Threads Mono-Poly Thread, straight stitch or use a tiny zigzag stitch around the Table Surface.
Note: I recommend a tiny zigzag stitch if you use this design set for something that gets lots of use like a table runner or pillow.
Candles
- Center the tallest Candle in the center so that it sits about 1/4″ onto the Table Surface.
- Place the two outer candles 2″ from the side and set them about 1/4″ onto the Table Surface.
- Fuse in place using a hot, dry iron.
- Using either matching thread or Superior Threads Mono-Poly Thread, straight stitch or use a tiny zigzag stitch around each of the Candles.

Flames and Holly Leaves
- Place the Flames on top of each of the candles.
- Fuse in place using a hot, dry iron.
- Place the Holly Leaves over the Candles, leaving a little space around them.
- Fuse in place using a hot, dry iron.
- Using either matching thread or Superior Threads Mono-Poly Thread, straight stitch or use a tiny zigzag stitch around each of these elements.

Holly Berries
Note: If you decide to use red buttons as your Holly Berries then you can add them here. Otherwise follow these directions below.
- Place the Red Holly Berries where the Leaves overlap, allowing each of the berries to overlap
- Fuse in place using a hot, dry iron.
- Place the White Dots on top of the Red Holly Berries. Be sure to pay attention to where the light should be coming from as you place them.
- Fuse in place using a hot, dry iron.
- Using either matching thread or Superior Threads Mono-Poly Thread, straight stitch or use a tiny zigzag stitch around each of these elements.

Step 5: How to Make a Banner
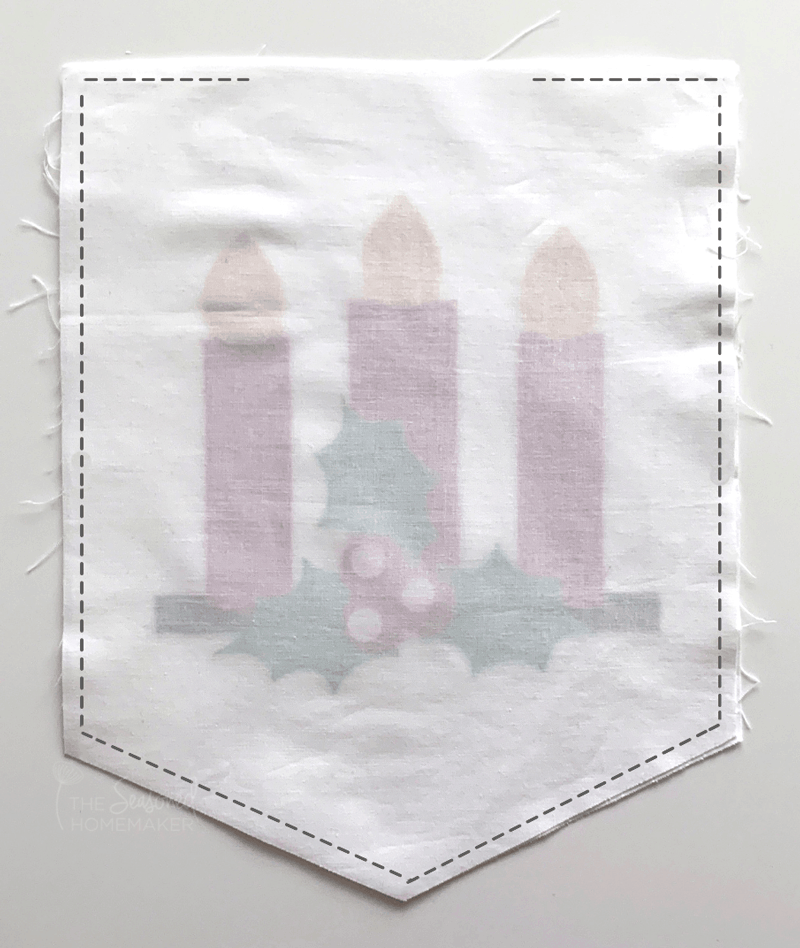
- Place the two banner pieces right sides together. Pin or clip to hold in place.
- Use a 1/4″ seam allowance and stitch all around the banner, leaving a 4″-5″ opening in the top. Clip the corners.
- Turn the banner right side out, folding the open seams at the top inside. Use something like a chopstick to push out the corners. Press.
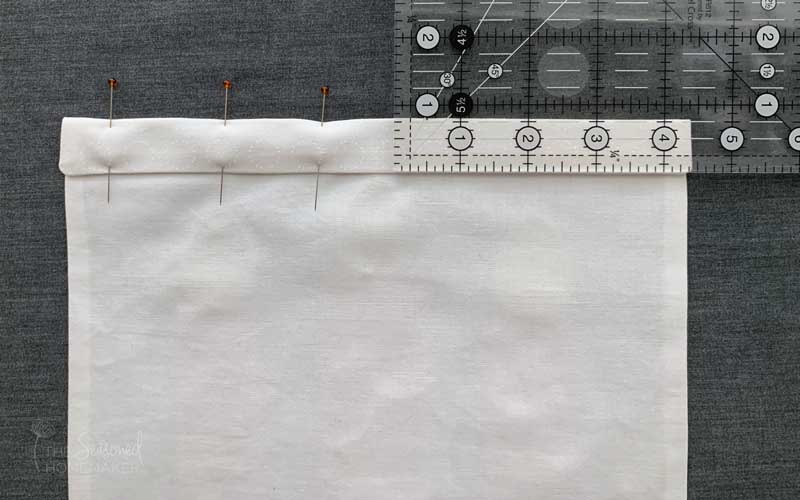
- Fold over the top edge 3/4″ and pin to hold in place.
- Create a channel for the dowel on the back of the banner by stitching down 1/8″ from the edge.
- Insert the dowel in this opening, allowing it to extend about an inch on each side.
- Tie a ribbon to each end of the dowel and display your banner!
Be sure to pin this image for later.