Machine Embroidery Stabilizers IV
This post may contain affiliate links which won’t change your price but will share a commission.
Welcome back to All About Machine Embroidery. Today is the last day for stabilizers. See my previous posts on this subject here, here, and here.
Today, I’m talking about the final type of stabilizers, Iron-Away.

No mystery here, Iron-Away stabilizers are removed by ironing them away using a dry iron. Basically, you can use an Iron-Away stabilizer anywhere you would use a Wash-Away stabilizer.
They are a little more fussy than the Wash-Away’s and can leave a residue on your project if not removed properly.
The reason I keep this stabilizer on hand is in case I want to embroider something that shouldn’t get wet, such as silk or paper.
Yes, I said paper. I occasionally will do a simple embroidery design on cardstock to make a card. The Iron-Away stabilizer helps tremendously with this.
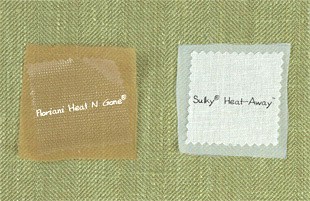
There is another form of Iron-Away stabilizer that is woven (see picture above). I’ve never used this one; it is mainly used for making lace with an embroidery machine.
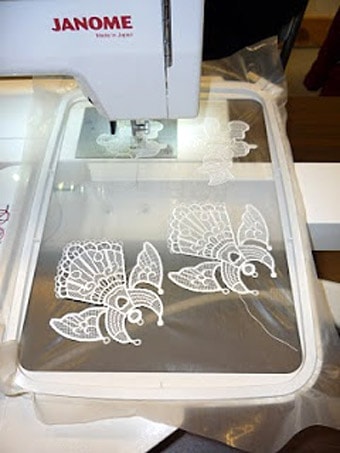
Note: The picture below is actually a Wash-Away stabilizer, but I wanted you to see a lace technique using stabilizer. Either Wash-Away or Iron-Away would work in this situation.
Stabilizers don’t really need to be that overwhelming. If you are brand new to machine embroidery then all you need is some Tear-Away and Wash-Away (for the topper).
Then, begin to build your collection. And, you don’t have to break the bank purchasing stabilizers. Sulky carries the most common stabilizers in small packages at Joann’s. With a coupon, they are very reasonable.
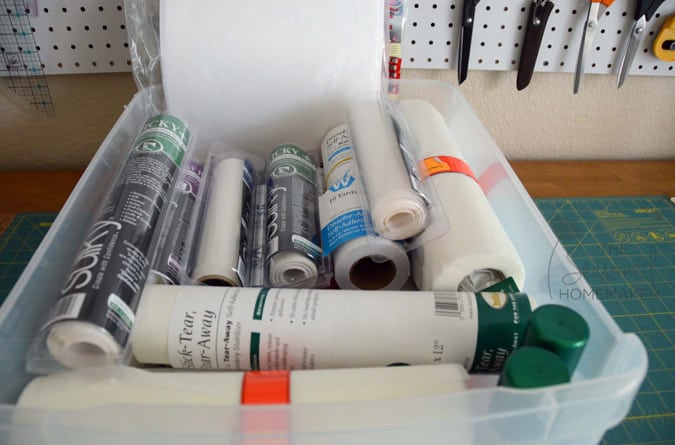
Remember, sewing is a journey. Take your time building your stash of stabilizers.
It has taken me about 5 years to build this collection, one sale at a time.