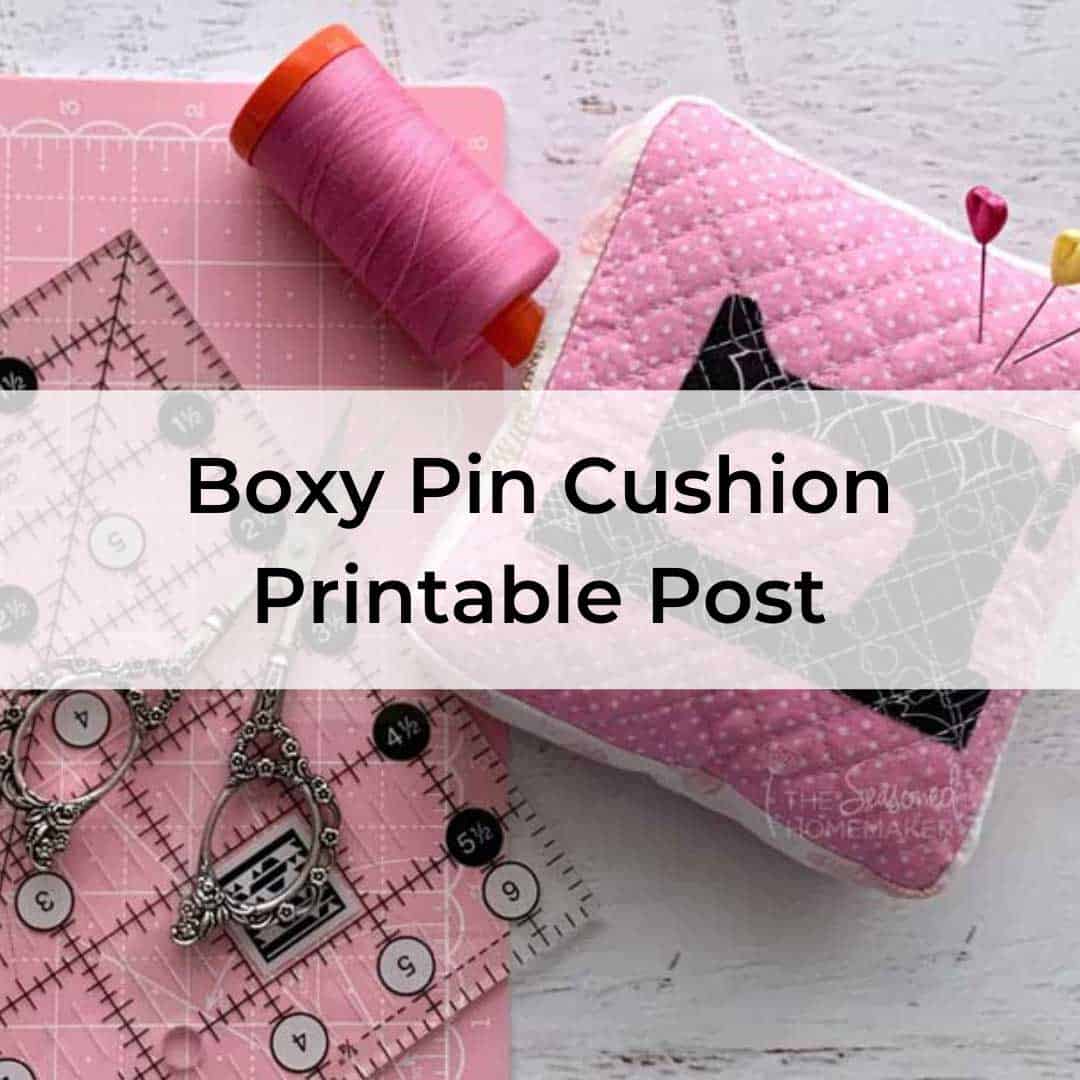
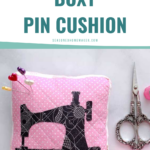
How to Make a Boxy Pin Cushion
This post may contain affiliate links which won’t change your price but will share a commission.
Inside: How to Make a Boxy Pin Cushion
Don’t you just love an adorable pin cushion? They can be so fun to sew and make great scrap busters. And, when personalized, are a lovely gift.
For this tutorial I’m showing how to use a small appliqué from one of my design sets, making your project fast and easy. This boxy pin cushion is very versatile. You could fussy cut a piece of fabric to appliqué to the top, or even piece together a small quilt design. No matter what you choose, the measurements will be the same.

>>> Want an ad-free, printable copy of this tutorial? Scroll to the bottom of this post for more details!
Materials
- (1) 3 1/2″ Applique Design from Sew Cute Applique Design Set* (optional) *Note: This design is part of the Sew Cute Applique Set and not included in this tutorial.
- (2) 5″ x 5″ squares for pin cushion top and bottom
- (1) 6″ x 6″ square for pin cushion top quilt backing
- (1) 6″ x 6″ piece of Fusible Batting
- (1) 1-1/2″ x 18-1/4″ Pin Cushion Middle
- Poly Fiber Fill

Basic Sewing Supplies Needed
- Sewing Machine
- It’s nice to use a 1/4″ sewing foot to help maintain a perfect seam allowance
- Cotton Thread
- I prefer Aurifil 50 wt. thread
- Sewing Pins
- Rotary Cutter with sharp blade
- Acrylic Ruler
- Rotary Cutting Mat
- Iron & Ironing Board
How to Make a Boxy Pin Cushion
Step 1: Cutting
Iron your fabrics nice and flat to remove any wrinkles. Use the cutting measurements below to get your pieces cut out and in order.
- Qty (2) 5″ x 5″ Pin Cushion Top and Bottom
- Qty (1) 6″ x 6″ Pin Cushion Top Quilt Backing
- Qty (1) 6″ x 6″ Fusible Quilt Batting
- Qty (1) 1-1/2″ x 18-1/4″ Pin Cushion Middle

Step 2: Hand Cut Out Applique Designs
Note: If you’re not adding an applique – skip to Step #5
Follow the applique instructions in the design set and applique a 3-1/2″ design to the Pin Cushion Top.
Since the design is small it’s not necessary to stitch it down. This will be done in Step #5.

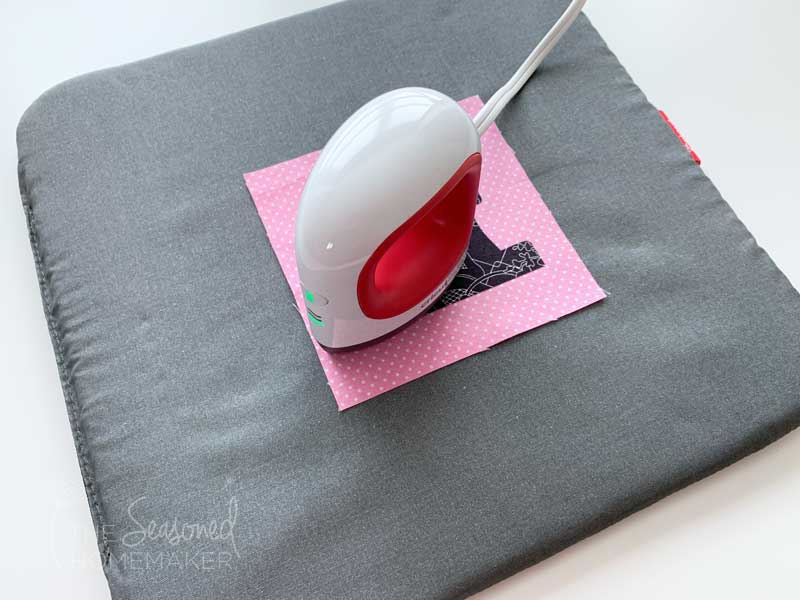
Step 3: Fusing the Design (optional)
Using an iron, fuse the design onto the Pin Cushion Top.
Since the design is small it’s not necessary to stitch it down. This will be done in Step #5.
Step 4: Prepare the Quilt Top
Make a quilt sandwich with the Pin Cushion Quilt Backing on bottom.
Layer the fusible batting on top of the backing.
Place the quilt top (with the applique) on top of the quilt sandwich.
Fuse the batting to the top and bottom. Be careful not to get any fusible product on your iron.

Step 5: Quilt the Top
Using your favorite method of quilting, secure your applique design and quilt the pin cushion top.
I’ve used a simple grid for this pin cushion but any simple quilting will work.
Note: I recommend using a walking foot for straight line quilting.

Step 6: Trim the Pin CushionTop
Once the quilting is finished, trim down the pin cushion top to 5″ x 5″.
I used a Creative Grids 6 1/5″ Square Ruler to get a perfect square!

Step 7: Prepare the Pin Cushion Middle
- With right sides together, pin the raw edges of the Pin Cushion Middle. I recommend using a smaller stitch length such as 2.0mm.
- Stitch together with a 1/4″ seam allowance. This will make an enclosed ring.
- Turn right side out.
Step 8: Attaching the Pin Cushion Middle to Top
With right sides together, pin the Pin Cushion Top to the Pin Cushion Middle. Slowly stitch together using a 1/4″ seam allowance. Be sure to drop your needle at corners before turning.

With the right sides together, pin the Pin Cushion Bottom to the Middle. Slowly stitch together. Leave a 2″ opening for stuffing the pin cushion.
Note: Attaching the Bottom to the Middle can be a little fiddle-y. In order to ease the Bottom piece around the corners, you will need to pay attention to the fabric grain and allow for stretching when you sew,

Step 9: Finishing the Pin Cushion
- Trim the corners on the Pin Cushion Top, if desired.
- Turn the Pin Cushion right side out. Give the back and seams a quick press to smooth out any wrinkles.
- Carefully stuff the pin cushion with poly fiber fill. Since the opening is small, I like to use the top of a wooden chop stick to push the poly fill into corners. Be sure not to overstuff the pin cushion. It will sit better when not overstuffed.
- Once you’ve finished stuffing the pin cushion, turn the raw edges under 1/4″ and whipstitch the opening closed.
Pro Tip: These would also be really nice filled with crushed walnut shells.

Isn’t this an easy project? And these Boxy Pin Cushions can be personalized to give as gifts.
The possibilities are endless.
>>> Want an ad-free, printable version of this post? Click the pink button below and download the Printable PDF instructions.