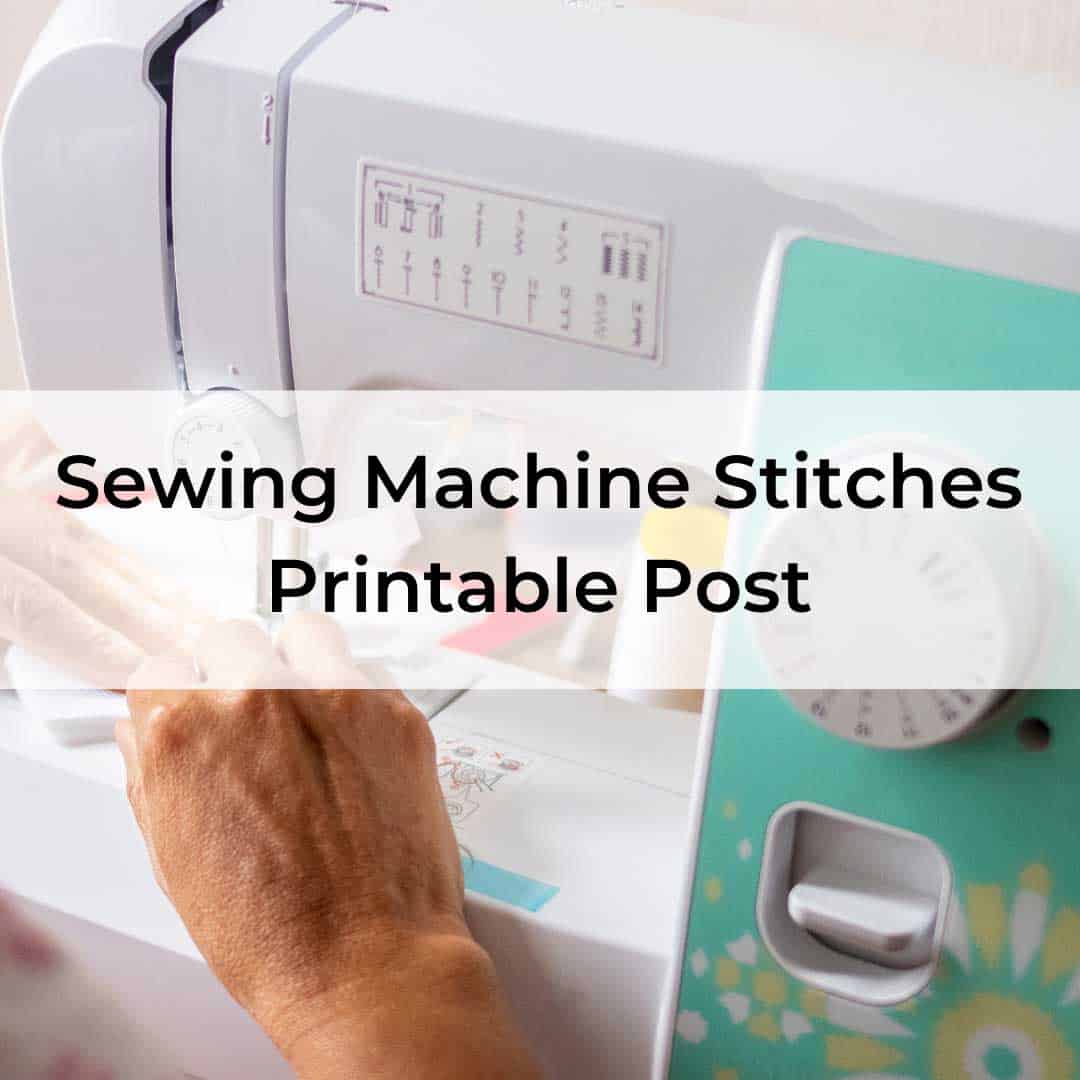
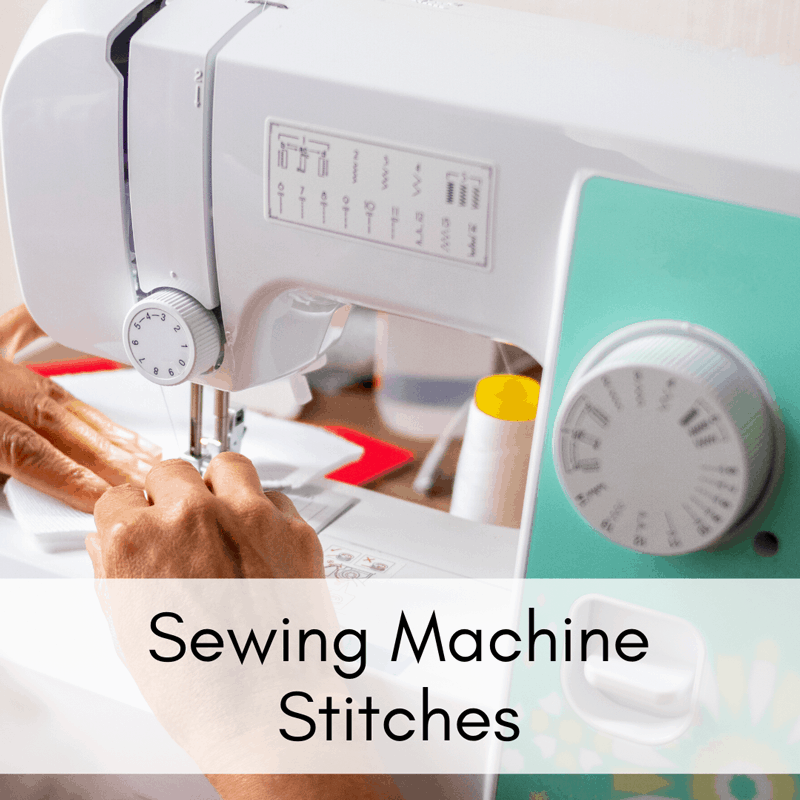
All About Sewing Machine Stitches
This post may contain affiliate links which won’t change your price but will share a commission.

Inside: All About Sewing Machine Stitches
If you’re new to sewing you may be wondering about all of the different stitches on a sewing machine.
First, let me assure you that as a beginner all you really need are two basic stitches and a buttonhole stitch.
Different sewing machine brands will vary in the number of stitches available on their different model machines. It’s natural to think that having 1,000 stitches is better than having 20. But, as a beginner, you only need a few because you aren’t likely to use very many of them.
>>>Want an ad-free, printable copy of this tutorial? Scroll to the bottom of this post for more details!
All About Sewing Machine Stitches
Basic Stitches
1. Straight Stitch
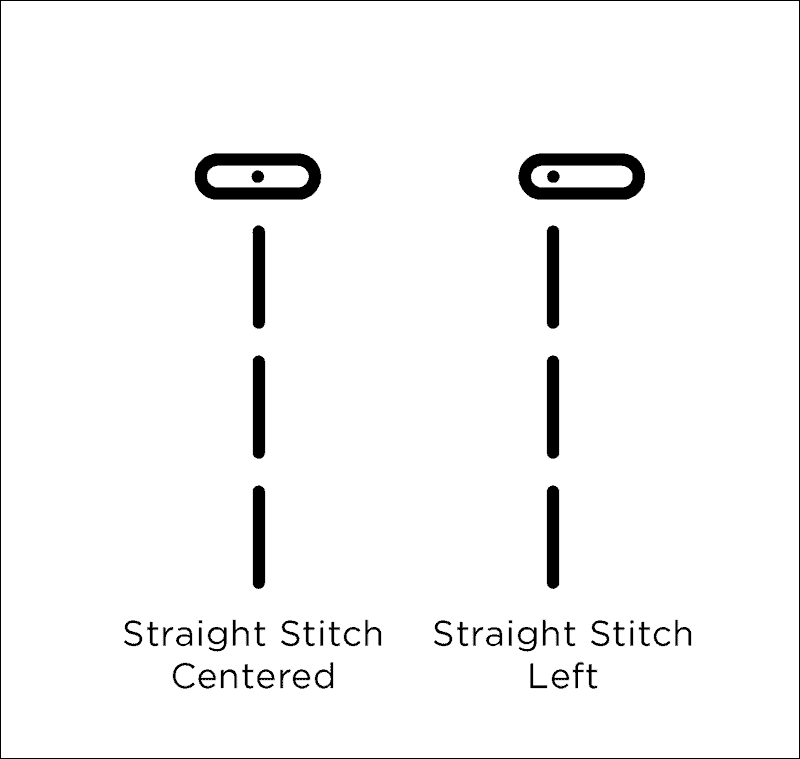
The Straight Stitch is the most common stitch and can be found on every type of domestic sewing machine. It is considered a basic utility stitch and is usually labeled #1 on your machine. Note: Most machines will put all of their basic utility stitches first.
Almost every machine defaults to the straight stitch when turned on. On older machines, such as a Singer Featherweight, this is the only stitch available.
This is the stitch you will use to sew together most pieces of fabric.
You can adjust the straight stitch length for different purposes.
- 2.5mm is the most common stitch length and is ideal for most sewing. Most people will vary their stitch length between 2.0mm and 3.0mm. Practice on a few different projects to find the best stitch length for your particular machine.
- 4mm – 5mm is a good stitch length for gathering and basting. These long stitches make it easy to pull up into gathers and pull out when basting a project. Read more about gathering fabric here.
Some sewing machines allow you to adjust the needle position. You may see the straight stitch in a center position or a left position. When sewing a straight stitch, it’s recommended that the needle be in the center position. You would move the needle position when adding in something like a zipper.
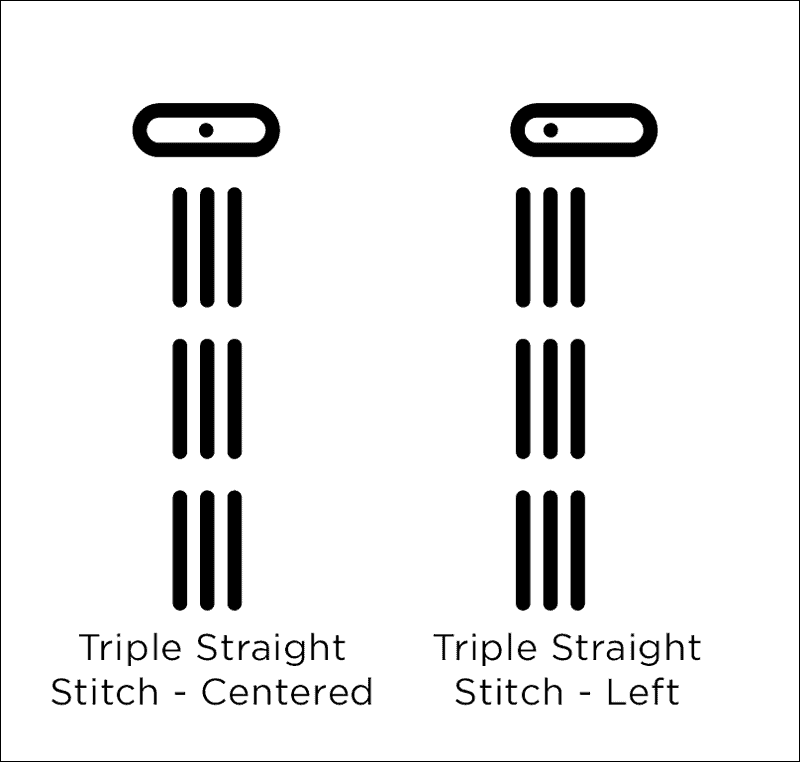
One variation on the straight stitch is a Triple Straight Stitch. This is also a basic utility stitch and will be very close to the straight stitch. It sews two stitches forward and one stitch back to make a very strong seam. This stitch is best used when Sewing with Knits or on garment stress points such as a pocket.
2. Zigzag Stitch
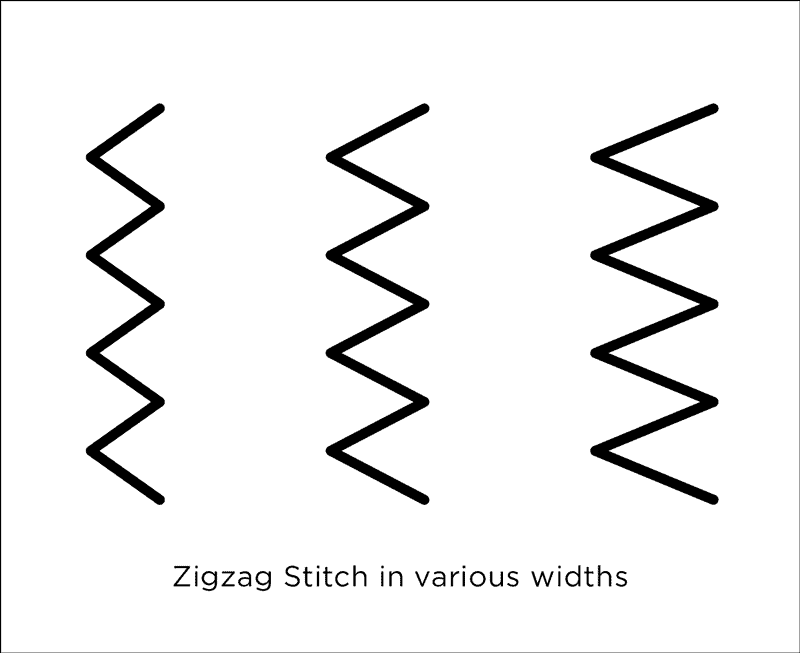
The zigzag stitch is another utility stitch. Primarily, the zigzag stitch is used to prevent fraying. This stitch is also the one your machine will use when sewing a buttonhole.
The most common zigzag default setting is a 3.5mm width and 1.5mm length. This is ideal for garments that get a lot of movement – like knits. This stitch easily changes when you adjust both the stitch length and stitch width.
I recommend you practice adjusting both stitch width and stitch length to see what works best for different projects. One thing to note, the zigzag stitch can tend to tunnel when sewing on thin fabrics. I recommend using some sort of stabilizer to prevent this.
Some different ways to use the zigzag stitch are:
- Sewing with Knit Fabric: When sewing with knit fabric adjust the stitch width to 1.0mm and the stitch length to 2.5mm. Give the seam a little tug; if the stitches don’t pop out, then this is a good setting for knits. If you have a little trouble, then keep adjusting.
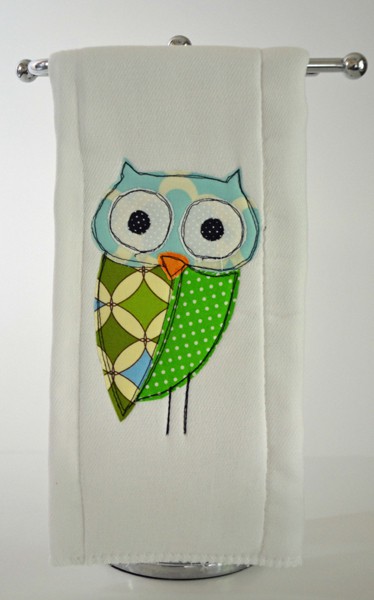
- Applique: Use a zigzag stitch to secure an applique. This is where you’ll need to experiment since this will vary with taste. Lower the stitch length for a satin stitch and raise the stitch length for a gentler stitch. Learn more about Applique here.
- Hem: If you need a hem to stay in place and not fray, then a zigzag stitch is ideal.
- Raw Edges: You can use a zigzag stitch to prevent raw edges from fraying.
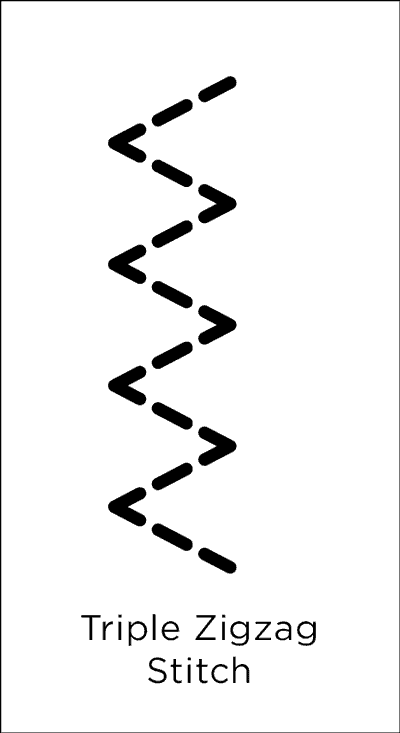
You may notice a Triple Zigzag Stitch (sometimes called 3-Step Zigzag or Multi-Step Zigzag) setting on your machine. It sews a zigzag in steps and makes a very tight stretch stitch. This would be ideal on something with a lot of stretch like a swimsuit leg opening.
3. Overcast Stitch
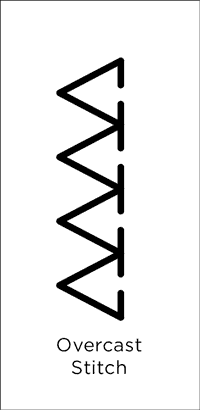
While the Overcast Stitch looks like a regular zigzag stitch, it is a little different. This stitch is designed to enclose the raw or unfinished seam on woven fabrics. A lot of machines will come with a special Overcast foot that makes this stitch sew even better.
If done correctly, you’ll have a seam without any raveling. It is designed as an alternative to a serger seam. You will still have to trim away the excess seam allowance since there is no cutting feature.
I used the Overcast Stitch with an Overcast foot for years until I purchased a serger. Occasionally I will use it on small projects where a heavier serger seam might be too bulky.
Buttonhole Stitches
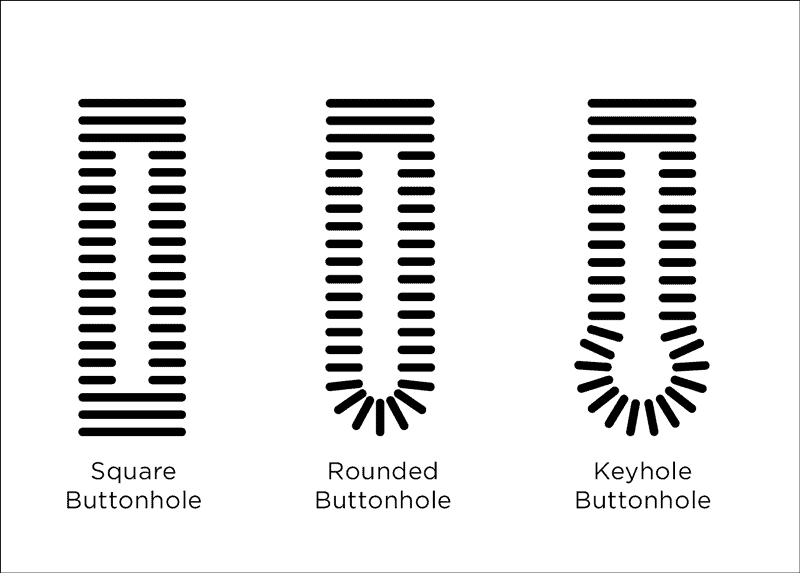
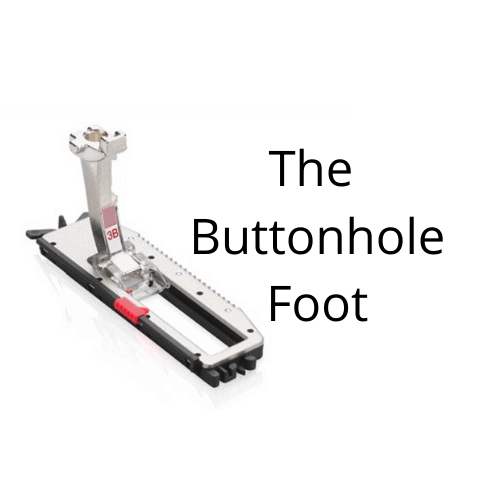
Depending on the make and model of your sewing machine, you will have several buttonhole options and a special buttonhole foot. For the most part, these three buttonholes will likely be the ones you use the most.
Modern sewing machines will have some sort of automatic or semi-automatic system for creating buttonholes. One thing to keep in mind is that a buttonhole is made using a zigzag stitch.
- Square Buttonhole: This is the most common buttonhole and is ideally suited for medium weight woven fabrics.
- Rounded Buttonhole: Some machines will have a rounded or semi-rounded buttonhole. This looks best with smaller buttons and is well-suited to lighter weight fabrics. This is my favorite buttonhole for blouses.
- Keyhole Buttonhole: This buttonhole is best suited something like a jacket or coat that has larger shank buttons. It does well on sturdier woven or lined fabrics.
>>> Below is a short video showing how to make a buttonhole. I also share a few tips for getting them perfect every time!
Decorative or Satin Stitches
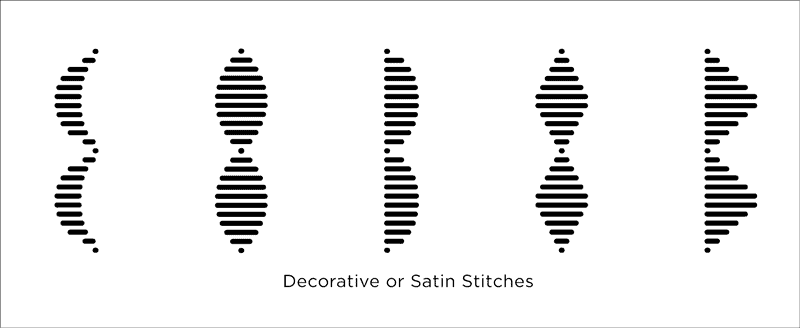
Decorative or Satin Stitches will vary from machine to machine. Like the Zigzag Stitch, the look and size can be adjusted by changing the stitch width and stitch length.
These stitches are intended to embellish your project so using a shiny polyester or rayon thread in a contrasting color will make the design stand out.
Another way to use Decorative Stitches is to create a stitch recipe by combining several of these stitch patterns together to create a unique look.
When adding a Decorative or Satin Stitch, be sure mark a sewing line and don’t forget to stabilize the back of your fabric. Otherwise, your designs will tunnel.
Now grab a little fabric + tear-away stabilizer and start creating different stitch recipes that you can add it to the hem of jeans or to a decor project or anywhere you please.
Final Thoughts

While there are many, many more stitches, these are the ones you will notice most often on the majority of machines. If you take some time and learn how to use these different stitches on different types of fabrics you will be amazed at the difference it will make on your projects.
I also recommend you visit my Sewing Machine Feet Guide to learn how to better combine these stitches with the best feet.
>>> Want an ad-free, printable version of this post? Click the pink button below and learn about the Printable Post PDF .