UnPaper Towels, Reusable Paper Towels, Paperless Towels
This post may contain affiliate links which won’t change your price but will share a commission.
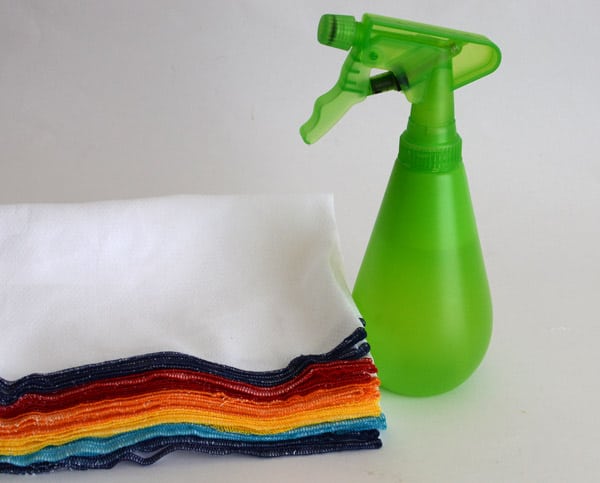
UnPaper towels, reusable paper towels, paperless towels ~ whatever you call them ~ they are as handy as it gets.
What is an UnPaper Towel and how do you use it? UnPaper Towels are reusable cloth towels that are useful for cleaning up spills and wiping off counters. They wash and dry beautifully. A perfect paper towel replacement that is eco-friendly and cost effective. A dozen will hold up for a year or more.
UnPaper Towels are also easy to make. And, don’t necessarily require a serger ~ I’ll explain below.
How to Make UnPaper Towels, Reusable Paper Towels, Paperless Towels
Birdseye or Diaper Cloth
The first thing you are going to need to make your unPaper towels, reusable paper towels, paperless towels {if you have an idea for a new name please don’t hesitate to share} is something called Diaper Cloth or Birdseye Cloth.
This fabric is exactly what it’s called: cloth used for diapers. It is 36″ wide and comes in white. I purchased mine at Joann’s for $6.99/yard and used a 40% off coupon making it $4.19/yard.

Pre-washing & Cutting
For the sake of this tutorial, I am working with one yard of fabric that has not been pre-washed. I like to wash it after making the towels because of shrinking.
Remember, the diaper cloth is 36″ wide, and I will be working with it folded in half with the selvage edges matching, which makes it 36″ x 18″.

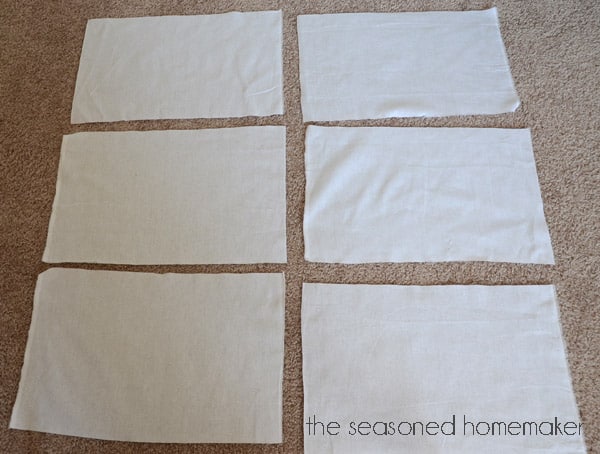
Once the fabric is squared, cut across every 12″. You will technically have 3 pieces that are 36″ wide by 12″ across. You need to cut again on the fold, and this will then give you 6 pieces that are 18″ x 12″.

I find that this is a great size ~ especially after shrinking in the wash. Most paper towels are 11″ x 11″ so these are slightly larger.
Securing the edges
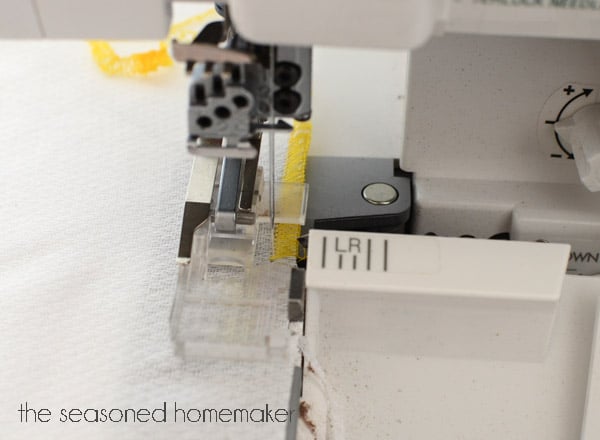
I am using a serger to secure my edges. I start by setting my serger for a 3-thread overlock stitch.
I begin serging by starting in the middle of one of the 18″ sides.
When I get to the first corner, I do not serge off. Instead, I carefully curve around the corners.
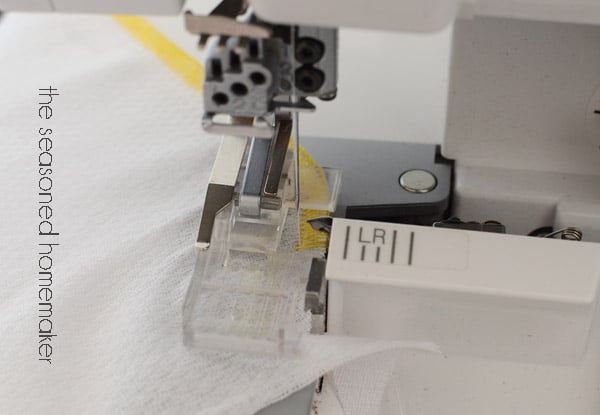
Then back to straight serging until I hit the next corner, continuing around the entire towel.
Finishing
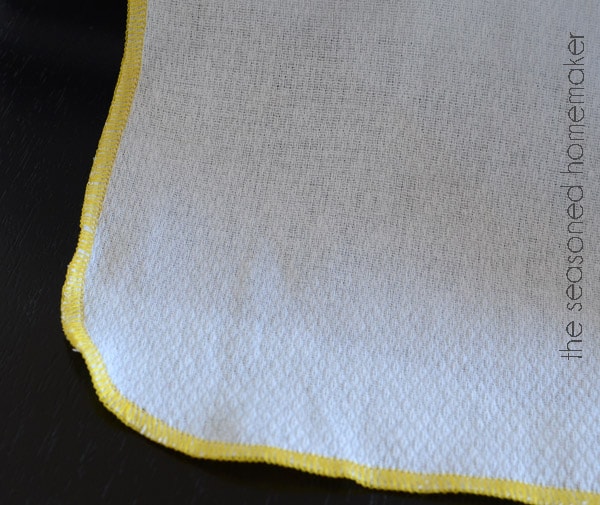
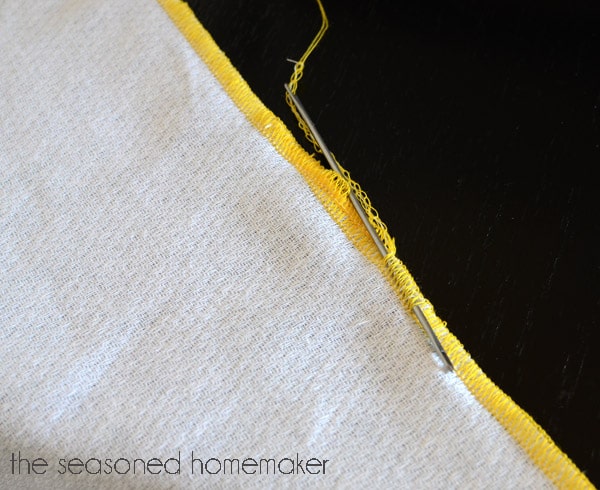
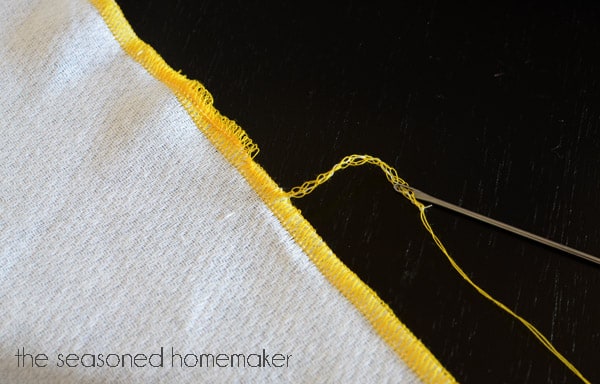
When I return to the start, I serge over my starting point about 1″, and then serge off a long tail and tuck it into the overlock stitching. Lastly, I trim the tail.
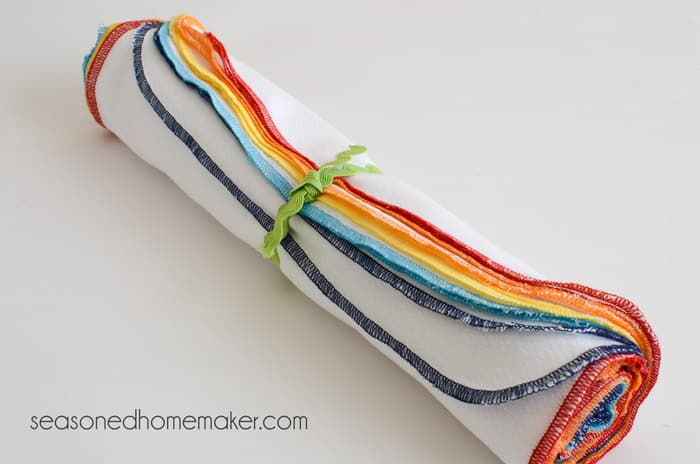
I continue with all of my pieces until I have a stack of towels.
To mix it up a bit I switch out colors so my towels will look pretty.
What if you don’t own a serger?
A couple of Non-Serger Ideas
Idea #1: The first way is by doubling the fabric. Place two pieces of fabric together, stitch around the outer edge, leaving a small opening for turning. Turn inside out and stitch the opening closed. With this method I recommend sewing a large ‘X’ from one corner to the next. This will help maintain the shape and your UnPaper Towels will be double-strong
Idea #2: A second way to make them is to hem the edges. This keeps them single layer but will take a little more time. Iron in a 1/4″ double folded hem and top stitch in your favorite thread colors.
The Easy Non-Sewing Way
Disclosure: This portion of the post is sponsored by Swedish Wholesale. All opinions are my own.
For those of you who don’t sew I have another solution.
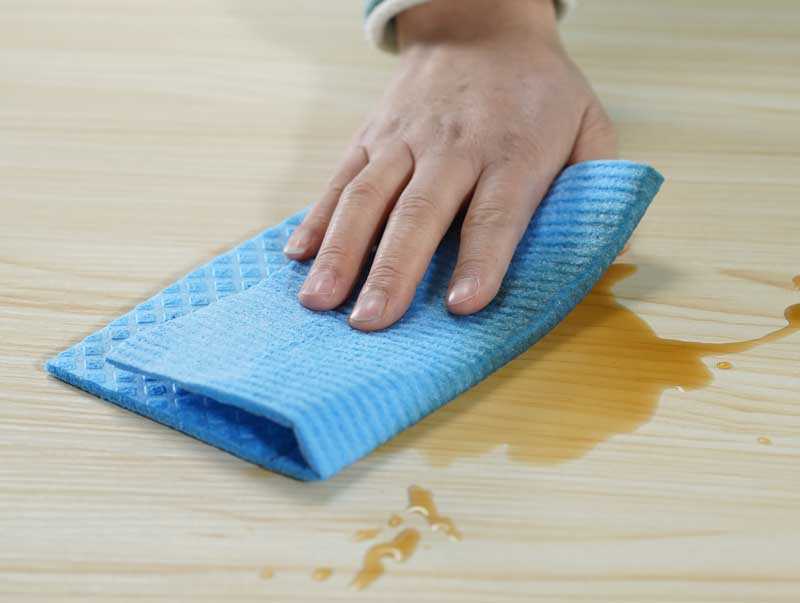
I was recently introduced to Swedish Dishcloths as an alternative to paper towels.
These are unique flattened, sponge-like sheets that are highly absorbent and can hold about 20x their weight in liquid. (try doing that with a paper towel!)
They’re made from natural, renewable materials and are an ideal alternative because each cloth can replace up to 15+ rolls of paper towels.
One of my favorite features about Swedish Dishcloths is the ability to wash them (up to 100x!). And, when they’ve outlived their usefulness, toss them into the compost pile!
Click the blue button below and learn more about Swedish Dishcloths.
Whatever route you choose, these methods don’t take much time or cost much money.
Totally worth the effort.