

How to Make Fall Acorn Coasters
This post may contain affiliate links which won’t change your price but will share a commission.

Inside: How to Make Fall Acorn Coasters
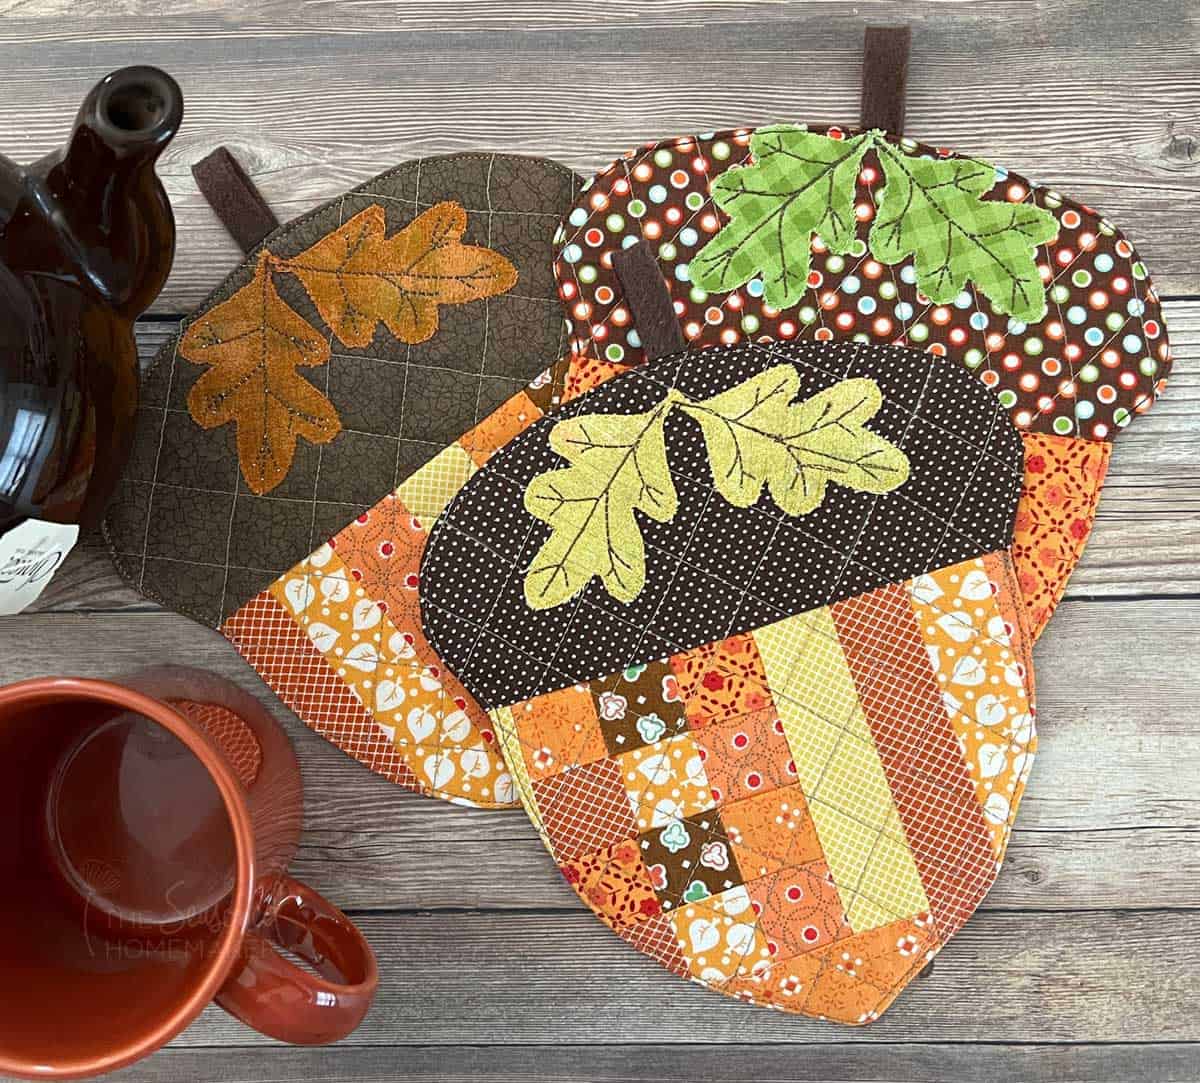
Sometimes all you need is an easy project that adds a taste of Fall into your home. And that’s exactly what these adorable acorn coasters are designed to do.
It’s a super easy project that you can complete in an afternoon. And, it uses up those leftovers like fabric and batting scraps. So, pull out those fall-colored scraps and let’s get started!
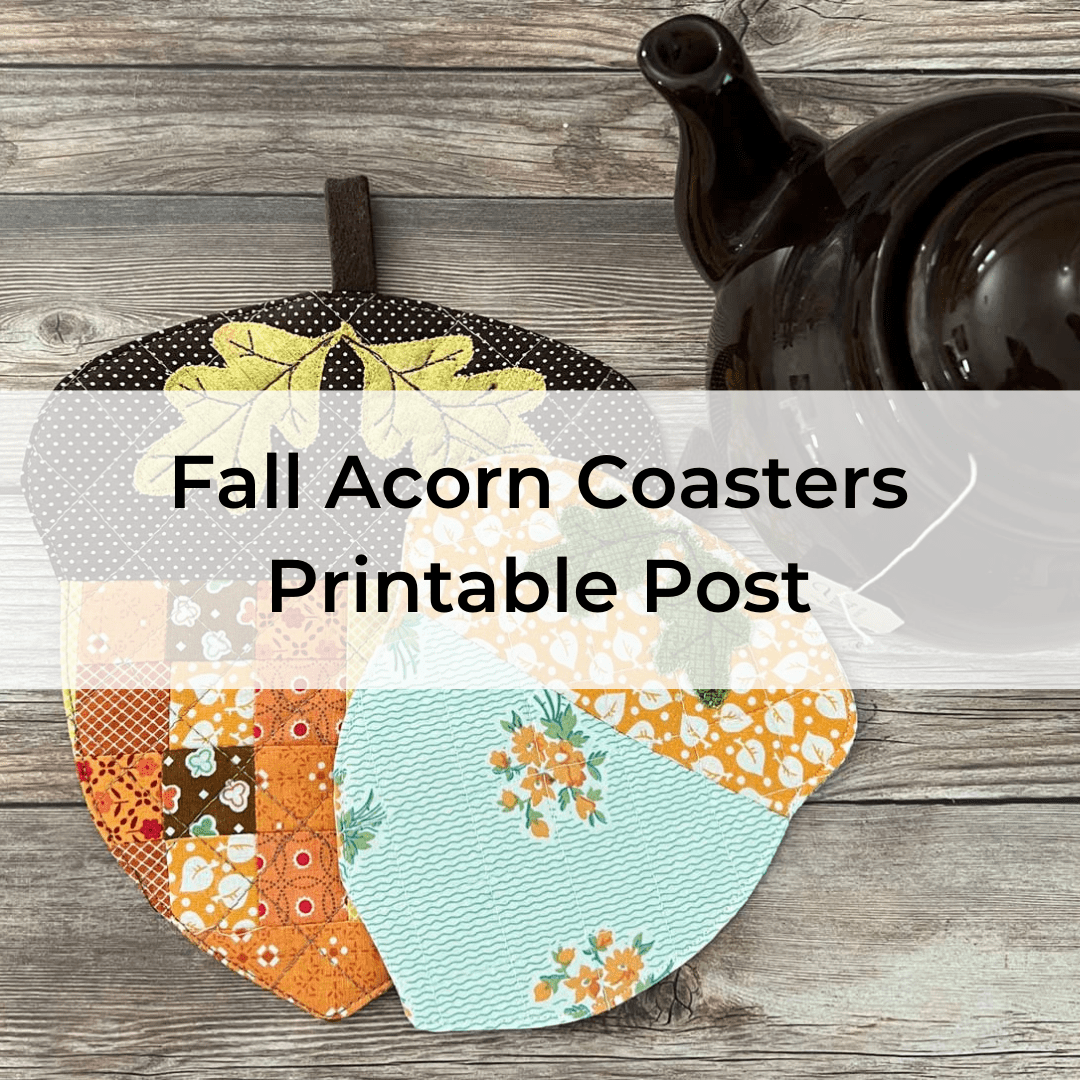
Want an ad-free, printable copy of this tutorial? Scroll to the bottom of this post for more details!
How to Make Fall Acorn Coasters
Supplies
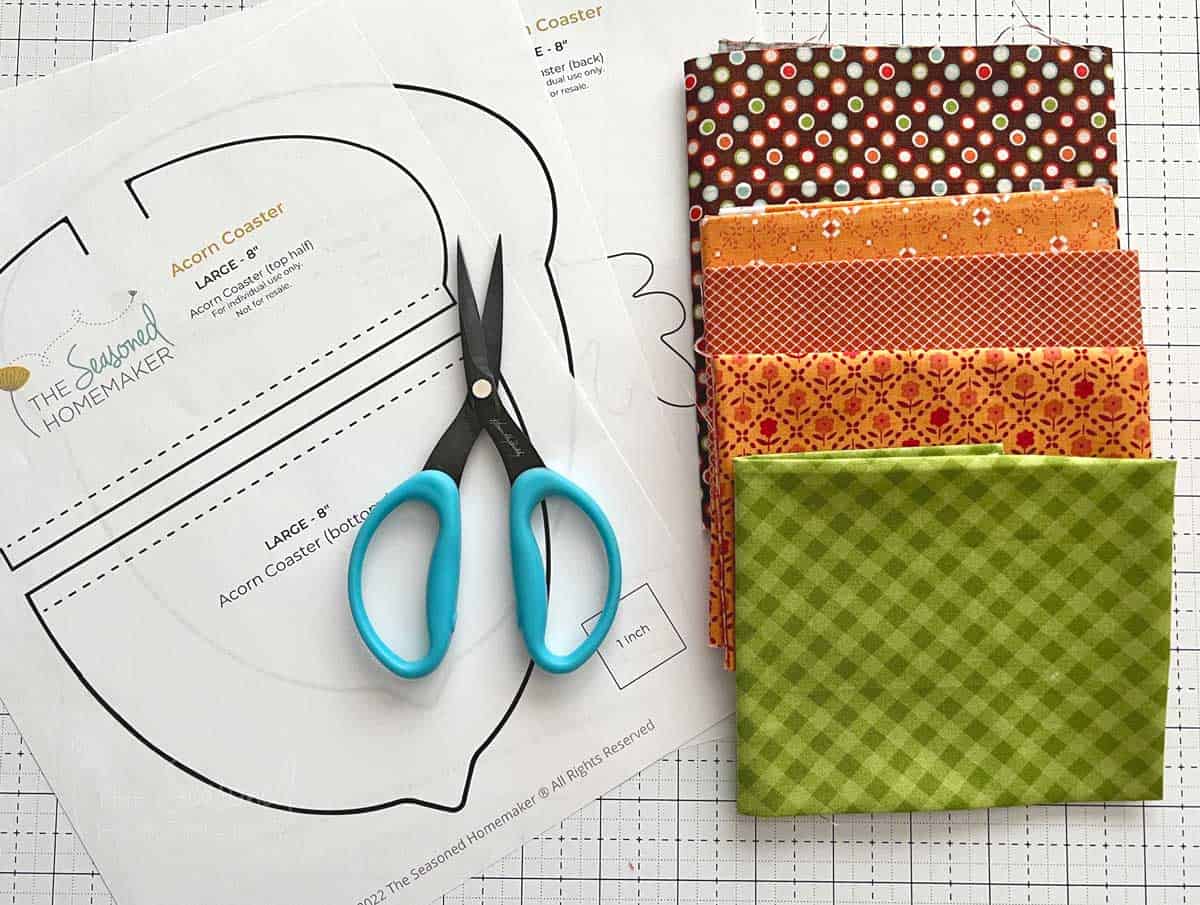
- Acorn + Leaves Template (FREE! See box below or find them in my Shop > Freebies section)
- Assorted Fall Colored Fabric scraps
- (1) 4” x 5” Piece Fall-colored Fabric for Acorn Leaves
- (1) 10” x 10” Piece Backing Fabric
- Small piece of Brown Wool Felt
- (1) 10” x 10” piece of Quilt Batting
Materials
- Sewing Machine
- Quarter Inch foot for your sewing machine
- Aurifil 50 wt. Cotton Thread
- Water-Erasable Pen
- Wonder Clips or Sewing Pins
- Rotary Cutter with sharp blade
- Acrylic Ruler
- Self-Healing Rotary Cutting Mat
- Iron & Ironing Board
- Wool Pressing Mat
- Serrated Scissors
- Wonder Fuse Fusible Web
Step 1: Download FREE Template
Download and print the Free Acorn Templates. Click the pink button below and you’ll be able to snag them for FREE in my Shop.
Step 2: Preparing the Acorn Pieces
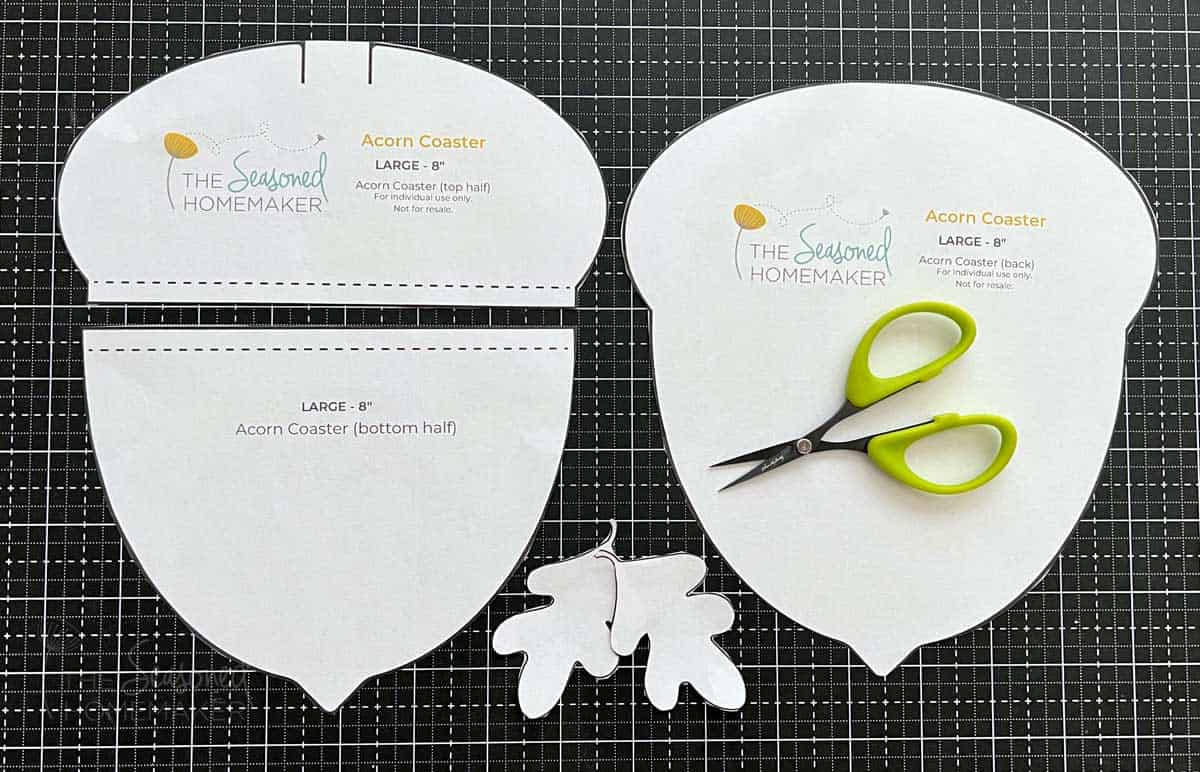
- Print out the Acorn and Oak Leaf Templates.
- Cut out the templates and set aside.
Step 3: Fabric Options for Acorn Top & Bottom
Below are several options for making the top of your acorn coasters.
- Strip piece several 2″ pieces of fabric together to create a 10″ x 10″ piece of fabric. (Learn more here.)
- Strip piece, sub-cut, and re-assemble into a 10″ x 10″ piece of fabric. (Learn more here.)
- You can use two separate pieces of 10″ x 10″ fabric for both the Acorn Top and the Acorn Bottom.
- Use (1) piece 5″ x 10″ brown fabric for Acorn Top and (1) piece 7″ x 10″ fall colored piece of fabric for Acorn Bottom.
- Piece fabrics together using the Quilt As You Go method. Anything goes!
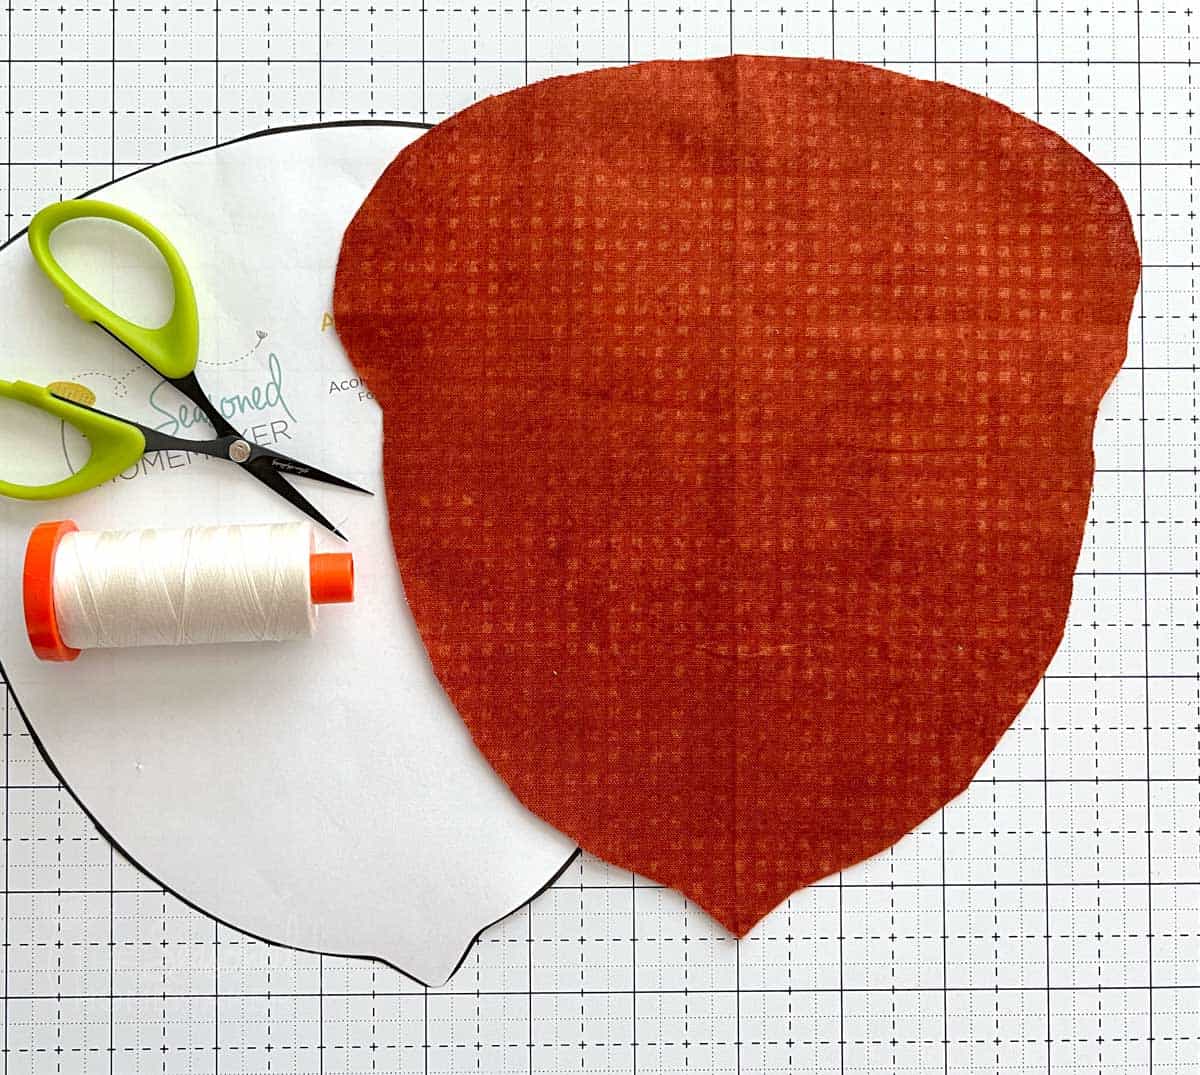
Step 3a: Acorn Back
- Cut out the Acorn Back. It can be a solid piece of fabric or it can be pieced together using one of the suggestions above.
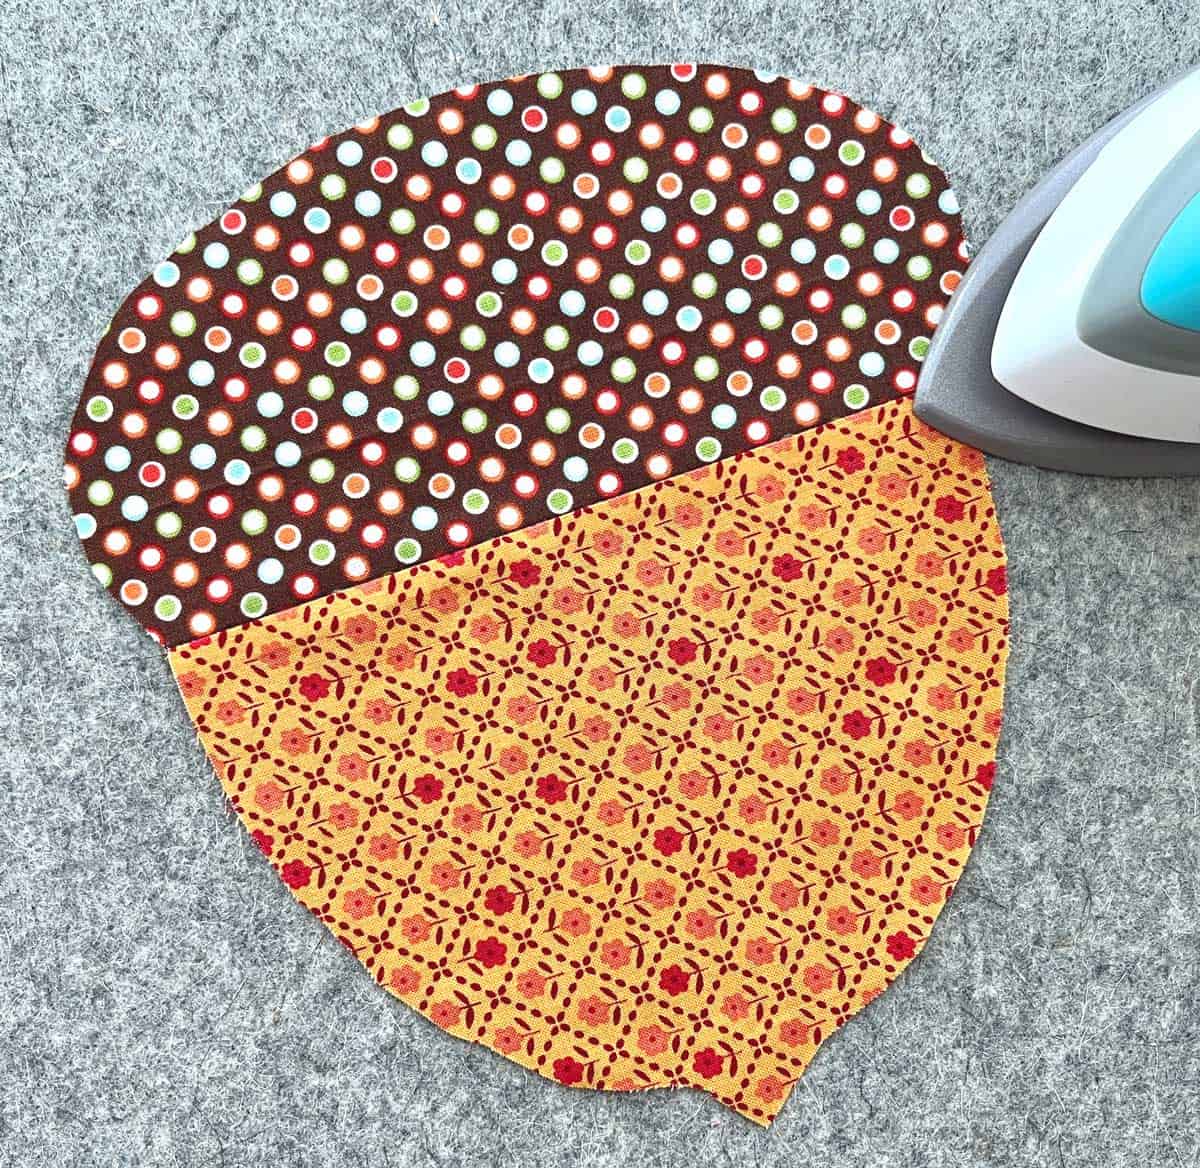
Step 4: Making the Acorn Front
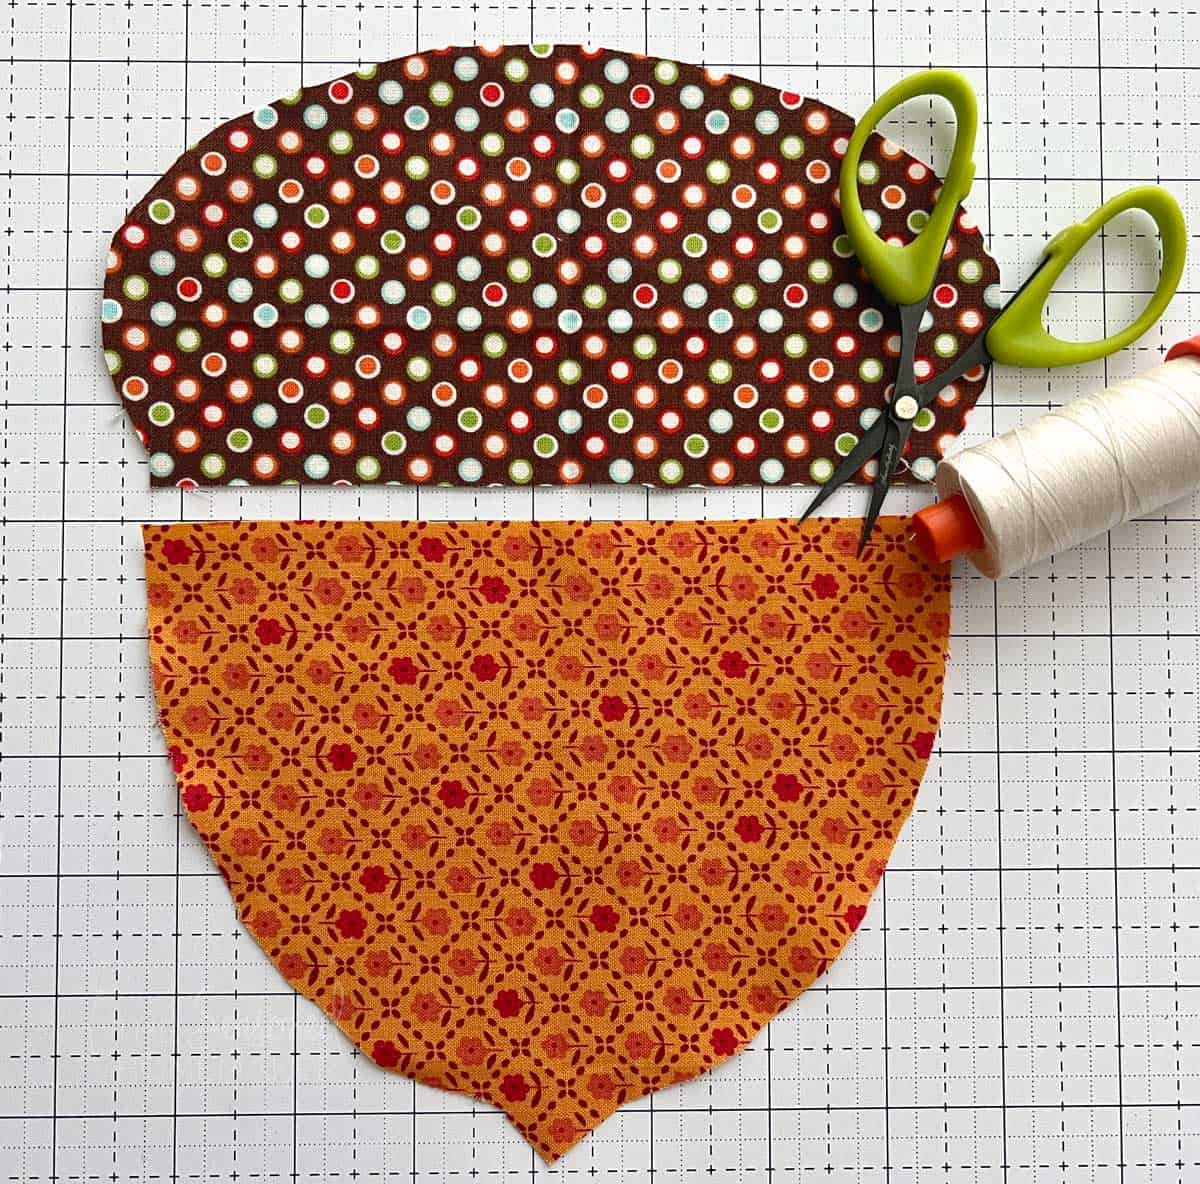
- Set stitch length to 2 mm and use a 1/4″ seam allowance.
- With right sides together, connect the Acorn Top to the Acorn Bottom.
- Press the seam and set aside.
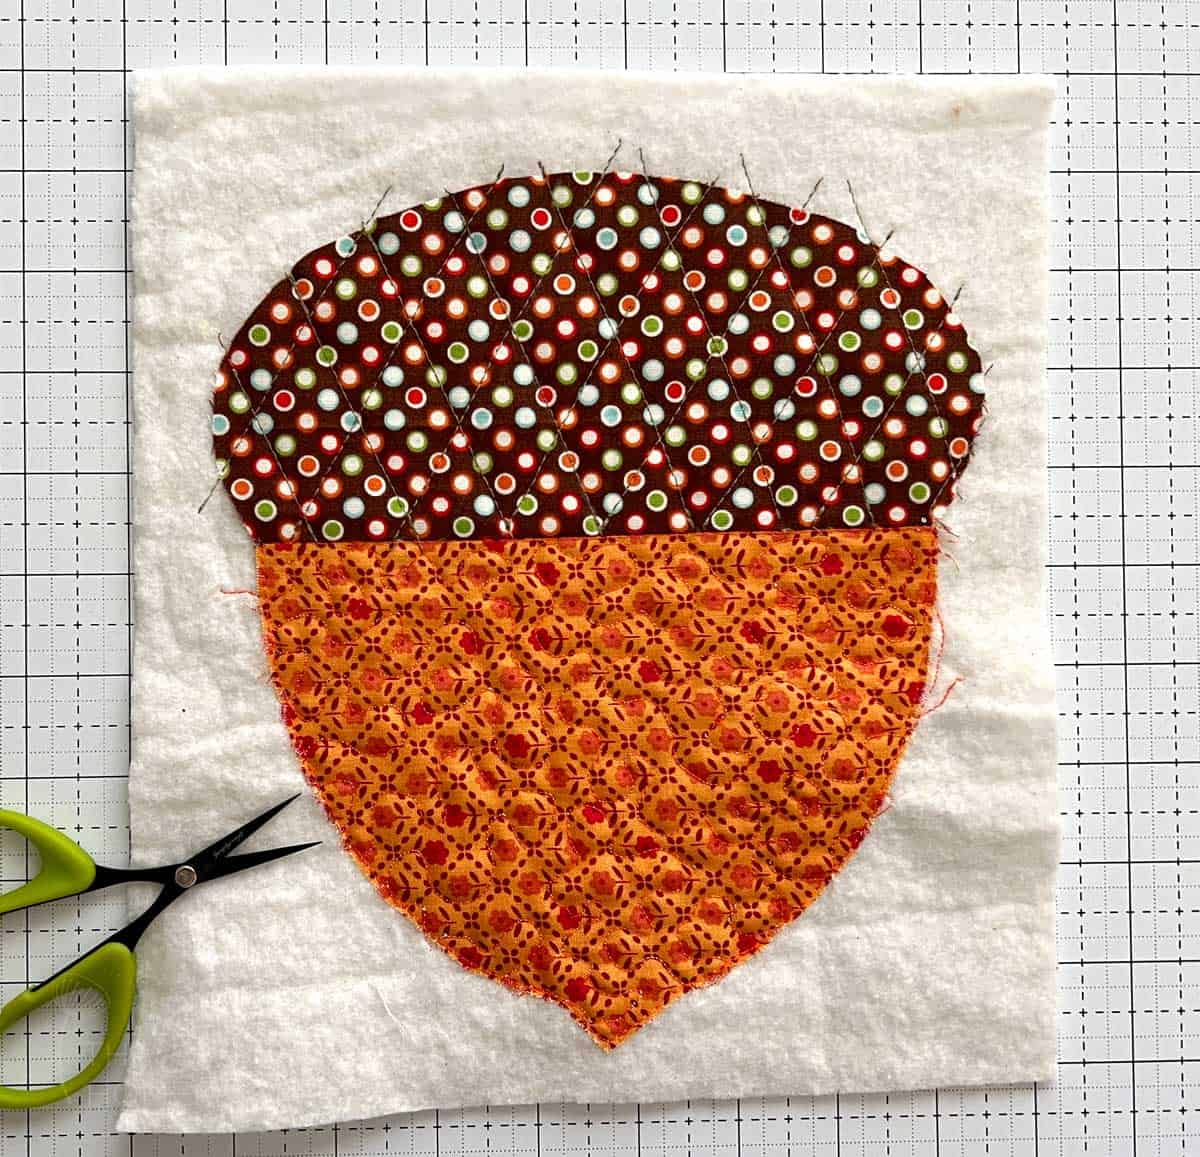
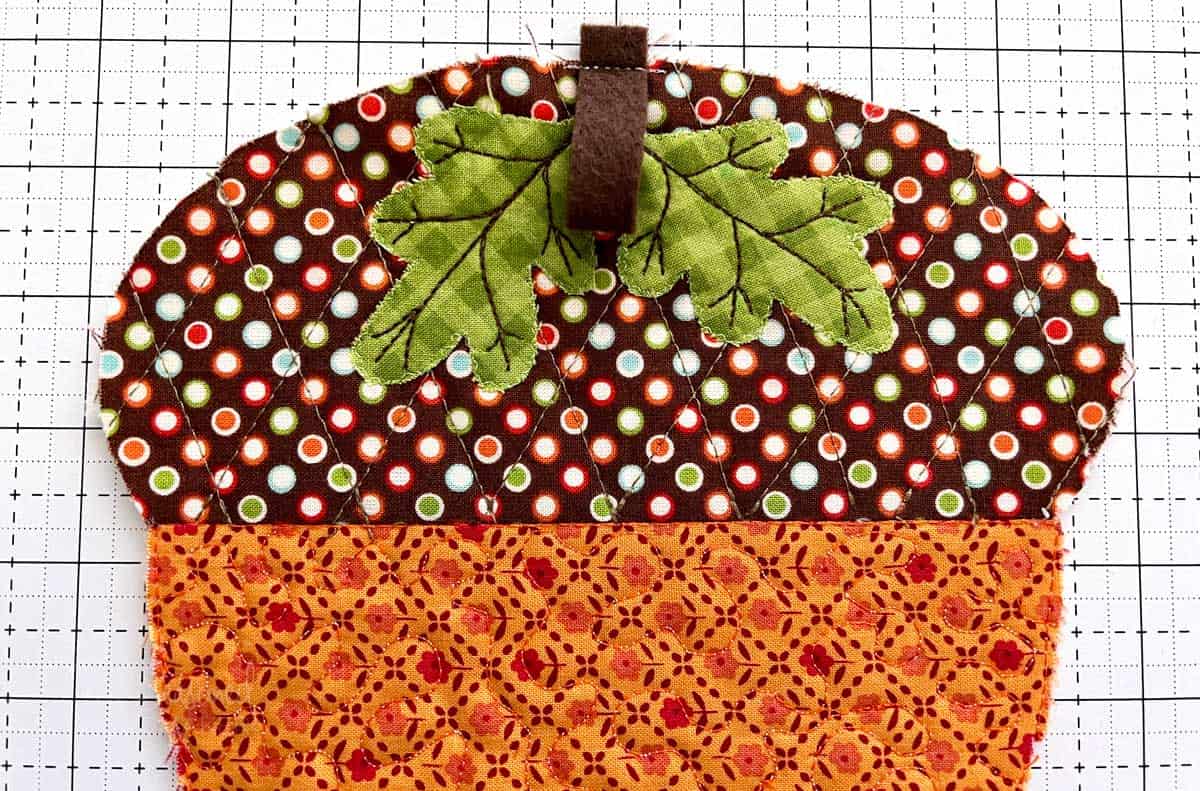
Step 5: Quilting the Coaster Top
In this step you will be quilting the acorn coaster to the batting. I recommend something simple like a diagonal or straight stitch quilting design.
- Place the Acorn Front onto the piece of 10″ x 10″ piece of quilt batting. Pin to hold in place.
- Quilt in any manner desired.
- Once quilting is finished, trim away excess batting.
Note: Notice how I used two different types of quilting below. Have fun with this project and get creative!

Step 6: Applique the Oak Leaves
- You will be adding oak leaf appliqués to your acorn. If you’re new to applique I have several tutorials that demonstrate this. You can find them in the Applique section of the website. I also have an eBook with more details on applique.
- Cut out the Leaf templates.
- On the back of the Wonder Fuse, trace two leaves. Watch the direction, they may need to be reversed.
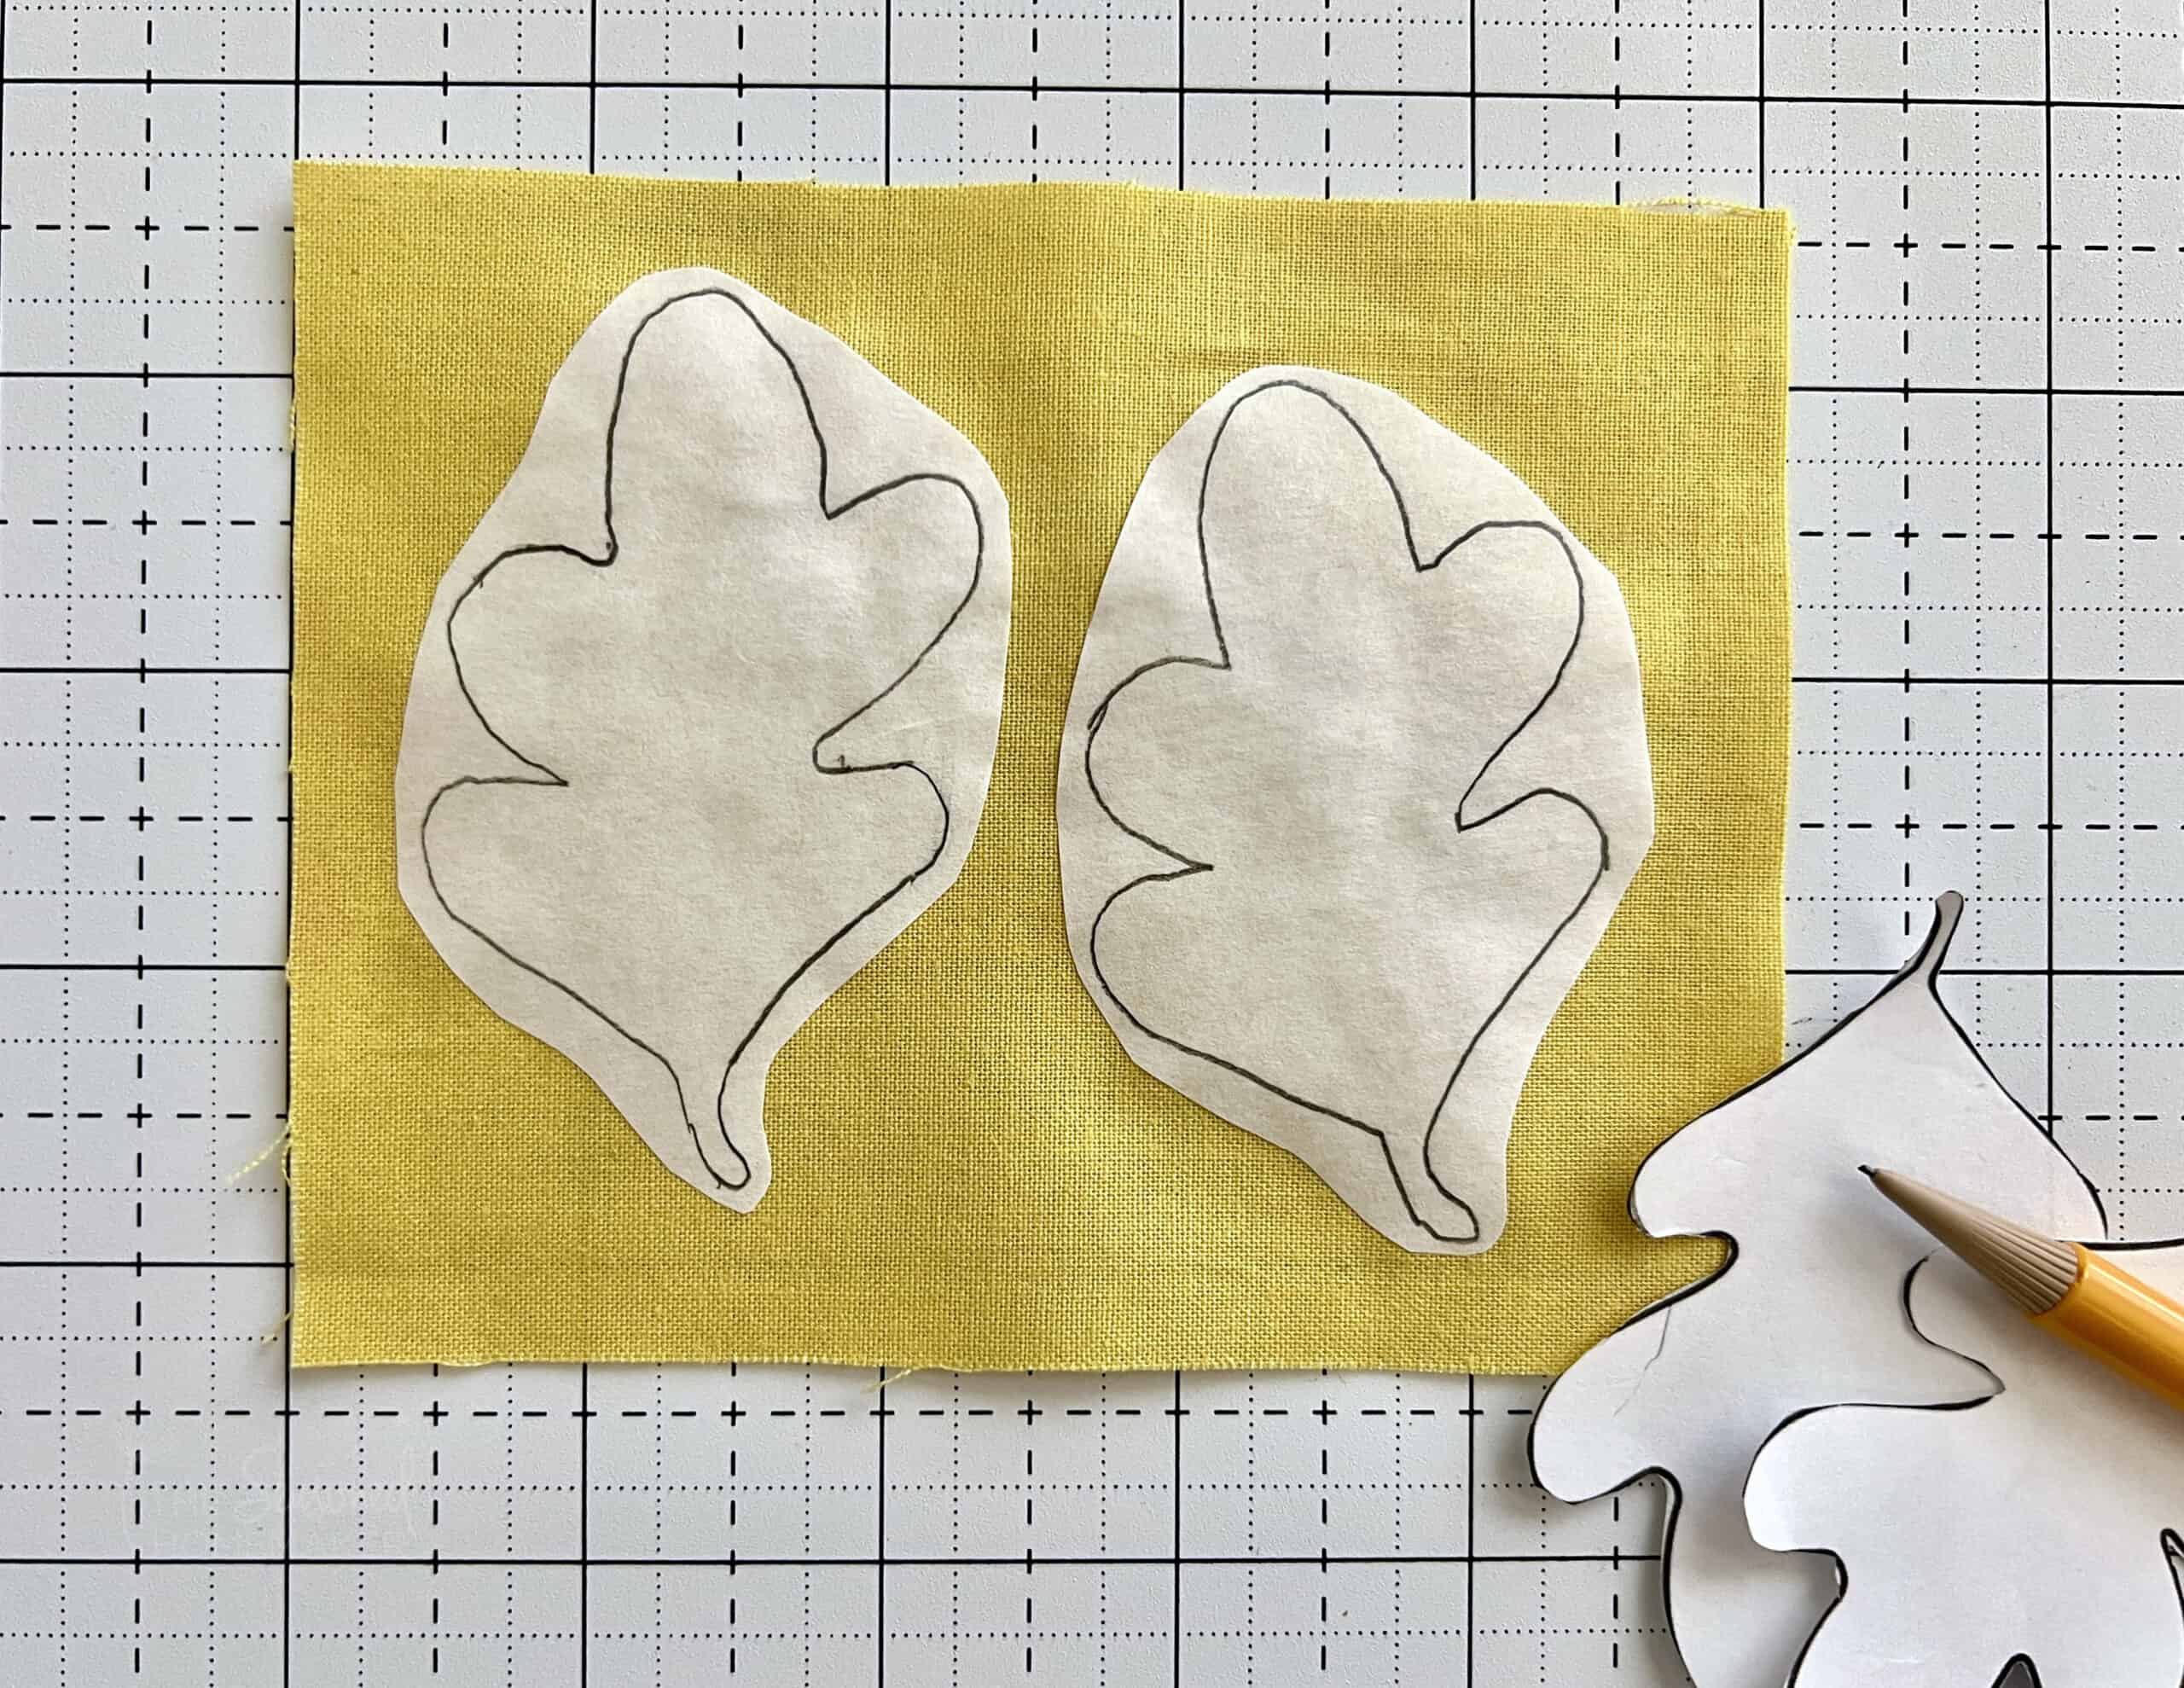
- Rough-cut around the leaves, leaving at least a ¼” margin.
- Fuse to the back of the leaf fabric. Let cool.
- Cut out leaves on the traced line and remove the paper backing.
- Mark the center and fuse the leaves to the Acorn. Note: Be sure to place leaves below the 1/4″ stitching line so they don’t get sewn into the seam allowance.
- Using a water-erasable pen, draw leaf veins inside the leaves and stitch in a contrasting color.
- Straight stitch or micro-zigzag the leaves to the Acorn Top. Straight stitch on the leaf veins

Step 7: Making & Attaching the Stem
- For the stem I recommend a piece of wool felt which will give it a nice Fall feeling. Feel free to make a stem using a piece of brown fabric. It should be approximately 1/2″ wide.
- Take the stem piece and make into a loop by matching raw edges together.
- Pin the stem loop to the right side of the apple coaster top with raw edges matching. Be sure the stem raw edges extend about 1/4″ beyond the raw edges of the acorn. Baste to hold.
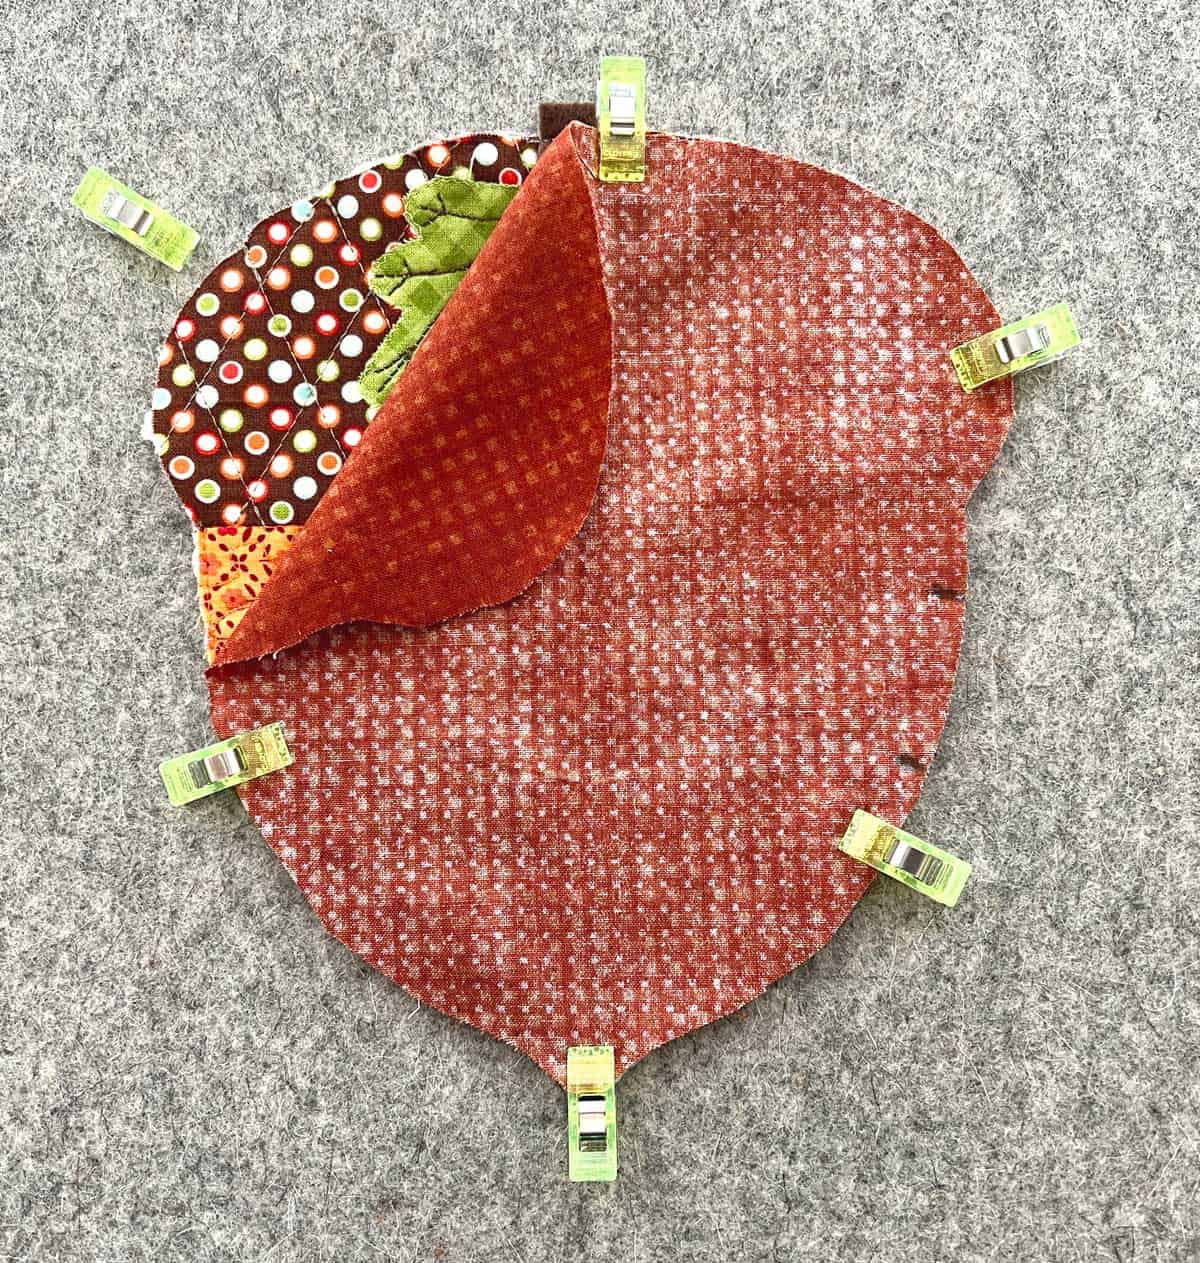
Step 8: Stitching the Layers Together
Note: After quilting the front you may notice that the back is slightly larger. Before attaching right sides together, line them up carefully and sew from the quilted side using a 1/4″ seam allowance.
- Place the Acorn Backing fabric right sides together with the quilted acorn coaster top. Pin or clip to hold.
- Leave a 1-1/2″ opening on the side for turning.
- Using a 1/4″ seam allowance stitch around the acorn. Be sure to backstitch at the start and stop.
- Clip curves and turn right side out. Press.
- Blind stitch the opening closed.
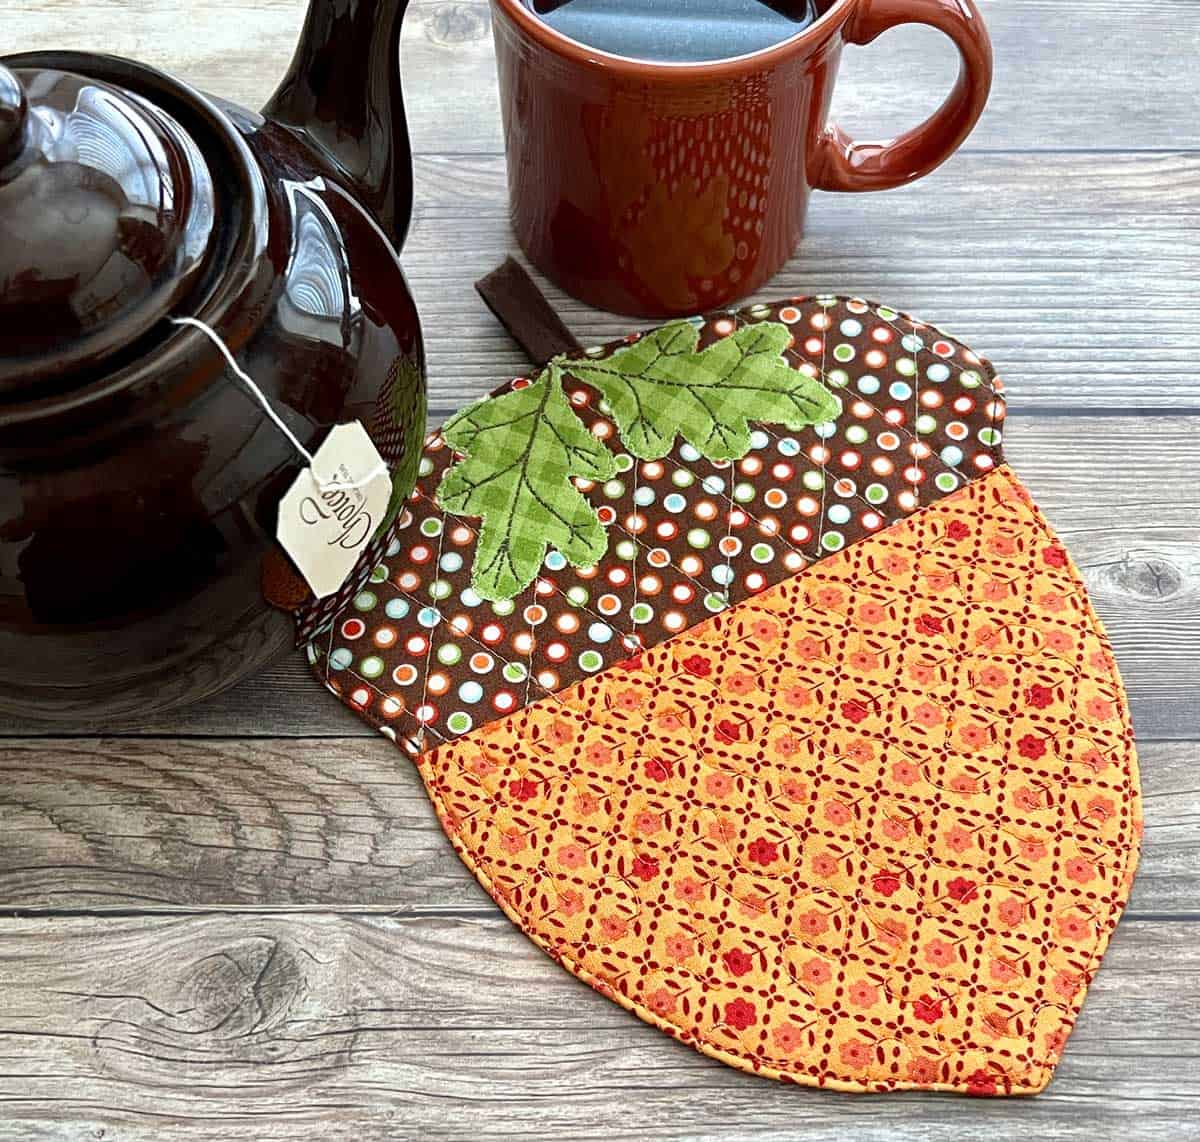
- Top stitch around the acorn coaster using a 1/8″ seam allowance. Press one more time.
Wasn’t that easy! Create a collection of acorns in a variety of colors! And be sure to share with your friends!
>>> Want an ad-free, printable version of this post – including two sizes of Acorns? Click the pink button below and download the Printable PDF instructions .
SO festive…easy and charming! Thanks for sharing this tutorial 🙂
This comment has been removed by the author.
These are adorable and would make really cute hot mats, too! I really like the larger backing piece and the tip to sew on the quilted side-so helpful!
Sorry, I just left a comment then deleted it because I was accidentally signed in under my husbands account but I LOVE these acorn coasters so much! They are too cute thanks so much for sharing such a wonderful tutorial! Have a great weekend!,
-Kayla 🙂
These are sooo adorable! I’m an Alpha Gamma Delta and our mascot is a squirrel, so I LOVE all squirrel things!
I really love those! So perfect for fall!
These are adorable! And something maybe even I could sew! Thanks for sharing!!!
Sweet!
They match your pumpkin perfectly….
Now all we need is some warm apple cider…..
Hi Leslie, I love the colors in these coasters with the mug colors, so very pretty! Thank you for sharing.
Have a good day, Nancy
These are too cute! I need to go raid my fabric stash when I get home to see if I can make some. Love them! Thanks for the tutorial and template.
Those are just charming! Thanks for linking them up on Super Sweet Saturday.
Stephanie
swtboutique.blogspot.com
Those are so flippin’ cute! Thank you for sharing this at my Make it Pretty Monday party at The Dedicated House. Hope to see your prettiness again on Monday. Toodles, Kathryn @TheDedicatedHouse
Cute!
These are soooo cute. I bet they would look great on an autumn dress.
Super cute!
You are a featured favorite this week on Saturday Show & Tell on Cheerios and Lattes! Thanks for sharing this last week, we can’t wait to see what you’ll share this week! Have a great weekend!
Mackenzie 🙂
These are so cute! And look pretty quick and easy to make. Pinning these to make later! 🙂
These are adorable! Very easy to make! Thanks for sharing 🙂
What a cute idea! The coasters are lovely, beautifully made! Perfect for a fall table! 🙂
Those are adorable! I KNOW I have fabric I can use to make these…I think we might end up with acorn coasters in our house this fall!
Stopping by from Wine’d Down Wednesday:)
Oh my gosh, how cute are those! You did a wonderful job on them. I may have to bust out my sewing machine and get to work on them. Thanks for sharing the tutorial and linking up to Thrifty Thursday.
These are simply sweet and would make a great addition to a Thanksgiving tablescape! I wish I had the patience to do these by hand (I don’t own a sewing machine)
Just saw this craft for the fall…. and the template is gone.
Looking forward to your new posts.
I just ran across this pattern today for the acorn coasters. I can’t seem to be able to download the pattern. I am really interested in making some of these, however the site that the link takes me to has me sign up, but IF I did get it downloaded, I sure can not figure up how to view the pattern or even print it out to use. Please email me the pattern so I can make these adorable coasters.
Thank you.
This is just too cute!! Thank you for the pattern, I can’t wait to make these! 🙂
Would love to make. I tried to download pattern and says it has malware attached.
Cindy
These are sooo cute!! Definitely giving it a shout out on Twitter this Wednesday, @Estimake! 🙂
Those are so cute! I have no crafting skills at all, but I could ask my mother-in-law to help. We have fun doing an occasional project together.
These acorn coasters would make cute gifts. I bet I could use extra batting and use them as potholders too. You could also make a smaller one and decorate a tea towel. Then you’d have a whole set of acorn kitchen decor. Adorable pattern. I’m going to pin this one on Pinterest.
These are so cute!–perfect for fall!