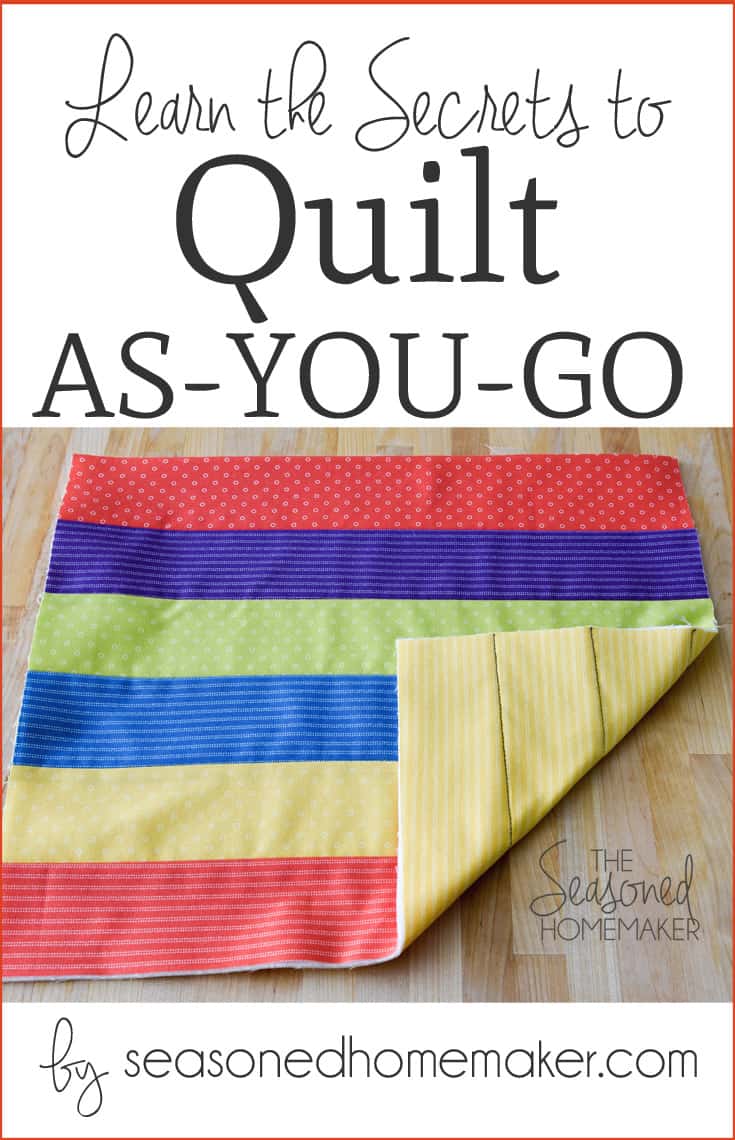
Fast & Easy Quilting with Quilt As You Go
This post may contain affiliate links which won’t change your price but will share a commission.
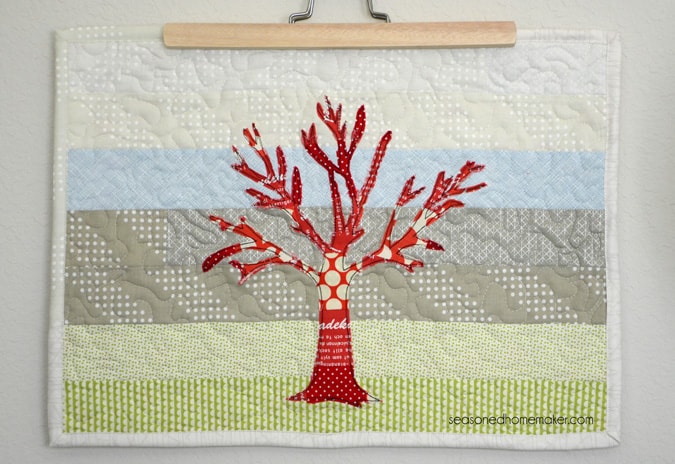
In my previous post I reintroduced you to a simplified method of quilting called Quilt As You Go (QAYG).
QAYG is an easy way to quilt and assemble an entire quilt without having to wrestle it through small domestic machine. One of its greatest benefits is the ability to do dense quilting before putting together an entire quilt.
Why Quilt As You Go?
If you love to sew and quilt but don’t have a lot of time or space, QAYG is the perfect solution because you are only working on one block at a time. Your sewing space won’t be overrun by fabric and supplies spread out everywhere. You can easily cut out, sew, and quilt a project in a very small area.
The QAYG method is great for people who don’t own a large sewing machine with a wide harp. Because you are working with individual blocks, any machine that sews a straight stitch will work. This technique is also perfect for people who suffer from arthritis because they will not have to work on a large quilt all at once.
There are two basic methods of QAYG. In QAYG Method #1 you quilt the block and batting first before attaching them to the backing. In QAYG Method #2 you quilt the top directly to the backing. Both methods work well when applied to the right project.
Quilt As You Go Method #2
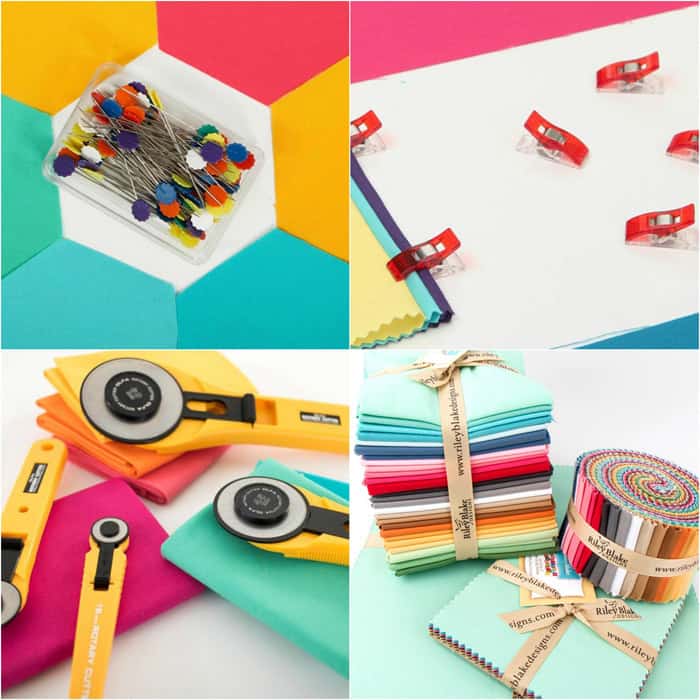
With this method of QAYG there are a few different directions to take. I’m going to demonstrate the simplest way to do this. I find that a pre-cut jelly roll is ideal for this project because it includes a matching set of 2 1/2″ strips, making the project fast and simple.
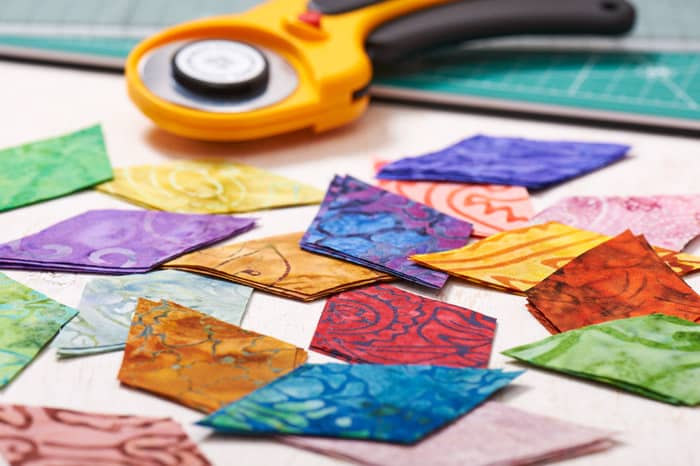
It’s totally possible to create a scrappy look for your project; but for the sake of demonstration, I’m sticking with the 2 1/2″ strips.
The first step in QAYG Method #2 is to think about the overall project. With this method you will be attaching strips directly to the batting and quilt backing. That makes it ideal for projects like table runners and place mats that only need binding once completed. This method is also ideal for a bound zipper bag project like this one.
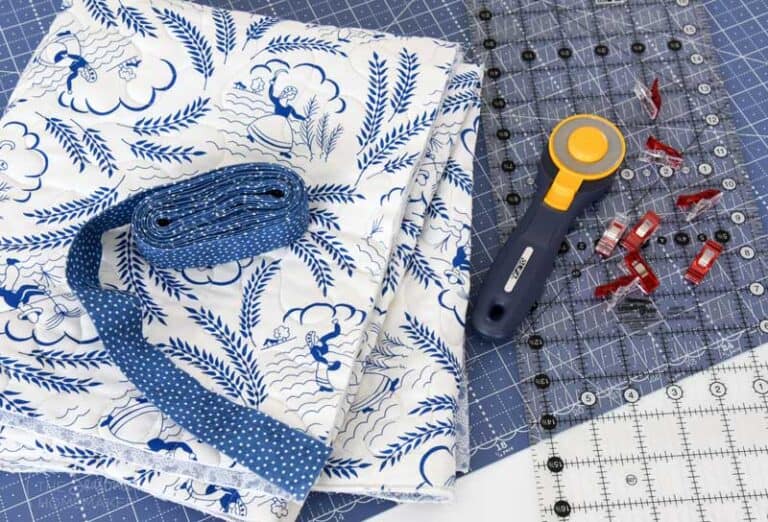
You will need to cut out the quilt back and batting for the size of your project. This is vital because you will be attaching and quilting your fabric strips at the same time you’re creating a block. For the sake of demonstration I’m using a 12 x 12 block, however, if you were making a placemat you would want to cut your quilt back and batting to approximately 13″ x 19″.
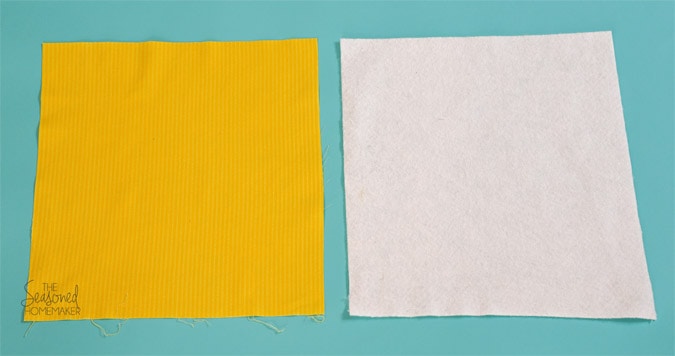
Lay the quilt backing on top of the batting with the WRONG side of the backing facing the batting. This will be the actual back of your quilt so you want it to be square and line up.
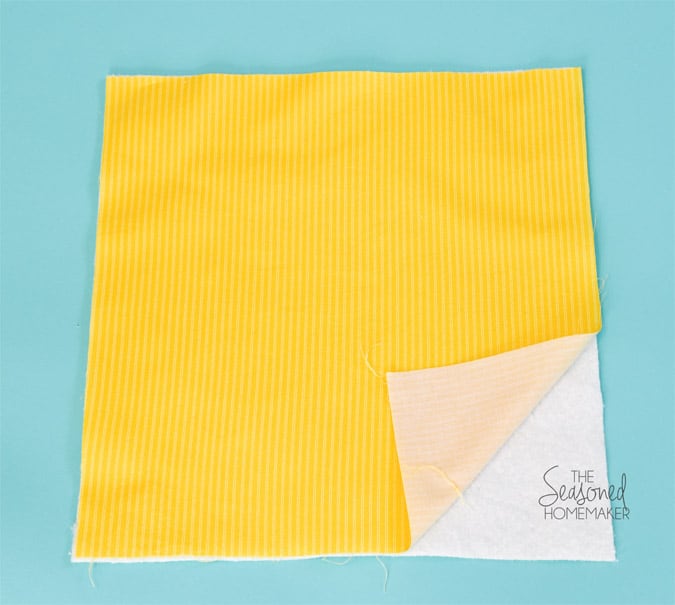
Take your first strip and lay it WRONG side down on the left edge of the quilt backing/batting sandwich.
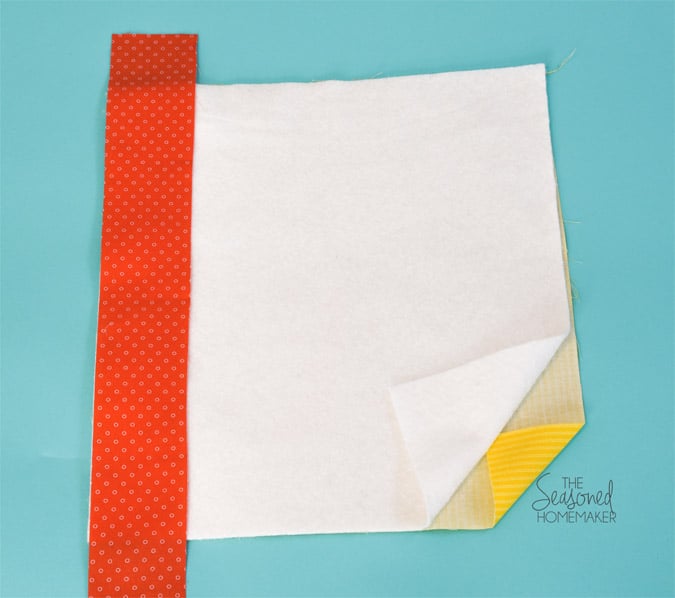
Now, lay a second strip RIGHT sides together directly on top of the first strip.
Using a 1/4″ seam allowance, stitch on the right edge of these two pieces. I’m using black thread so it will show up in my images. If you are using this method for a project I suggest using a matching thread.
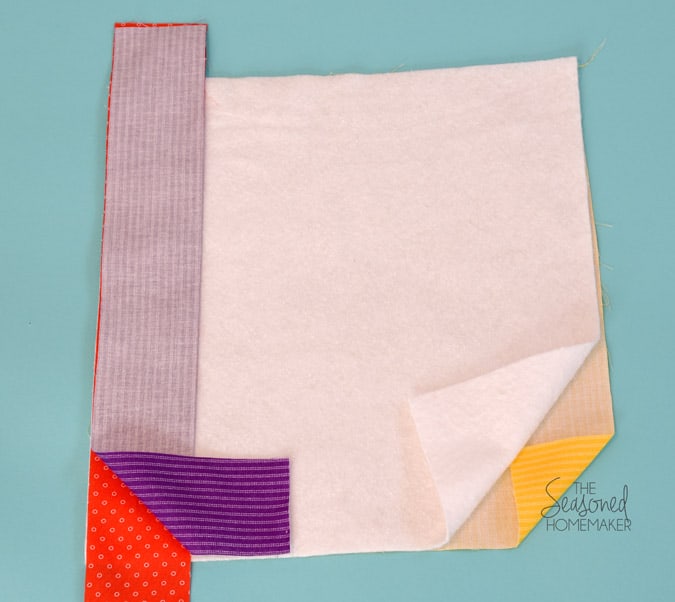
Next, flip the top piece to the right and press.
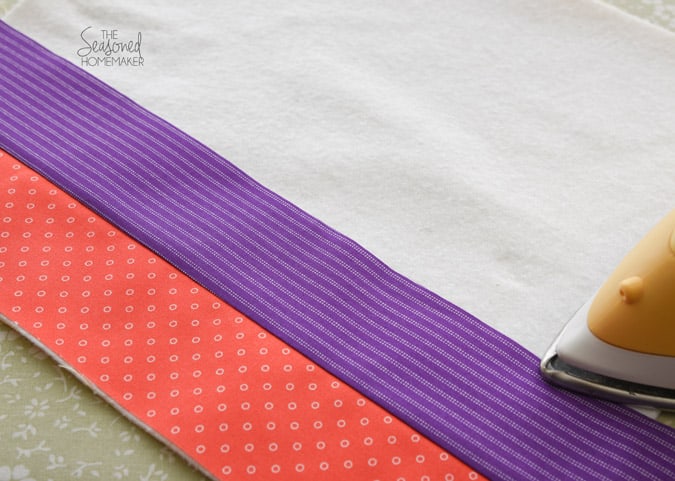
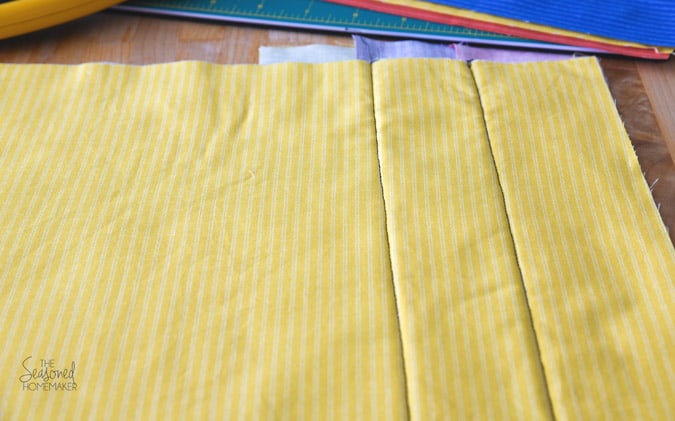
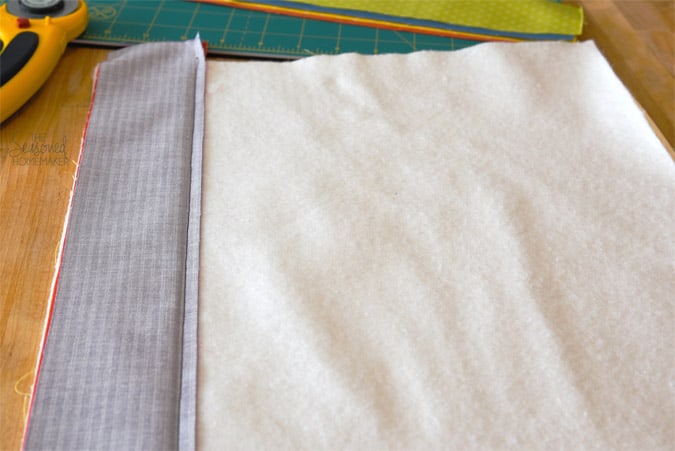
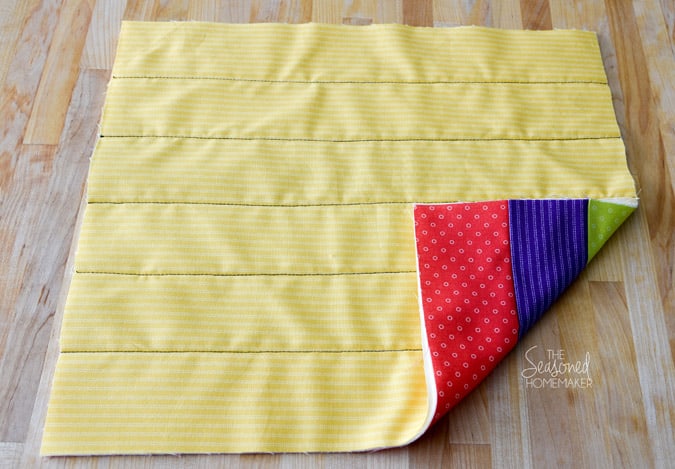
The back of your quilt will look like this. When working on your own quilt, I would recommend using a thread that blends well. Also, your quilting won’t show up as much if you use a printed fabric for your quilt backing.
Continue to stitch and flip all of your strips across the block.
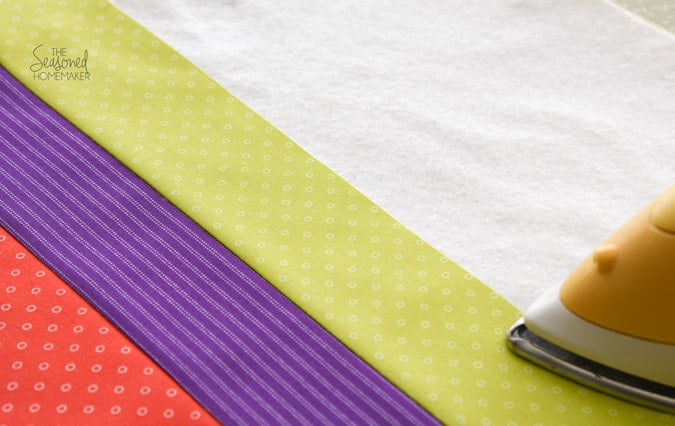
That’s really all there is to this method. Stitch and flip, stitch and flip, done.
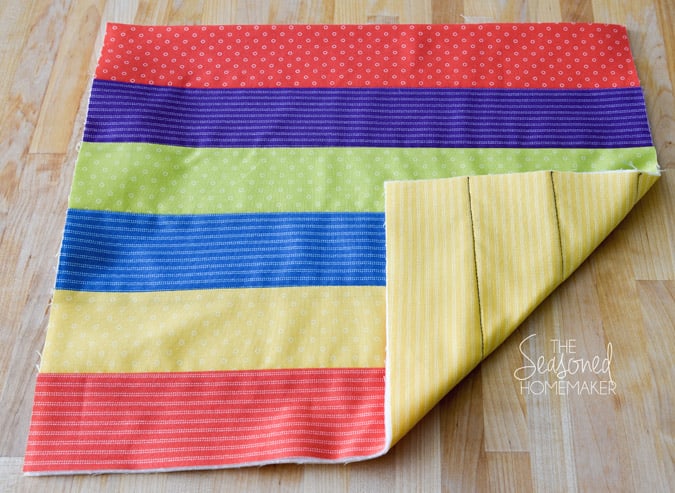
All that’s left to do is trim and add the binding and you’re done.
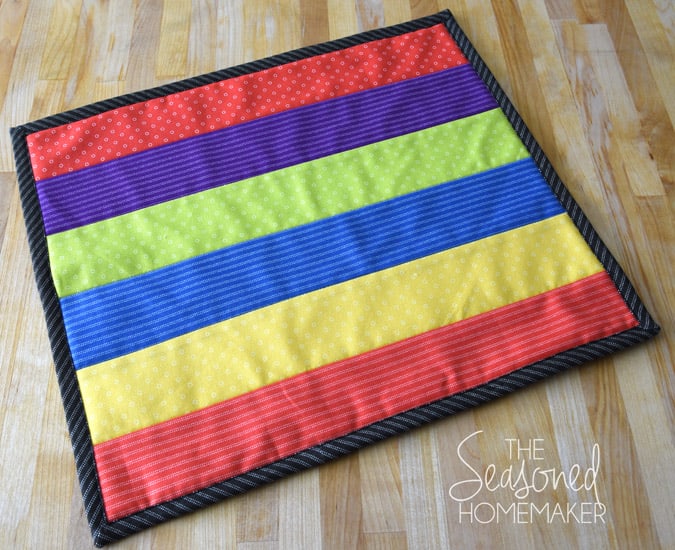
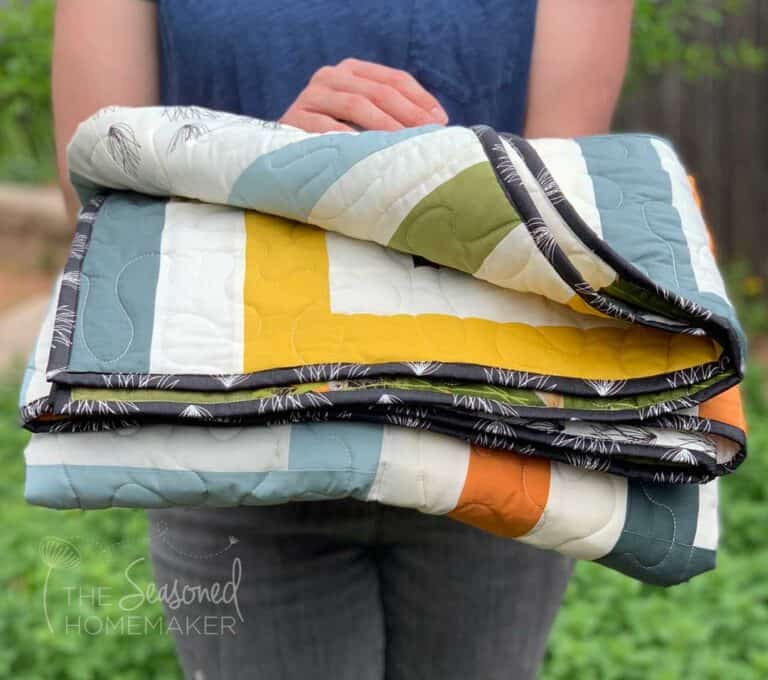
This method is ideal for making something like a table runner or placemats. Once all of your fabric strips are attached all you would need to do is square up and bind. Your project would be fast, simple, and best of all ~ finished.
Another great use for this QAYG method would be a pillow sham with a quilted top. Assemble a pillow top block like above and then use it as the front of a pillow. Sew your pillow together using this simple envelope pillow tutorial.
What if pillows and table runners aren’t your thing? This method is a great way to take a simple bag pattern and turn it into something unique to you.
Final Thoughts…
There is one more method of QAYG used to create finished blocks. Once quilted, the blocks have to be assembled in a complicated way that involves adding sashing strips to the front and the back. It seems like a lot of extra work and in the end wouldn’t save you a ton of time so I’ve chosen to not go into that subject.
Instead, I’ve highlighted QAYG Method #1 and this method as excellent ways to quilt both large and small projects efficiently and economically. Both methods don’t require a ton of space or high-end equipment.
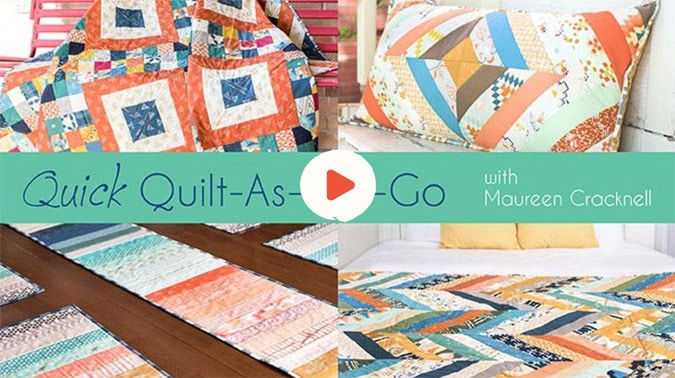
If you want to know more about QAYG Method #2, I highly recommend Quick Quilt-As-You-Go on Craftsy by Maureen Cracknell. I’ve taken the class and can highly recommend it. The instructor does a great job of explaining how to quickly turn these methods into finished quilts.
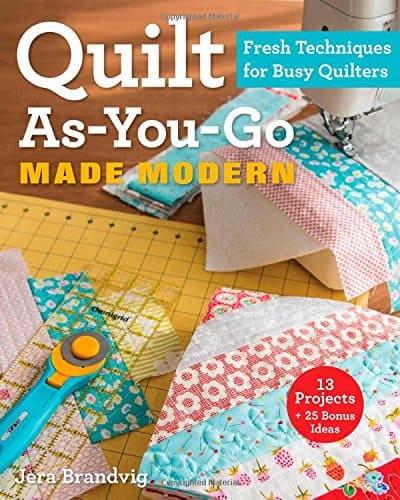
If you learn better with a book, I recommend Quilt-As-You-Go Made Modern by Jera Brandvig. There are some fun projects in the book that I hope to some day complete. Hint: I purchased my book at Joann’s using a 50% off coupon!
For anyone wanting to dip their toes into the world of quilting, Quilt-As-You-Go is ideal. Start with a simple project like a pillow sham or placemat. Once you understand the process, creating your own projects will be a snap.