How to Make a Lettered Appliqué Mini-Quilt
This post may contain affiliate links which won’t change your price but will share a commission.
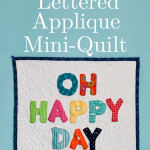
Inside: How to Make a Lettered Appliqué Mini-Quilt
If you regularly haunt Pinterest you may have seen a lot of quilts with letters and sayings on them. I am totally in love with them and thought you might want to see how easy it is to express a thought or say something clever on a quilt.
Choosing a Font:
Whenever you’re making any appliqué lettering, the font you choose makes a difference. The font can be a little wonky like the one below, but it should never be full of script-y flourishes.
You can take cursive fonts and enlarge them as long as they are simple. Be sure to tape the letters together to form the word before you trace.
For this project I created a mini quilt with simple letter appliqué. Follow along as I go through the steps below.
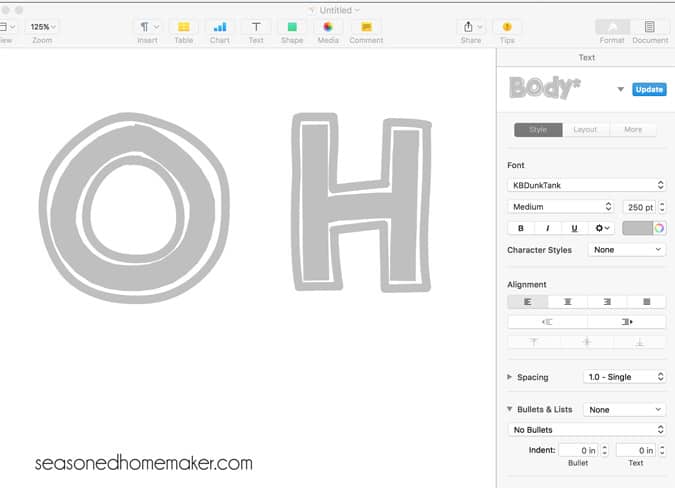
Step 1:
For my project I chose the free KB Dunk Tank font and increased the size to 250 pt. Keep in mind for this project you only need to print out these letters: O, H, A, P, D, and Y once. Print out your letters.
Step 2:
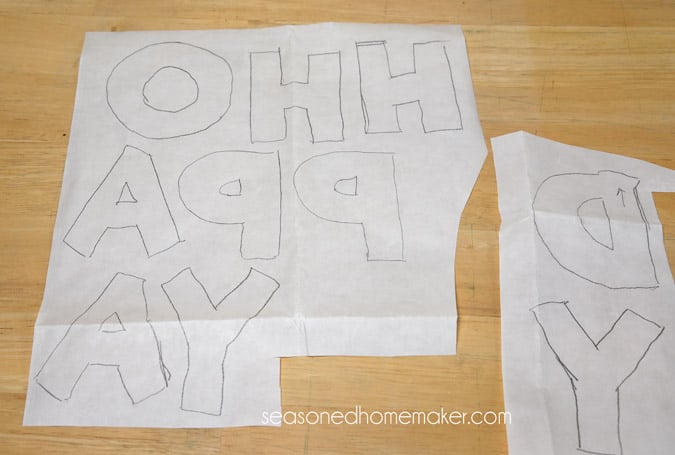
On the paperback side of a fusible web product like Heat ‘n Bond Lite, trace your letters. Be sure the letters D, P, and A or traced backwards!
Step 3:
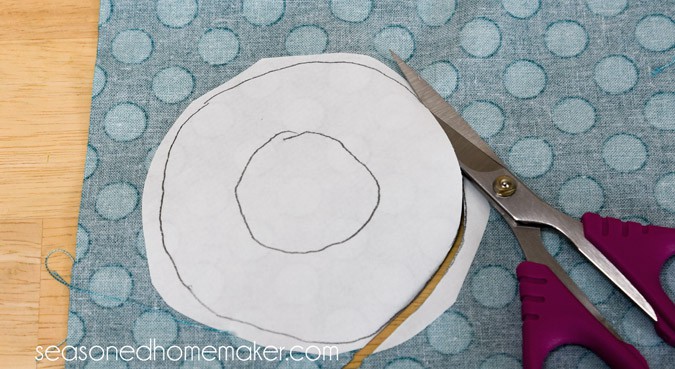
Press the fusible side of your letters onto the wrong side of your fabric. Once completely cooled, cut out the traced letters.
Step 4:

Lay out your letters onto your background fabric. In order to keep my lettering straight I used a large cutting mat and quilting rulers. I carefully placed my letters onto the background fabric and pressed them in place.
I used a piece of white-ish linen for my background fabric and cut it into a fat quarter size of 18″ x 22″. Because the linen is so ravel-y I serged the edges.
If no linen is available, a lightly patterned fat quarter will also work. I used the linen because I wanted to try quilting on it. There is this slight natural sheen on the linen that was unknown-to-me-before-this-project. We’ll just call that a blind-squirrel-finds-a-nut moment.
Step 5:
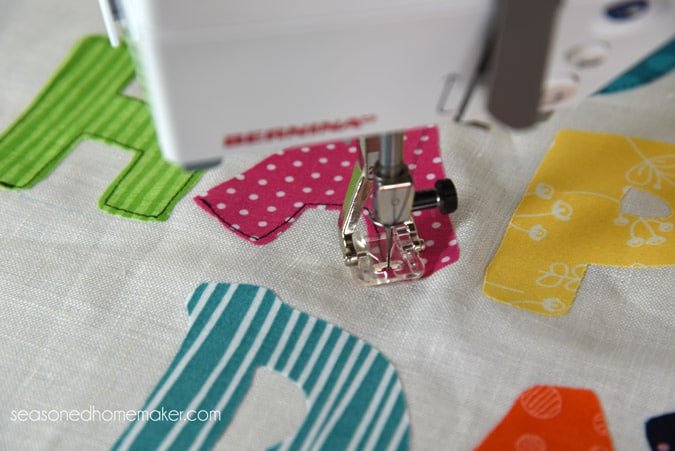
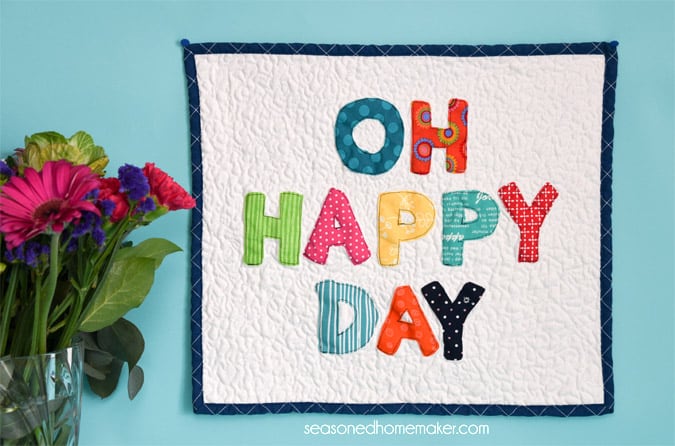
Stitch down the lettering. I used a straight stitch and black thread to secure the lettering. I think the black thread makes the letters stand out a better. But this will ultimately be determined by the wording on your mini-quilt.
Step 6:
For some reason unknown to me I didn’t get a photo of the quilt sandwich or my quilting. This photo will have to do.
I used a similar fat quarter for backing and a Hobbs Heirloom Fusible Batting scrap. Small projects like this are ideal for fusible batting!
For my free motion machine quilting I chose to do a small scale stippling and (for the first time) I feel like my machine quilting isn’t an embarrassment.
The quilt is bound with a scrap of fabric from my stash.
The project was fast and easy and I love the feeling I get every time I look at it.
I’ve included this short video that gives a brief overview of applique.
If you want to further develop your appliqué skills, check out my eBook:
Applique Made Easy: A Beginner’s Guide to Simple Appliqué Techniques