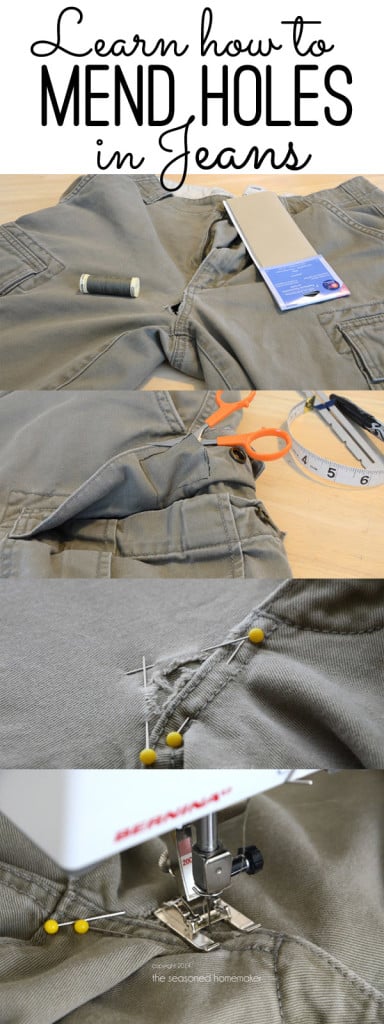
Mending Holes in Jeans
This post may contain affiliate links which won’t change your price but will share a commission.
Somewhere along the way you are going to rip or tear a favorite garment. And, if you live in Newfoundland sometimes Mending Holes in Jeans {or any type of garment} becomes a necessary skill.
When we were in Newfoundland Mr. B asked me if I could fix a tear in his favorite pair of Eddie Bauer cargo pants. For most of us, getting a tear in a pair on pants would mean ordering a new pair of pants and moving on. However, if you live in a very small town on the absolute edge of North America, that might not be possible.
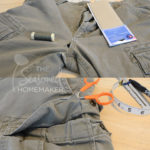
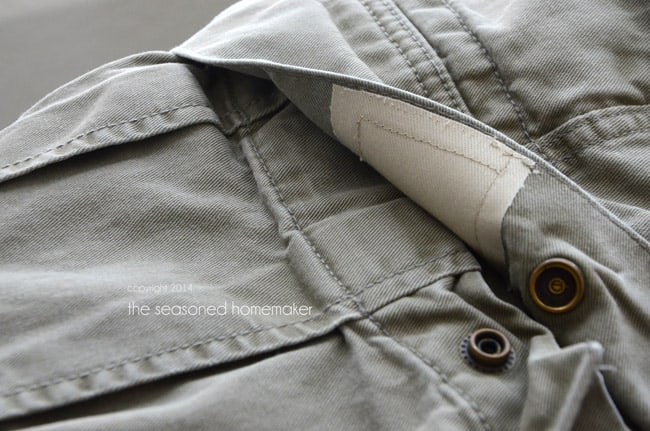
Here’s what we have. A weak spot in the fabric gave way to a tear which pulled away from a very well-sewn seam. This type of tearing happens all of the time on seams with double stitching. The seam holds, but the fabric gives way and makes a tear.
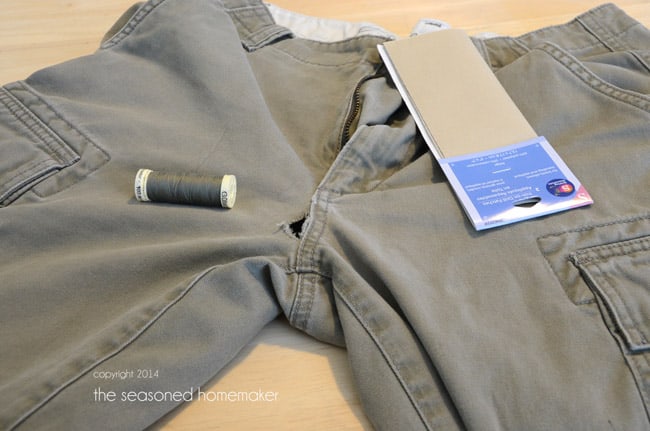
That means there is no fabric that I can pull into the seam. Since I lack any sort of magical fabric-cloning skills and I have no fabric fairy dust, I am forced to take other measures. What this repair needs is an old fashioned patch. However, notice the location of the tear. Some sort of cute, stand-out fabric patch is going to be ~ well, let’s just say it ~ vulgar. This repair requires fabric that is a perfect match. I am going to have to rob a piece of fabric from somewhere on these pants in order to create a patch.
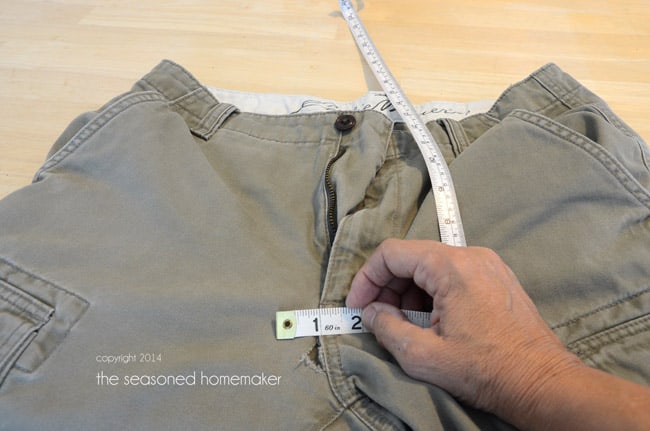
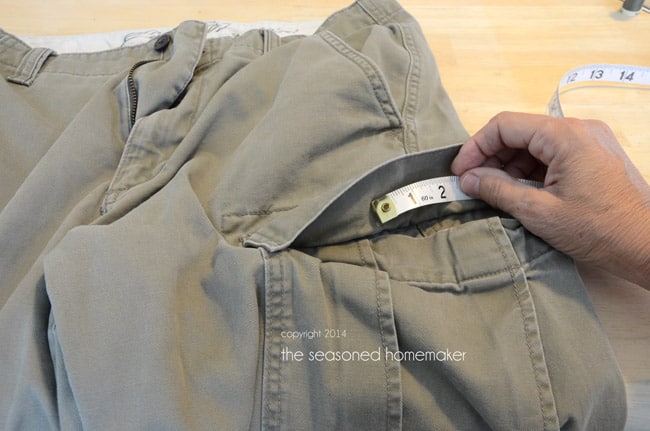
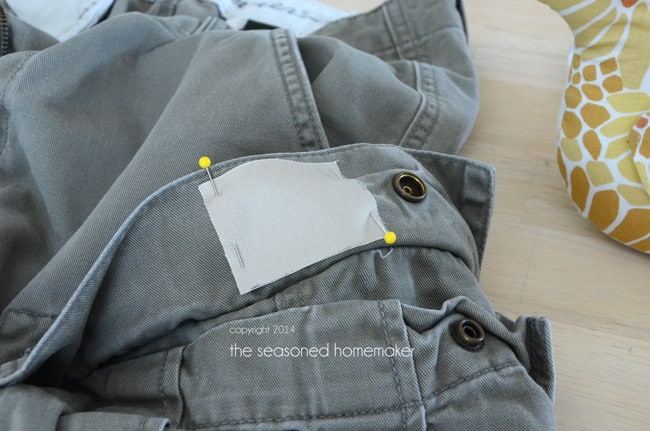
The last thing I want to do is cut a patch that is too small. First, I measure the size of the tear. That way I can look for places like pockets and hems to find enough fabric for this patch.
I have decided to try robbing from the underside of the pocket flap. There is just enough fabric on the inside to make a decent patch. Another option would’ve been to take fabric from the back of the pocket. Even after repairing this it still would’ve left a weak spot in the pocket. Since phones and wallets are likely to be in the pocket, I didn’t want to weaken it in any way. The pocket flap seemed like the best option.
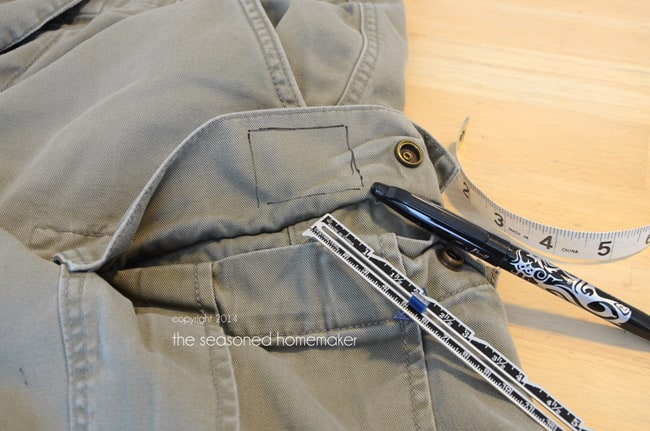
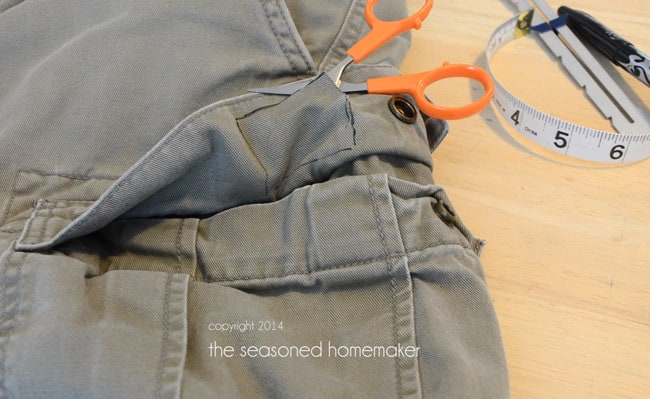
I measured, marked, and cut out the patch. I had hoped to get 2″ x 2″, but had to settle for 2″ x 1.5″. Notice the brass snap. Trying to avoid getting close to the snap was also a huge challenge.
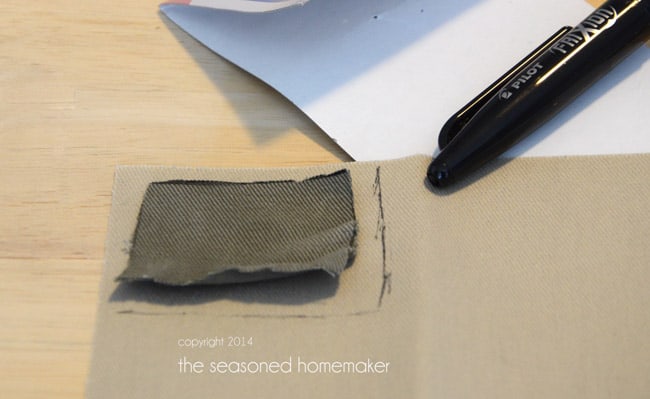
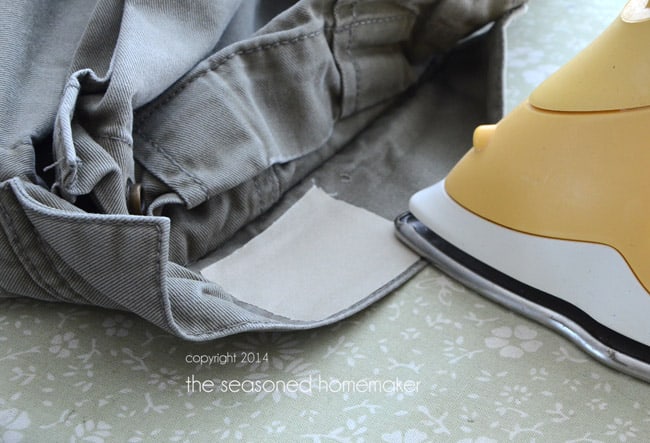
Cutting out a patch meant I now had two areas to repair. For the inside of the pocket flap I decided to use one of those iron-on patches. I cut it slightly larger than the patch because it was going to only get ironed on and straight stitched down.
Next, I positioned the patch over the newly made hole and pinned it in place. It’s really hard to tell, but the iron-on patch barely covers the opening.
Next, I ironed the pocket flap patch according to the package directions.
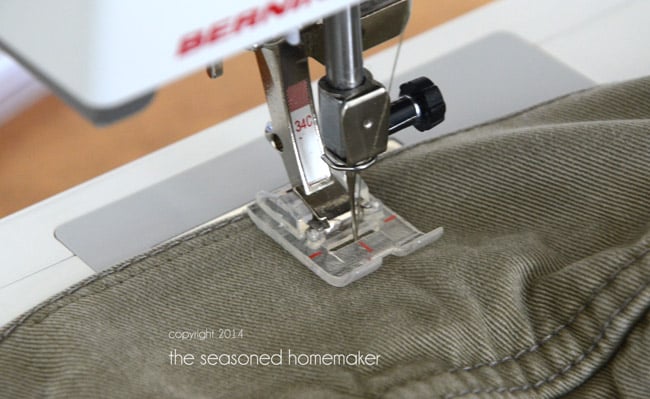
Most of the iron-on patches really don’t require any additional stitching. However, they have a tendency to pull away and I wanted to make the pocket flap not look so much like a repair job, so I went with a straight stitch hoping to make it look like there was some sort of tag on the other side. With these types of repairs, you can only do so much, but it is always worth the effort to try and make the repair look as good as possible.
The biggest challenge here was that darn brass snap. I had to rip out my stitches here and there in order to get the patch stitched down.
On to the real reason these pants need mending. The challenge here is making the patch look natural while still making it strong enough to hold together until the next time Mr. B is able to buy a new pair of pants. I originally thought about adding a woven interfacing to this patch, but I felt like the patch might be too stiff and look unnatural. The idea here is try and make it as natural as possible.
I pinned the patch to the pants. Keep in mind this is a small area next to a heavy seam and my matching fabric patch is pretty small. There was some adjusting in order to get it on there. In most cases I would trim away the frayed fabric. However, this is such a delicate patch I decided to keep it and sew into it, hoping it would help with the fabric blending.
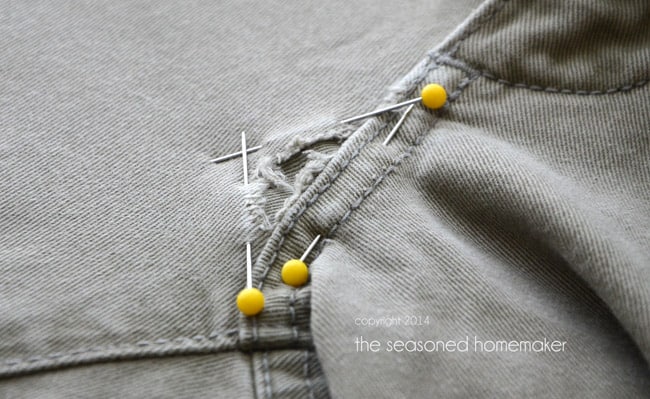
You know there is no such thing as a thread color called Son-in-LawFaded Loden Cargo Pants. Who knew that finding thread would be the biggest challenge here. Think about it, if the thread is too dark or too light, the patch will look ridiculous.
Sometimes I think the Thread Fairies plant magical thread spools in my thread box. How I had a spool of matching thread is beyond me, but there it was nestled amongst a sea of teal, emerald, and mint green threads. A perfect match.
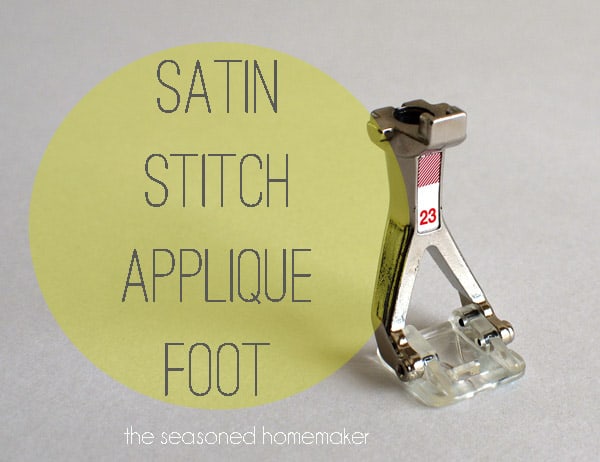
I put my Open Toe Foot on the machine in order to see exactly where I was stitching. I used a fairly open zigzag stitch and made sure I caught both fabrics.
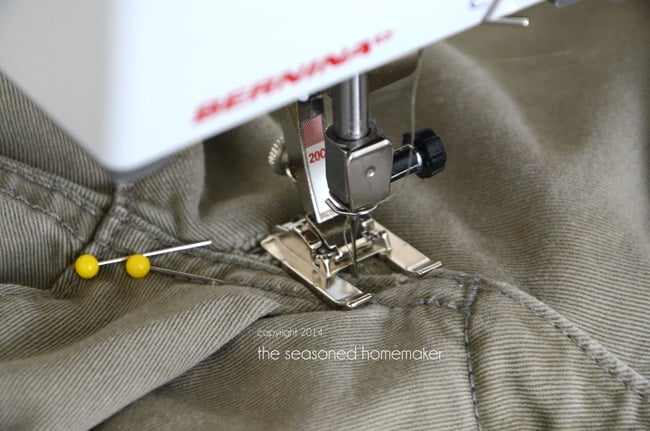
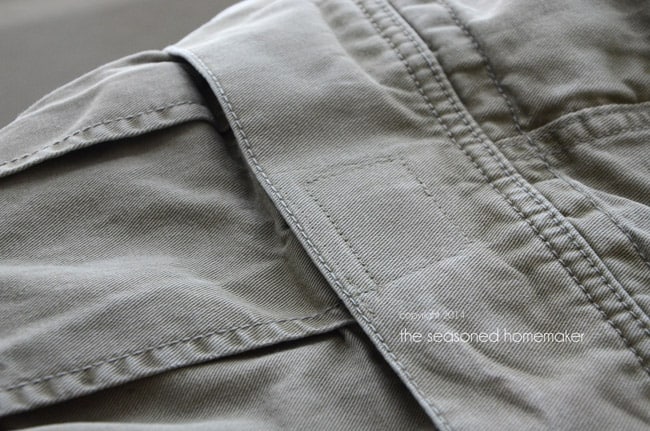
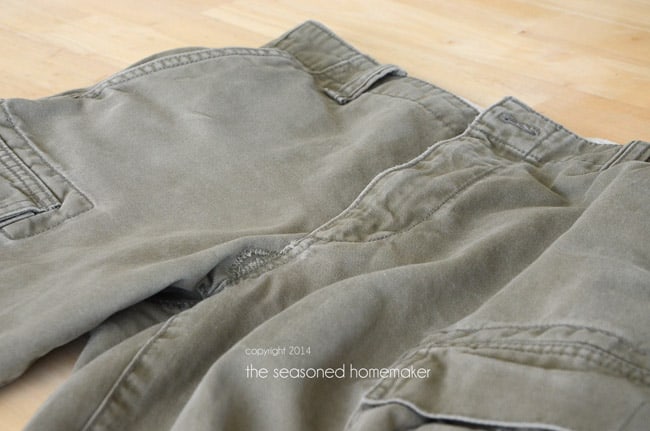
I tried to keep the repair as subtle as possible. This is the result. I trimmed away some of the frayed threads.

It’s still a little noticeable, but better than a hole. And, once Mr. B has on a t-shirt and sweater it will be hardly noticeable. Plus, knowing how remote things are in Newfoundland, I suspect lots and lots of folks have to patch and repair their clothes.
I’ve created a Pinable image for those of you who like to pin things.