DIY Tea Cozy Tutorial
This post may contain affiliate links which won’t change your price but will share a commission.

Inside: DIY Tea Cozy Tutorial
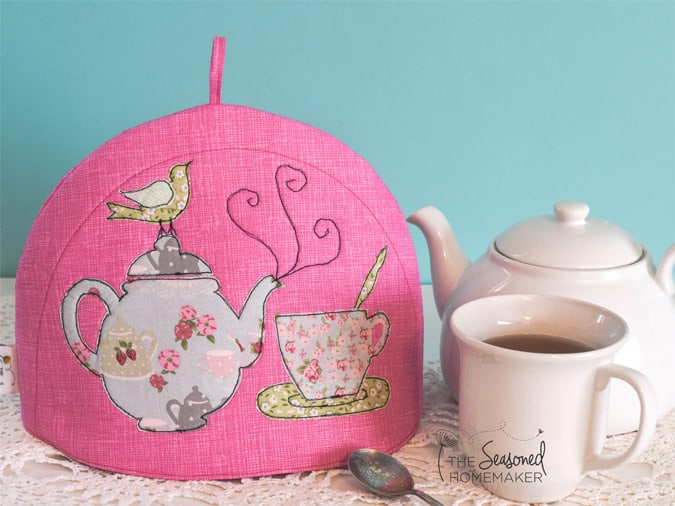
It’s time to sew something special for Mother’s Day. With this thought in mind, I’ve created a simple Tea Cozy Tutorial that anyone can make. I purposely made the design simple enough for beginners; however, the added appliqué makes it infinitely changeable.
Materials List:
This project doesn’t require much in the way of fabric, and many of you will be able to dive into your stash and find most of the needed supplies.
- 1/2 yard Exterior Fabric
- 1/2 yard Lining Fabric
- 1/2 yard 2-Sided Fusible Flexible Foam Interfacing such as Bosal or Pellon
- Small fabric scrap for Loop Handle
- Scraps for Applique
- Heat’n Bond Lite Paper-backed Fusible Product
- Sewing Supplies Needed: sewing machine, iron/ironing board, scissors, matching all-purpose thread, water soluble fabric marker, seam ripper, straight pins/Wonder Clips
Optional Supplies:
- Walking Foot with guide
- Open Toe/Satin Stitch Foot for appliqué.
- Goddess Sheet
*All seams allowances are 3/8″ unless otherwise noted.
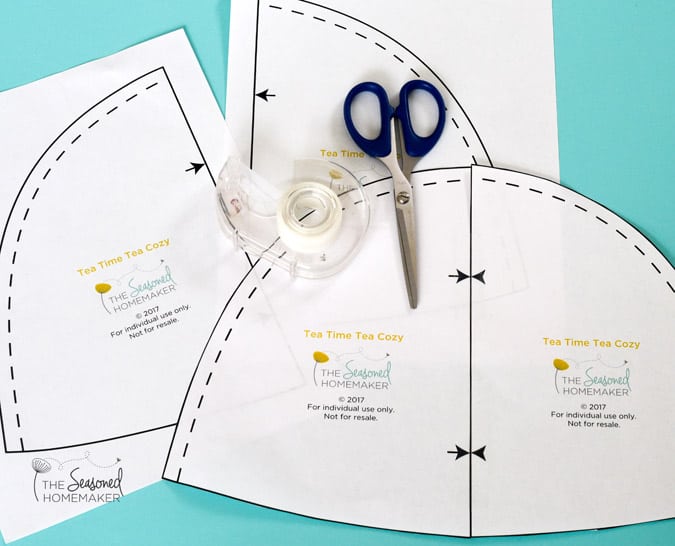
Step 1: Print Pattern Template
Click on the red button below, download, and print out the pattern templates. Be sure that your printer is set to print at 100% and/or uncheck Fit to Page.
On both pattern pieces, trim around solid lines. Match up arrows and tape the two pieces together to form the Tea Cozy pattern.
Step 2: Cut Out Pattern
- From Exterior Fabric, cut out two pieces for the Exterior Front and Back.
- From Lining Fabric, cut out two pieces for the Lining Front and Back. Set aside.
- Cut out two pieces of the Fusible Flexible Foam Interfacing.
- From Exterior Fabric, cut 1 piece 1″ x 5″ (for Loop Handle)

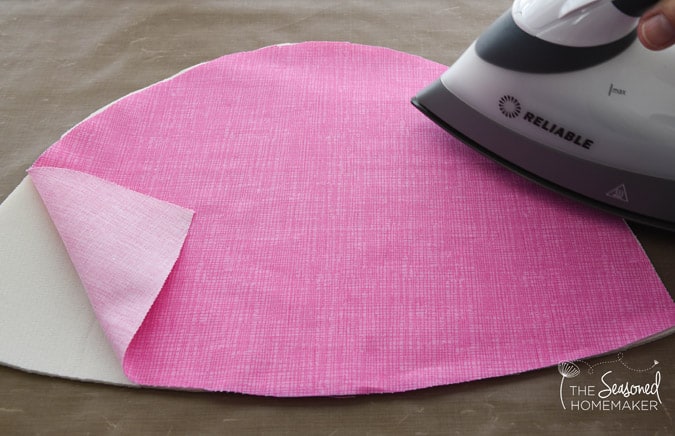
Step 3: Fuse Interfacing
*DO NOT SET THE FOAM INTERFACING DIRECTLY ONTO YOUR IRONING BOARD*
Because both sides of the foam interfacing are fusible, you will need to lay something like a Goddess Sheet (affiliate) on top of your ironing board to prevent the back of the interfacing from fusing to your ironing board cover.
Fuse the foam interfacing to the WRONG side of each Exterior Fabric piece. Be sure to iron on the RIGHT side of your fabric.
Step 4: Quilt the Tea Cozy
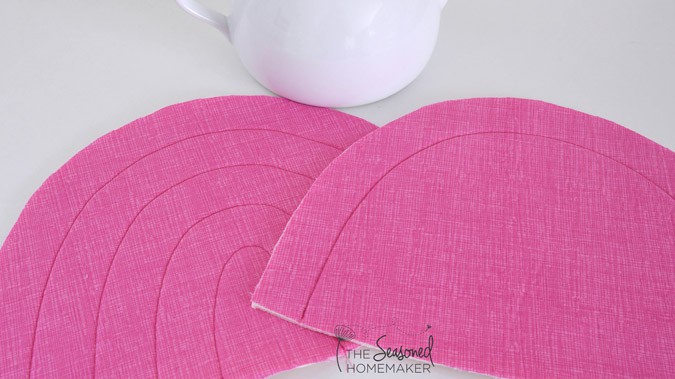
At this point in the project you will be quilting the Tea Cozy Exterior Front and Back. I followed the shape of the tea cozy for my quilting by using a walking foot with a guide and quilted approximately 1″ apart. I did four lines on the Exterior Back and one line of quilting on the front, leaving space for the appliqué designs.
Keep in mind, the appliqué designs will create enough quilting for the front of the Tea Cozy. If you choose not to add an appliqué design, then you will want to add more quilting to the front.
Note: This tutorial has minimal quilting which doesn’t alter the shape of the Tea Cozy. If you plan to do a denser quilting design, I recommend you fuse the Exterior Fabric to the foam interfacing, then quilt before cutting out the Exterior Front and Back pieces.
Optional: If you’ve done minimal quilting you may need to stay-stitch 1/8″ along all raw edges. As you can see, it wasn’t absolutely necessary here because my foam interfacing is fused to my fabric. If you’re using a different foam interfacing, stay-stitching may be necessary.
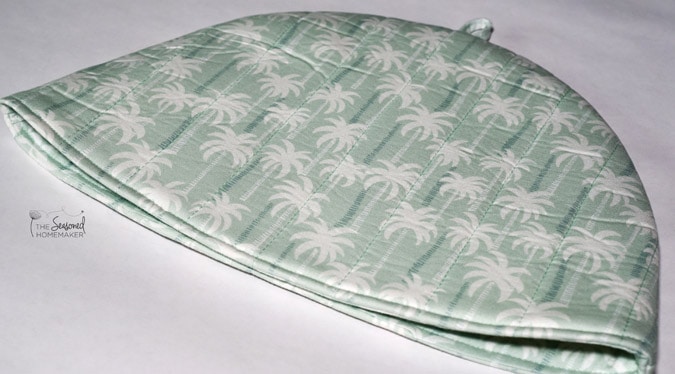
Here’s another quilted example. I used a walking foot and quilted a little over 1″ apart.
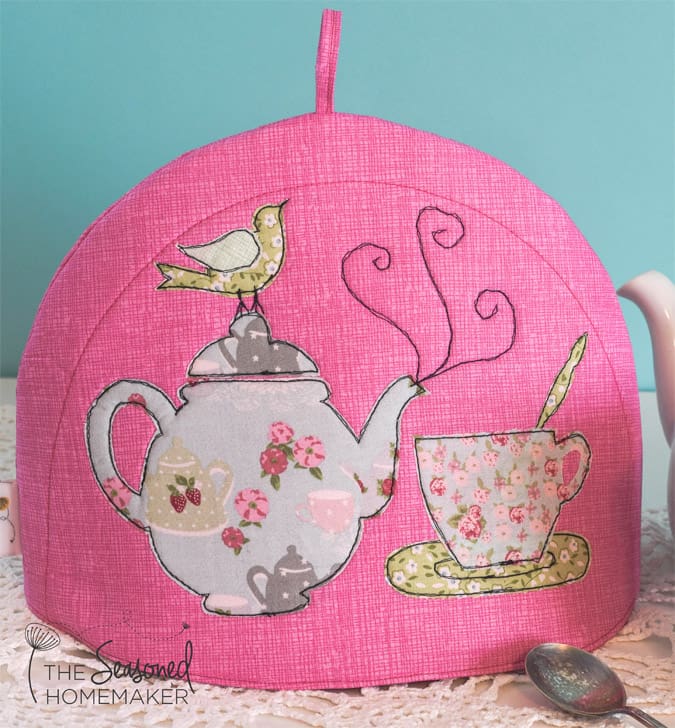
Step 5: Appliqué the Tea Cozy (Optional)
This is the place where you will want to appliqué your tea cozy. A while back I created a tea-inspired appliqué set which I sell in my Shop. If you’d like to purchase the appliqué set I’ve made it super convenient for you.
For the same price, I’ve combined this tutorial AND the appliqué set into one pattern.
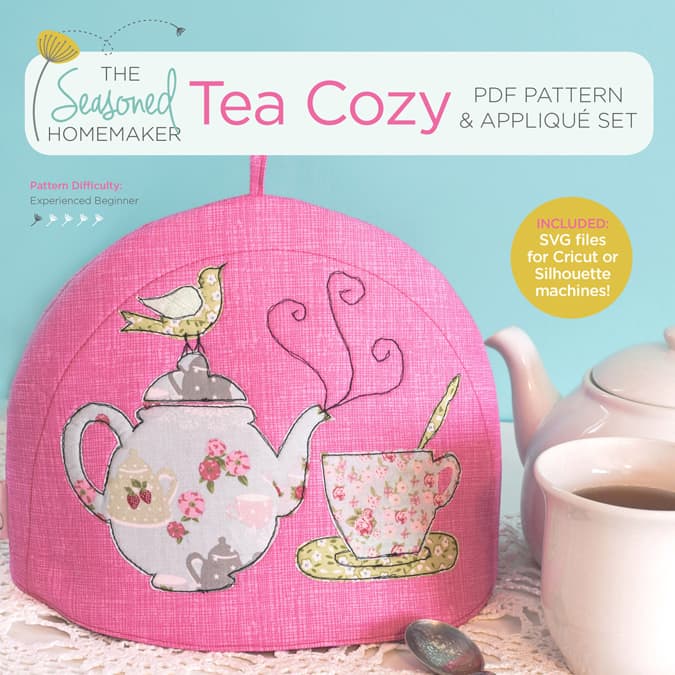
Click the link below to find out more about the Tea Cozy Pattern that includes the appliqué design templates.
Note: This tutorial does not include instructions on appliqué. More appliqué details and techniques can be found in my eBook, Appliqué Made Easy. However, this short video will help you with appliqué basics.
Of course, you don’t have to add any appliqué, but it’s a great way to personalize the Tea Cozy. If you’re not appliquéing, then you can skip to Step 6.
When laying out an appliqué design, it’s very easy for the design pieces to shift before you can press them in place. To make appliqué placement more precise I recommend laying out the design pieces, then tracing around them with a water soluble fabric marker.
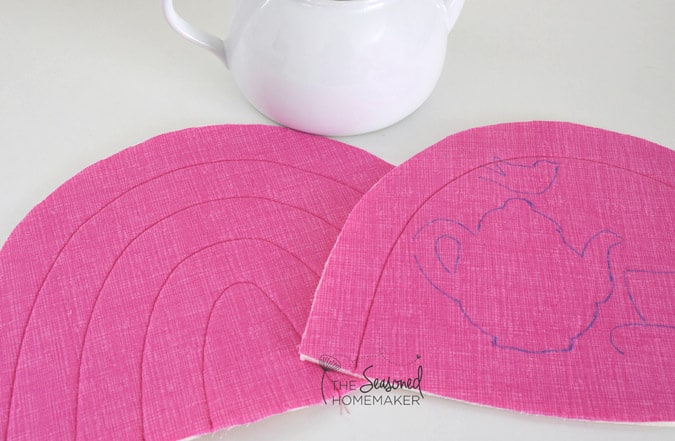
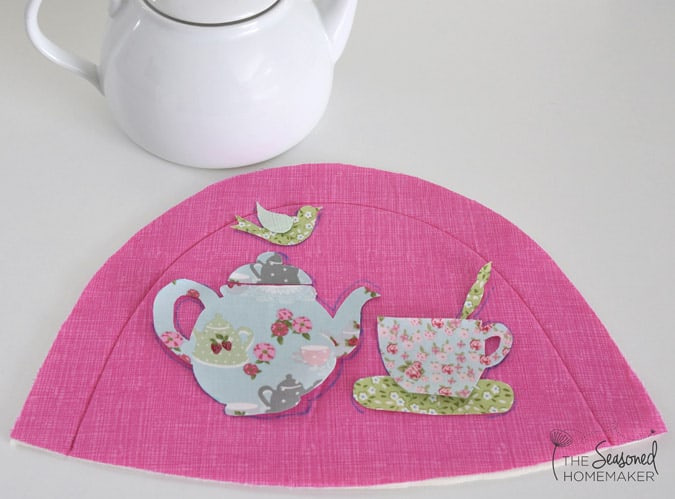
When you go iron them onto the Front of your Tea Cozy, the designs will be perfectly placed with no shifting. Remember to use something like a Goddess Sheet when ironing down the applique designs because the back side of the foam interfacing is fusible and will fuse to your ironing board.
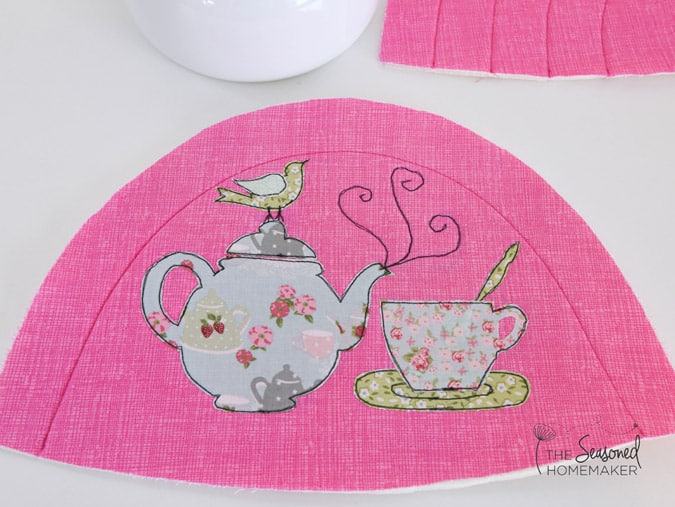
Use your favorite method of appliqué to stitch the designs in place. For my design I used straight stitch appliqué with a contrasting thread color. Any type of appliqué will work.
Once you’ve appliquéd your Tea Cozy Front, set aside.
Step 6: Make Loop Handle
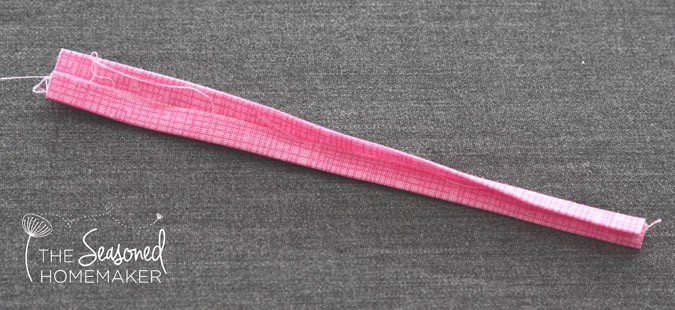
Create a small handle for the Tea Cozy using the 1″ x 5″ piece of fabric. Fold in half lengthwise with WRONG sides together and press to create a center crease.
With RIGHT side up, unfold to see the center crease. Fold in lengthwise one of the raw edges to meet with center crease and press. Repeat on opposite side.
Fold in again at center crease and press with iron. Topstitch down the center. Trim to approximately 4″.
Fold the Loop Handle in half, matching raw edges. Find the center point on the top of the Back Exterior and pin the Loop Handle to the RIGHT side of Exterior Fabric with raw edges matching. Stitch in place using a 1/4″ seam allowance.

Step 7: Stitch Exterior
With RIGHT sides together, pin Exterior Front to Exterior Back. Stitch along the curved edge using a 3/8″ seam allowance. Leave bottom edge open. To remove bulk, trim excess to 1/4″. Turn right side out, but DO NOT PRESS or you will be fusing the Front and Back together. Set aside.
Step 8: Stitch Lining
With RIGHT sides together, pin Lining Front to Lining Back. Stitch along the curved edge using a 5/8″ seam allowance. The larger seam allowance allows the lining to perfectly fit inside the Tea Cozy.
Leave bottom edge open. Trim excess to 1/4″. Press, and turn inside out, yet.
Step 9: Lining the Tea Cozy
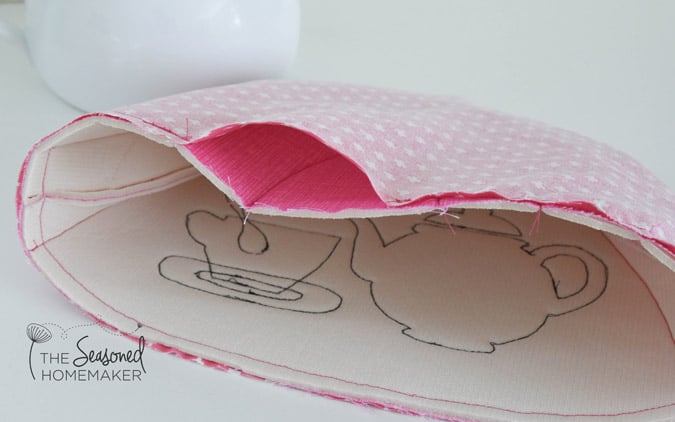
With RIGHT sides together, place lining over Exterior Fabric, matching at the side seams. Pin around the bottom edge, leaving a 4″ opening in the back. Stitch around the bottom edge between the opening, trim excess, and turn inside out through the opening.
Step 10: Finishing
NOTE: Use Caution. When you press at this point you will be fusing the Exterior Fabric to the lining.
Make sure the Tea Cozy is now turned inside out – with the Lining facing outwards. You will be fusing the lining fabric to the foam interfacing.
Make sure everything is correctly lined up and perfectly in place. The bottom seam should be even across the bottom edge. Because of the foam interfacing, this seam line can shift. I recommend holding it in place with either pins or Wonder Clips.
Once everything is in place, fold under the 4″ opening where you turned the Tea Cozy right side out. Use lots of pins to hold.
Press the lining and fuse it to the foam interfacing.
Be sure to press along the 4″ opening. This will partially fuse it closed. The opening will need to stay pinned until it is stitched closed.
Topstitch along the bottom edge to close the opening and finish the tea cozy.
Another Option: More experienced sewists may want to make a bias binding to finish the Tea Cozy. Below are two tutorials that will explain all about making and attaching bias tape.
Now, cozy up with your favorite cup of tea!
P.S. If you love this post, please share it on Pinterest and Facebook. It would mean the world to me.