

How to Make a Fall Table Runner
This post may contain affiliate links which won’t change your price but will share a commission.
Inside: Fall Table Runner
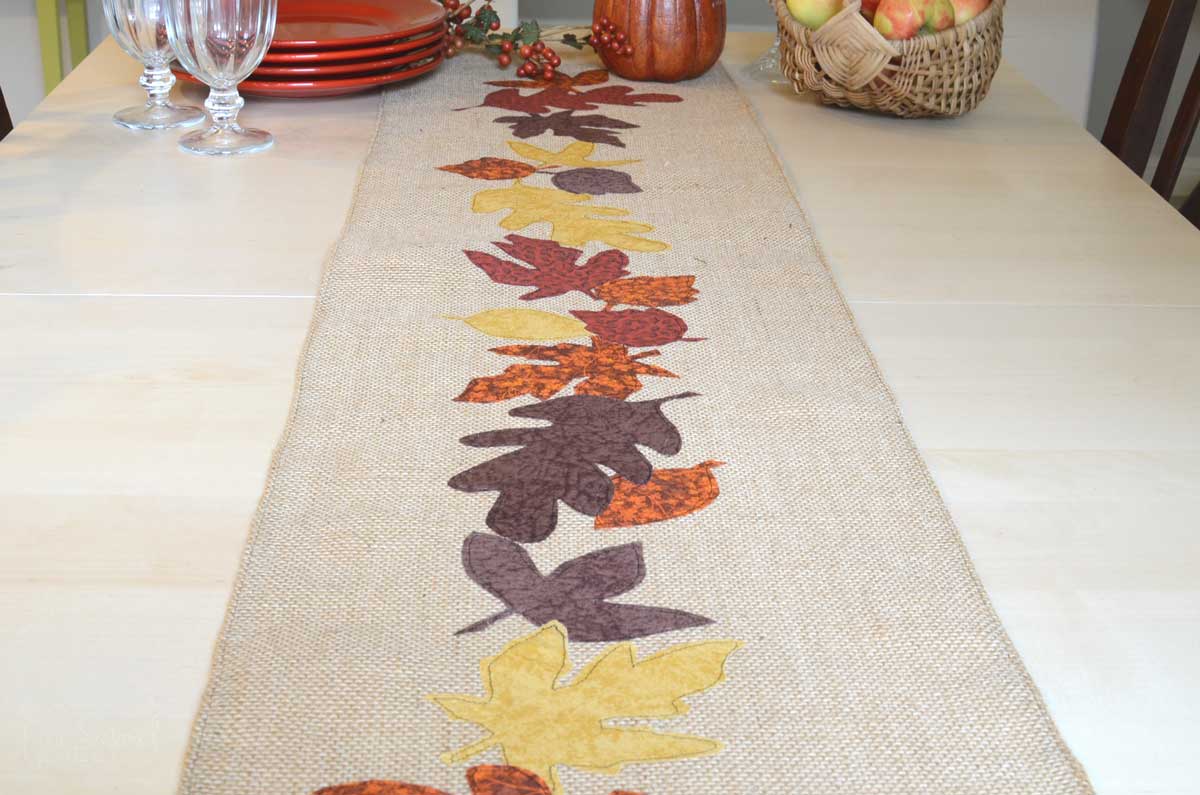
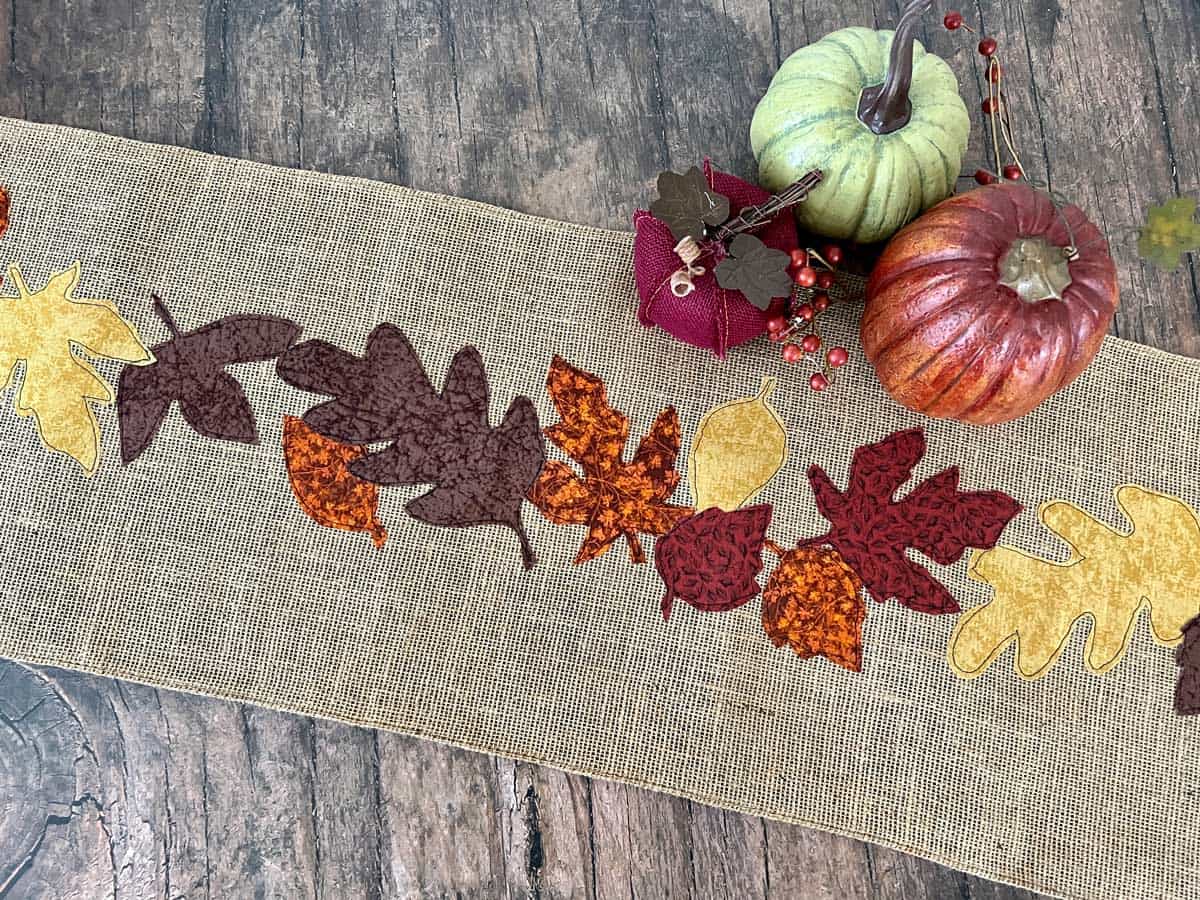
Want a simple way to warm up your Fall table? Try making this simple Burlap Fall Table Runner. It’s easy to make and uses inexpensive materials like burlap and fabric scraps.
This easy Fall Table Runner can be whipped up in about an hour for under $10. All you need is a little burlap and some fabric scraps. With these easy step-by-step instructions, anyone can can make this project.
It’s the perfect simple table runner for fall decor or setting your Thanksgiving table!
How to Make a Fall Table Runner
Materials
- FREE LEAF TEMPLATES
- 2 yards burlap
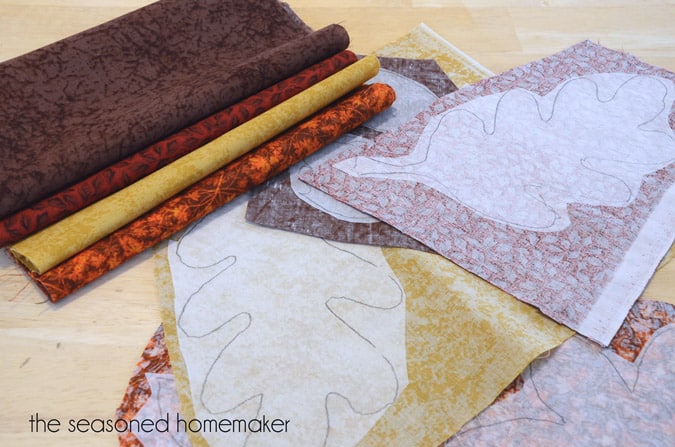
- 1/4 yard of 3 – 4 fall-colored cotton fabric scraps
- Heat’n Bond Lite
- Aurifil 50 wt. Cotton Thread
Supplies
- Sewing Machine
- Water-Erasable Pen
- Wonder Clips or Straight Pins
- Walking Foot
- Rotary Cutter with sharp blade
- Acrylic Ruler
- Self-Healing Rotary Cutting Mat
- Iron & Ironing Board
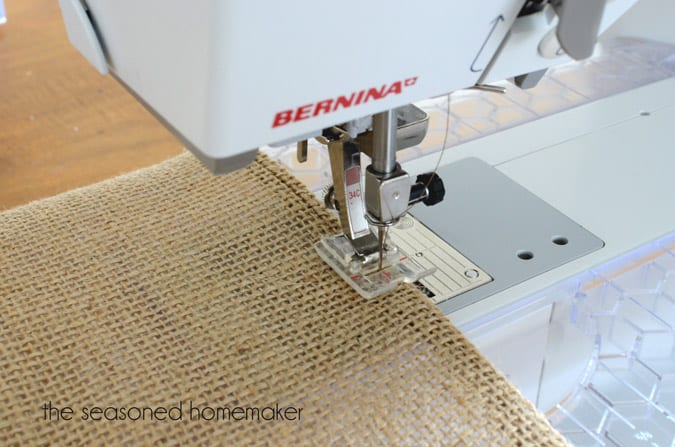
Step 1. Cut Out the Table Runner
- Cut the burlap into a 16″ x 65″ (longer or shorter depending on your table length). Serge or sew a double-folded hem to the raw edges of the burlap.
- Set aside.
Note: Burlap can be linty and difficult to iron. I recommend using a piece of cotton fabric over the burlap when pressing.
Step 2. Download the Templates
- Click the pink button below and download the FREE LEAF TEMPLATES. Note: Leaves can be resized by changing the settings on a printer.
- Print and cut out as many leaves as needed to fill your table runner.
Want an ad-free, printable copy of this tutorial? Scroll to the bottom of this post for more details!
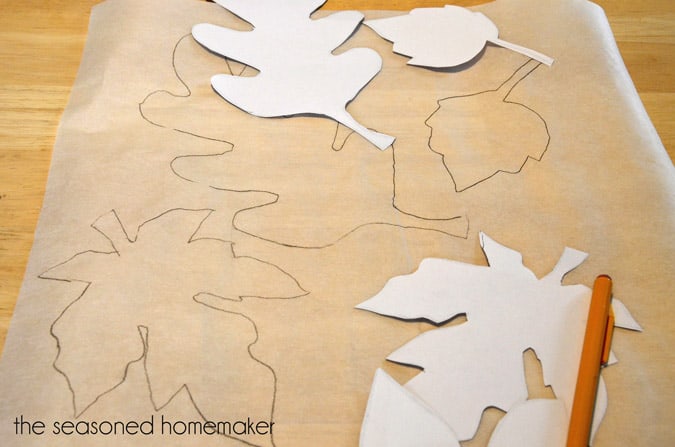
Step 3. Trace the Applique
- Trace leaves onto the paper side of the Heat’n Bond.
- Rough cut around each leaf, leaving a 1/4″ margin. This will make it easy to cut out the leaves once the Heat’n Bond is applied to the back of the fabric.
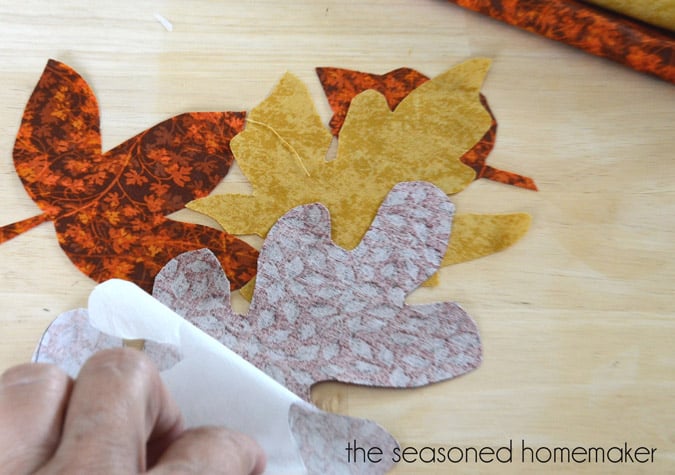
Step 4. Making the Fabric Leaves
- With a hot, dry iron, fuse the leaves, fusible web side down, to the back of fabrics.
- Once cooled, cut out leaves on the tracing lines.
- Remove paper backing from leaves.
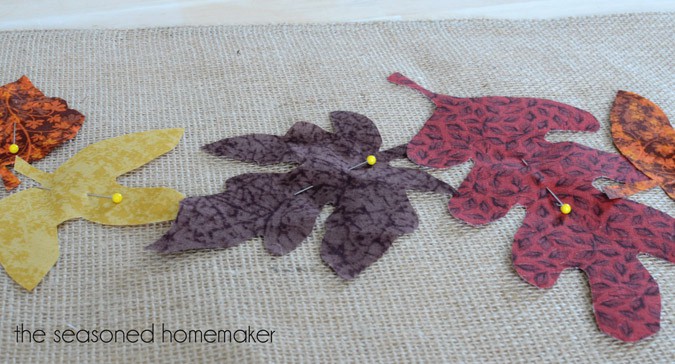
Step 5. Iron Leaves onto Burlap
- Layout the leaves in a random pattern on the burlap runner.
- Pin to hold so the leaves don’t move when you’re ironing them down.
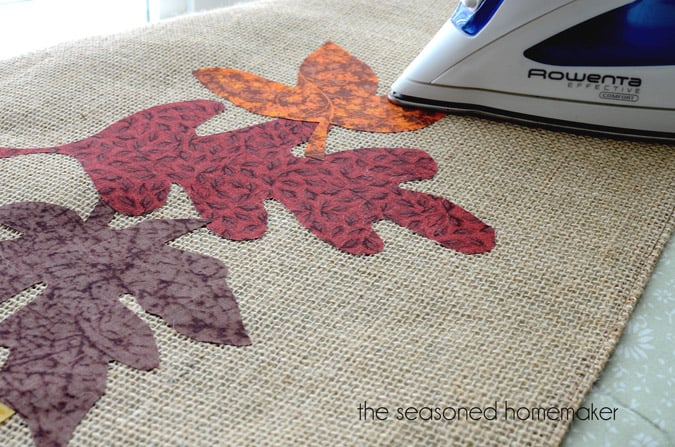
- With a hot, dry iron, fuse the leaves to the table runner.
Note: Burlap can be difficult to iron. To preserve your iron, I recommend covering the leaves with a piece of cotton fabric when pressing.
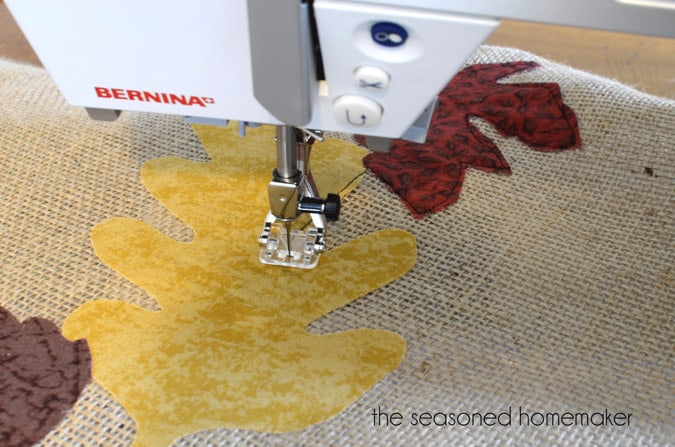
Step 6. Stitching the Leaves
- Set your machine to a 3mm straight stitch.
- Using a contrasting thread, straight stitch around all of the leaves.
And, that’s all there is to it.
Note: Burlap tends to create a lot of lint so be sure to brush out your machine after sewing.
>>> Want an ad-free, printable version of this post? Click the pink button below and download the Printable PDF instructions.
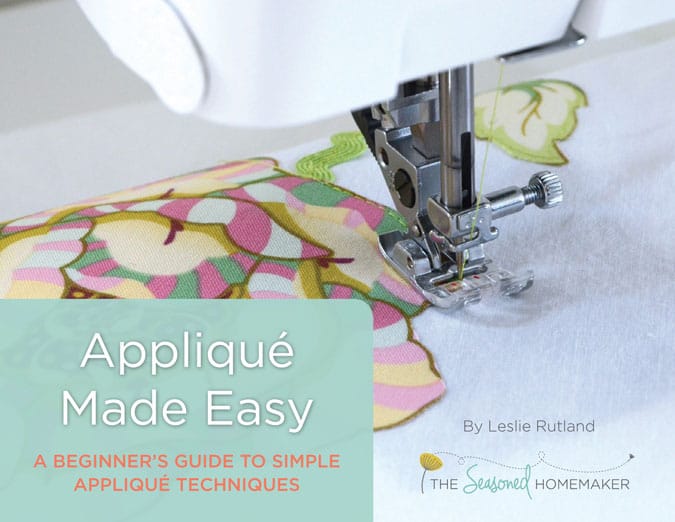
If you want to further develop your appliqué skills, check out my eBook:
>>>Applique Made Easy: A Beginner’s Guide to Simple Appliqué Techniques
I’ve included a short video to better explain the applique process.


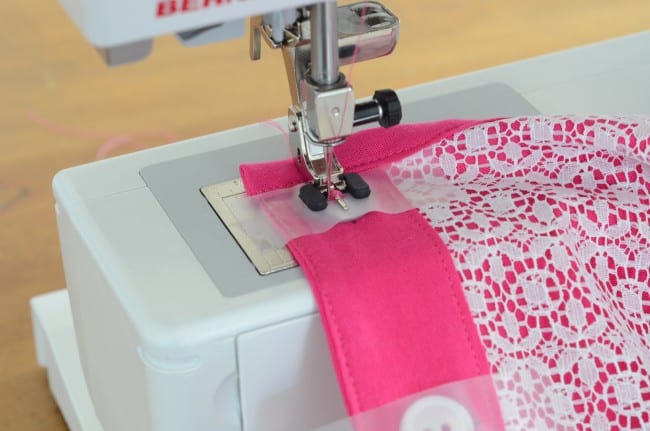

Table runners are my favorite to sew and create because I change them often. Love that you used burlap.
Looks so cute!!
This is so pretty. I love it.
This does look super easy! So cute too! I often forget how fun it is to WonderUnder – thanks for the reminder to get it out and make something! Found your project through the Tip Me Tuesday link up – and glad I did!
This is beautiful! I’m thinking hearts for Valentines would be sweet. I made a burlap tablecloth for a ladies event at church. I found that using some masking tape on my cut lines helped manage the amazing amount of lint that comes with working from burlap.
Thanks for inspiring creativity!
So pretty! Great fall decoration!
I love table runners and seem to collect them from year to year. This is a great tutorial! Beautiful runner!
Beautiful and perfect for your fall table. Thanks so much for sharing this project on “Best of the Weekend” so that I could discover it. Pinning!
Wow really love your table runner. Your choice of fabrics for leaves is so perfect for Fall. Great that you secure edges of burlap to keep fraying, edges will do that. I usually use machine on edges of burlap also. Has been worth the extra time to do it, makes edges look and stay so much nicer.
I like to change my table runners with seasons, holidays, use them on coffee table and shutter shelf mostly since we don’t have dining table and chairs, no place for them in our house. It’s just two of us most of time so no big deal. I do miss having table/chairs in a dining area but that’s life I guess. We had nice size dining room in our house in KY before we lived here. (few miles west of Grand Junction, CO).
You did such a gorgeous job sewing leaves on your runner. I haven’t made a runner for long time, would be good test for new machine, get used to it. Have great week and Fall season.
I love the leaves down your burlap table runner! Check out the ruffles at the end of ours! ThroughThePaintedDoor.com
Can these table runners be washed??
Sort of. Burlap can be washed on the delicate cycle, but I prefer hand washing and then wrapping in a towel to wring and dry.
Just saw this project on Diary of a Quilter. I love it when projects from years past get reposted. It was wonderful 6 years ago and it is still beautiful. What a great project and great tutorial.
I love this table runner it is so natural and it will go with everything, you can make it as inexpensive as you
wish, I have used Batik fabrics for the contrasts and they work so well together. Thank you so much for this lovely project.