How to Attach Bias Tape
This post may contain affiliate links which won’t change your price but will share a commission.
I learned all about attaching bias tape when I was making 4-6 aprons a day for my Etsy shop. This was several years ago when I sold aprons, not apron patterns.
If you are going to make and sell aprons then you are going to be attaching bias tape. But bias tape is also great for armholes and necklines.
How to Attach Bias Tape
This post will show you how to attach bias tape to the armhole opening of a sleeveless top. I have another tutorial that shows you how to make bias tape. Click the red button below to learn more.
Step 1: Preparing the Garment
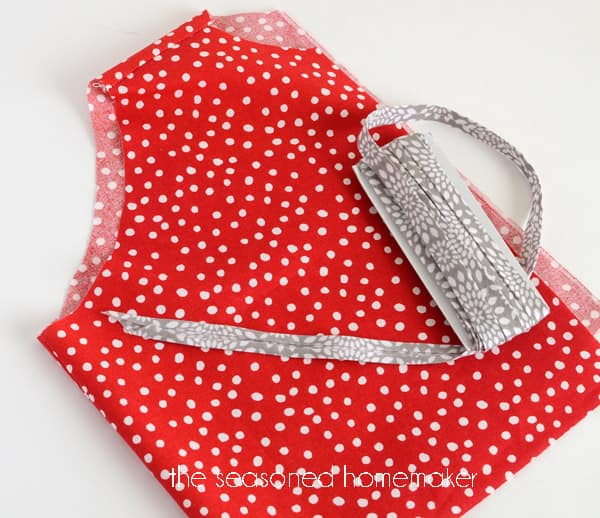
I’ve made a small mock up of a top to demonstrate how to attach bias tape around the armholes since I wanted the armhole openings to be clean and unembellished.
Step 2: Determine how much bias tape is needed
Estimate how much bias tape you will need for the armhole. Do a quick run around with the tape measure and then add about 6 – 12 inches.
Remember, there needs to be some overlap to encase the bias tape. You never want to come up short.
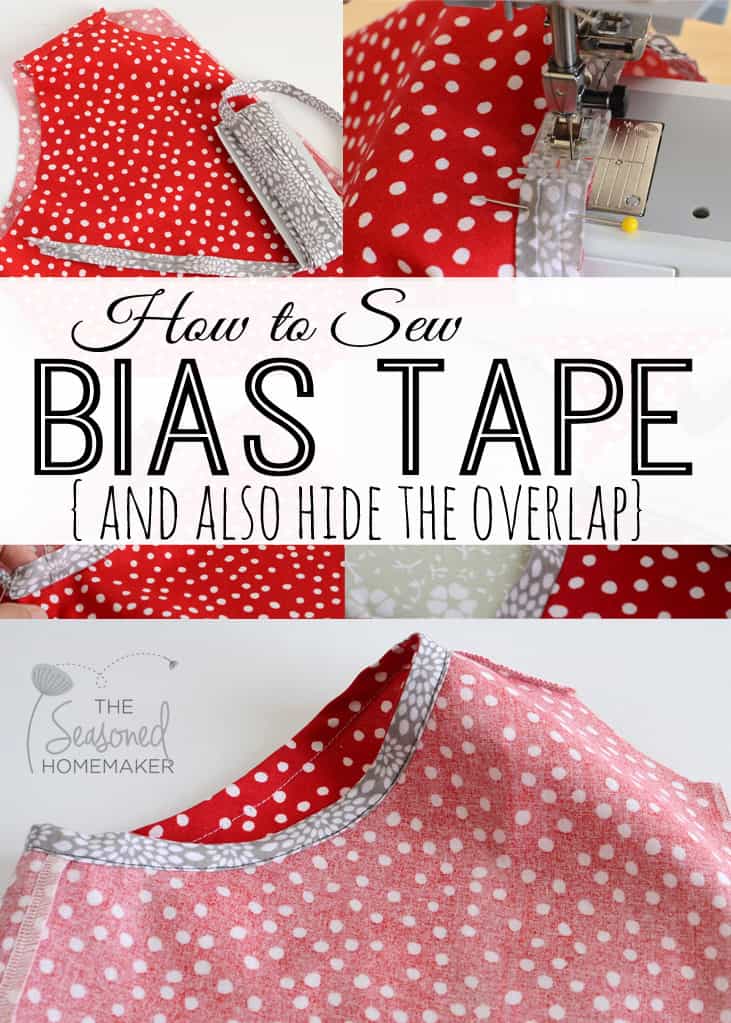
Step 3: Prepping to sew the bias tape
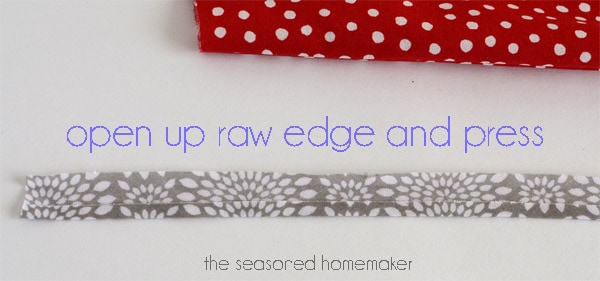
Open one of the folded sides of the bias and press open.
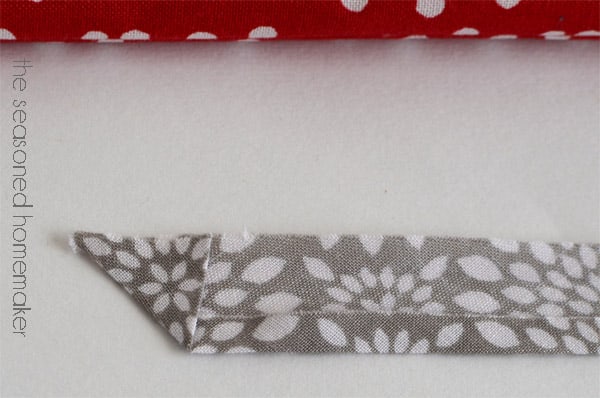
Make a triangle by folding over the raw edge of the end.
Match the top edge to the side edge and press. Doing this will nicely finish where the bias tape overlaps.
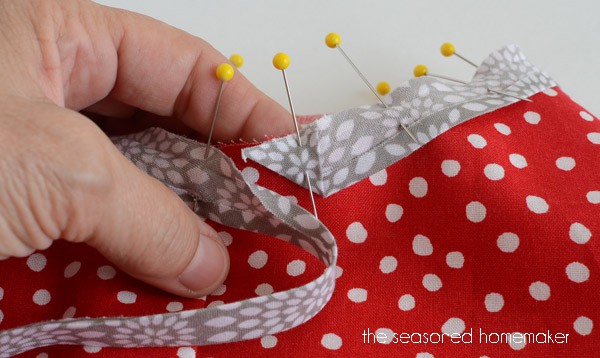
With right sides together, pin the raw edge of the bias strip to the raw edge of the armhole opening. Use lots of pins.
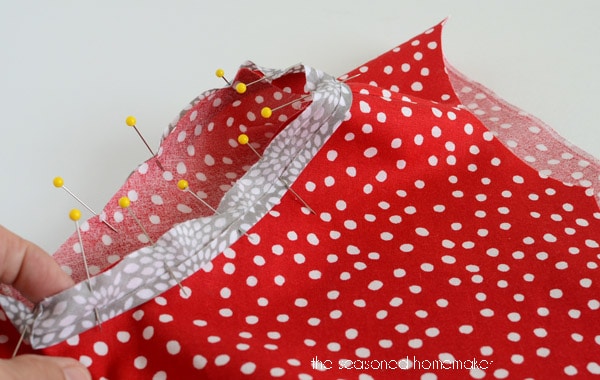
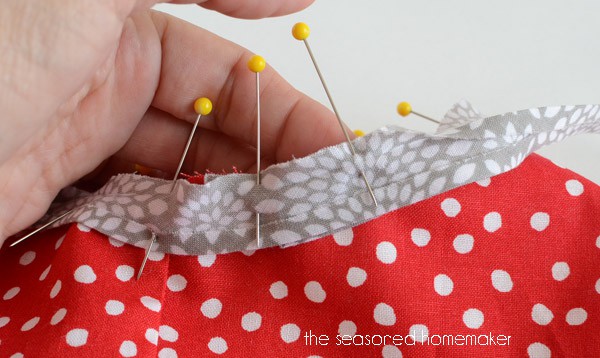
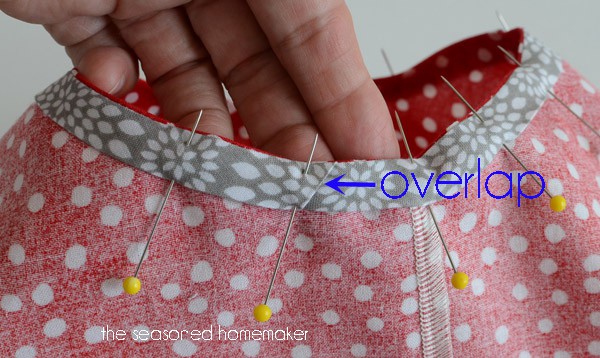
Pin all the way around the opening. When you get back to the start you will come to the folded triangle.
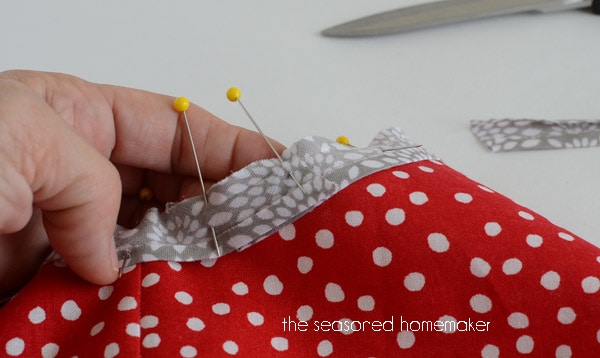
Overlap the raw edges about 1″ and pin to hold.
Cut away excess bias tape.
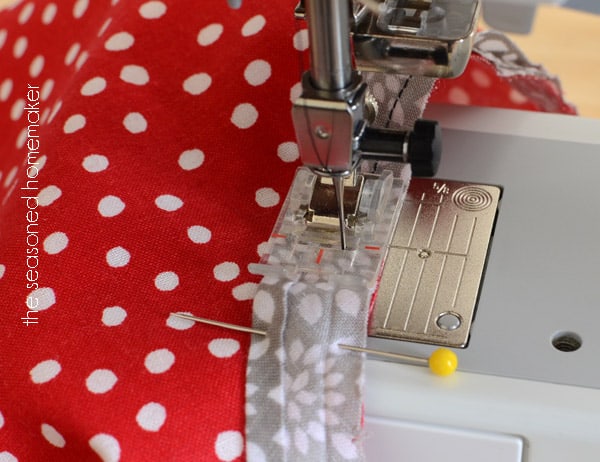
Step 4: Sewing the bias tape to the garment
Stitch around the entire opening and back stitch when you reach the start. You don’t want this coming apart.
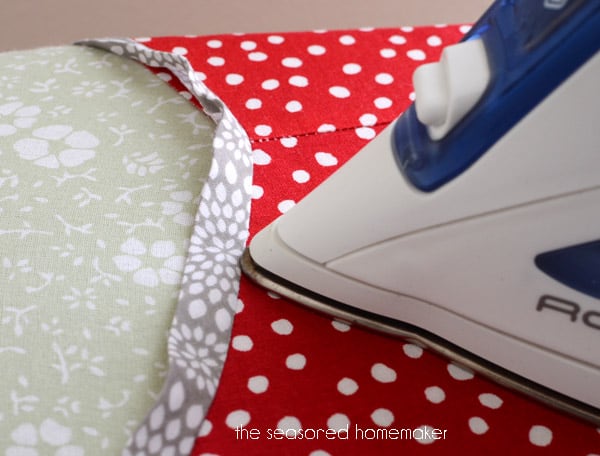
Press the bias tape flat.
Press the seam towards the bias tape.
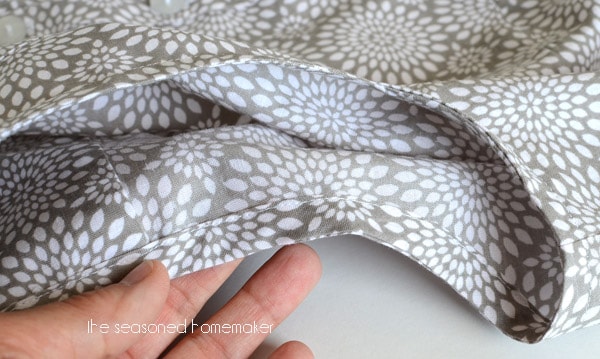
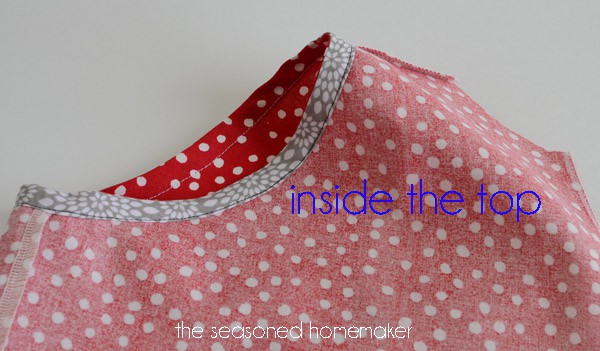
Fold the bias tape inside and press. Pin around the opening.
Notice how nice it looks where the bias tape overlaps.Stitch down close to the edge.
If you have an Edge Stitch Foot this is a great place to use it.
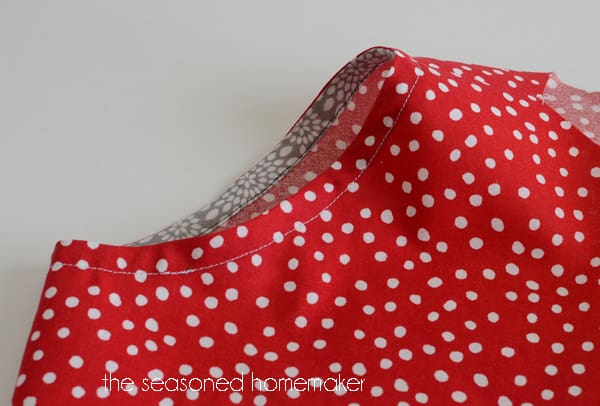
The best part is how nice it looks on both the inside and the outside. Learning this technique will open up amazing possibilities for your sewing as well as use some of those scraps.
Imagine the possibilities.