

Finding the Fabric Grain
This post may contain affiliate links which won’t change your price but will share a commission.
Inside: Finding the Fabric Grain
Understanding fabric grain is an essential element when sewing with woven fabrics.
It’s something new sewists tend to skip over and seasoned sewists occasionally brush off.
Why is fabric grain important. It’s extremely relevant when sewing garments, especially pants. Have you ever owned a pair of jeans where one of the seams twisted towards the front or back? The reason for this is the manufacturer didn’t bother to look for the fabric grain when cutting out the fabric.
Before starting to find the grain, it’s recommended that you wash, dry, and press your fabric. You NEVER want to work with wadded up, wrinkled fabric.

Want an ad-free, printable copy of this tutorial? Scroll to the bottom of this post for more details!
What is the Fabric Grain Line?
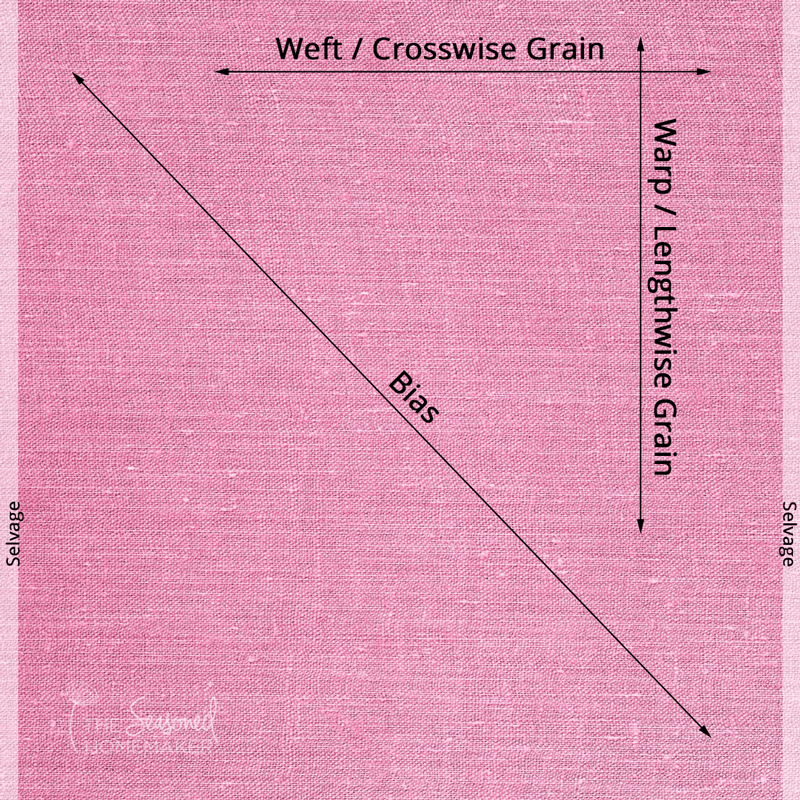
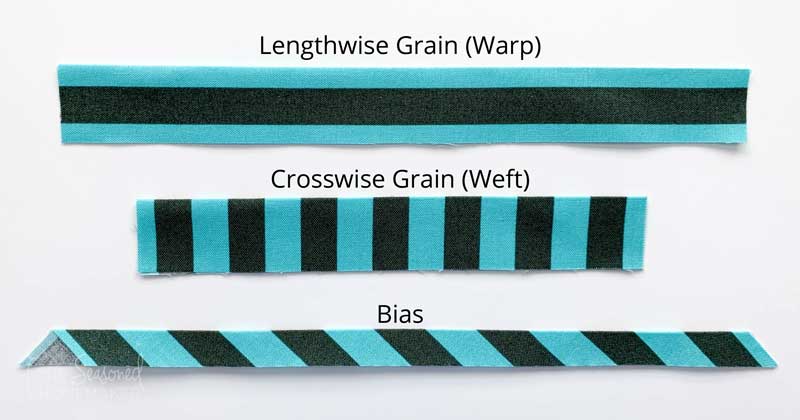
All woven fabrics (like 100% cotton) have a grain line. This occurs during the manufacture of the fabric when it is being woven. Picture a loom with its long threads stretching out. Those long threads form the lengthwise fabric grain or the warp.
In the weaving process, shorter threads are woven over and under across these long threads, thus forming a woven fabric. The shorter threads form the crossgrain or the weft.
The bias runs 45-degrees across the grain and will stretch. There will be times you want to cut and sew along the bias. You’ll want to be aware that it stretches and account for that in your project.
Lengthwise Grain
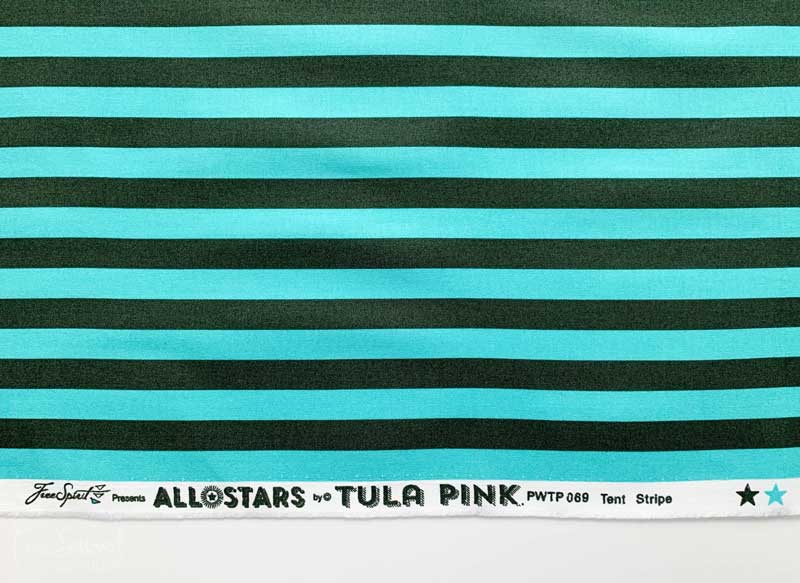
The Lengthwise (warp) grain line runs parallel with the selvage edge. This is the factory edge and one edge will be stamped with the manufacturer’s name and other information about the fabric.
The lengthwise grain lines are the strongest threads in a woven fabric and, in most instances, you will want your pattern to run along these lines, making your project sturdy. Note: For quilting, longer pieces such as sashing and borders work best when cut along the lengthwise grain and will help stabilize and square up a quilt.
Try this experiment: Pull your fabric along the grain line (or selvage). Notice that there is hardly any stretch.
Crosswise Grain
The Crosswise grain (weft) runs perpendicular to the selvage edge. This is the edge where the fabric is cut at the store and is rarely on the straight of grain. Note: I do not recommend using the fabric store cutting line for squaring (or truing) up your fabric.
If you hold your fabric between the selvages and pull, you will notice that there is a little stretch. Cutting things like quilt binding on the Crosswise grain allows for a little give in your binding without it being too stretchy.
Bias
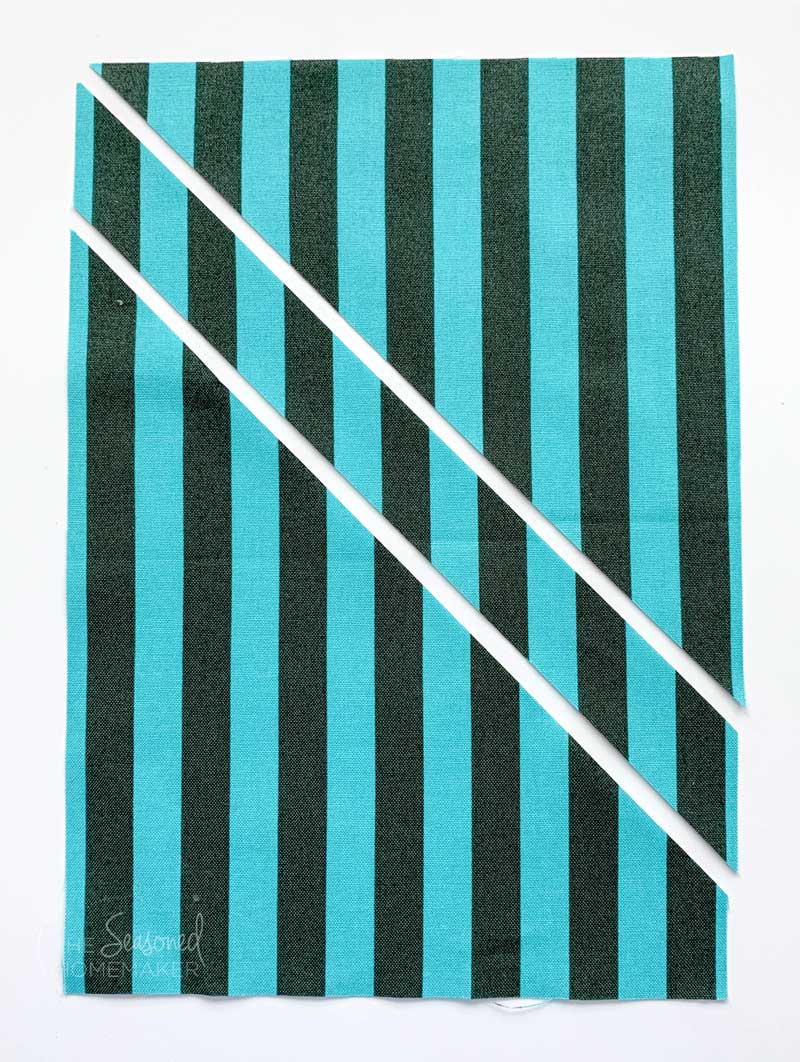
The Bias is cut at a 45º angle from the selvage edge. This is where the fabric has the most stretch.
In garment sewing, cutting on the bias means your garment will drape nicely.
In quilting, cutting on the bias can cause your quilt blocks to stretch and be larger than expected.
If you ignore the fabric grain, you may end up with your fabric being cut on a bias which will distort your project.
Finding the Fabric Grain Line
What if you are using a scrap of fabric that no longer has a selvage or perhaps you are repurposing something? There is still a way to find the straight grain.
You could tug on the fabric to see if the fabric stretches, but this would not give you an accurate grain line.
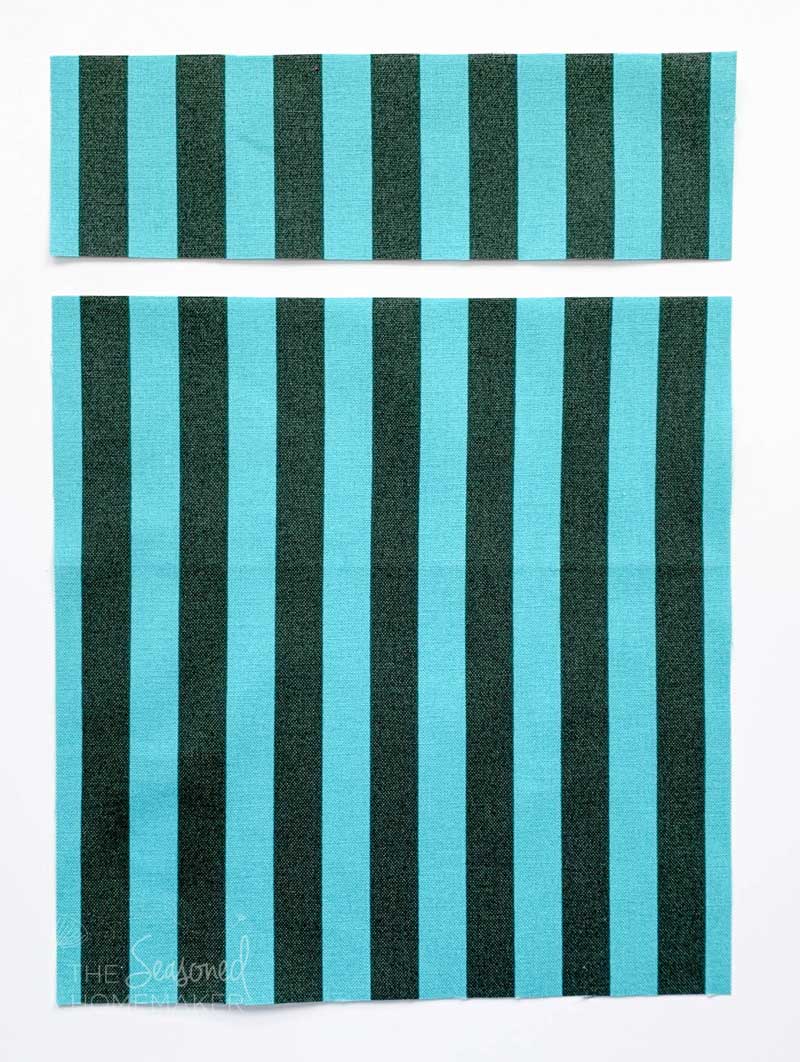
Instead, snip about 1″ in from an edge.

Then pull and tear across the fabric, leaving a frayed edge. Pull out the excess threads until the top threads are along the same line.
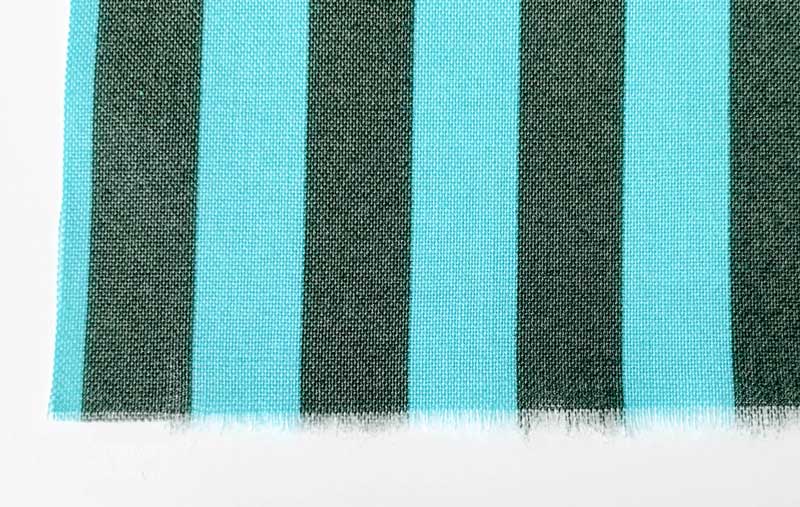
Note: The tearing method is best used with 100% cotton. For fabric blends, I recommend snipping about 1″ down, but instead of tearing the fabric, carefully pull out a thread along the snipped line. This will give you the grain line and you can square up from there.
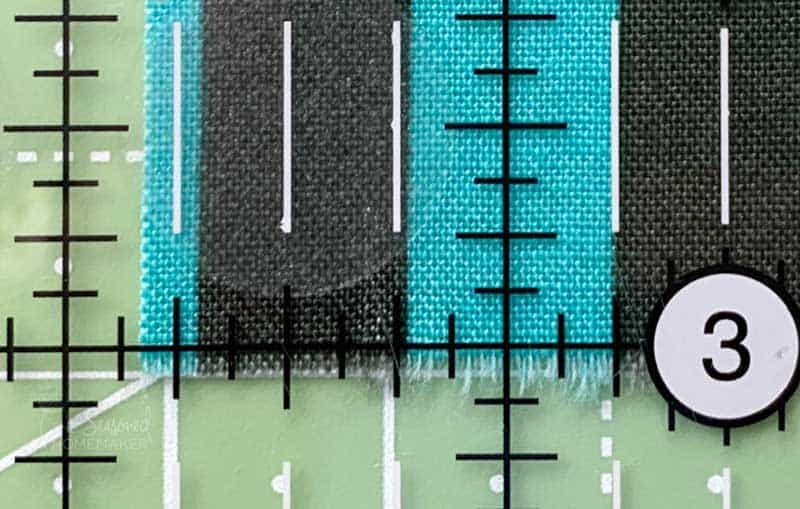
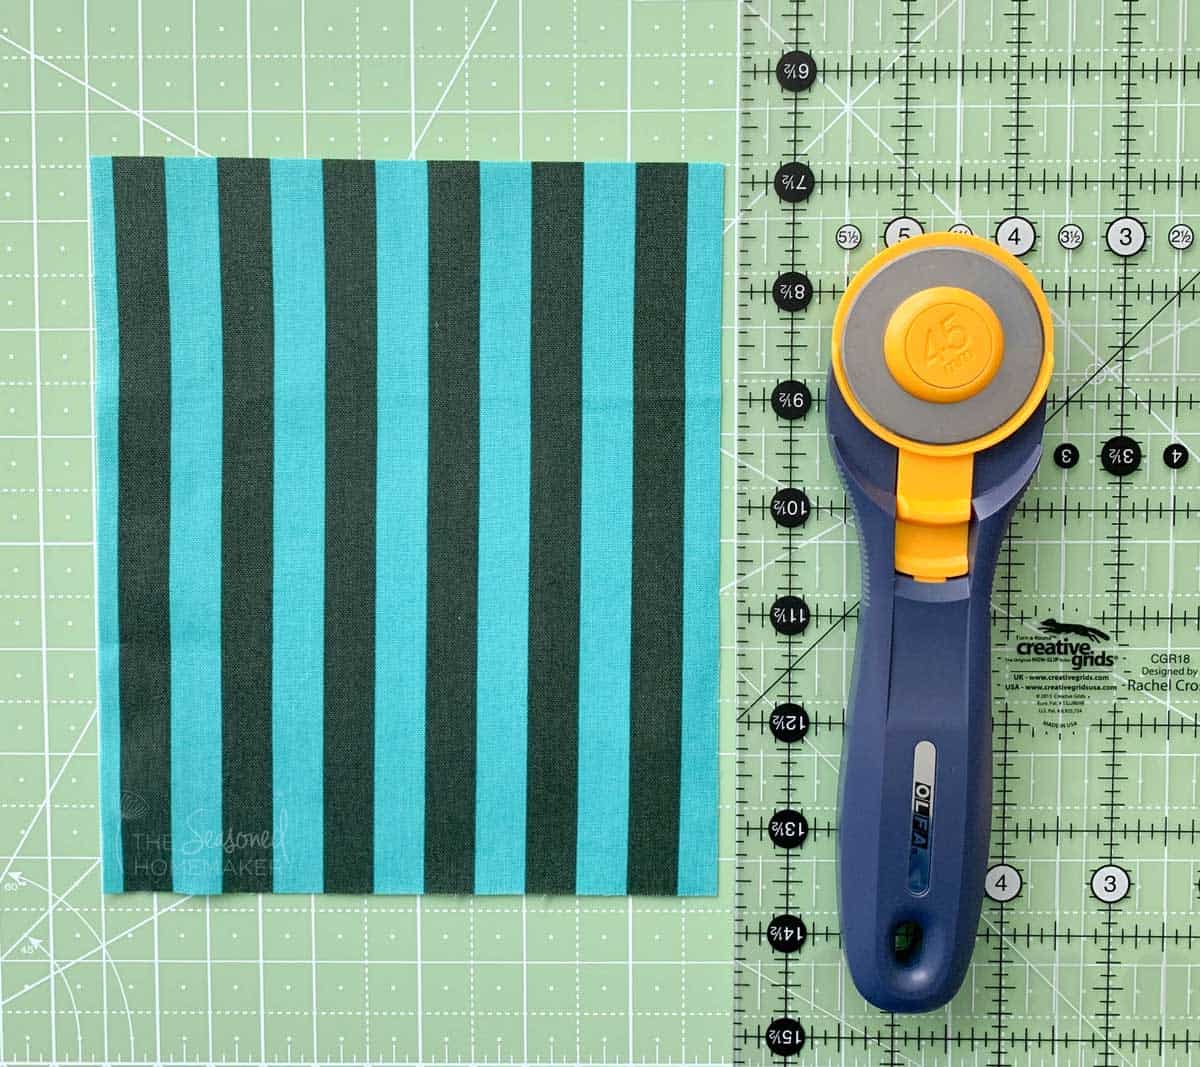
Squaring Up the Fabric
That even thread line is your grain line! Now, set this grain line on a straight edge, like a cutting mat, and you will be able to square up the other side.
A Note About Quilt Binding
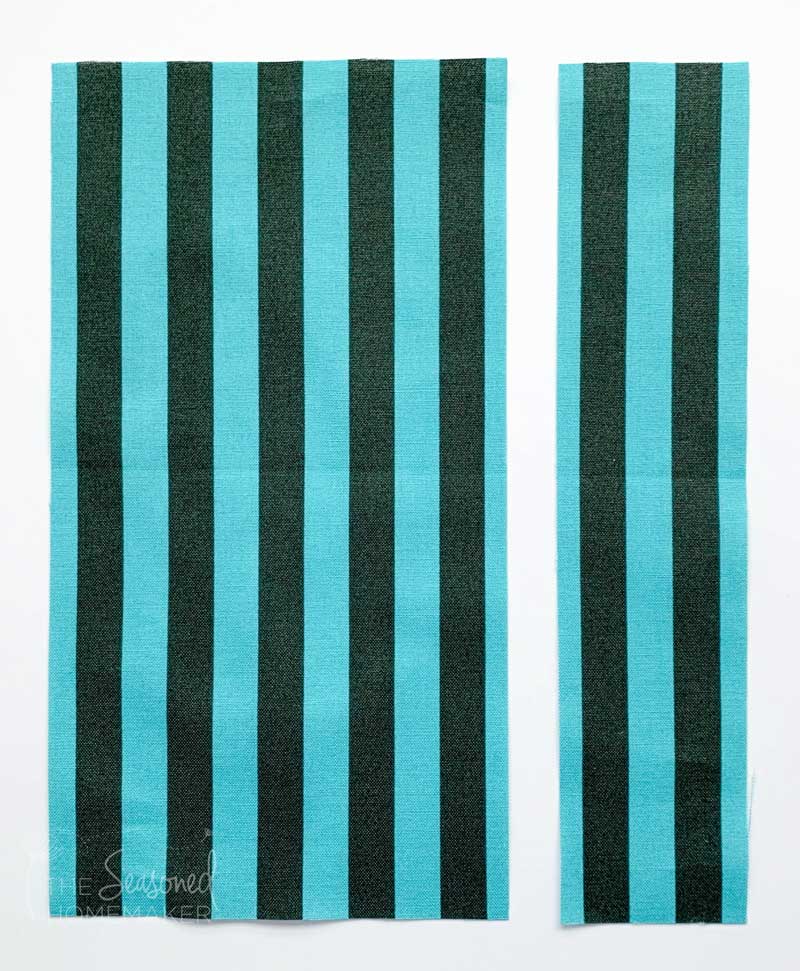
When cutting out quilt binding, pay attention to the grain line. You will want your binding to have a little give so it can be eased onto the quilt.
Cutting binding on the Lengthwise grain will not allow for any give in your binding and you may have difficulty when turning the binding or sewing it down.
The Crosswise grain is the best option for cutting binding. It has just enough give in the fabric to make corners smooth and turning a breeze.
There may be times you want to cut your binding on the Bias. This can provide a nice detail on a finished quilt and it is ideal for projects that have rounded corners. The one thing to avoid is over-stretching the binding when sewing. It’s best to add Bias binding with a walking foot.
Finding the fabric grain is simple and just a matter of paying attention to where the fabric gives.
Once you understand this, it gives you control over any project. You will be able to avoid stretching fabric where unwanted and adding stretch when wanted.
And this will ultimately give you control over your project.
See below for more details about an ad-free, printable copy of this tutorial!
Get the Printable Post
Want an ad-free, printable version of this post? Click the button below and download the Printable PDF tutorial.


This is wonderful! Super excited that you are doing this series! I have wanted to learn so desperately but… okay no excuses, I am IN!
Hugs, jen @ f5
Glad I found your site! I have had a sewing machine for like 20 years and think I’ve used it five times. Thanks for the tutorials. I appreciate the terminology explanations. I get tremendous satisfaction from making interior decor items with fabric, so I plan to follow along and soak up some of your wisdom! 🙂
Thanks for joining our conversation. I’m building a new house, so there should be a lot of interior decor items running through my sewing machine over the next few months.
A novice sewer who always is looking for some advice. It is great to be able to sign in and learn something new.
I always wanted a sewing machine, finally at age 70, I got one for Christmas from my daughter, along with several patterns for American girl doll clothes. I hope to get to them Ths summer before the girls are grown up. Thought I would start with pillow cases. thank you for your wonderful instructions! I appreciate it very much; it’s been a long time since 8th grade sewing classes (with 50 girls).
Hi I’m a real novice and learn by pictures rather than words! Can you tell me please when you day cut along grain do you mean with pillow case tut that the 40inch side runs from selvesge to selvesge or 40 inch side runs down the length of fabric. Hope this makes sense cheers Nicole Australia
When I talk about cutting along the grain I mean cutting along the side that runs parallel to the selvage.
I really need the basics so when I do sew I might actually know what I am doing. So excited about your site, thank you for sharing.
I have fond memories of my Jr. High and High School Home Ec teachers explaining that.
So every time I need to do this, or sew on a snap, or sew a dart, those memories come flooding back to me 🙂
Yes, that explains how old I really am, haha.
Thanks for this refresher…sounds like lots of ladies (like me) haven’t sewn in some time and are now taking up quilting
(I am just finishing a basics class) or some other type of sewing. I have a very old Bernina (Model 810) but even 2 repairmen who also sell new machines tell me to keep it…it goes too fast for me and I am working/adjusting to it…luckily I still have the manual & some margin notes I don’t even remember taking! Counting that up to a stressful time in my life. Again, thank you!
Your explanation for this is the best I’ve found anywhere. I’ve always struggled to get this right, but after your drawings and pictures, along with the clear text, I finally got it!
Thank you so much.
Thank you! I learned this many years ago in grade school , but had forgotten how to find the grain for straightening fabric.
I still don’t understand grain lines. Can’t you tear fabric vertical to the selvage also? But that does not make the fabric straight? I am a beginning quilter and need to better understand grain lines. When I do try to cut my fabric along the selvage to find the grain line, then use a ruler to make a square, the fabric on the sides do not look like the threads are straight. Does this make sense to you? I need help!
To find the grain tear from selvage to selvage. Match up the top threads – that’s the grain.
Many years ago, when i learned to sew at school, they taught us to make a cut near the selvage at the top and rip down, lengthwise. This was supposed to give a straight grain.
Omg!!!! Thank you soooooo much!!!
I’ve been trying to learn to sew for years! I’ve tried to find someone willing to teach me but never found anyone. My biggest frustration was cutting fabric. I had no idea there were different directions of the material.
Basically you just answered all my questions!!! For some reason I just couldn’t get anyone to divulge the secret to sewing! I’m off to find The Warp of my fabric and then attempt my first pillowcase. I’m going to follow your Burrito method.
Thanks again!!
This is the best information for quilting/sewing I’ve read in a great while. I knew some of this, but the concise, clear information and diagrams made everything gel! Thank you so much. I’m eager to tackle my next project with ease and creativity.
I bought 108 in. wide for back on quilt. How do I square this up as it is 72 in long.
Thank you SO much!!! I have even drew me that pic of the ruler showing the length // crosswise grain and bias, I want to leave it at my sewing machine as a reminder until it just comes natural to me. Again, thank you!!
I know I just commented but I wanted to share this with you also.
Very informative. I am new at all this and have started out quilting. I did take a sewing class a few yrs back and made a pillow case and pajama pants. They didn’t teach the foundation of sewing which is what I thought the class was going to be. Thank you so much for sharing one of the most important things to know when learning to sew.
I just found this. Thank you so much for making this simple and straight forward.