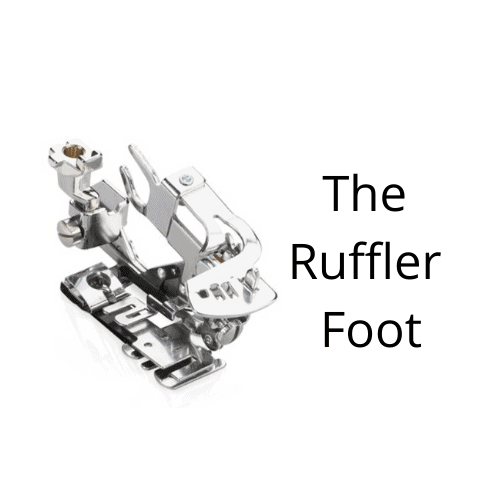
Sewing Machine Feet: The Ruffler
This post may contain affiliate links which won’t change your price but will share a commission.
Inside: Sewing Machine Feet: The Ruffler
Years ago I would overhear sewists whispering in dark corners about using something called The Ruffler. It was rumored to make perfect ruffles and owning one made you some kind of sewing savant.
Well, I cannot talk about Sewing Machine Feet without mentioning this foot. Which brings me to the first point ~ is it a foot or is it an attachment?
It doesn’t really look like a foot but it attaches like a foot. It’s more contraption than foot, but any way you look at it – it’s clever and useful.
What is a Ruffler?
A Ruffler is this gadget that makes perfectly sized pleats and stitches them to hold them in place. All you do is run your fabric through the Ruffler once and all of your fabric is perfectly gathered and ready to attach. Sounds great doesn’t it.
Well, there are a few things you need to know.
Ruffler Features
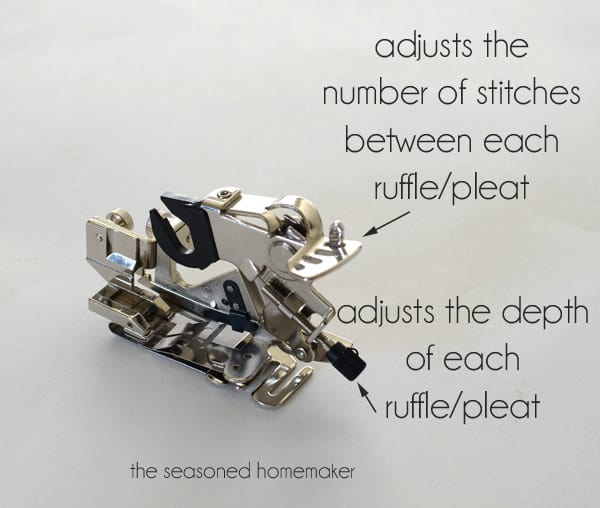
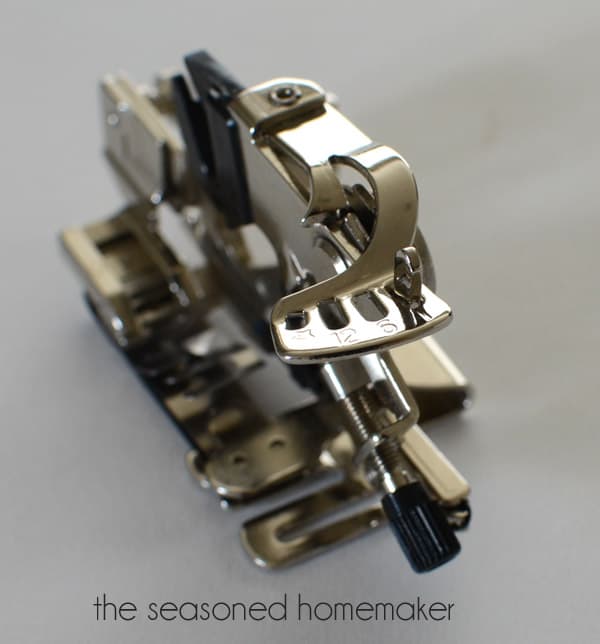
There are these two main features on the Ruffler.
- The first is this adjustable bar on the top of the Ruffler. It is numbered 1, 6 12 and a star. Each number tells you how many stitches are between each pleat/ruffle and the star is for straight stitching.
- The second main feature is the (black) knob that adjusts the depth of each pleat. When you tighten the knob you get really small, tight pleats. When you loosen the knob your pleats are further apart. The stitch length setting on your sewing machine will also vary these settings.
How to Attach the Ruffler to Your Machine
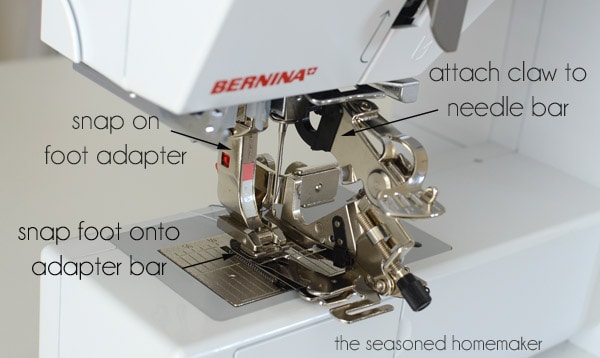
The Ruffler does not attach like other feet. There is an order to getting it on your machine correctly. My Bernina requires an adapter foot that I first attach. After the adapter is attached I work from right to left by first hooking the claw onto the needle bar. Then I snap the foot into place.
How Does it Gather?
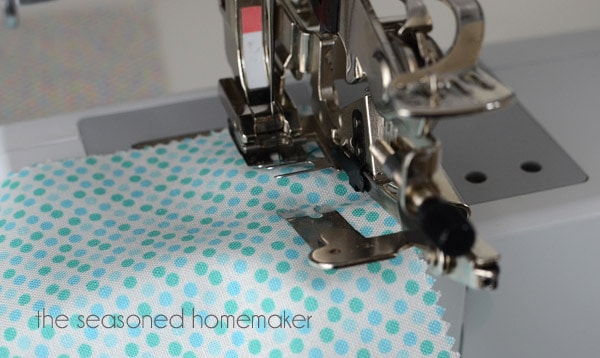
Now it’s set to gather. In order to do this you slip the fabric between the gathering plates and adjust the setting to the amount of ruffles you want.
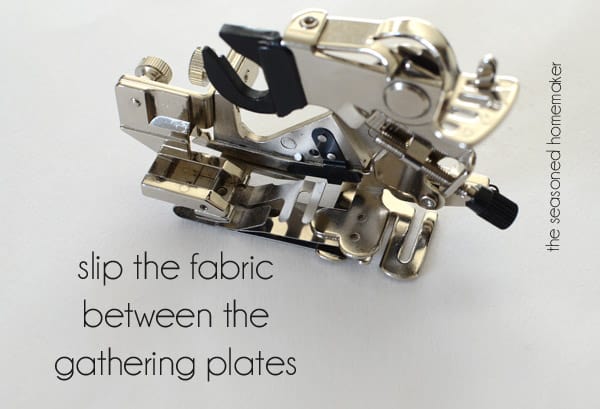
There are these teeth that grab the fabric so you must carefully put your fabric in the Ruffler because you can’t easily pull it out.
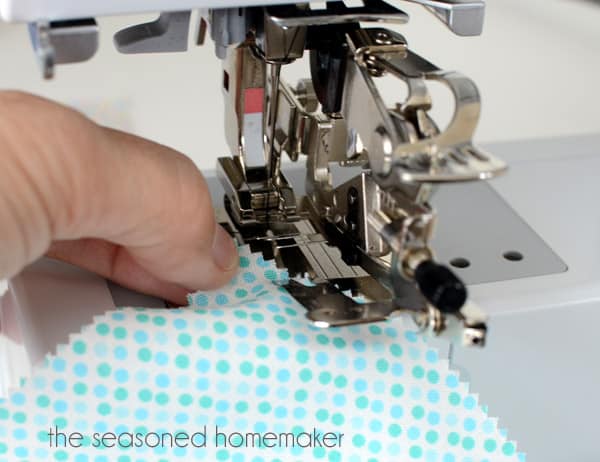
Lower the presser foot and slowly begin gathering. The teeth will push the fabric and make a pleat. The needle will lock the gather.
Different Ruffler Settings
The Ruffler Foot has several different settings. The lower the setting number, the tighter the gathers. Because of the way it feeds fabric, a Ruffler creates identical ruffles or pleats. This can make a huge difference depending on your project.
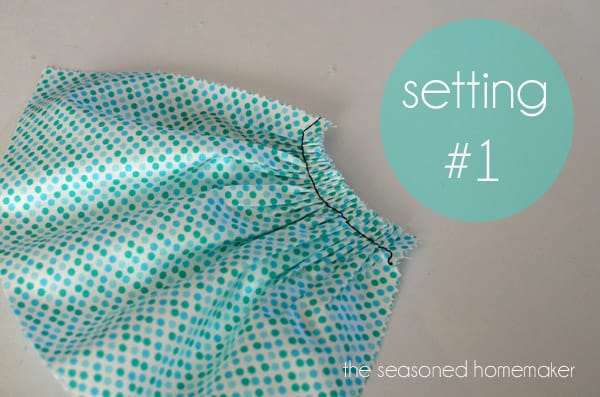
Setting #1
The Ruffler makes really tight gathers on Setting #1. Perfect for doll clothes.
Setting #4
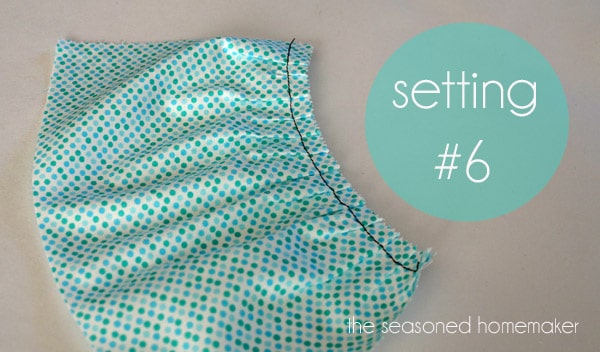
Setting #6 is the one I have used the most. The gathers are nice and even and not too full. You can really notice the pleating with this setting.
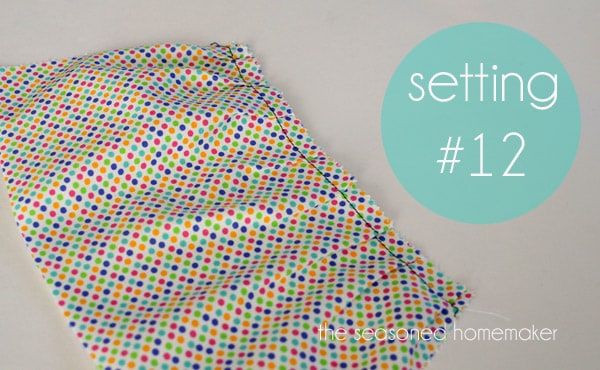
Setting #12
I have to be honest, I have never really used Setting #12 because it barely gathers. If I need to barely gather, I wouldn’t really bother with the Ruffler. However, it could come in handy if you need to shift the gathers during a project.
The Star Setting
The last setting is the Star Setting. You may be wondering why the Ruffler would have a setting that doesn’t ruffle. This can be really handy if you are ruffling along and then need a straight stitch. All you have to do is switch the lever and straight sew until you need to ruffle again.
I’ve talked a lot about gathering on this blog. For me, personally, I really only use one or two methods for gathering fabric. There is this simple method for gathering fabric with a sewing machine and a really fast way of gathering fabric with a serger. Once I became familiar with gathering using these two methods, I pretty much abandoned my Ruffler.
However, if you don’t own a serger and you do a lot of gathering, a Ruffler is an inexpensive way to go. They can range in price from $15-$50, depending on your machine’s manufacturer.
Don’t be intimidated by the Ruffler. If you plan to sew lots of gathers, it is an easy way to go.