Quilt Making | Quilting | Seasonal Projects | Sewing | Simple Projects Fall Sewing Projects for Beginners
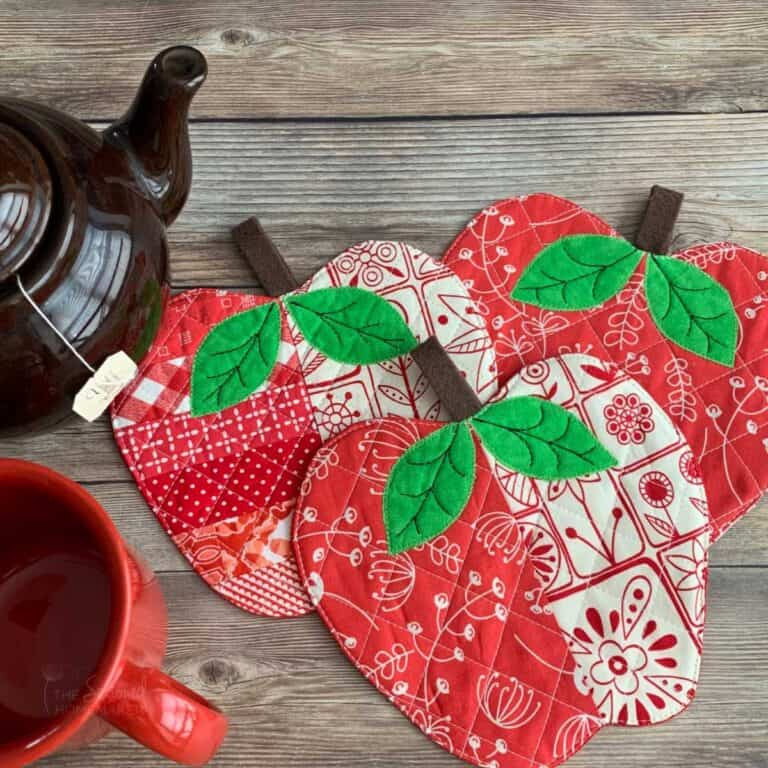
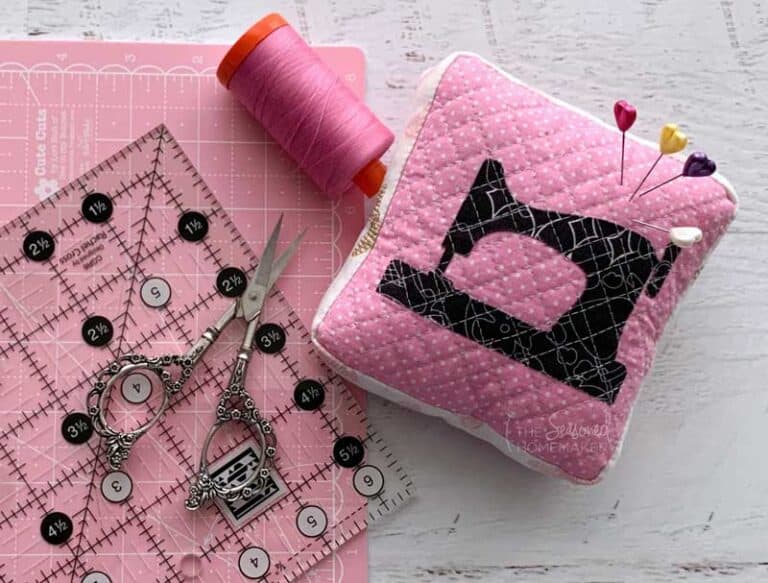
Quilt Making | Quilting | Seasonal Projects | Sewing | Simple Projects How to Sew Quilted Apple Coasters
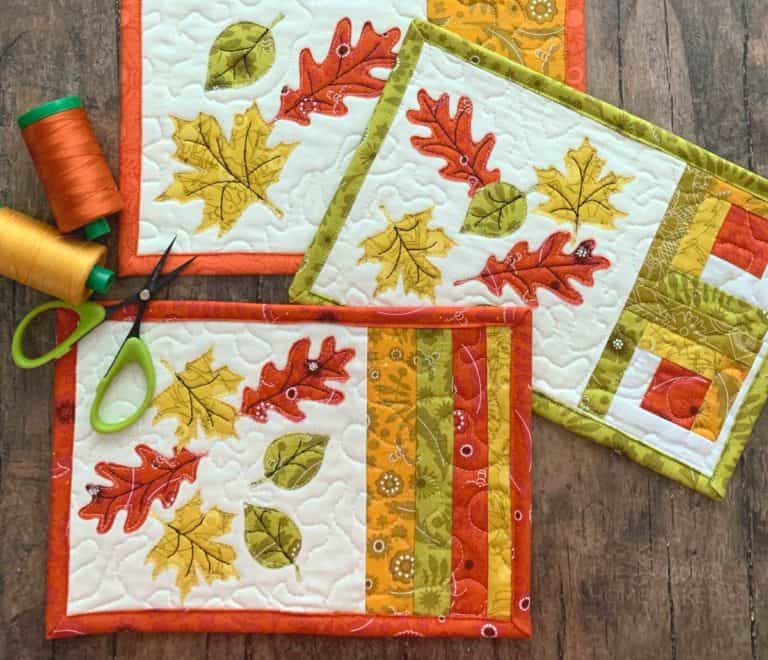
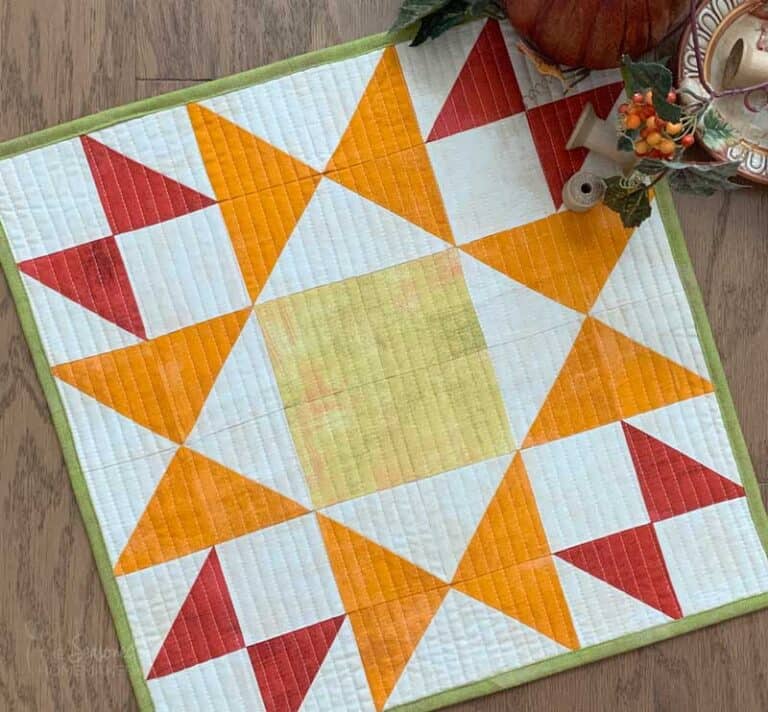
Quilt Making | Quilting | Seasonal Projects | Sewing | Simple Projects Autumn Star Mini Quilt Tutorial
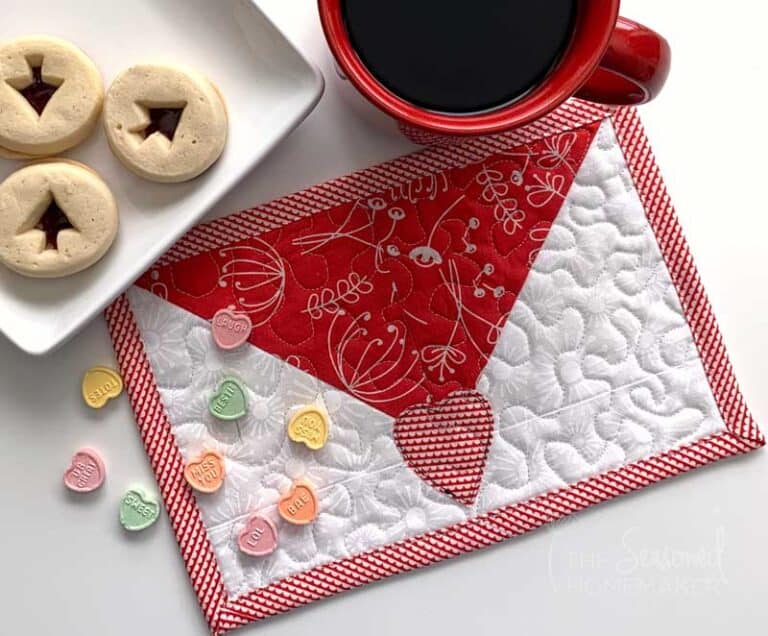
Applique | Quilting | Seasonal Projects | Sewing | Simple Projects Valentine’s Envelope Mug Rug Tutorial
Applique | Crafts | Cricut Projects | Quilt Making | Quilting | Seasonal Projects | Sewing | Simple Projects Holiday Mug Rug Tutorial